Have you ever dreamt of pulling a warm, crusty loaf of bread from your oven, filling your home with that irresistible aroma, but felt intimidated by long proofing times and complex techniques? Well, dream no more! Our 1 Hour Bread Recipe is here to prove that homemade bread can be incredibly simple and quick. Perfect for busy weeknights, last-minute gatherings, or when you just can’t wait for that delicious slice.
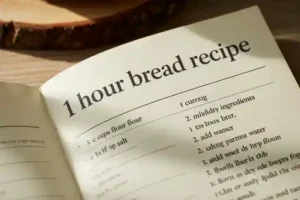
This recipe is one of the ultimate easy baking recipes for anyone looking to dip their toes into the wonderful world of bread making. We’ve packed it with essential baking tips for beginners, ensuring your success from start to finish. Get ready to impress yourself (and everyone else!) with a beautiful loaf in about 60 minutes.
Ingredients You’ll Need
Gather your ingredients! For best results, measure accurately using proper measuring tools.
| Ingredient | Quantity | Unit |
|---|---|---|
| All-Purpose Flour | 3 | cups |
| Instant Yeast | 2 | teaspoons |
| Granulated Sugar | 1 | tablespoon |
| Salt | 1 | teaspoon |
| Warm Water (105-115°F / 40-46°C) | 1 cup + 2 | tablespoons |
| Olive Oil (or other vegetable oil) | 2 | tablespoons |
| Butter (for greasing pan, optional) | 1 | tablespoon |
Step-by-Step Instructions for Your 1 Hour Bread
Follow these detailed steps carefully for a perfect loaf. Don’t worry, we’ve included extra tips for beginners!
Step 1: Activate Your Yeast
In a large mixing bowl, combine the warm water (make sure it’s not too hot, or it will kill the yeast; if it’s too cool, the yeast won’t activate quickly enough), granulated sugar, and instant yeast. Stir gently with a whisk or spoon until the sugar dissolves and the yeast is mostly incorporated. Let this mixture sit for 5-10 minutes. You should see a foamy layer form on top – this is a sign that your yeast is alive and active! If it doesn’t foam, your water might have been too hot or too cold, or your yeast may be old. In that case, start over with fresh yeast and properly tempered water.
Step 2: Mix the Dough
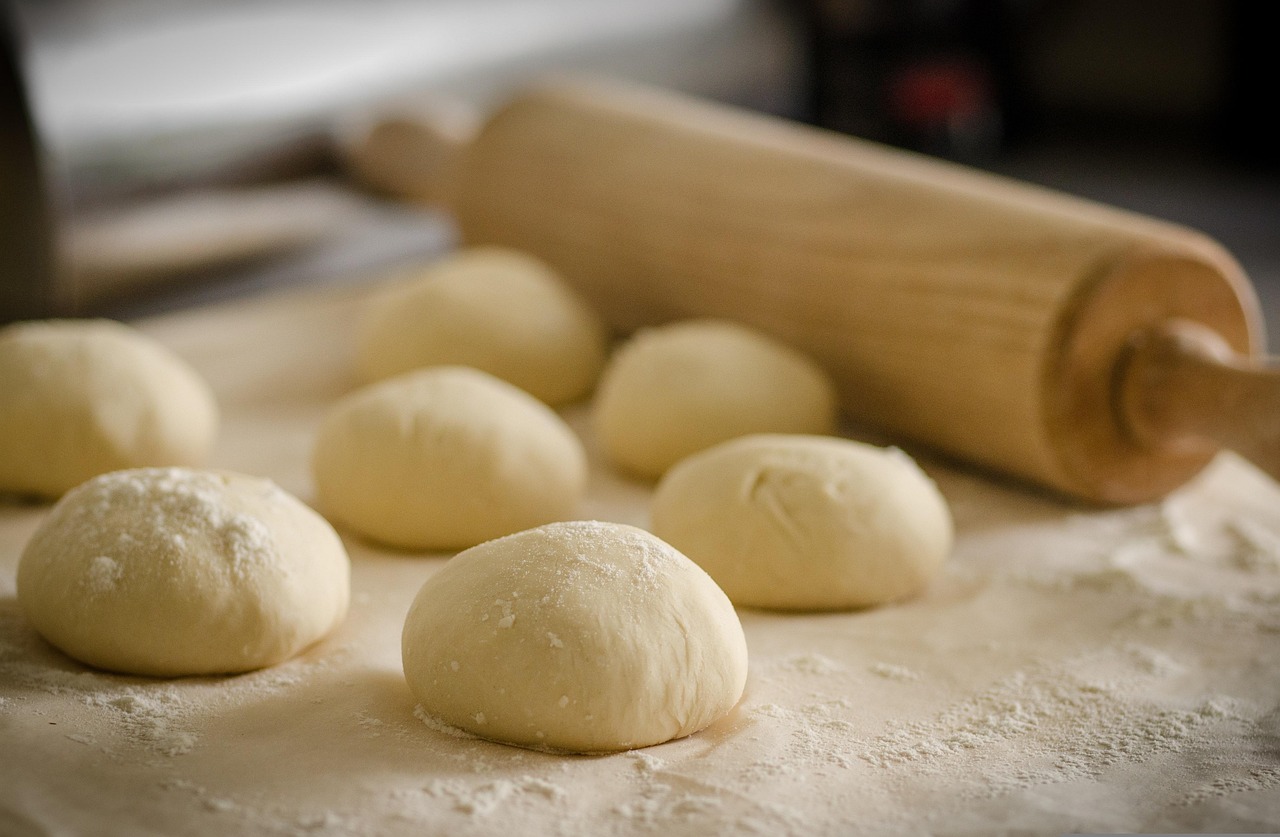
To the yeast mixture, add the salt and olive oil. Give it a quick stir. Now, gradually add the all-purpose flour, about a cup at a time, mixing with a sturdy spoon or spatula until a shaggy dough forms. Once all the flour is added, turn the dough out onto a lightly floured surface (or continue to mix in the bowl if it’s large enough). Knead the dough for about 5-7 minutes. For beginners, kneading might seem daunting, but it’s just pushing and folding! Push the dough away from you with the heels of your hands, fold it back over, rotate, and repeat. The dough will become smoother and more elastic. It should be slightly tacky but not overly sticky.
Beginner Tip: Resist the urge to add too much extra flour during kneading. A little stickiness is okay. If it’s truly unmanageable, add flour one tablespoon at a time.
Step 3: Quick Rise
Lightly grease your large mixing bowl with a little olive oil. Place the kneaded dough into the bowl, turning it once to coat all sides with oil. Cover the bowl tightly with plastic wrap or a clean kitchen towel. For a speedy rise, place the bowl in a warm spot. A great trick is to preheat your oven to its lowest setting (around 170-200°F / 75-95°C) for just 1-2 minutes, then turn it OFF. Place the covered bowl inside the warm (but off!) oven. Let it rise for 20-30 minutes, or until the dough has roughly doubled in size. The warmth will significantly speed up the yeast activity.
Common Mistake: Forgetting to turn the oven off! Always ensure the oven is off and just warm, not hot enough to cook the dough.
Step 4: Shape the Loaf
Once the dough has doubled, gently punch it down to release the air. Turn the dough out onto a lightly floured surface. Gently shape it into a rectangular loaf that will fit into your greased 9×5 inch loaf pan. To do this, flatten the dough into a rectangle, then fold the two long sides towards the center, overlapping slightly. Pinch the seam closed. Then, roll the dough from one short end to the other, pinching the final seam shut. Place the loaf seam-side down into your greased 9×5 inch loaf pan. You can grease the pan with butter or cooking spray.
Alternative: If you don’t have a loaf pan, you can shape it into a round boule and bake it on a parchment-lined baking sheet.
Step 5: Final Short Proof & Preheat
Cover the loaf pan loosely with plastic wrap or a kitchen towel. Let it rest for another 10-15 minutes while your oven preheats. During this time, preheat your oven to 400°F (200°C). This second, shorter proof allows the dough to relax and get a final burst of air before baking, contributing to a lighter texture. While it rests, the oven will come to temperature, making the overall “1 hour” goal achievable.
Step 6: Bake Your Bread
Once the oven is preheated and your loaf has had its final short rest, remove the cover from the loaf pan. Place the loaf pan in the preheated oven. Bake for 25-30 minutes, or until the crust is golden brown and the internal temperature reaches 200-210°F (93-99°C) when measured with an instant-read thermometer. For an extra crispy crust, you can place a shallow pan of hot water on the bottom rack of your oven during baking (be careful!).
How to Tell It’s Done: Besides the golden color and internal temperature, you can tap the bottom of the loaf – it should sound hollow. If it sounds dull, it might need a few more minutes.
Step 7: Cool and Enjoy!
This step is crucial and often overlooked! Once baked, immediately remove the bread from the loaf pan and transfer it to a wire cooling rack. Allow the bread to cool for at least 30-60 minutes before slicing. Slicing hot bread can lead to a gummy texture inside, as the starches are still setting. The cooling process continues to cook the bread gently and helps develop its final texture and flavor. Once cooled, slice and enjoy your incredibly quick, homemade bread!
Tips & Tricks for Perfect 1 Hour Bread Every Time
Baking is a science, but with a few pointers, you’ll master this recipe in no time!
- Yeast Freshness is Key: Always check the expiration date on your yeast. Old yeast is often the culprit behind bread that doesn’t rise. Instant yeast is fantastic for quick recipes like this as it doesn’t require pre-dissolving, but always verify its activity as shown in Step 1.
- Accurate Water Temperature: Use a thermometer to ensure your water is between 105-115°F (40-46°C). Too hot will kill the yeast; too cold will slow it down significantly. This precise temperature is crucial for the “1 hour” promise.
- Measure Flour Correctly: Don’t scoop flour directly from the bag with your measuring cup. This compacts it, leading to too much flour. Instead, spoon the flour into your measuring cup and then level it off with a straight edge (like a knife).
- Don’t Rush the Cooling: We know it’s tempting to cut into that warm loaf immediately, but truly resist! Cooling on a wire rack allows steam to escape and the internal structure to set, preventing a dense, gummy interior.
- Create a Warm Environment: For the quickest rise, the warm (but OFF!) oven trick is invaluable. Alternatively, you can place the covered bowl near a sunny window or on top of a warm appliance.
- High Altitude Adjustment (Brief): If you live at high altitudes (above 3,000 feet), bread can rise faster and dry out quicker. You might need to reduce the yeast slightly (by about 1/4 teaspoon), increase liquid slightly (by 1-2 tablespoons), and/or reduce the sugar (by 1/2 teaspoon).
- Storage: Once completely cooled, store your bread in an airtight container or bread bag at room temperature for 2-3 days, or freeze slices for longer storage.
Essential Baking Tools
Having the right tools makes all the difference, especially when you’re just starting out. Here are some essentials for your kitchen:
- Mixing Bowl: A large, sturdy bowl is indispensable for combining ingredients and allowing your dough to rise.
- Whisk: Perfect for thoroughly mixing dry ingredients and activating yeast.
- Baking Pan: A standard 9×5 inch loaf pan is ideal for this recipe, giving your bread a classic shape.
- Measuring Cups: Accurate measurements are crucial for baking success.
- Spatula: Great for scraping down the sides of bowls and mixing dough.
Nutrition Information (Per Serving – Approx. 10 servings per loaf)
Please note that these are estimated values and can vary based on specific brands and exact measurements.
| Nutrient | Amount |
|---|---|
| Calories | 160 kcal |
| Carbohydrates | 32 g |
| Protein | 5 g |
| Fat | 2 g |
| Fiber | 1 g |
| Sugar | 2 g |
Frequently Asked Questions (FAQs)
Q1: Can I use active dry yeast instead of instant yeast?
A1: Yes, you can, but the process will be slightly different and may add a few minutes to your overall time. Active dry yeast needs to be “proofed” separately in warm water (with a pinch of sugar) for 5-10 minutes until foamy before combining with other ingredients. You would also use 25% more active dry yeast than instant yeast for the same effect, so you’d use about 2.5 teaspoons of active dry yeast for this recipe. Instant yeast is preferred for this 1 Hour Bread Recipe because it can be mixed directly with dry ingredients and rises faster.
Q2: My bread didn’t rise. What went wrong?
A2: The most common reasons for bread not rising are inactive yeast (either expired or killed by water that was too hot) or water that was too cold, which inhibits yeast activity. Ensure your water temperature is precise (105-115°F), your yeast is fresh, and your dough has a warm, draft-free environment to rise in. Also, make sure your salt wasn’t added directly on top of the yeast without liquid in between, as salt can inhibit yeast activity.
Q3: Can I add flavorings like herbs or cheese to this recipe?
A3: Absolutely! This is a great base recipe for customization. You can fold in about 1/2 cup of shredded cheese (like cheddar or Parmesan), 1-2 tablespoons of fresh chopped herbs (rosemary, thyme, or chives), or even some garlic powder and onion flakes during the mixing stage (Step 2). Be mindful that adding too many heavy ingredients might slightly affect the rise, but a little bit adds wonderful flavor!
Q4: How should I store my homemade 1 Hour Bread?
A4: Once completely cooled, store your bread in an airtight container, a bread box, or a sealed plastic bag at room temperature for 2-3 days. For longer storage, slice the cooled bread and freeze it in an airtight freezer bag for up to 2-3 months. You can then toast slices directly from frozen.
Q5: What if I don’t have a loaf pan?
A5: No problem! You can shape the dough into a round loaf (a “boule”) and bake it directly on a parchment-lined baking sheet. The baking time might be slightly different; keep an eye on it and ensure it reaches the internal temperature of 200-210°F (93-99°C). The crust might be a bit crispier all around, but it will still be delicious!
Conclusion: Your Bread Baking Journey Starts Now!
Congratulations, future bread baker! You’ve just discovered how simple and rewarding baking can be with our 1 Hour Bread Recipe. No more waiting hours for a delicious loaf – you’re just 60 minutes away from that incredible aroma and taste of freshly baked bread. Don’t be afraid to experiment, and remember that every loaf you bake is a step towards becoming a more confident baker. Share your creations, enjoy the process, and most importantly, savor every single slice of your amazing homemade bread. Happy baking!