Welcome, aspiring bakers! Are you ready to dive into the wonderful world of baking with a classic that never disappoints? There’s something truly magical about a homemade chocolate cake – the rich aroma filling your kitchen, the anticipation of that first bite, and the pure joy of sharing it with loved ones. If you’ve been looking for an easy baking recipe that delivers incredible results, you’ve come to the right place!

This 2 Layer Chocolate Cake Recipe is specifically designed with beginners in mind. We’ll walk you through every step, from gathering your ingredients to frosting your masterpiece, with plenty of baking tips for beginners along the way. Forget complicated techniques; our goal is to make your first (or fiftieth!) chocolate cake a resounding success. Get ready to impress yourself and everyone you know with this moist, rich, and utterly delicious chocolate cake!
Ingredients You’ll Need
Accuracy is key in baking! We recommend using a kitchen scale for dry ingredients for the most consistent results, but standard measuring cups and spoons will work perfectly too.
For the Moist Chocolate Cake
| Ingredient | Quantity | Unit |
|---|---|---|
| All-purpose flour | 2 | cups |
| Granulated sugar | 2 | cups |
| Unsweetened cocoa powder | 3/4 | cup |
| Baking soda | 2 | teaspoons |
| Baking powder | 1 | teaspoon |
| Salt | 1 | teaspoon |
| Large eggs | 2 | |
| Milk (whole or 2%) | 1 | cup |
| Vegetable oil | 1/2 | cup |
| Vanilla extract | 2 | teaspoons |
| Boiling water | 1 | cup |
For the Decadent Chocolate Buttercream Frosting
| Ingredient | Quantity | Unit |
|---|---|---|
| Unsalted butter, softened | 1 | cup |
| Powdered sugar (confectioners’ sugar) | 3-4 | cups |
| Unsweetened cocoa powder | 1/2 | cup |
| Milk or heavy cream | 1/4 – 1/2 | cup |
| Vanilla extract | 1 | teaspoon |
| Pinch of salt |
Step-by-Step Instructions: Your Guide to Chocolate Cake Perfection
Follow these detailed steps carefully for a perfect outcome. Don’t rush, and enjoy the process!
Step 1: Get Ready to Bake! (Preheat & Prepare)
Before you even think about mixing, let’s get your oven and pans ready. This is a crucial step for even baking!
- Preheat your oven: Set your oven to 350°F (175°C). Give it at least 15-20 minutes to fully come to temperature. An accurate oven temperature is vital for a cake that rises properly and bakes evenly. Consider investing in an oven thermometer if you suspect your oven runs hot or cold.
- Prepare your cake pans: Grease two 8-inch round baking pans generously with butter or baking spray. Then, dust them with a light coating of all-purpose flour, tapping out any excess. This creates a non-stick barrier and helps your cakes release easily after baking. You can also line the bottoms with parchment paper for extra insurance against sticking.
Step 2: Combine the Dry Ingredients
This step ensures all your leavening agents and flavorings are evenly distributed throughout the cake batter.
- In a large mixing bowl, whisk together the all-purpose flour, granulated sugar, unsweetened cocoa powder, baking soda, baking powder, and salt.
- Beginner Tip: Whisking these ingredients together thoroughly not only combines them but also helps to aerate the flour, leading to a lighter, more tender cake. If you have a sifter, even better! Sifting prevents lumps.
Step 3: Mix the Wet Ingredients (Mostly!)
We’ll combine most of the wet ingredients here, leaving the boiling water for a special moment.
- In a separate medium bowl, whisk together the eggs, milk, vegetable oil, and vanilla extract until well combined.
- Beginner Tip: Ensure your eggs and milk are at room temperature. Room temperature ingredients emulsify better, meaning they combine more smoothly and create a more uniform batter, leading to a more tender cake. If you forget, you can warm eggs quickly in a bowl of warm water for 5-10 minutes, and milk can be gently warmed in the microwave for 15-20 seconds.
Step 4: Combine Wet and Dry
Time to bring the two mixtures together! Be gentle.
- Pour the wet ingredient mixture into the dry ingredient mixture. Using a spatula or an electric mixer on low speed, mix until just combined.
- Common Mistake & Tip: Do NOT overmix! Overmixing develops the gluten in the flour too much, resulting in a tough, dense cake. Mix only until no streaks of dry flour remain. A few small lumps are perfectly fine.
Step 5: The Magic Ingredient: Boiling Water
This is where our chocolate cake gets its incredible moistness and rich flavor!
- Carefully pour the boiling water into the cake batter. Stir gently until the batter is smooth and quite thin.
- Why boiling water? The hot water helps to “bloom” the cocoa powder, intensifying its chocolate flavor. It also helps create a super moist crumb. Don’t worry if the batter seems thin; that’s exactly what we want!
- Alternative: For an even deeper chocolate flavor, you can substitute the boiling water with hot brewed coffee. The coffee won’t make your cake taste like coffee, but it will enhance the chocolate notes beautifully.
Step 6: Bake Your Cakes
Into the oven they go! Resist the urge to open the oven door too early.
- Divide the batter evenly between your two prepared 8-inch cake pans.
- Bake for 30-35 minutes, or until a wooden skewer or toothpick inserted into the center of the cakes comes out clean or with a few moist crumbs attached (but no wet batter!).
- Beginner Tip: Ovens can vary! Start checking at 30 minutes. If your cake still looks wet, give it a few more minutes. Avoid opening the oven door during the first 20 minutes, as this can cause the cakes to sink.
Step 7: Cool Down
Patience is a virtue, especially when cooling cakes. This step is non-negotiable for successful frosting!
- Once baked, remove the cakes from the oven and let them cool in their pans on a wire rack for 10-15 minutes. This allows them to firm up slightly.
- After 10-15 minutes, carefully invert the cakes onto the wire rack to cool completely.
- Crucial Tip: The cakes must be completely cool before you attempt to frost them. If they are even slightly warm, your beautiful buttercream frosting will melt and slide right off. This can take 1-2 hours at room temperature. You can even wrap them in plastic wrap once cool and chill them in the fridge for 30 minutes to make them easier to handle.
Step 8: Make the Chocolate Buttercream Frosting
While your cakes are cooling, let’s whip up that delicious frosting!
- In a large mixing bowl (or the bowl of a stand mixer fitted with the paddle attachment), beat the softened unsalted butter on medium speed until it’s light and fluffy, about 2-3 minutes.
- Gradually add the powdered sugar (1 cup at a time), alternating with the unsweetened cocoa powder and milk/cream. Start with 1/4 cup of milk/cream, adding more if needed to reach your desired consistency. Add the vanilla extract and a pinch of salt.
- Beat on low speed until combined, then increase to medium-high and beat for another 2-3 minutes until the frosting is light, fluffy, and smooth.
- Consistency Check: If the frosting is too thick, add more milk or cream (1 teaspoon at a time). If it’s too thin, add more powdered sugar (1 tablespoon at a time).
Step 9: Assemble and Frost Your Masterpiece!
The moment of truth! Get ready to make your cake look as good as it tastes.
- Once the cakes are completely cool, you might want to use a serrated knife to level the tops of the cakes if they have domed significantly. This creates flat layers that stack beautifully.
- Place one cake layer on your serving plate or cake stand. Spread about 1/3 of the chocolate buttercream frosting evenly over the top.
- Carefully place the second cake layer on top.
- Use the remaining frosting to cover the top and sides of the cake. Use an offset spatula or a butter knife to spread the frosting smoothly. For a rustic look, you can create swirls or peaks.
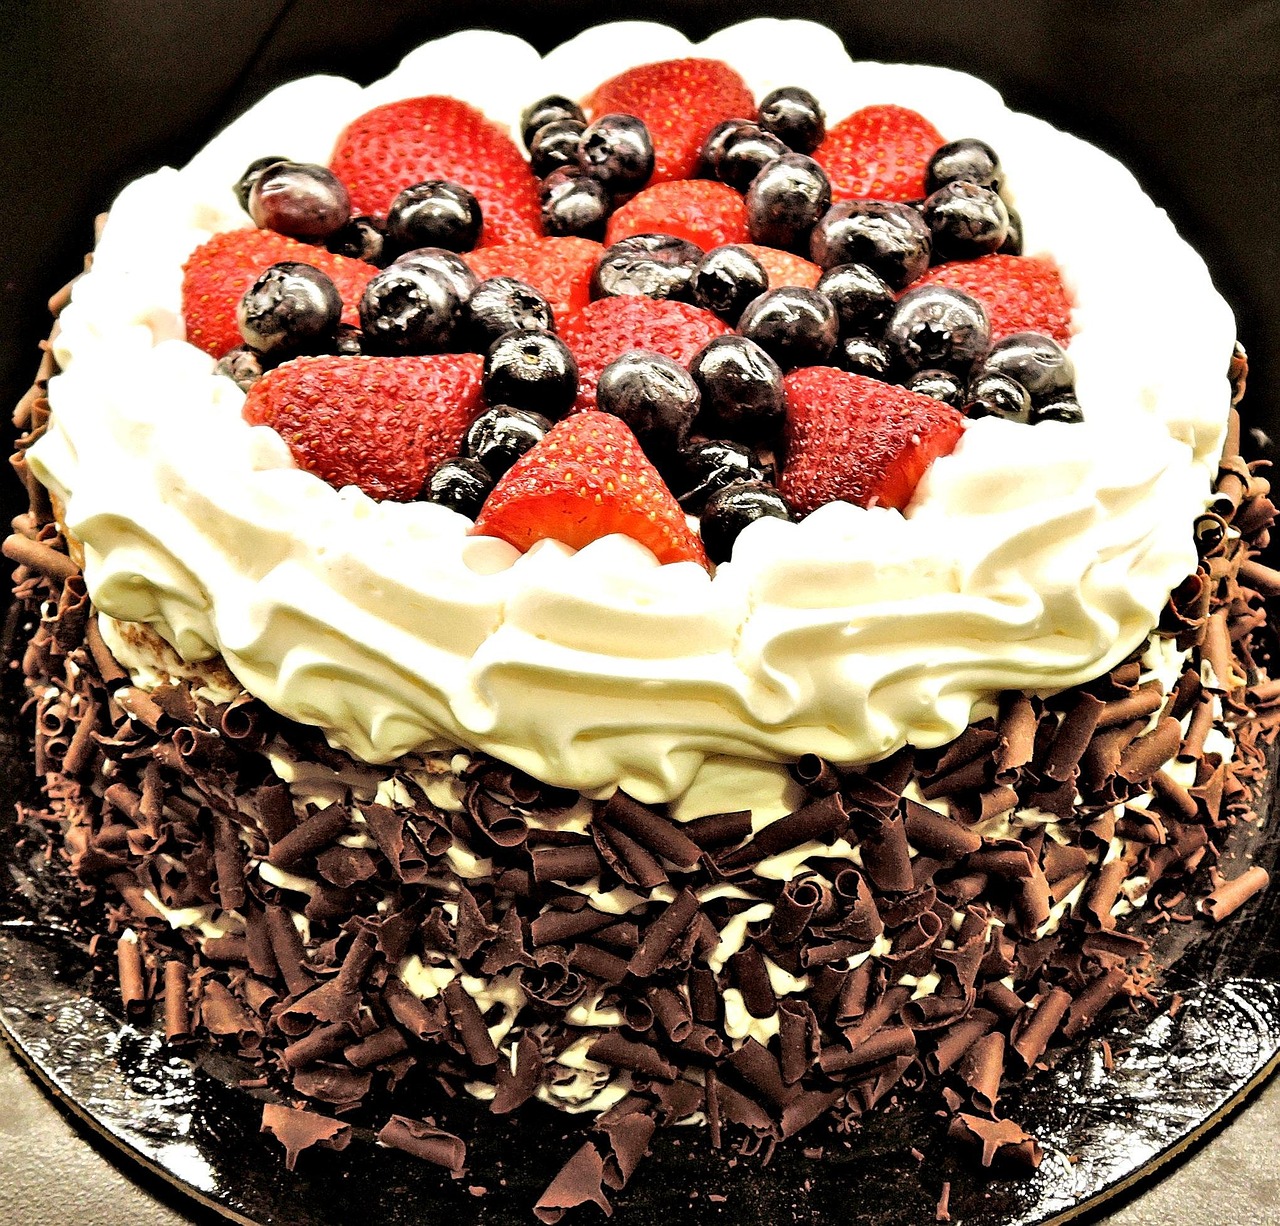
- Decoration Ideas: Garnish with chocolate shavings, sprinkles, or fresh berries if desired.
Tips & Tricks for Beginner Bakers
Baking is a science, but also an art. These simple tips will help you achieve consistent, delicious results every time you bake this chocolate cake:
- Room Temperature Ingredients are Your Best Friend: For cakes and frostings, make sure your butter, eggs, and milk are at room temperature. This allows them to emulsify better, creating a smoother batter and a more uniform texture in your finished product. Cold ingredients don’t blend well, which can lead to a lumpy batter and a denser cake.
- Measure Accurately: Baking is precise. Use proper measuring cups and spoons. For dry ingredients like flour and cocoa powder, spoon them into your measuring cup and then level off the top with a straight edge (like the back of a knife). Don’t scoop directly from the bag, as this can compact the flour and lead to using too much.
- Do Not Overmix: We can’t stress this enough! Once you add the wet ingredients to the dry, mix only until just combined. Overmixing develops the gluten in the flour, making your cake tough and chewy instead of light and tender. A few small lumps are perfectly okay.
- Invest in an Oven Thermometer: Oven temperatures can vary significantly from what the dial says. An inexpensive oven thermometer will give you an accurate reading, helping to prevent under or over-baking.
- Patience with Cooling: Resist the urge to frost a warm cake. Warm cake + frosting = melted, sliding mess. Allow your cake layers to cool completely on a wire rack before even thinking about applying frosting. This might take a couple of hours, but it’s crucial for a beautifully frosted cake.
- Enhance Chocolate Flavor with Coffee: Coffee doesn’t make your cake taste like coffee; it simply amplifies the rich, deep flavor of chocolate. Try substituting the boiling water with hot brewed coffee in the cake batter for an extra boost of chocolatey goodness.
- Sift Dry Ingredients: While not strictly necessary if you whisk well, sifting your flour, cocoa powder, baking soda, and baking powder can help prevent lumps and ensures a lighter, airier crumb.
Essential Baking Tools
Having the right tools makes baking a breeze! Here are some basics we recommend for this recipe:
- Mixing Bowls (various sizes)
- Whisk
- 8-inch Round Baking Pans (2)
- Measuring Cups and Spoons
- Rubber Spatula
- Electric Mixer (stand or hand-held)
- Wire Cooling Rack
- Offset Spatula (for frosting)
Nutrition Information (Approximate Per Serving)
Please note: These are approximate values and can vary based on specific ingredients, portion sizes, and preparation methods.
| Nutrient | Per Serving (Approx.) |
|---|---|
| Calories | 480-520 kcal |
| Carbohydrates | 65-75g |
| Protein | 5-7g |
| Fat | 25-30g |
| Fiber | 2-4g |
| Sugar | 45-55g |
Frequently Asked Questions (FAQs)
Q1: My cake turned out dry. What went wrong?
A: A dry cake is often a result of overbaking, using too much flour (due to improper measuring), or not enough liquid. Ensure you’re measuring flour by spooning it into the cup and leveling it off, and always check for doneness with a toothpick rather than relying solely on the clock.
Q2: Why did my cake sink in the middle?
A: This can happen for a few reasons: opening the oven door too early (especially in the first 20 minutes), the oven temperature being too low, using too much leavening agent (baking soda/powder), or underbaking the cake. Make sure your oven is preheated properly and resist peeking!
Q3: Can I make this chocolate cake gluten-free?
A: Yes, you can! Substitute the all-purpose flour with a 1:1 gluten-free baking flour blend that contains xanthan gum. Results can vary slightly in texture, but many blends work wonderfully in cake recipes.
Q4: How do I store leftover chocolate cake?
A: Store your frosted chocolate cake in an airtight container at room temperature for up to 2-3 days. For longer storage, you can refrigerate it for up to 5 days. Bring it back to room temperature before serving for the best flavor and texture.
Q5: Can I prepare the cake batter ahead of time?
A: It’s generally not recommended to prepare cake batter too far in advance, especially with recipes using baking soda and baking powder. These leavening agents start working as soon as they get wet, so letting the batter sit for too long can result in a less fluffy cake. It’s best to bake the batter shortly after mixing.
Q6: My frosting is too runny/too stiff. How do I fix it?
A: If your frosting is too runny, gradually add more powdered sugar (a tablespoon at a time) until it reaches your desired consistency. If it’s too stiff, add a tiny bit more milk or cream (a teaspoon at a time) until it’s spreadable. Always mix well after each addition.
Conclusion: Your Chocolate Cake Journey Begins!
And there you have it! Your complete guide to baking a truly spectacular and beginner-friendly 2 Layer Chocolate Cake Recipe. We hope this detailed walkthrough, packed with baking tips for beginners, gives you the confidence to tie on your apron and create something truly delicious.
Baking is a delightful journey of experimentation and joy. Don’t be afraid to try, to learn from any little mishaps, and most importantly, to enjoy the process. This easy baking recipe is a fantastic starting point for any home baker. Go forth, bake, and savor every chocolatey bite!