Welcome, fellow baking enthusiasts and aspiring home chefs! Are you ready to embark on a truly rewarding culinary journey? Today, we’re diving into a dessert that’s not just a cake, but an experience: our 3 Day Coconut Cake Recipe. Don’t let the “3 Day” part intimidate you; this method is actually designed to make baking easier, more enjoyable, and yield a far more delicious result, especially for those looking for easy baking recipes and baking tips for beginners. Spreading the process over three days allows for stress-free baking, incredible flavor development, and a moist, tender crumb that will have everyone asking for seconds. Get ready to impress yourself and your loved ones with this show-stopping, yet surprisingly manageable, coconut masterpiece!
Ingredients List
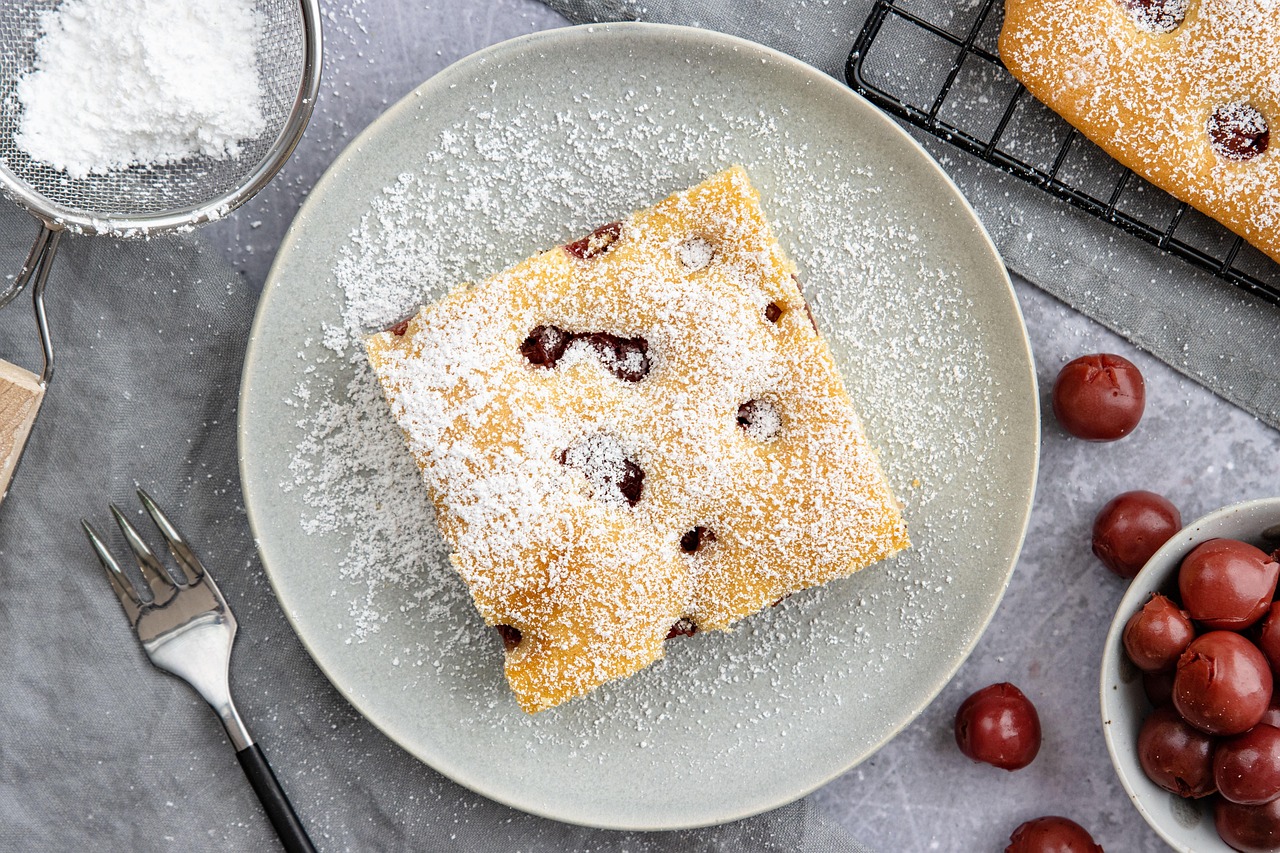
Gather your ingredients! For the best results, ensure your butter, cream cheese, and eggs are at room temperature unless otherwise specified. This makes for a smoother batter and frosting.
For the Coconut Cake Layers:
| Ingredient | Quantity | Unit |
|---|---|---|
| All-Purpose Flour | 2 ½ | cups |
| Granulated Sugar | 1 ¾ | cups |
| Baking Powder | 1 | tablespoon |
| Salt | ½ | teaspoon |
| Unsalted Butter (softened) | 1 | cup (2 sticks) |
| Large Eggs | 4 | |
| Vanilla Extract | 2 | teaspoons |
| Full-Fat Canned Coconut Milk | 1 | cup |
| Sweetened Shredded Coconut | 1 | cup |
For the Coconut Simple Syrup:
| Ingredient | Quantity | Unit |
|---|---|---|
| Granulated Sugar | ½ | cup |
| Water | ½ | cup |
| Coconut Extract (optional, for extra flavor) | ½ | teaspoon |
For the Coconut Cream Cheese Frosting:
| Ingredient | Quantity | Unit |
|---|---|---|
| Cream Cheese (softened) | 16 | ounces (2 blocks) |
| Unsalted Butter (softened) | 1 | cup (2 sticks) |
| Powdered Sugar (sifted) | 4-5 | cups |
| Vanilla Extract | 1 | teaspoon |
| Coconut Extract | 1 | teaspoon |
| Full-Fat Canned Coconut Milk | 2-4 | tablespoons |
| Sweetened Shredded Coconut (for decorating) | 1-2 | cups |
Step-by-Step Instructions
This recipe is broken down over three days to ensure optimal flavor, moisture, and ease of assembly. Trust the process!
Day 1: Bake the Cake Layers
- Preheat & Prepare: Preheat your oven to 350°F (175°C). Grease and flour three 8-inch round baking pans. For extra protection against sticking, line the bottoms with parchment paper. This is a great **baking tip for beginners** to ensure your cakes release perfectly.
- Combine Dry Ingredients: In a medium bowl, whisk together the flour, granulated sugar, baking powder, and salt. Whisking ensures everything is evenly distributed.
- Cream Butter & Sugar: In a large bowl (or stand mixer with paddle attachment), cream the softened butter until light and fluffy, about 2-3 minutes. Gradually add the sugar, beating until the mixture is pale and fluffy, another 3-5 minutes. This step incorporates air, which is crucial for a light cake.
- Add Eggs & Vanilla: Beat in the eggs one at a time, mixing well after each addition. Scrape down the sides of the bowl as needed. Stir in the vanilla extract.
- Alternate Dry & Wet: With the mixer on low speed, gradually add the dry ingredients to the wet ingredients, alternating with the coconut milk. Begin and end with the dry ingredients (e.g., 1/3 dry, 1/2 coconut milk, 1/3 dry, 1/2 coconut milk, 1/3 dry). Important beginner tip: Do not overmix! Mix just until combined. Overmixing develops the gluten too much, leading to a tough cake.
- Fold in Coconut: Gently fold in the 1 cup of sweetened shredded coconut using a spatula.
- Divide & Bake: Divide the batter evenly among the three prepared pans. Bake for 25-30 minutes, or until a wooden skewer inserted into the center comes out clean.
- Cool Completely: Let the cakes cool in the pans for 10-15 minutes before inverting them onto a wire rack to cool completely. This is critical! Attempting to frost warm cakes is a common beginner mistake and will result in melted frosting and a messy cake. Once cooled, wrap each cake layer tightly in plastic wrap and refrigerate overnight. This helps them firm up, making them easier to handle and contributing to a moister cake.
Day 2: Prepare Simple Syrup & Crumb Coat the Cake
- Make Simple Syrup: In a small saucepan, combine ½ cup granulated sugar and ½ cup water. Bring to a simmer over medium heat, stirring until the sugar dissolves completely. Remove from heat and stir in the optional ½ teaspoon coconut extract. Let the syrup cool completely.
- Brush Cake Layers: Once the simple syrup is cool, unwrap your chilled cake layers. Using a pastry brush, generously brush the tops of each cake layer with the coconut simple syrup. This adds incredible moisture and coconut flavor!
- Prepare Frosting (Partial): In a large bowl or stand mixer, beat the softened cream cheese and butter together until smooth and creamy, about 3-4 minutes. Scrape down the sides of the bowl.
- Add Powdered Sugar & Extracts: Gradually add 2 cups of sifted powdered sugar, beating until smooth. Add the vanilla extract and coconut extract. Beat in 2 tablespoons of coconut milk. If the frosting is too thick, add more powdered sugar, 1/2 cup at a time, until desired consistency is reached. We are aiming for a soft, spreadable frosting.
- Assemble & Crumb Coat: Place one cake layer on your serving plate or cake stand. Spread a generous layer of frosting over the top. Top with the second cake layer and repeat. Place the third cake layer on top. Apply a very thin layer of frosting all over the cake – this is your “crumb coat.” Its purpose is to trap any loose crumbs, preventing them from showing up in your final frosting layer. This is a game-changer for beginner bakers!
- Chill the Crumb Coat: Refrigerate the crumb-coated cake for at least 30 minutes, or up to 2 hours, to allow the crumb coat to set. This makes the final frosting much easier.
- Refrigerate Remaining Frosting: Cover the remaining frosting and refrigerate it overnight alongside the cake. This allows all the flavors to meld.
Day 3: Final Frosting & Decoration
- Soften Frosting: Take the remaining frosting out of the refrigerator about 30 minutes before you plan to use it to allow it to soften slightly. If it’s too firm, you can beat it for a minute or two on low speed to bring it back to a spreadable consistency. If it seems too loose, add a little more sifted powdered sugar.
- Apply Final Frosting: Remove the cake from the refrigerator. Apply the remaining frosting generously over the top and sides of the cake. Use an offset spatula or bench scraper to smooth the frosting as desired. Don’t worry about perfection; homemade cakes always have a charming rustic look!
- Decorate with Coconut: Gently press the sweetened shredded coconut onto the sides and top of the cake. You can do this by hand or by holding handfuls of coconut against the sides.
- Chill & Serve: Refrigerate the finished cake for at least 1 hour to allow the frosting to set completely. This will make it easier to slice.
- Enjoy! Slice and serve your magnificent 3 Day Coconut Cake. Store any leftovers in an airtight container in the refrigerator.
Tips & Tricks for a Perfect Coconut Cake
Baking can seem daunting, but a few simple tips can make all the difference, especially when tackling a recipe like this **3 Day Coconut Cake Recipe**.
- Room Temperature Ingredients: This is not just a suggestion! Softened butter, cream cheese, and eggs emulsify better, creating a smoother batter and frosting without lumps. Take them out of the fridge at least an hour before you start.
- Accurate Measuring: Baking is a science. Use proper measuring cups and spoons. For flour, spoon it into the measuring cup and level it off with a straight edge – don’t scoop directly from the bag, as this compacts the flour and you’ll end up with too much.
- Don’t Overmix: As mentioned in the steps, overmixing develops gluten, leading to a tough cake. Mix wet and dry ingredients just until combined.
- Parchment Paper is Your Friend: Lining your cake pans with parchment paper on the bottom is a simple yet effective way to ensure your cakes never stick.
- Cool Completely: Patience is key! Frosting a warm cake is a recipe for disaster. Ensure your cake layers are completely cool before applying any frosting. The chilling steps in this recipe are crucial.
- Sift Powdered Sugar: Sifting powdered sugar before adding it to frosting prevents lumps, giving you a silky-smooth finish.
- Use Good Quality Coconut Milk: For the best flavor, use full-fat canned coconut milk, not the kind in a carton for beverages.
- Taste as You Go (Frosting): When making the frosting, taste it! Adjust the sweetness by adding more powdered sugar or thin it out with a little more coconut milk if needed.
Essential Baking Tools
Having the right tools makes baking easier and more enjoyable. Here are some essentials you’ll need for this coconut cake:
- Mixing Bowls (various sizes)
- Whisk
- Electric Mixer (stand mixer or hand mixer)
- 8-inch Round Baking Pans (3 count)
- Measuring Cups
- Measuring Spoons
- Rubber Spatula (for scraping bowls)
- Offset Spatula (for frosting)
- Wire Cooling Rack
- Parchment Paper
- Pastry Brush (for simple syrup)
Nutrition Info (Estimated per serving, 12 servings)
Please note: These values are estimates and can vary based on exact ingredients and portion sizes.
| Nutrient | Per Serving |
|---|---|
| Calories | 550-650 kcal |
| Carbohydrates | 70-80 g |
| Protein | 5-7 g |
| Fat | 30-40 g |
| Fiber | 1-2 g |
| Sugar | 50-60 g |
Frequently Asked Questions (FAQs)
Q: Can I make this cake in less than 3 days?
A: While the 3-day process is highly recommended for the best flavor and ease of handling, you can condense it. You could bake the cakes and make the simple syrup on Day 1, and then make the frosting and assemble/decorate on Day 2. However, chilling the cake layers overnight really helps with moisture retention and makes them much easier to frost without crumbling.
Q: What if I don’t have coconut milk for the cake? Can I use regular milk?
A: You can substitute with whole milk or buttermilk, but the distinct coconut flavor will be less pronounced in the cake itself. For the frosting, stick to coconut milk or heavy cream for the best texture and flavor.
Q: My frosting is too runny/too stiff. What should I do?
A: If your frosting is too runny, gradually beat in more sifted powdered sugar, 1/4 cup at a time, until it reaches the desired consistency. If it’s too stiff, add a tiny bit more coconut milk (1 teaspoon at a time) or heavy cream until it’s spreadable. Remember, room temperature ingredients for the frosting are crucial for a good consistency!
Q: How do I prevent my cake from being dry?
A: Several factors contribute to a moist cake: not overmixing the batter, not overbaking (test with a skewer!), and generously brushing with the simple syrup. The chilling steps also help the cake retain moisture. Using full-fat ingredients also helps.
Q: How should I store the leftover coconut cake?
A: This coconut cake should be stored in an airtight container in the refrigerator due to the cream cheese frosting. It will stay fresh and delicious for 3-5 days. For longer storage, you can slice and freeze individual portions, wrapped tightly, for up to a month.
Q: Can I use unsweetened shredded coconut instead?
A: Yes, you can! If you prefer less sweetness, unsweetened shredded coconut works perfectly. You might find the cake slightly less sweet overall, but it will still be delicious. You can always adjust the sugar in the frosting if you want to compensate.
Conclusion
Congratulations, you’ve reached the end of our 3 Day Coconut Cake Recipe guide! We hope you feel empowered and excited to try this truly special cake. It might seem like a project, but each step is straightforward, and the reward is absolutely worth it. There’s something incredibly satisfying about creating a beautiful, delicious cake from scratch, especially one that tastes as incredible as this coconut dream. Don’t be afraid to get your hands a little messy, follow these **baking tips for beginners**, and most importantly, enjoy the process. Happy baking, and get ready to savor every single bite of your homemade masterpiece!