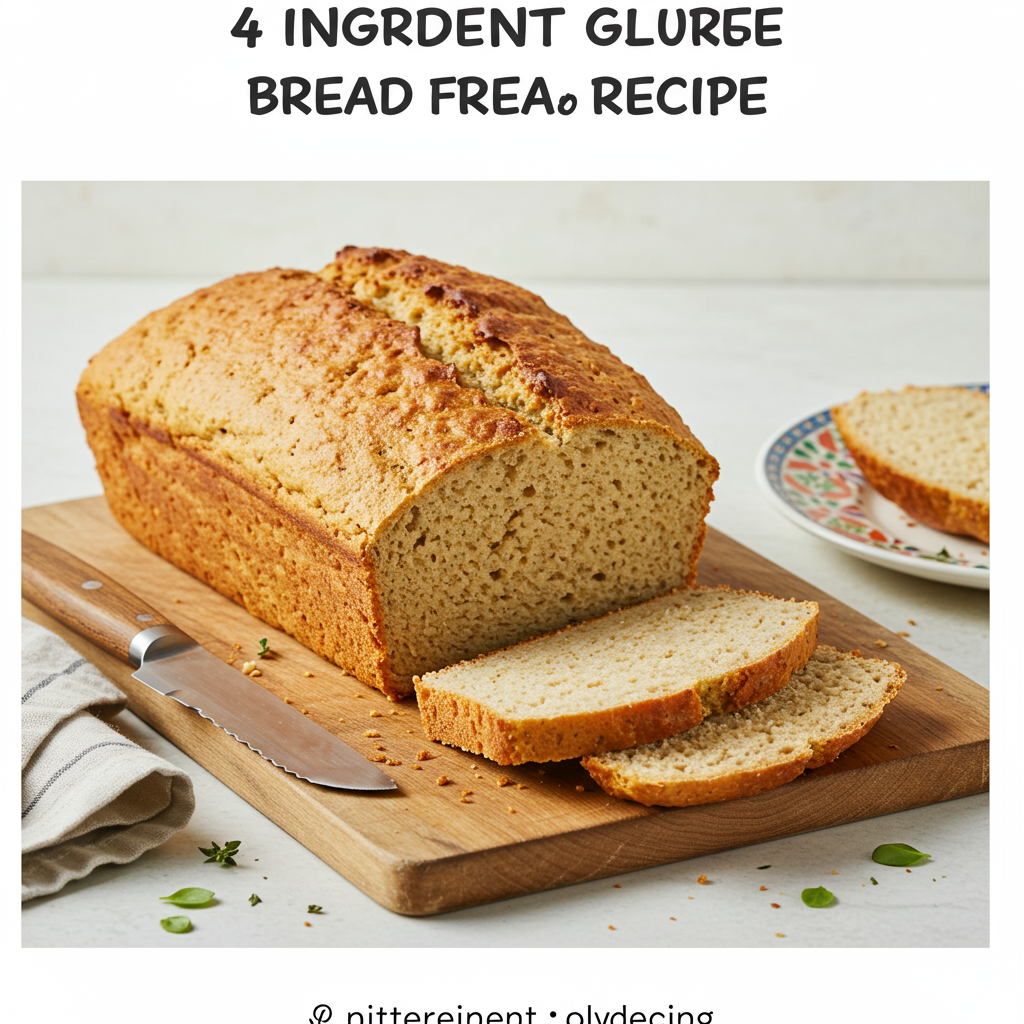
Welcome, aspiring bakers! Are you ready to dive into the wonderful world of bread making, but feel intimidated by complex recipes or dietary restrictions? Look no further! This 4 Ingredient Gluten Free Bread Recipe is your ultimate starting point. We believe that delicious, homemade bread shouldn’t be a luxury, and certainly not a challenge, even for those avoiding gluten. This post is packed with straightforward instructions and practical baking tips for beginners, designed to make your first gluten-free bread baking experience a resounding success. Get ready to impress yourself and your loved ones with a loaf that’s surprisingly simple, incredibly satisfying, and perfectly suited for your needs. Say goodbye to dense, crumbly gluten-free attempts and hello to fluffy, flavorful results with one of the easiest easy baking recipes you’ll ever find!
Ingredients You’ll Need

Gathering your ingredients is the first step to baking success. For this incredibly simple gluten-free bread, you only need four core items. Make sure to measure them accurately for the best results!
| Ingredient | Quantity | Notes for Beginners |
|---|---|---|
| Gluten-Free All-Purpose Flour Blend | 3 cups (approx. 360g) | Look for a blend that contains **xanthan gum** – it helps with structure in GF baking. Use the “spoon and level” method: spoon flour into your measuring cup until it’s overflowing, then level off with a straight edge. Don’t scoop directly from the bag or pack it down! |
| Warm Water | 1 ½ cups (approx. 360ml) | The ideal temperature is around **105-115°F (40-46°C)**. It should feel like warm bathwater, not hot. Too hot will kill the yeast, too cold won’t activate it. An instant-read thermometer is very helpful here. |
| Active Dry Yeast | 1 packet (2 ¼ teaspoons) | Always check the expiration date on your yeast. Fresh, active yeast is the engine for your bread’s rise. If it’s old, your bread won’t rise. |
| Salt | 1 teaspoon | Fine sea salt or table salt works best. It’s not just for flavor; it also helps regulate yeast activity and strengthens the dough structure. |
Step-by-Step Instructions: Baking Your Gluten-Free Bread
Follow these detailed steps carefully, and you’ll be enjoying warm, homemade gluten-free bread in no time. Don’t rush, and pay attention to the little details – they make all the difference, especially for beginners!
Step 1: Activate Your Yeast (Proofing)
- In a large mixing bowl, combine the warm water(1 ½ cups) and, if you wish to give your yeast a little boost, a pinch of sugar (optional, about 1 teaspoon – not counted as a core ingredient, but can help speed up yeast activation).
- Sprinkle the active dry yeast (1 packet) evenly over the water. Do not stir it in immediately; let it sit on the surface.
- Let it sit undisturbed for 5-10 minutes. This is called “proofing” the yeast. You should see a foamy, bubbly layer form on the surface. This is a clear sign that your yeast is alive and ready to work! If it doesn’t foam or bubble, your water might have been too hot (killing the yeast) or too cold (keeping it dormant), or your yeast is expired. In that case, it’s best to discard and start over with fresh yeast and correctly tempered water. This is a common beginner mistake, so don’t be discouraged if it happens!
Step 2: Combine Dry Ingredients
- In a separate medium bowl, whisk together the gluten-free all-purpose flour blend (3 cups) and salt (1 teaspoon). Whisking thoroughly ensures the salt is evenly distributed throughout the flour, which is important for consistent flavor, and also helps to aerate the flour, making for a lighter texture.
- Beginner Tip: Remember the “spoon and level” method for measuring flour (as mentioned in the ingredients list). This prevents you from adding too much flour, which can lead to a dense, dry loaf.
Step 3: Mix the Dough
- Once your yeast mixture is actively foamy, gradually add the dry flour mixture to the wet yeast mixture in the large bowl. Add it in two or three batches, mixing briefly after each addition.
- Using a sturdy spoon, a strong spatula, or a stand mixer fitted with a paddle attachment, mix the ingredients until they are just combined and there are no dry streaks of flour left. Gluten-free dough is often quite different from traditional wheat dough; it will be much stickier and more like a thick batter or a very soft cookie dough, rather than an elastic ball that you can knead extensively.
- Continue to mix for about 3-5 minutes on medium speed if using a stand mixer, or vigorously by hand for 5-7 minutes. The goal is to ensure all the flour is fully hydrated and the dough appears relatively smooth, but be careful not to overmix. While gluten-free dough doesn’t develop gluten, overworking it can sometimes negatively impact the final texture.
- The dough will be quite soft and sticky – this is perfectly normal and expected for this type of bread!
Step 4: First Rise (Proofing)
- Lightly grease a 9×5 inch loaf pan thoroughly with cooking spray or a thin layer of oil. This will prevent the sticky dough from adhering to the pan and make removal easier after baking.
- Carefully scrape the sticky dough into the prepared loaf pan. Use a rubber spatula to gently spread the dough evenly into the corners of the pan and smooth the top as much as possible. A slightly wet spatula can help prevent sticking.
- Cover the loaf pan loosely with plastic wrap or a clean, damp kitchen towel. This helps to create a warm, humid environment that encourages rising and prevents the dough from drying out.
- Place the covered pan in a warm, draft-free spot for 45-60 minutes, or until the dough has noticeably risen and looks puffy. It’s important to understand that gluten-free dough won’t double in size as dramatically as traditional wheat bread. Expect it to expand by about 50-75% of its original volume.
- Beginner Tip:Excellent warm spots for proofing include a slightly warmed oven (turn it on for 1-2 minutes, then turn it off and place the bread inside with the door ajar), a microwave (also turned off, with a cup of hot water inside to create steam), or simply a warm spot on your kitchen counter on a sunny day.
Step 5: Preheat Oven & Bake
- About 15 minutes before the end of the rising time, preheat your oven to 375°F (190°C). This allows the oven to reach and maintain a consistent temperature, which is important for even baking.
- Once the dough has completed its rise, carefully remove the cover from the loaf pan and gently place the pan into the preheated oven. Try not to jostle the pan too much, as this can cause the dough to deflate.
- Bake for 45-55 minutes, or until the crust is a beautiful golden brown and the internal temperature of the bread reaches 200-210°F (93-99°C) when measured with an instant-read thermometer. This internal temperature is the most reliable indicator of doneness.
- Beginner Tip: If you notice the top of your bread browning too quickly before the inside is fully cooked, you can loosely tent the loaf pan with aluminum foil for the last 10-15 minutes of baking. This protects the crust while allowing the interior to finish baking.
Step 6: Cool Completely
- Once baked, carefully remove the loaf pan from the oven.
- Immediately turn the bread out onto a wire cooling rack. This crucial step allows air to circulate around all sides of the loaf, preventing the bottom crust from becoming soggy due to trapped steam.
- Let the bread cool completely on the wire rack, which typically takes at least 1-2 hours. This is perhaps the hardest step, but it is absolutely crucial for gluten-free bread! Slicing warm gluten-free bread can lead to a gummy texture or cause it to crumble excessively. The internal structure needs time to set as it cools. Patience is truly key for achieving the best texture.
- Once fully cooled, slice and enjoy your freshly baked, homemade 4 Ingredient Gluten Free Bread Recipe! It’s perfect for sandwiches, toast, or alongside your favorite meal.
Tips & Tricks for Gluten-Free Bread Baking Success
Mastering gluten-free bread can seem daunting, but these extra tips will help you achieve perfect results every time, even as a beginner. Keep these in mind as you bake!
- Accurate Measuring is Key: Especially with gluten-free flours, precise measurements are critical for the right dough consistency. Consider using a digital kitchen scale for flour and water if you want to be extra precise; it often yields more consistent results than volume measurements.
- Yeast Health Check is Non-Negotiable:Always proof your yeast as the first step. If it doesn’t become foamy, it’s inactive (dead), and your bread won’t rise. There’s no point in wasting your other ingredients – get fresh yeast and try again!
- Don’t Overmix: Unlike wheat flour, gluten-free flours don’t develop gluten. Overmixing won’t make the dough more elastic; it can actually lead to a denser, tougher loaf. Mix only until the ingredients are just combined and smooth.
- Patience with Rising: Gluten-free dough often takes longer to rise than traditional dough and won’t always rise as dramatically. Be patient, ensure your rising spot is consistently warm and draft-free, and trust the process. A slow, steady rise is better than a quick, forced one.
- Resist the Urge to Slice Early: This cannot be stressed enough! Cooling allows the internal structure of the bread to fully set and firm up. Slicing too soon results in a gummy, wet, or crumbly texture. Wait the full 1-2 hours for the best results.
- Customize Your Loaf: This recipe is a fantastic base for customization. Feel free to add 1/4 cup of seeds (like sunflower, pumpkin, or flax) or 1-2 tablespoons of dried herbs (such as rosemary, thyme, or oregano) to the dry ingredients for extra flavor and texture. Add them along with the flour and salt.
- Storing Your Bread: Once completely cooled, store your bread in an airtight container or a large zip-top bag at room temperature for 2-3 days. For longer storage, slice the cooled loaf and freeze individual slices in a freezer-safe bag for up to 3 months. You can toast slices directly from frozen for quick, fresh-tasting bread.
Essential Baking Tools
Having the right tools makes baking easier and more enjoyable. Here are a few essentials for successfully making this recipe:
- Large Mixing Bowl (for combining ingredients)
- Whisk (for aerating dry ingredients)
- 9×5 inch Loaf Baking Pan (the standard size for most bread recipes)
- Measuring Cups & Spoons (for accurate ingredient portions)
- Rubber Spatula (for scraping down bowls and spreading sticky dough)
- **Instant-Read Thermometer** (highly recommended for checking water temperature for yeast, and internal bread doneness)
- **Wire Cooling Rack** (essential for proper cooling and preventing soggy bottoms)
Nutrition Information (per serving, approx. 1/12 of loaf)
Please note that this is an estimated nutritional breakdown based on standard ingredient values for the 4 core ingredients. Actual values may vary depending on specific brands, exact measurements, and any optional additions.
| Nutrient | Amount |
|---|---|
| Calories | ~125 kcal |
| Carbohydrates | ~27 g |
| Protein | ~3 g |
| Fat | ~0.5 g |
| Fiber | ~1.5 g |
| Sugar | ~0.5 g |
Frequently Asked Questions for Beginners
Q1: Why didn’t my gluten-free bread rise?
A: This is the most common issue for beginner bread bakers! The primary reasons are usually inactive yeast (always check the expiry date on your yeast packet) or incorrect water temperature (water that’s too hot will kill the yeast, while water that’s too cold won’t activate it). Ensure your yeast produces a foamy layer during proofing and that your rising spot is warm and draft-free, giving the dough enough time to rise.
Q2: Can I use any gluten-free flour for this recipe?
A: For best results with this recipe, it’s crucial to use a **gluten-free all-purpose flour blend that already contains xanthan gum**. Xanthan gum is vital in gluten-free baking as it provides the necessary structure and elasticity that gluten typically offers. If your specific gluten-free blend does not list xanthan gum as an ingredient, you’ll need to add about 1 teaspoon of xanthan gum per cup of flour to the dry ingredients yourself. Single-ingredient flours like pure rice flour, almond flour, or coconut flour alone will not work for this recipe as they lack the binding properties required for bread.
Q3: How should I store leftover gluten-free bread?
A: Once your bread has cooled completely (this is important!), store it in an airtight container, a large zip-top bag, or wrapped tightly in plastic wrap at room temperature for 2-3 days. Gluten-free bread tends to dry out faster than traditional bread. For longer storage, slice the cooled loaf and freeze individual slices in a freezer-safe bag or container for up to 3 months. You can then simply pop a slice directly from frozen into the toaster for a quick and fresh-tasting snack.
Q4: My bread turned out very dense or crumbly. What went wrong?
A: Density in gluten-free bread can often be attributed to insufficient rise (revisit Q1 about yeast activity and water temperature), or