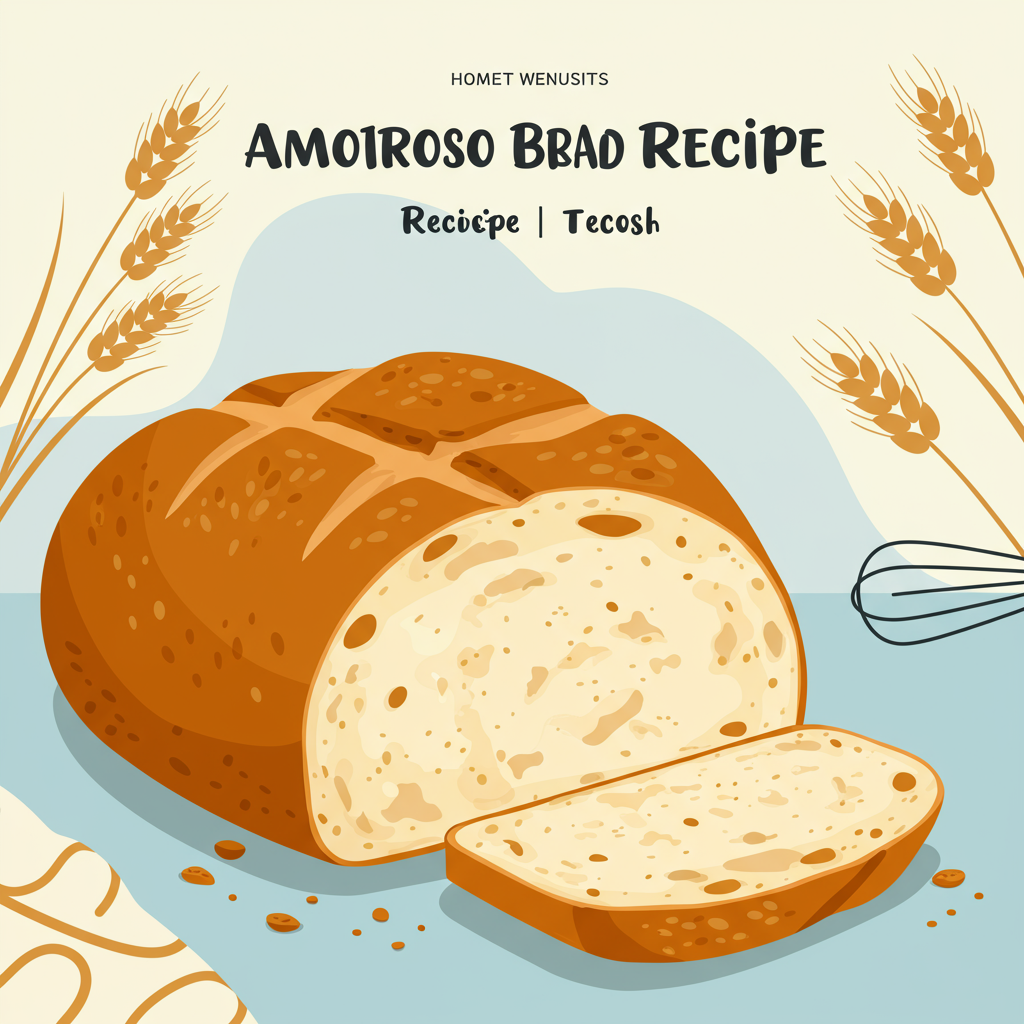
Welcome to Your Kitchen: Mastering the Amoroso Bread Recipe!
There’s nothing quite like the aroma of freshly baked bread wafting through your home. It’s comforting,
inviting, and often, surprisingly simple to achieve! Today, we’re diving into the wonderful world of
homemade bread with our **Amoroso Bread Recipe**. This isn’t just any loaf; it’s a soft, slightly sweet, and incredibly versatile bread, perfect for sandwiches, toast, or just tearing into while it’s still warm. If you’ve been searching for **easy baking recipes** that yield truly impressive results, you’ve found it. We’ve packed this guide with detailed **baking tips for beginners** to ensure your first (or fiftieth!) loaf is a resounding success. Get ready to bake a masterpiece!
Ingredients List
Gather these simple ingredients, and let’s get baking!
| Quantity | Unit | Ingredient |
|---|---|---|
| 1 | cup | Warm Water (105-115°F / 40-46°C) |
| 2 ¼ | teaspoons | Active Dry Yeast (one standard packet) |
| ¼ | cup | Granulated Sugar, plus 1 teaspoon |
| 1 ½ | teaspoons | Salt |
| 2 | tablespoons | Unsalted Butter, melted and cooled (plus extra for greasing) |
| 3 to 3 ½ | cups | All-Purpose Flour, plus more for dusting (or Bread Flour for a chewier loaf) |
| 1 | large | Egg, for egg wash (optional, for a golden crust) |
Step-by-Step Instructions: Your Path to Perfect Amoroso Bread
Follow these detailed steps carefully, and you’ll be enjoying warm, homemade bread in no time!
Step 1: Activate the Yeast (The Magic Begins!)
- In a large mixing bowl (or the bowl of your stand mixer), pour in the 1 cup of warm water.
- Sprinkle the 2 ¼ teaspoons of active dry yeast and 1 teaspoon of granulated sugar over the water. The sugar “feeds” the yeast and helps it activate.
- Gently stir once or twice, then let it sit undisturbed for 5-10 minutes.
Beginner Tip: You’re looking for the mixture to become foamy and bubbly on top, like a mini-volcano. This means your yeast is active and ready to work! If it doesn’t foam, your water might have been too hot (killed the yeast) or too cold (didn’t wake it up), or your yeast might be old. Try again with fresh yeast and properly warmed water.
Step 2: Mix the Dough
- Once your yeast is bubbly, add the remaining ¼ cup of granulated sugar, 1 ½ teaspoons of salt, and the 2 tablespoons of melted and cooled butter to the yeast mixture. Stir gently to combine.
- Gradually add the all-purpose flour, one cup at a time, mixing after each addition.
- If using a stand mixer: Attach the dough hook and start mixing on low speed.
- If mixing by hand: Use a sturdy spoon or spatula.
- Continue adding flour until the dough comes together in a shaggy ball and pulls away from the sides of the bowl. It might still be a little sticky, which is perfectly normal. You might not need all 3.5 cups of flour, or you might need a tiny bit more – humidity and flour brands vary.
Beginner Tip: Resist the urge to add too much flour too quickly. A slightly sticky dough is much better than a dry, crumbly one. You can always add a little more flour during kneading if needed.
Step 3: Knead the Dough (Building Strength!)
- Turn the dough out onto a lightly floured surface.
- For stand mixer users: Continue kneading with the dough hook on medium-low speed for 6-8 minutes, until the dough is smooth and elastic.
- For hand kneaders: Get ready for a good arm workout! Push the dough away from you with the heels of your hands, fold it back over, rotate, and repeat. Continue kneading for 8-10 minutes.
Beginner Tip: How do you know if it’s kneaded enough? The dough should feel smooth, elastic, and spring back when you gently poke it with your finger. Another test is the “windowpane test”: tear off a small piece of dough, and gently stretch it. If you can stretch it thin enough to see light through it without tearing, your gluten has developed beautifully!
Step 4: First Rise (The Bulk Fermentation)
- Lightly grease a large clean bowl with a little butter or cooking spray.
- Place the kneaded dough into the greased bowl, turning it once to coat the entire surface.
- Cover the bowl tightly with plastic wrap or a clean kitchen towel.
- Place the bowl in a warm, draft-free spot. An oven with just the light on (not preheated!) is a great spot. Let the dough rise for 1 to 1.5 hours, or until it has visibly doubled in size.
Beginner Tip: Don’t rush this step! The rise time can vary depending on the temperature of your kitchen. Look for the visual cue (doubled in size) rather than strictly adhering to the clock. This rise develops flavor and creates the airy texture.
Step 5: Shape the Loaf
- Gently punch down the risen dough to release the air.
- Turn the dough out onto a lightly floured surface. Gently flatten it into a rectangle, roughly 9×12 inches.
- Starting from one of the longer sides, tightly roll the dough into a log. Pinch the seam closed along the bottom and at the ends to create a smooth loaf.
- Lightly grease a 9×5 inch loaf pan. Place the shaped dough seam-side down into the prepared pan.
Common Mistake & Alternative: If your loaf isn’t rising much, it might be due to not pinching the seam tight enough, allowing gas to escape. If you prefer smaller rolls, divide the dough into 8-12 equal pieces after punching down, shape into balls, and place them in a greased 9×13 inch baking pan.
Step 6: Second Rise (The Proofing)
- Cover the loaf pan loosely with plastic wrap or a clean kitchen towel.
- Let it rise again in a warm, draft-free spot for another 30-45 minutes, or until the dough has nearly doubled in size and extends slightly above the rim of the pan.
Beginner Tip: To test if it’s ready, gently poke the dough with a floured finger. If the indentation slowly springs back, it’s ready. If it springs back quickly, it needs more time. If it collapses, it’s over-proofed (don’t worry, it’ll still bake, just might be a bit denser).
Step 7: Bake Your Amoroso Bread
- While the dough is on its second rise, preheat your oven to 375°F (190°C).
- If desired, beat the 1 large egg with 1 tablespoon of water to create an egg wash. Gently brush the top of the risen loaf with the egg wash for a beautiful golden-brown, shiny crust. (This is optional but highly recommended for that classic look!)
- Bake for 30-35 minutes, or until the top is golden brown and the internal temperature reaches 200-210°F (93-99°C) when measured with an instant-read thermometer.
Common Mistake: Baking bread for too short a time results in a doughy center. Always check the internal temperature if you have a thermometer, or tap the bottom of the loaf – it should sound hollow. If the top is browning too quickly, you can loosely tent it with aluminum foil.
Step 8: Cool and Enjoy!
- Once baked, immediately remove the bread from the loaf pan and place it on a wire cooling rack.
- Allow the bread to cool completely (at least 1-2 hours) before slicing. This is crucial!
Why Cool Completely? The bread is still cooking internally as it cools, and the starches are setting. Slicing too early can result in a gummy texture. Patience is a virtue here!
- Slice, serve, and savor your incredible homemade Amoroso Bread!
Tips & Tricks for Beginner Bakers
Baking bread is a journey, and these tips will help you along the way:
- Measure Accurately: Especially for flour, use the “spoon and level” method. Spoon flour into your measuring cup, then level off the top with a straight edge. Don’t scoop directly from the bag, as this compacts the flour, leading to too much.
- Yeast is Alive: Treat your yeast with care! Ensure your water is the right temperature (105-115°F is ideal). Too hot, and you kill it; too cold, and it stays dormant. Fresh yeast is key for a good rise.
- Know Your Dough: Pay attention to how your dough feels. It should be elastic and slightly tacky, not overly sticky or dry. Adjust flour or water by the tablespoon if needed.
- Warm Environment for Rising: Dough loves warmth! A slightly warm oven (turned off, with just the light on), a sunny spot, or even a microwave (turned off!) can create the perfect environment for a good rise.
- Don’t Over-Proof: While a good rise is important, over-proofed dough can collapse in the oven. Look for the “poke test” described in Step 6.
- Invest in a Thermometer: An instant-read thermometer is invaluable for checking water temperature for yeast and the internal temperature of your baked bread.
- Patience is Key: Bread baking requires time for rising and cooling. Resist the urge to rush these steps, as they are crucial for texture and flavor.
Essential Baking Tools
Having the right tools makes all the difference. Here are a few essentials:
- Large Mixing Bowl
- Wire Whisk
- Loaf Baking Pan (9×5 inch)
- Measuring Cups and Spoons
- Rubber Spatula
- Instant-Read Thermometer (optional, but highly recommended!)
- Wire Cooling Rack
Nutrition Information (Estimated per slice, 12 slices per loaf)
Please note: These are estimated values and can vary based on exact ingredients and portion sizes.
| Nutrient | Amount |
|---|---|
| Calories | 180-200 kcal |
| Carbohydrates | 35-40 g |
| Protein | 6-7 g |
| Fat | 2-3 g |
| Fiber | 1-2 g |
| Sugar | 3-4 g |
Frequently Asked Questions for Beginner Bakers
Q: My dough didn’t rise. What went wrong?
A: The most common culprits are inactive yeast (check the expiration date!) or incorrect water temperature. Water that’s too hot will kill the yeast, and water that’s too cold won’t activate it. Aim for 105-115°F (40-46°C). Also, ensure your rising spot is warm and draft-free.
Q: Can I use whole wheat flour instead of all-purpose?
A: While you can, whole wheat flour absorbs more liquid and has less gluten, resulting in a denser loaf. For your first attempt, stick to all-purpose or bread flour. If you do switch, you might need to add a little more water and expect a slightly different texture.
Q: How do I store homemade bread?
A: Once completely cooled, store your Amoroso bread in an airtight container or a bread bag at room temperature for 3-4 days. For longer storage, slice the bread and freeze it in a freezer-safe bag for up to 2-3 months. Thaw slices as needed.
Q: My bread crust is too hard/soft. How can I fix this?
A: For a harder crust, you can spray a little water into the oven at the beginning of baking to create steam. For a softer crust, brush the warm loaf with melted butter as soon as it comes out of the oven, then cover it with a clean towel while it cools.
Q: Do I really need to knead for that long?
A: Yes! Kneading develops the gluten in the flour, which gives the bread its structure, elasticity, and chewiness. Under-kneaded bread will be dense and crumbly, while properly kneaded bread will have a lovely, airy texture. Don’t skip this important step!
Conclusion: Your Delicious Bread Journey Has Begun!
Congratulations! You’ve just embarked on an amazing culinary adventure and created your very own
Amoroso Bread. There’s a profound satisfaction that comes from pulling a warm, golden-brown loaf from your oven, knowing you made it with your own hands. Don’t worry if your first loaf isn’t absolutely perfect; every bake is a learning experience. Keep practicing, keep experimenting, and most importantly, keep enjoying the process! We hope this detailed, beginner-friendly recipe has given you the confidence to make homemade bread a regular staple in your kitchen. Happy baking!
“`