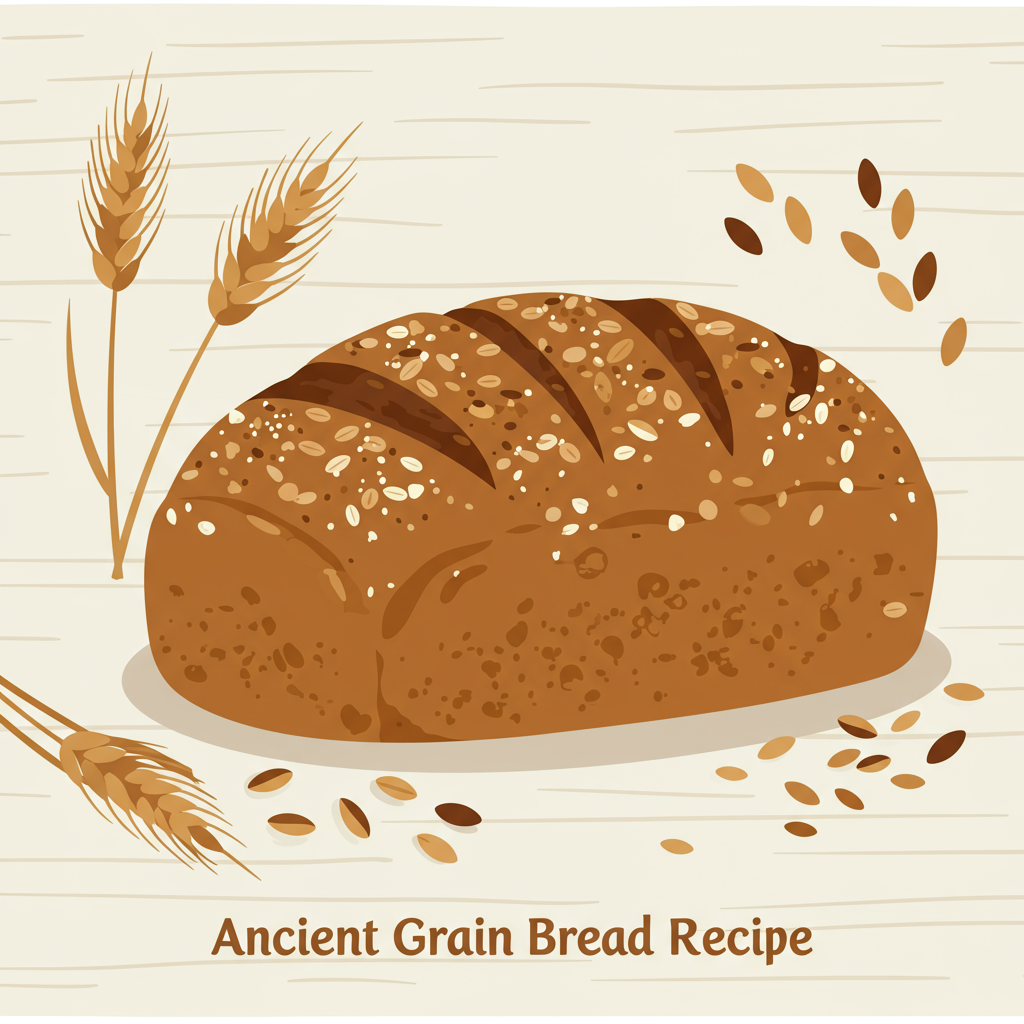
There’s nothing quite like the aroma of freshly baked bread wafting through your home. It’s comforting, it’s wholesome, and with our Ancient Grain Bread Recipe, it’s incredibly achievable, even if you’re a complete novice in the kitchen! Forget complicated techniques and intimidating ingredients. This recipe is designed to be one of the most easy baking recipes you’ll ever try, guiding you step-by-step to a perfect, rustic loaf. We’ve packed it with practical baking tips for beginners to ensure your success, transforming simple ingredients into a nutritious, flavorful, and wonderfully satisfying bread that your family will adore. Get ready to impress yourself and fill your home with the warmth of homemade goodness!
Making bread from scratch might seem daunting, but it’s a deeply rewarding experience. Our ancient grain blend (using readily available flours) offers a delightful texture and a slightly nutty flavor that’s a step above your average loaf. It’s healthier, heartier, and incredibly versatile. So, tie on your apron, gather your ingredients, and let’s embark on this delicious baking adventure together!
Ingredients You’ll Need
Gathering all your ingredients before you start is a key **baking tip for beginners**. This is called “mise en place” and it makes the entire process smoother and less stressful.
| Ingredient | Quantity | Unit |
|---|---|---|
| Warm Water (105-115°F / 40-46°C) | 1 ½ | cups |
| Active Dry Yeast | 2 ¼ | teaspoons (1 standard packet) |
| Honey or Maple Syrup | 1 | tablespoon |
| Ancient Grain Flour Blend (e.g., 1 cup Spelt flour + 1 cup Whole Wheat flour) | 2 | cups |
| All-Purpose Flour | 1 ½ – 2 | cups (plus more for dusting) |
| Fine Sea Salt | 1 ½ | teaspoons |
| Olive Oil (or other neutral oil) | 2 | tablespoons |
| Optional: Seeds (chia, flax, sesame) | ¼ | cup |
Step-by-Step Instructions: Baking Your Ancient Grain Bread
Follow these detailed steps carefully, and you’ll be enjoying a warm, homemade loaf in no time. Remember, baking is a science, but it’s also about feeling the dough!
Step 1: Activate Your Yeast (The Magic Begins!)
- In a large mixing bowl (or the bowl of a stand mixer), pour in the 1 ½ cups of warm water. The temperature is crucial here – it should feel like a warm bath, not too hot and not too cold. If it’s too hot, it will kill the yeast; too cold, and the yeast won’t activate.
- Sprinkle the 2 ¼ teaspoons of active dry yeast over the water.
- Add the 1 tablespoon of honey or maple syrup. This acts as food for the yeast, helping it to activate.
- Gently stir once or twice, then let it sit undisturbed for 5-10 minutes. You should see a foamy, bubbly layer form on top. This is a sign that your yeast is alive and active! Beginner Tip: If your yeast doesn’t foam, it might be old or your water temperature was off. Don’t proceed; get new yeast and try again!
Step 2: Combine the Dry Ingredients
- While your yeast is activating, in a separate medium bowl, whisk together the 2 cups of ancient grain flour blend, 1 ½ cups of all-purpose flour, and 1 ½ teaspoons of fine sea salt. Whisking ensures the salt is evenly distributed, which is important for flavor and yeast activity.
- Optional: If you’re adding seeds, stir them into the flour mixture now.
Step 3: Mix the Dough
- Once your yeast mixture is foamy, add the 2 tablespoons of olive oil to it.
- Gradually add the dry flour mixture to the wet ingredients, mixing with a sturdy spoon or a dough hook on your stand mixer on low speed.
- Mix until a shaggy, sticky dough forms. It’s okay if there are still some dry bits at this stage.
Step 4: Knead the Dough (Develop that Gluten!)
Kneading is what develops the gluten, giving your bread its structure and chewiness. This is where patience pays off!
- By Hand: Turn the dough out onto a lightly floured surface. Knead for 8-10 minutes. Push the dough away from you with the heels of your hands, fold it back over, turn it a quarter turn, and repeat. Add just enough extra all-purpose flour (a tablespoon at a time) to prevent excessive sticking, but don’t add too much, or your bread will be dense. The dough should become smooth, elastic, and less sticky, bouncing back when you gently poke it.
- With a Stand Mixer: Attach the dough hook and knead on medium-low speed for 6-8 minutes. The dough should gather around the hook and pull away from the sides of the bowl, becoming smooth and elastic.
- How to tell it’s kneaded enough (Windowpane Test): Pinch off a small piece of dough and gently stretch it. If you can stretch it thin enough to see light through it without it tearing, your dough is perfectly kneaded!
Step 5: First Rise (Proofing – The Transformation!)
- Lightly grease a large clean bowl with a little olive oil. Place the kneaded dough into the bowl, turning it once to coat the top with oil (this prevents a dry crust from forming).
- Cover the bowl tightly with plastic wrap or a clean kitchen towel.
- Place the bowl in a warm, draft-free spot. A slightly warm oven (turned off, or on for just 1 minute then off), a sunny windowsill, or near a radiator works well.
- Let the dough rise for 1-1.5 hours, or until it has doubled in size. This time can vary depending on the warmth of your environment. Common Mistake: Don’t rush this step! An under-proofed dough will result in dense bread.
Step 6: Punch Down and Shape the Loaf
- Once doubled, gently “punch down” the dough to release the air. This isn’t aggressive; just press it down firmly with your fist.
- Lightly flour your work surface again. Turn the dough out onto it.
- Gently shape the dough into a loaf. For a classic rectangular loaf, flatten the dough into a rectangle, then fold the two long sides towards the middle, pressing to seal. Then, starting from one short end, roll the dough tightly into a log, pinching the seam closed at the bottom. This creates tension for a good rise.
- Lightly grease a standard 9×5 inch loaf pan. Carefully place the shaped dough into the prepared pan, seam-side down.
Step 7: Second Rise (The Final Proof!)
- Cover the loaf pan loosely with plastic wrap or a clean kitchen towel.
- Return the pan to your warm, draft-free spot for another 30-45 minutes, or until the dough has risen significantly and is almost doubled again, peaking over the top of the pan. It should look puffy and soft.
- Preheat Oven: About 15-20 minutes before the second rise is complete, preheat your oven to **375°F (190°C)**.
Step 8: Bake Your Bread
- Once the oven is preheated and the dough has completed its second rise, you can optionally score the top of the loaf with a very sharp knife or razor blade (about ½ inch deep, 2-3 slashes). This helps control where the bread expands during baking and adds a rustic touch.
- Place the loaf pan in the preheated oven.
- Bake for 30-40 minutes. The bread should be deeply golden brown on top, and when you tap the bottom of the loaf (carefully remove it from the pan), it should sound hollow.
- For an even more accurate check, use an instant-read thermometer. The internal temperature of fully baked bread should be 200-210°F (93-99°C).
Step 9: Cool Completely (The Hardest Part!)
- As soon as the bread is done, immediately remove it from the loaf pan and place it on a wire cooling rack.
- Let the bread cool for at least 1-2 hours before slicing. Why is this so important? The bread is still cooking internally as it cools, and slicing too early will result in a gummy texture. Resist the urge to cut into it right away!
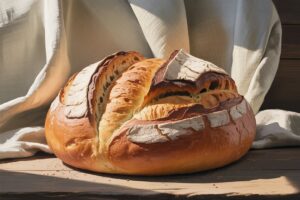
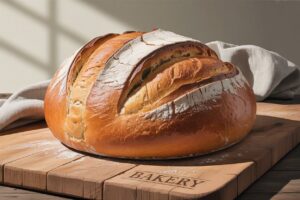
- Once cooled, slice and enjoy your magnificent homemade Ancient Grain Bread!
Tips & Tricks for Perfect Ancient Grain Bread
- Invest in a Kitchen Scale: While cup measurements are provided, measuring flour by weight (grams) is far more accurate and will lead to more consistent results, especially for beginners.
- Yeast Freshness: Always check the expiration date on your yeast. If it’s old, your bread won’t rise. The “foaming” test in Step 1 is crucial!
- Water Temperature is Key: Too hot, you kill the yeast. Too cold, it won’t activate. Aim for bathwater warm (105-115°F / 40-46°C). An instant-read thermometer is helpful here.
- Don’t Rush the Rise: Patience is a baker’s best friend. Let the dough take its time to double in size. If your kitchen is cool, find a warmer spot (like a turned-off oven with the light on).
- Avoid Too Much Flour: When kneading, resist the urge to add excessive flour to prevent sticking. A slightly sticky dough is often a good sign. Too much flour will result in dry, dense bread.
- Create Steam for a Crispy Crust: For a professional-looking, crispy crust, place an empty metal pan on the bottom rack of your oven while preheating. When you put the bread in, carefully pour ½ cup of hot water into the hot pan to create steam. Close the oven door quickly. (Be very careful with hot steam!)
- Cool Completely: We can’t stress this enough! Slicing warm bread releases steam that should be trapped, leading to a gummy texture. Let it cool fully on a wire rack.
- Storage: Store your cooled bread in an airtight container or bread bag at room temperature for up to 3-4 days. For longer storage, slice and freeze.
Essential Baking Tools
Having the right tools makes all the difference in your baking journey!
- Mixing Bowl (Large)
- Whisk
- Loaf Pan (9×5 inch)
- Measuring Cups and Spoons
- Rubber Spatula or Dough Scraper
- Instant-Read Thermometer (for water and bread internal temperature)
- Wire Cooling Rack
- Plastic Wrap or Clean Kitchen Towel
Nutrition Information (Per Slice, approximate)
Please note: Nutritional values are estimates and can vary based on specific flours used and slice size.
| Nutrient | Amount |
|---|---|
| Calories | 150-180 kcal |
| Carbohydrates | 30-35 g |
| Protein | 5-7 g |
| Fat | 2-4 g |
| Fiber | 3-5 g |
| Sugar | 2-3 g |
Frequently Asked Questions (FAQs) for Beginner Bakers
Q1: My dough isn’t rising, what went wrong?
A: The most common culprits are inactive yeast (either expired or killed by water that was too hot) or a too-cold environment. Double-check your yeast’s expiry date, ensure your water is between 105-115°F (40-46°C), and find a warm, draft-free spot for proofing. Your yeast should always foam after the initial activation step!
Q2: Can I use different ancient grain flours?
A: Absolutely! This recipe uses spelt and whole wheat for an accessible blend. You can experiment with other ancient grain flours like einkorn, emmer, or even a small amount of rye. Keep in mind that different flours absorb water differently, so you might need to adjust the amount of all-purpose flour slightly to achieve the right dough consistency.
Q3: Why is my homemade bread so dense?
A: Density usually comes from not enough kneading (gluten didn’t develop properly), insufficient rising time (under-proofed dough), or adding too much flour during kneading. Ensure your dough passes the windowpane test, give it ample time to double in size during both rises, and only add flour sparingly when kneading.
Q4: How do I store homemade ancient grain bread?
A: Once completely cooled, store your bread in an airtight bread bag, a clean linen bag, or a sealed container at room temperature for up to 3-4 days. Avoid refrigerating, as it can dry out the bread quickly. For longer storage, slice the loaf and freeze the slices in a freezer-safe bag for up to 2-3 months.
Q5: What if I don’t have a stand mixer for kneading?
A: No problem at all! This recipe is perfectly suited for hand kneading. It’s a fantastic workout and a great way to connect with your dough. Just follow the instructions for hand kneading in Step 4, ensuring you knead for the full 8-10 minutes until the dough is smooth and elastic.
Congratulations, Baker!
You’ve done it! You’ve successfully baked your very own Ancient Grain Bread. Take a moment to savor the incredible aroma and the knowledge that you created something truly delicious and wholesome from scratch. Baking bread is a journey, and every loaf teaches you something new. Don’t worry if your first loaf isn’t “perfect”—it will still be delicious, and each attempt makes you a more confident baker.
We hope this easy baking recipe and these baking tips for beginners have empowered you to embrace the joy of homemade bread. Share your creations with friends and family, and most importantly, enjoy every single bite. Happy baking!
2 thoughts on “Ancient Grain Bread Recipe – Your Baking Companion”