(Please note: This is a simulated blog post for demonstration purposes. Nutritional information is an estimate and may vary. Amazon links are generic search links and not specific product recommendations.)
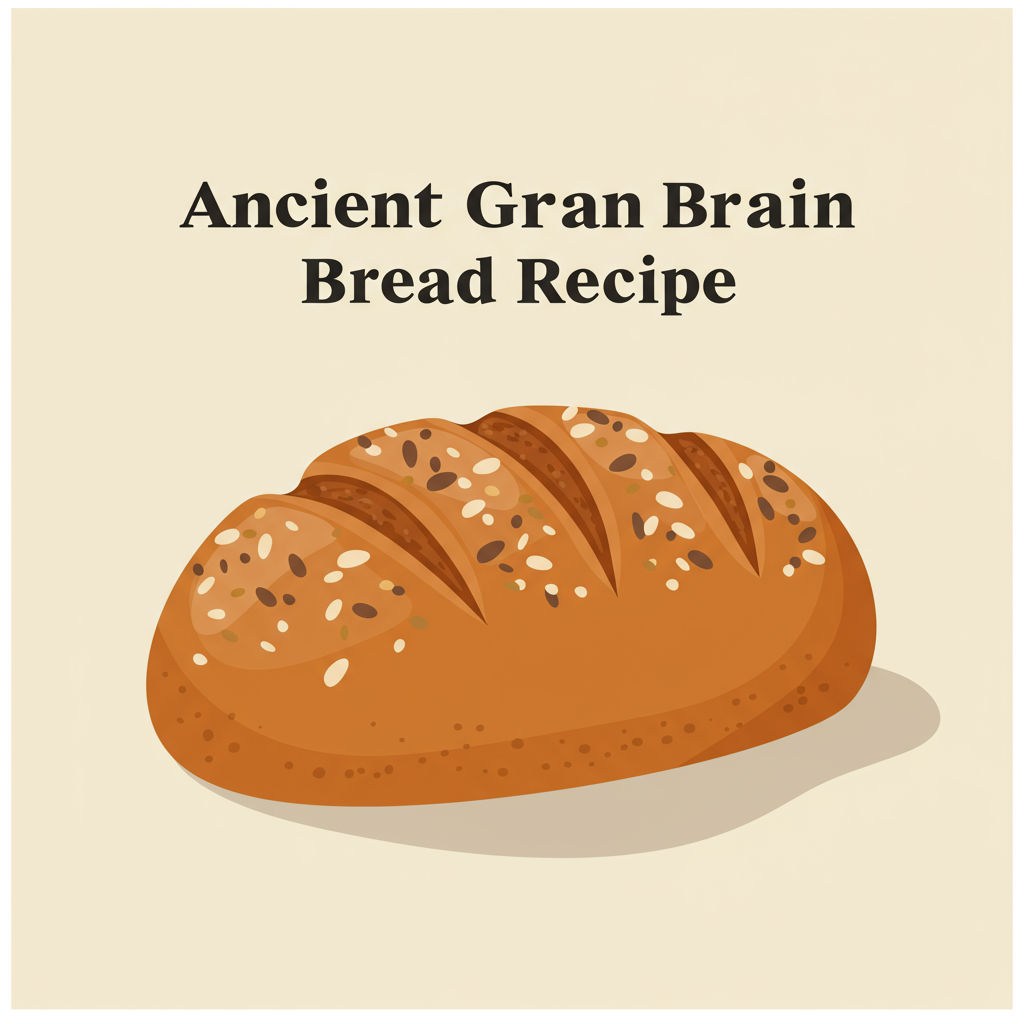
Bake Your First Loaf: An Easy Ancient Grain Bread Recipe for Beginners!
Introduction to Your Ancient Grain Bread Journey
Welcome, aspiring bakers! Are you ready to embark on a wonderfully rewarding journey into the world of homemade bread? There’s nothing quite like the aroma of freshly baked bread filling your kitchen, and with this **Ancient Grain Bread Recipe**, you’re about to experience just that. Don’t let the thought of baking bread intimidate you; this guide is crafted specifically to be one of the most **easy baking recipes** you’ll ever try, packed with helpful **baking tips for beginners** at every step. We’ll demystify the process, from activating yeast to achieving that perfect golden crust, ensuring your first loaf is a resounding success. Get ready to impress yourself and your loved ones with a wholesome, delicious, and incredibly satisfying ancient grain bread!
Ingredients List
Here’s everything you’ll need to create your delicious ancient grain bread. We’ve chosen a blend that’s both nutritious and easy to work with for beginners.
| Quantity | Unit | Ingredient |
|---|---|---|
| 1 ½ | cups | Warm Water (105-115°F / 40-46°C) |
| 2 ¼ | teaspoons | Active Dry Yeast (one standard packet) |
| 1 | tablespoon | Honey or Maple Syrup |
| 1 | teaspoon | Salt |
| 2 | tablespoons | Olive Oil (plus extra for bowl) |
| 1 ½ | cups | All-Purpose Flour (for structure) |
| 1 ½ | cups | Ancient Grain Flour Blend (e.g., Spelt, Einkorn, or a blend of Whole Wheat & Oat Flour) |
| ¼ | cup | Optional: Mixed Seeds (chia, flax, sunflower, pumpkin) for topping or mixing in |
Step-by-Step Instructions: Baking Your First Loaf
Follow these steps carefully, and you’ll be enjoying your homemade ancient grain bread in no time!
-
Activate the Yeast (The First Step to Success!)
In a large mixing bowl, combine the **warm water** (make sure it’s not too hot, or it will kill the yeast; if it’s too cold, the yeast won’t activate!) and the **honey or maple syrup**. Sprinkle the **active dry yeast** over the top. Give it a gentle stir. Let it sit for 5-10 minutes. You should see a foamy, bubbly layer form on top – this means your yeast is active and ready to work its magic! If it doesn’t foam, your water might have been too hot or too cold, or your yeast might be expired. Start again with fresh yeast and check your water temperature.
Beginner Tip: A kitchen thermometer is your best friend here! Aim for the temperature of a warm bath.
-
Mix the Dry Ingredients
In a separate medium bowl, whisk together the **all-purpose flour**, **ancient grain flour blend**, and **salt**. Whisking helps to distribute the salt evenly and aerate the flour, which can lead to a lighter loaf. If adding seeds to the dough, stir them in now.
-
Combine Wet and Dry
Once your yeast is frothy, add the **olive oil** to the yeast mixture. Gradually add the dry flour mixture to the wet ingredients, stirring with a wooden spoon or a sturdy spatula. Mix until a shaggy, sticky dough forms. Don’t worry if it looks messy; that’s perfectly normal at this stage!
-
Knead the Dough (The Heart of Bread Making!)
Turn the dough out onto a lightly floured surface (your kitchen counter works great!). Knead the dough for about 8-10 minutes.
- How to Knead: Push the dough away from you with the heels of your hands, fold it back towards you, rotate it a quarter turn, and repeat. It might be sticky at first, but resist the urge to add too much extra flour, which can make your bread tough. A little flour for dusting is fine.
- What you’re looking for: As you knead, the dough will become smoother, more elastic, and less sticky. It should spring back slowly when you gently poke it with a finger. A good test is the “windowpane test”: tear off a small piece of dough and gently stretch it. If you can stretch it thin enough to see light through it without tearing, you’ve kneaded enough!
- Common Mistake: Not kneading enough! This leads to dense bread. Keep going until it’s smooth and elastic.
-
First Rise (Proofing Time!)
Lightly grease a large bowl with olive oil. Place your kneaded dough into the bowl, turning it once to coat the top with oil. This prevents it from drying out. Cover the bowl tightly with plastic wrap or a damp kitchen towel.
Place the bowl in a warm, draft-free spot. A slightly warm oven (turned off, but perhaps preheated to its lowest setting for a few minutes then turned off) or simply a warm spot on your counter works well. Let the dough rise for 1 to 1.5 hours, or until it has doubled in size. This is called the **first proof**.
Beginner Tip: Patience is key! Don’t rush this step. If your kitchen is cool, it might take a bit longer.
-
Punch Down and Shape the Loaf
Once the dough has doubled, gently “punch it down” to release the air. Turn the dough out onto a lightly floured surface. Gently shape it into a rectangular or oval loaf that will fit into your loaf pan. Try to create some surface tension by gently pulling the dough towards you to create a smooth top.
-
Second Rise (Final Proof)
Lightly grease a 9×5 inch loaf pan. Place the shaped dough into the prepared pan. Cover it again with plastic wrap or a damp towel and let it rise in a warm, draft-free spot for another 30-45 minutes, or until it has nearly doubled in size and looks puffy. This is the **second proof**.
Alternative: For a rustic round loaf, you can proof it on a parchment-lined baking sheet or in a floured proofing basket (banneton).
-
Preheat Oven and Prepare for Baking
About 15-20 minutes before the end of the second rise, preheat your oven to **375°F (190°C)**. If you like, you can sprinkle additional seeds on top of the loaf just before baking for extra crunch and visual appeal.
Optional: Scoring! For a professional look and to help the bread expand evenly, you can use a very sharp knife or a bread lame to make 2-3 shallow cuts (about ½ inch deep) across the top of the loaf.
-
Bake Your Beautiful Bread!
Place the loaf pan in the preheated oven. Bake for 30-40 minutes, or until the crust is golden brown and the internal temperature of the bread reaches **200-210°F (93-99°C)** when measured with an instant-read thermometer. If the top is browning too quickly, you can loosely tent it with aluminum foil.
-
Cool Completely (This is Crucial!)
Once baked, immediately remove the bread from the loaf pan and transfer it to a wire cooling rack. Allow it to cool completely for at least 1-2 hours before slicing. This step is incredibly important! Slicing hot bread can make it gummy and compromise its texture. Resist the urge, we promise it’s worth the wait!
Tips & Tricks for Beginner Bread Bakers
Baking bread is a craft, and these little insights can make a big difference for your first few loaves:
- Measure Accurately: Especially with flour. Use a kitchen scale for the most precise measurements, but if using measuring cups, spoon flour into the cup and level it off with a straight edge rather than scooping directly from the bag (which compacts it).
- Yeast Temperature is Key: As mentioned, 105-115°F (40-46°C) is ideal. Too cold, yeast is sluggish; too hot, yeast dies.
- The Warm, Draft-Free Spot: For proofing, a slightly warm oven (turned off!), a sunny spot, or even placing the bowl near a warm appliance can help. Drafts can hinder the yeast’s activity.
- Don’t Over-Flour: When kneading, it’s tempting to add a lot of flour to combat stickiness. A little is fine, but too much will make your bread dry and dense. Trust the process; the dough becomes less sticky as gluten develops.
- Listen to Your Dough: The visual cues (doubling in size) are more important than exact timing for proofing. Adapt to your kitchen’s environment.
- Cool Completely: We can’t stress this enough! The bread continues to cook and set as it cools. Slicing too early results in a gummy texture.
- Experiment with Flours: Once you’re comfortable, try different ancient grain blends. Spelt, einkorn, and whole wheat each offer unique flavors and textures.
Essential Baking Tools
Having the right tools makes baking easier and more enjoyable. Here are some basics:
- Mixing Bowl
- Whisk
- Baking Pan (specifically a 9×5 inch loaf pan for this recipe)
- Measuring Cups & Measuring Spoons
- Spatula (a sturdy rubber or silicone one)
- Optional but Recommended: Kitchen Scale, Instant-Read Thermometer, Bench Scraper
Nutrition Information (Estimated per slice)
This information is an estimate based on approximately 12 slices per loaf and typical ingredient values. Actual nutrition may vary.
| Nutrient | Amount |
|---|---|
| Calories | 180-200 kcal |
| Carbohydrates | 35-40 g |
| Protein | 6-8 g |
| Fat | 3-4 g |
| Fiber | 4-5 g |
| Sugar | 2-3 g |
Frequently Asked Questions (FAQs)
Q1: My yeast didn’t foam. What went wrong?
A1: The most common reasons are water temperature being too hot (killing the yeast) or too cold (not activating it), or expired yeast. Always check the expiration date and use a thermometer for water temperature.
Q2: Can I use different types of ancient grain flour?
A2: Absolutely! This recipe uses a blend, but you can experiment with 100% spelt, einkorn, or kamut flour once you’re comfortable. Keep in mind that different flours absorb water differently, so you might need to adjust the water slightly.
Q3: My bread didn’t rise much. What could be the problem?
A3: This often points back to the yeast (inactive or dead) or the proofing environment (too cold or drafty). Ensure your yeast is fresh, water temperature is correct, and your dough is in a warm, draft-free spot for rising.
Q4: How do I store homemade ancient grain bread?
A4: Store your bread at room temperature in an airtight container, a bread box, or wrapped in a clean kitchen towel inside a plastic bag. It’s best enjoyed within 3-4 days. For longer storage, you can slice and freeze it for up to 3 months.
Q5: Can I add nuts or dried fruit to this recipe?
A5: Yes! Feel free to mix in about ½ cup of chopped nuts (like walnuts or pecans) or dried fruit (like cranberries or raisins) along with the dry ingredients. This adds wonderful flavor and texture.
Conclusion
Congratulations, you’ve reached the end of your first **Ancient Grain Bread Recipe** journey! We hope this detailed, beginner-friendly guide has given you the confidence and knowledge to bake a truly amazing loaf. Remember, baking is a skill that improves with practice, so don’t be discouraged if your first attempt isn’t perfect. Every loaf you bake teaches you something new. Enjoy the process, savor the incredible aroma, and most importantly, delight in the taste of your homemade, wholesome ancient grain bread. Happy baking!
“`