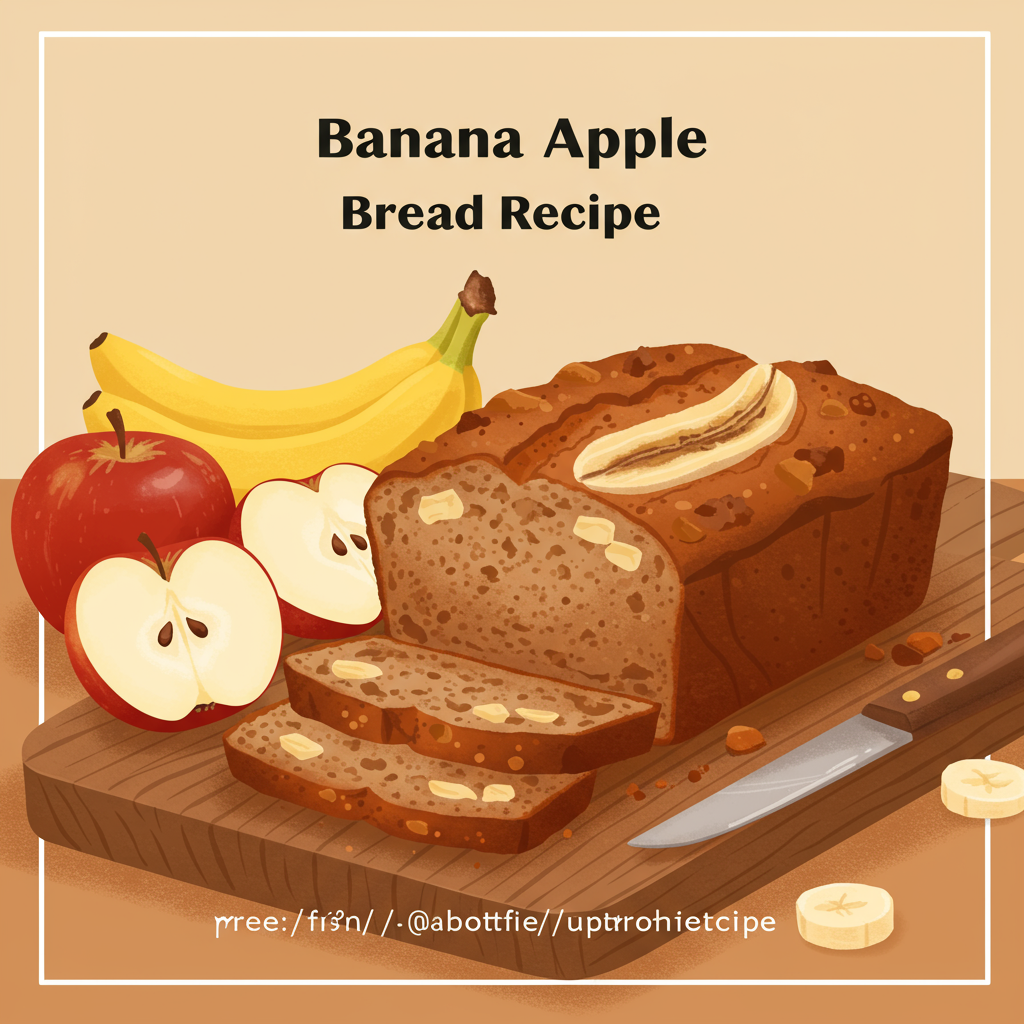
Hello, fellow baking enthusiasts (and soon-to-be enthusiasts)! Are you ready to dive into the wonderful world of home baking with a recipe that’s as comforting as a warm hug? Today, we’re making the most delightful Banana Apple Bread Recipe! This isn’t just any bread; it’s a perfect blend of sweet, ripe bananas and tender, juicy apples, creating a moist, flavorful loaf that’s absolutely irresistible. If you’ve been searching for easy baking recipes that deliver big on taste without the complicated steps, you’ve found your match.
This post is specifically designed with baking tips for beginners in mind. We’ll walk through every single step together, ensuring your first (or fiftieth!) loaf turns out perfectly. Forget about dry, crumbly bread – we’re aiming for a moist, tender crumb every single time. So, tie on your apron, gather your ingredients, and let’s turn those ripe bananas and crisp apples into a homemade masterpiece that will fill your kitchen with incredible aromas!
Gather Your Ingredients: What You’ll Need
Before we begin our baking journey, let’s make sure you have all the necessary components. Using precise measurements is one of the most crucial baking tips for beginners, so grab your measuring cups and spoons!
Dry Ingredients:
| Ingredient | Quantity |
|---|---|
| All-purpose flour | 1 ¾ cups (210g) |
| Baking soda | 1 teaspoon |
| Ground cinnamon | ½ teaspoon |
| Salt | ½ teaspoon |
Wet Ingredients & Add-ins:
| Ingredient | Quantity |
|---|---|
| Very ripe bananas, mashed | 3 large (about 1 ½ cups) |
| Granulated sugar | ½ cup (100g) |
| Light brown sugar, packed | ¼ cup (50g) |
| Large egg, at room temperature | 1 |
| Unsalted butter, melted and cooled slightly | ⅓ cup (75g) |
| Vanilla extract | 1 teaspoon |
| Apple, peeled, cored, and finely diced | 1 medium (e.g., Gala, Fuji, Honeycrisp) |
| Chopped walnuts or pecans (optional) | ½ cup |
Step-by-Step Instructions: Bake Your Way to Perfection!
Follow these detailed steps carefully. Remember, baking is a science, and precision leads to delicious results! Don’t rush, and enjoy the process!
-
1. Prepare Your Oven & Pan: The Foundation of Good Baking
Preheat your oven to 350°F (175°C). This is crucial for even baking – placing batter into a cold oven can affect how your bread rises. While it’s preheating, prepare your 9×5 inch loaf pan. Lightly grease it with butter or cooking spray, then dust it with a little flour. Tap out any excess flour. This creates a non-stick surface, ensuring your bread comes out beautifully without sticking. Beginner Tip: You can also line the pan with parchment paper, leaving an overhang on the long sides, to easily lift the bread out after baking. This is a foolproof method for easy removal!
-
2. Mash Those Bananas: The Key to Moisture
In a medium bowl, mash your very ripe bananas with a fork until mostly smooth but with a few small lumps remaining. The spottier the bananas, the better! Those brown and black spots mean they’re full of natural sugars and moisture, which is exactly what we want for a sweet, tender bread. Aim for about 1 ½ cups of mashed banana. A potato masher works great for this step too!
-
3. Combine Wet Ingredients: Building Flavor
To the mashed bananas, add the granulated sugar, light brown sugar, egg, melted butter, and vanilla extract. Whisk these ingredients together well until they are fully combined and look smooth. The brown sugar adds a lovely caramel note and extra moisture to your bread. Beginner Tip: Make sure your melted butter has cooled slightly before adding it to the egg mixture, so you don’t accidentally cook the egg! Just let it sit for 5-10 minutes after melting.
-
4. Whisk Dry Ingredients: Even Distribution is Key
In a separate, large bowl, whisk together the all-purpose flour, baking soda, ground cinnamon, and salt. Whisking dry ingredients together ensures that the leavening agent (baking soda) and spices are evenly distributed throughout the flour, preventing pockets of unmixed ingredients and ensuring your bread rises evenly. Beginner Tip for Measuring Flour: Don’t scoop flour directly with your measuring cup! This compacts the flour, leading to too much flour and a dry, dense bread. Instead, use a spoon to lightly spoon the flour into the measuring cup, then level it off with the back of a knife or a straight edge.
-
5. Combine Wet and Dry: The Gentle Touch
Pour the wet banana mixture into the bowl with the dry ingredients. Using a spatula or wooden spoon, gently fold the ingredients together until *just combined*. It’s okay if there are a few streaks of flour visible – do not overmix! Overmixing develops the gluten in the flour too much, resulting in a tough, chewy, and dry bread instead of a moist, tender one. This is one of the most important baking tips for beginners for quick breads. Stop mixing as soon as you no longer see large patches of dry flour.
-
6. Fold in Apples & Optional Add-ins: A Burst of Freshness
Gently fold in your finely diced apple pieces. If you’re using chopped walnuts or pecans (or even chocolate chips!), add them now too. Distribute them evenly throughout the batter with a few gentle folds. Beginner Tip: Dicing the apple finely ensures that they cook through nicely and are soft within the bread, rather than crunchy. About ¼-inch pieces are ideal.
-
7. Bake Your Bread: The Waiting Game
Pour the batter into your prepared loaf pan and smooth the top with your spatula. Place the pan in the preheated oven. Bake for approximately 55-70 minutes. Baking times can vary depending on your oven (some run hotter or cooler than others), so keep an eye on it! The bread should be golden brown on top. If it starts to brown too quickly, you can loosely tent it with aluminum foil.
-
8. Check for Doneness: The Toothpick Test
To check if your bread is done, insert a wooden skewer or a toothpick into the very center of the loaf. If it comes out clean or with a few moist crumbs attached (no wet batter), your bread is ready! If it comes out with wet batter, return it to the oven for another 5-10 minutes and test again. Common Mistake: Pulling the bread out too early can result in a gooey, uncooked center. Don’t be shy about testing in a few spots.
-
9. Cool & Serve: The Final Step to Deliciousness
Once baked, remove the loaf pan from the oven and let the bread cool in the pan for about 10-15 minutes. This crucial step allows the bread to set and prevents it from falling apart when you remove it. After 10-15 minutes, carefully invert the pan onto a wire rack and lift the bread out. Let it cool completely on the wire rack before slicing. Slicing warm bread can be tempting, but it can cause it to crumble. Patience will be rewarded with perfect slices! Enjoy with butter, cream cheese, or just as is!
Expert Tips & Tricks for the Best Banana Apple Bread
Mastering a recipe involves more than just following steps. Here are some extra baking tips for beginners to elevate your Banana Apple Bread to legendary status:
- The Power of Ripe Bananas: We can’t stress this enough! The riper your bananas, the sweeter and more flavorful your bread will be. Don’t throw out those black-spotted bananas; they’re gold for this recipe! If your bananas aren’t quite ripe enough, you can speed up the process by baking them unpeeled on a baking sheet at 300°F (150°C) for 15-30 minutes until their skins turn black. Let them cool before mashing.
- Avoid Overmixing: This is a golden rule in quick bread baking. Overmixing develops gluten, which leads to a tough, dry texture. Mix only until the dry ingredients are just incorporated into the wet. A few lumps are perfectly fine and even desirable in quick breads!
- Room Temperature Ingredients: Using a room temperature egg and slightly cooled melted butter ensures that all ingredients combine smoothly into an emulsified batter. This leads to a more uniform and tender crumb. If your egg is cold, place it in a bowl of warm water for 5-10 minutes before using.
- Choosing Your Apples: Firmer, tart-sweet apples like Gala, Fuji, Honeycrisp, Granny Smith, or Pink Lady work best here. They hold their shape well and provide a nice contrast to the sweet banana. Avoid very soft, mealy apples that might turn to mush.
- Customize Your Loaf: Feel free to get creative! Add an extra ½ cup of chocolate chips for a sweeter treat, or swap walnuts for pecans. A sprinkle of streusel topping (a mixture of butter, flour, brown sugar, and cinnamon) before baking can also add a delightful crunch and extra flavor. Dried cranberries or raisins are also great additions.
- Proper Storage for Freshness: Once completely cooled, store your banana apple bread tightly wrapped in plastic wrap or in an airtight container at room temperature for up to 3-4 days. For longer storage, slice the cooled bread and freeze individual slices for up to 3 months. Thaw at room temperature or gently warm in the microwave or toaster oven for a quick treat.
- Don’t Open the Oven Door Too Early: Resist the urge to peek during the first 30-40 minutes of baking. Opening the door too soon can cause the bread to sink in the middle due to sudden temperature changes.
Essential Baking Tools for Your Kitchen
Having the right tools makes baking much easier and more enjoyable. Here are a few essentials you’ll need for this Banana Apple Bread Recipe (and many other easy baking recipes!):
- Mixing Bowl – You’ll need at least two: one for wet ingredients, one for dry.
- Whisk – Essential for combining dry ingredients and smoothing out wet ones.
- Baking Pan – A 9×5 inch loaf pan is perfect for this recipe.
1 thought on “Banana Apple Bread Recipe – Delight Every Bite”