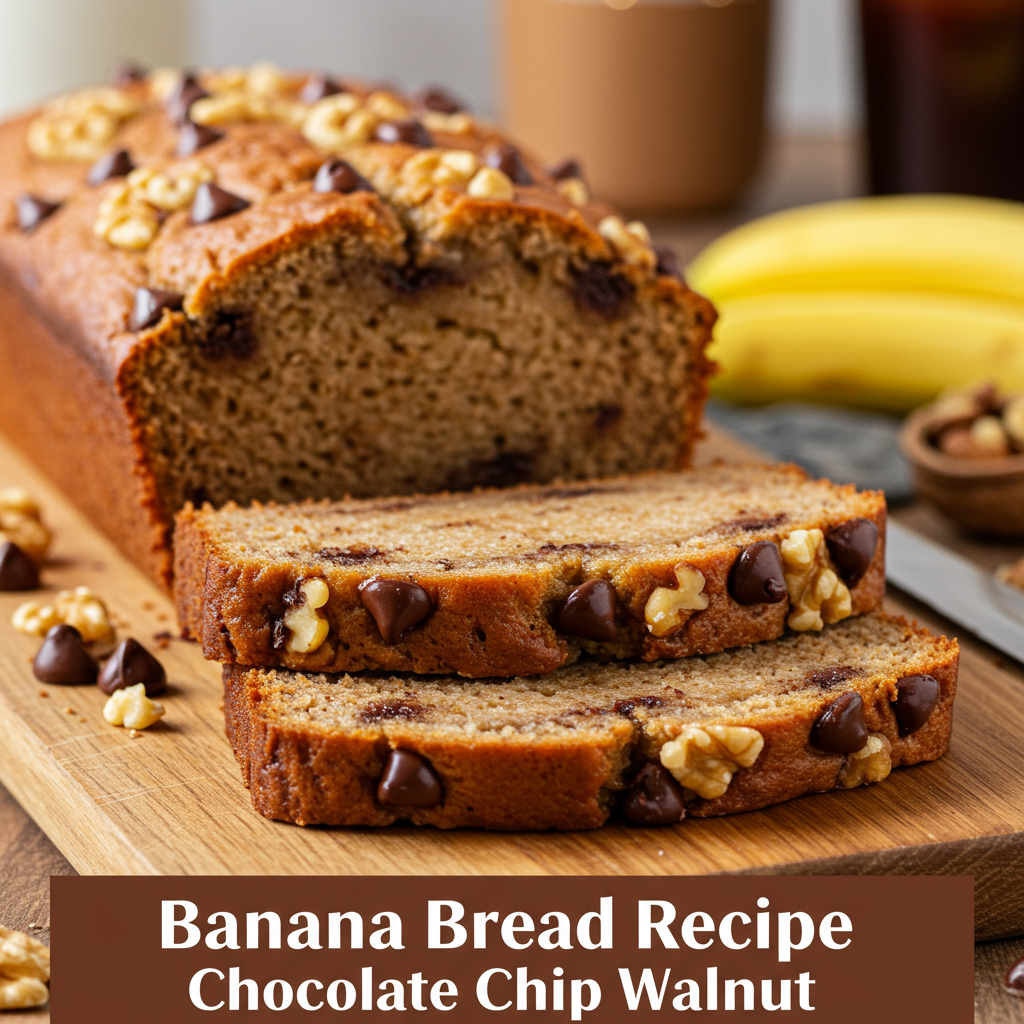
There’s nothing quite like the comforting aroma of freshly baked banana bread wafting through your home. It’s a classic for a reason – incredibly moist, wonderfully sweet, and utterly satisfying. If you’ve been searching for the perfect Banana Bread Recipe Chocolate Chip Walnut that’s not just delicious but also incredibly approachable for new bakers, you’ve found it! This recipe is one of those easy baking recipes that will quickly become a staple in your kitchen. We’ll walk you through every step, providing essential baking tips for beginners to ensure your first (or fiftieth!) loaf turns out perfectly golden, tender, and packed with irresistible chocolate chips and crunchy walnuts. Get ready to impress yourself and everyone lucky enough to grab a slice!
Gather Your Ingredients
Before we dive into the baking magic, let’s make sure you have all your ingredients ready. Using room temperature ingredients is a little secret for a smoother, more uniform batter!
| Ingredient | Quantity | Unit |
|---|---|---|
| All-purpose flour | 1.5 | cups |
| Granulated sugar | 0.5 | cup |
| Baking soda | 1 | teaspoon |
| Salt | 0.5 | teaspoon |
| Large eggs (room temperature) | 2 | large |
| Unsalted butter (melted and cooled) | 0.5 | cup |
| Vanilla extract | 1 | teaspoon |
| Very ripe bananas (mashed) | 3 | medium |
| Semi-sweet chocolate chips | 0.5 | cup |
| Chopped walnuts | 0.5 | cup |
Step-by-Step Baking Instructions

Follow these detailed steps carefully, and you’ll be enjoying warm, homemade banana bread in no time!
Step 1: Preheat and Prep
First things first, let’s get your oven ready. Preheat your oven to 350°F (175°C). Then, prepare a 9×5-inch loaf pan. You can either spray it with non-stick baking spray or grease it with butter and lightly flour it. This prevents your delicious banana bread from sticking and makes for easy removal later. A little parchment paper sling (leaving an overhang on the sides) can also work wonders for lifting the loaf out!
Step 2: Mash Your Bananas
Grab those very ripe bananas – you know, the ones with lots of brown spots? They’re perfect because they’re sweeter and easier to mash. In a medium bowl, use a fork or a potato masher to mash the bananas until mostly smooth with a few small lumps remaining. Don’t worry about getting them perfectly smooth; some chunks add nice texture. Set aside.
Step 3: Combine the Wet Ingredients
In a large mixing bowl, pour in your cooled melted butter. Add the granulated sugar and whisk them together until well combined. Next, crack in your two large eggs, one at a time, whisking well after each addition until the mixture is light yellow and fluffy. Stir in the vanilla extract and your mashed bananas until everything is just combined. The key here is to incorporate everything without overmixing.
Beginner Tip: Ensure your butter is *cooled* after melting. If it’s too hot, it can scramble the eggs when added, which we definitely don’t want!
Step 4: Whisk the Dry Ingredients
In a separate medium bowl, combine the all-purpose flour, baking soda, and salt. Use a whisk to gently mix them together. Whisking ensures that the baking soda and salt are evenly distributed throughout the flour, which is crucial for even rising and seasoning of your bread.
Step 5: Marry Wet and Dry
Now, it’s time to bring the two mixtures together. Pour the dry ingredients into the wet ingredients. With a spatula or a wooden spoon, mix gently until just combined. This is perhaps the most important step for tender banana bread! Do NOT overmix! Overmixing develops the gluten in the flour too much, leading to a tough, dense, and chewy bread instead of a soft, moist one. A few streaks of flour are perfectly fine – they will disappear during baking.
Step 6: Fold in the Goodies
Once your batter is just combined, gently fold in the semi-sweet chocolate chips and chopped walnuts. Again, use a light hand to avoid overmixing. You want these delightful additions distributed throughout your bread, adding bursts of flavor and crunch in every bite.
Step 7: Bake to Perfection
Pour your beautiful batter into the prepared loaf pan, spreading it evenly. Place the pan in your preheated oven. Bake for 55-65 minutes. Baking times can vary slightly depending on your oven, so keep an eye on it. The banana bread is done when a wooden skewer or toothpick inserted into the center comes out clean or with a few moist crumbs attached (no wet batter!). The top should be a beautiful golden-brown color and might have a few cracks.
Common Mistake & Fix: If the top starts to brown too quickly but the inside isn’t done, you can loosely tent the top with aluminum foil for the remaining baking time.
Step 8: Cool and Enjoy!
Once baked, remove the loaf pan from the oven. Let the banana bread cool in the pan for about 10-15 minutes on a wire rack. This allows it to set up properly and makes it easier to remove. After 10-15 minutes, carefully lift the bread out of the pan (if you used parchment paper) or invert it onto the wire rack to cool completely. Slicing it while warm is tempting, but a fully cooled loaf will slice more cleanly and taste even better as the flavors meld. Enjoy!
Baking Tips & Tricks for the Best Banana Bread
Mastering banana bread is easy with a few extra pointers:

- The Riper, The Better: Don’t underestimate the power of very ripe (brown-spotted) bananas. They are much sweeter and provide more moisture, leading to a more flavorful and tender loaf. If your bananas aren’t quite ripe enough, you can speed up the process by baking them unpeeled on a baking sheet at 300°F (150°C) for 15-30 minutes until their skins are black and shiny.
- Don’t Overmix: We can’t stress this enough! Overmixing develops gluten, which makes your bread tough. Mix until just combined – a few lumps are okay.
- Room Temperature Ingredients: Using room temperature eggs and melted-but-cooled butter helps create a smoother, more emulsified batter, resulting in a finer crumb and better texture.
- The Toothpick Test: This is your best friend for checking doneness. Insert a toothpick into the very center of the loaf. If it comes out clean or with moist crumbs, it’s done. If it comes out with wet batter, it needs more time.
- Cool Completely: While warm banana bread is divine, letting it cool completely on a wire rack improves its texture and makes for cleaner slices. It also allows the flavors to fully develop.
- Get Creative with Add-ins: Feel free to swap out or add other ingredients! Try cinnamon, nutmeg, shredded coconut, pecans, dried cranberries, or a swirl of cream cheese.
- Storage: Store leftover banana bread tightly wrapped in plastic wrap or in an airtight container at room temperature for up to 3-4 days, or in the refrigerator for up to a week. For longer storage, slice and freeze individual pieces for up to 3 months.
Essential Baking Tools
Having the right tools makes baking a breeze! Here are a few essentials you’ll need for this recipe:
- Mixing Bowl Set
- Whisk
- 9×5 Inch Loaf Baking Pan
- Measuring Cups and Spoons
- Rubber Spatula
- Wire Cooling Rack
Nutrition Information (Approximate)
Here’s an estimated nutritional breakdown per slice (assuming 12 slices per loaf). Please note these are approximate values and can vary based on exact ingredients and portion sizes.
| Nutrient | Amount (per slice) |
|---|---|
| Calories | 320 |
| Carbohydrates | 45g |
| Protein | 5g |
| Fat | 18g |
| Fiber | 2g |
| Sugar | 28g |
Frequently Asked Questions for Beginner Bakers
Got questions? We’ve got answers to help you bake with confidence!
Q: What if my bananas aren’t ripe enough?
A: While very ripe bananas are best, you can ripen them quickly! Place unpeeled bananas on a baking sheet and bake at 300°F (150°C) for 15-30 minutes until their skins are shiny black. Let them cool, then peel and mash. Alternatively, place them in a paper bag with an apple overnight to speed up ripening.
Q: Why is my banana bread tough or dry?
A: The most common culprit for tough banana bread is **overmixing the batter**. Once you add the dry ingredients to the wet, mix only until the flour streaks disappear – no more! Dry bread can also be a sign of **overbaking**. Always use the toothpick test to ensure it’s cooked just right, and consider investing in an oven thermometer to verify your oven’s accuracy.
Q: Can I make this recipe without chocolate chips or walnuts?
A: Absolutely! This recipe is incredibly versatile. You can omit either or both, or substitute them with other add-ins like pecans, shredded coconut, dried cranberries, or even a sprinkle of cinnamon for a different flavor profile.
Q: How should I store leftover banana bread?
A: Store your banana bread at room temperature, tightly wrapped in plastic wrap or in an airtight container, for up to 3-4 days. For longer storage, it can be refrigerated for up to a week. For the best long-term storage, slice the loaf and freeze individual pieces in an airtight freezer bag for up to 3 months. Thaw at room temperature or gently warm in the microwave.
Q: Can I use whole wheat flour instead of all-purpose flour?
A: You can, but it will change the texture and density of the bread. Whole wheat flour absorbs more liquid, so you might need to add a tablespoon or two of milk or extra mashed banana to maintain moisture. For beginners, we recommend sticking with all-purpose flour for the best results, or trying a 50/50 blend of whole wheat and all-purpose.
Q: My banana bread sinks in the middle. What went wrong?
A: This can happen for a few reasons: the batter might be overmixed, the leavening agent (baking soda) might be old/expired, the oven temperature might be too low, or you might have opened the oven door too early during baking, causing it to deflate. Ensure your baking soda is fresh and try to avoid opening the oven door until the last 15-20 minutes of baking.
Your Baking Adventure Awaits!
Congratulations, you’ve now got all the tools and knowledge to bake a truly spectacular **Banana Bread Recipe Chocolate Chip Walnut**! This isn’t just a recipe; it’s an invitation to create something truly comforting and delicious right in your own kitchen. Don’t be afraid to get a little messy, trust the process, and most importantly, have fun! We promise that the aroma alone will make all your efforts worthwhile. Enjoy your baking journey, and don’t forget to share your creations with friends and family. Happy baking!
2 thoughts on “Banana Bread Recipe Chocolate Chip Walnut – Baking Made Fun”