Gather Your Simple Ingredients
One of the best things about banana bread is that it uses common pantry staples. Here’s everything you’ll need to create your masterpiece. Remember, precise measurements are your friend in baking!
| Ingredient | Quantity | Unit |
|---|---|---|
| Very Ripe Bananas (about 3-4 medium) | 1 ½ | cups, mashed |
| All-Purpose Flour | 1 ½ | cups |
| Light Brown Sugar, packed | ¾ | cup |
| Unsalted Butter, melted | ½ | cup (1 stick) |
| Large Eggs | 2 | |
| Baking Soda | 1 | teaspoon |
| Salt | ½ | teaspoon |
| Vanilla Extract | 1 | teaspoon |
| Ground Cinnamon (optional, but recommended!) | ½ | teaspoon |
Step-by-Step Baking Instructions for Beginners
Follow these detailed steps carefully, and you’ll be enjoying warm, homemade banana bread in no time!
Step 1: Prep Your Oven and Pan
- Preheat your oven: Set your oven to 350°F (175°C). This ensures an even bake from the start.
- Prepare your loaf pan: Grease a 9×5 inch loaf pan with butter or cooking spray. For even easier removal, you can line it with parchment paper, leaving an overhang on the long sides to use as “handles.” This is a fantastic **baking tip for beginners** to prevent sticking!
Step 2: Mash Those Bananas!
- Choose your bananas wisely: The riper, the better! Look for bananas with lots of brown spots or even entirely brown peels. These are sweeter and easier to mash, giving your bread incredible flavor and moisture.
- Mash ’em up: In a medium bowl, mash the peeled bananas with a fork until mostly smooth, leaving a few small lumps for texture if you like. Aim for about 1 ½ cups of mashed banana.
Step 3: Combine the Wet Ingredients
- Melt the butter: In a large mixing bowl, melt the butter in the microwave or on the stovetop. Let it cool slightly for a minute or two.
- Add brown sugar: Stir the packed brown sugar into the melted butter until well combined. Brown sugar adds a deeper, molasses-rich flavor and helps keep the bread incredibly moist.
- Whisk in eggs and vanilla: Add the two large eggs and vanilla extract to the butter-sugar mixture. Whisk everything together until smooth and well incorporated. Beginner tip: Make sure your eggs are at room temperature if possible; they mix more evenly into the batter.
- Fold in mashed bananas: Gently fold the mashed bananas into your wet mixture.
Step 4: Prepare the Dry Ingredients
- Whisk together: In a separate medium bowl, whisk together the all-purpose flour, baking soda, salt, and optional ground cinnamon. Whisking ensures these ingredients are evenly distributed, which is crucial for a consistent rise and flavor.
Step 5: Combine Wet and Dry (Gently!)
- Add dry to wet: Pour the dry ingredient mixture into the wet ingredient mixture.
- Mix just until combined: Using a spatula or wooden spoon, mix everything together just until no streaks of dry flour remain. This is one of the most important **baking tips for beginners** for banana bread! Do not overmix! Overmixing develops the gluten in the flour too much, leading to a tough, dense, and chewy banana bread instead of a tender, moist one. A few small lumps of flour are perfectly fine.
- Optional add-ins: If you want to add chocolate chips, chopped nuts (like walnuts or pecans), or shredded coconut, fold them in gently now.
Step 6: Bake Your Banana Bread
- Pour into pan: Pour the batter evenly into your prepared 9×5 inch loaf pan.
- Bake time: Place the pan in the preheated oven and bake for 55-65 minutes.
- Check for doneness: The banana bread is ready when a wooden skewer or toothpick inserted into the center comes out clean or with just a few moist crumbs attached (no wet batter). If the top starts to brown too quickly, you can loosely tent it with aluminum foil for the last 10-15 minutes of baking.
Step 7: Cool and Enjoy!
- Cool in pan: Once baked, remove the loaf pan from the oven and let the banana bread cool in the pan for 10-15 minutes. This allows it to set up and makes it easier to remove without breaking.
- Transfer to wire rack: After 10-15 minutes, carefully invert the loaf onto a wire rack to cool completely. Cooling on a wire rack prevents the bottom from getting soggy.
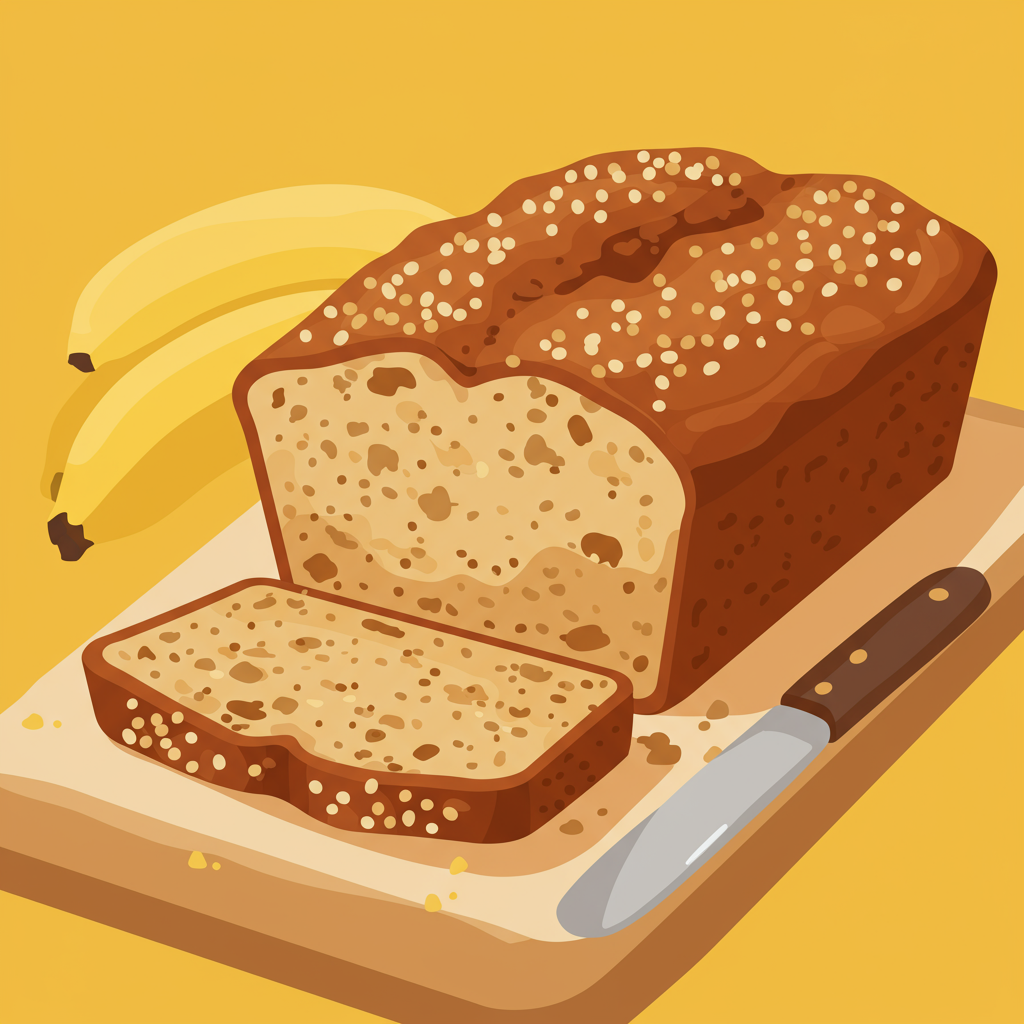
- Slice and serve: Slice your delicious banana bread with brown sugar and enjoy! It’s fantastic warm or at room temperature.
Pro Tips & Tricks for Perfect Banana Bread
Even though this is an easy recipe, these little nuggets of wisdom will elevate your banana bread from good to truly amazing!
- Embrace the Brown Spots: We can’t stress this enough – the browner your bananas, the better your banana bread will taste. They’re sweeter and more fragrant, adding incredible depth of flavor and moisture.
- Do NOT Overmix: This is the golden rule for tender banana bread. Mix your wet and dry ingredients just until combined. A few lumps of flour are okay! Overmixing develops gluten, leading to a tough, dense loaf.
- Room Temperature Ingredients: Especially for the eggs, using them at room temperature helps them incorporate more smoothly and evenly into the batter, creating a more consistent texture.
- Parchment Paper is Your Friend: Lining your loaf pan with parchment paper (leaving an overhang) makes removing the bread a breeze and guarantees no sticking. It’s a simple step that saves a lot of potential frustration.
- Test for Doneness Properly: A toothpick inserted into the center should come out clean or with a few moist crumbs. If it’s wet with batter, keep baking! If it comes out completely dry, you might be overbaking, which can lead to a drier loaf.
- Let it Cool: Resist the urge to slice into your warm bread immediately! Letting it cool in the pan and then on a wire rack allows the internal structure to set, preventing it from crumbling and ensuring a perfect slice.
- Customize Your Loaf: Feel free to add 1/2 to 1 cup of mix-ins like chocolate chips, chopped walnuts, pecans, or even shredded coconut for extra texture and flavor. Fold them in gently at the end of Step 5.
- Storage Secrets: Store your banana bread in an airtight container at room temperature for up to 3-4 days. For longer storage, wrap individual slices or the whole loaf tightly in plastic wrap and then foil, and freeze for up to 3 months. Thaw at room temperature.
Essential Baking Tools You’ll Need
You don’t need a fancy kitchen to make amazing banana bread, but having these basic tools will make the process much smoother. Click the links to find them on Amazon!
- Mixing Bowl (You’ll need at least two: one large, one medium)
- Whisk (For combining dry ingredients and wet ingredients)
- 9×5 Inch Loaf Pan (The star of the show!)
- Measuring Cups (For flour, sugar, and mashed bananas)
- Measuring Spoons (For baking soda, salt, vanilla, cinnamon)
- Rubber Spatula or Wooden Spoon (For mixing the batter gently)
- Wire Cooling Rack (Crucial for even cooling)
Nutrition Information (Estimated Per Slice)
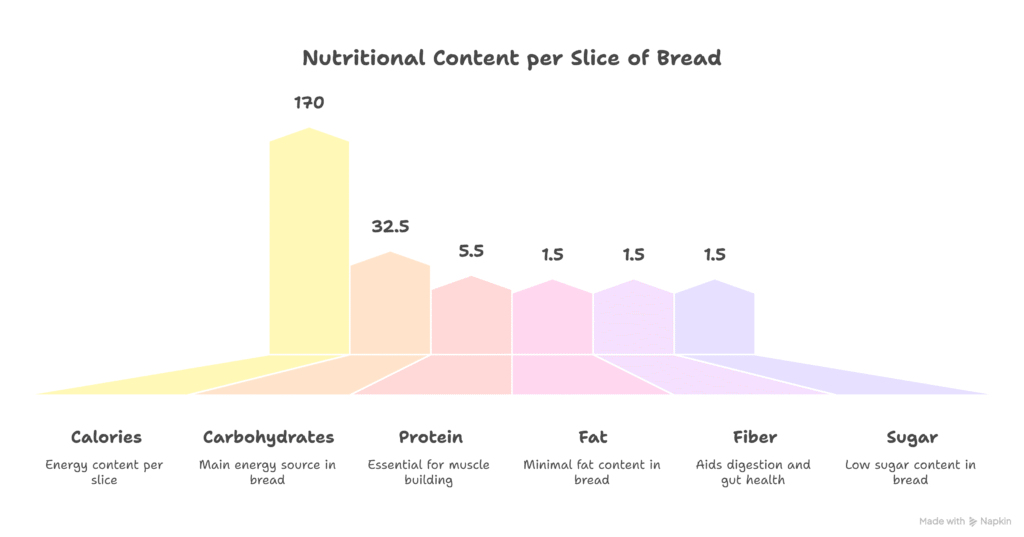
While homemade banana bread is a treat, it’s good to have an idea of the nutritional breakdown. Please note, these are estimates and can vary based on exact ingredient brands and quantities. This calculation assumes approximately 12 slices per loaf without any added mix-ins.
| Nutrient | Amount (per slice) |
|---|---|
| Calories | 280-320 kcal |
| Carbohydrates | 45-50 g |
| Protein | 4-5 g |
| Fat | 10-12 g |
| Fiber | 2-3 g |
| Sugar | 25-30 g |
*Disclaimer: Nutritional information is an estimate based on standard ingredients and preparation. Actual values may vary.
Frequently Asked Questions for Beginner Bakers
Don’t worry, everyone has questions when they’re starting out. Here are some common ones about baking banana bread!
Q1: How ripe should my bananas really be for this recipe?
A: For the best flavor and moisture, your bananas should be very ripe. This means their peels should be heavily spotted with brown or even mostly black. The riper they are, the sweeter and softer they become, making them easier to mash and lending a superior taste to your banana bread. Green or yellow bananas won’t give you the same results.
Q2: Can I use granulated sugar instead of brown sugar?
A: Yes, you can substitute granulated sugar for brown sugar, but the results will be slightly different. Brown sugar adds a deeper, more caramel-like flavor and contributes significantly to the bread’s moist, tender texture due to its molasses content. Using only granulated sugar might result in a slightly less moist and less complexly flavored loaf. For this specific recipe, we highly recommend sticking with brown sugar for that signature richness!
Q3: My banana bread came out dense and heavy, what did I do wrong?
A: The most common culprit for dense banana bread is overmixing the batter. When you mix flour too much, you develop the gluten, which makes the bread tough and chewy instead of light and tender. Remember to mix only until the dry ingredients are just incorporated and no streaks of flour remain. Another reason could be using too much flour; always measure your flour correctly, preferably by weight if you have a kitchen scale, or by spooning it into a measuring cup and leveling off.
Q4: How do I store leftover banana bread to keep it fresh?
A: To keep your banana bread fresh, store it in an airtight container or wrap it tightly in plastic wrap at room temperature for up to 3-4 days. If you live in a very humid environment or want to keep it longer, you can store it in the refrigerator for up to a week, but it might dry out slightly. For long-term storage, banana bread freezes beautifully! Wrap individual slices or the whole loaf tightly in plastic wrap, then in aluminum foil, and freeze for up to 3 months. Thaw at room temperature or gently warm in the microwave.
Q5: Can I add other ingredients like nuts or chocolate chips?
A: Absolutely! Banana bread is wonderfully versatile. You can stir in ½ to 1 cup of your favorite mix-ins when you’re combining the wet and dry ingredients (at the end of Step 5). Popular choices include chopped walnuts, pecans, chocolate chips (milk, dark, or white), shredded coconut, or even a handful of dried cranberries. Just be sure to fold them in gently to avoid overmixing the batter!
Your Delicious Journey Starts Now!
Congratulations, future baker! You now have all the tools and knowledge to bake a truly incredible banana bread recipe with brown sugar. This isn’t just a recipe; it’s an invitation to experience the joy of creating something warm, comforting, and utterly delicious with your own hands. Don’t be afraid to get a little messy, trust the process, and most importantly, have fun! The aroma alone will make your efforts worthwhile, and that first bite of perfectly moist, sweet banana bread will be your delicious reward. So go ahead, grab those ripe bananas, and let the baking adventure begin. We can’t wait to hear how your first loaf turns out!
10 thoughts on “banana bread recipe with brown sugar – Easy Chocolate Delight”