Welcome, fellow baking enthusiasts (and future enthusiasts)! Are you ready to dive into one of the most comforting, delightful, and incredibly forgiving baking projects out there Today, we’re tackling the ultimate Banana Bread Recipe With Coconut Oil.
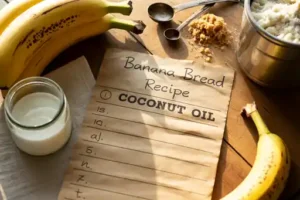
This isn’t just any banana bread; it’s a moist, flavorful, and incredibly easy version that even the most novice baker can master. If you’ve been searching for easy baking recipes to build your confidence in the kitchen, you’ve found your perfect match. We’ll walk through every step, providing all the essential baking tips for beginners to ensure your success. Get ready to transform those overripe bananas on your counter into a golden-brown loaf of pure joy, filling your home with an irresistible aroma!
Gather Your Ingredients
Before we begin our baking adventure, let’s make sure we have everything we need. Using good quality ingredients makes all the difference, and for this recipe, those super-ripe, spotty bananas are your secret weapon!
| Quantity | Unit | Ingredient |
|---|---|---|
| 2 | cups | All-purpose flour |
| 1 | teaspoon | Baking soda |
| ½ | teaspoon | Salt |
| 1 | teaspoon | Ground cinnamon (optional, but highly recommended!) |
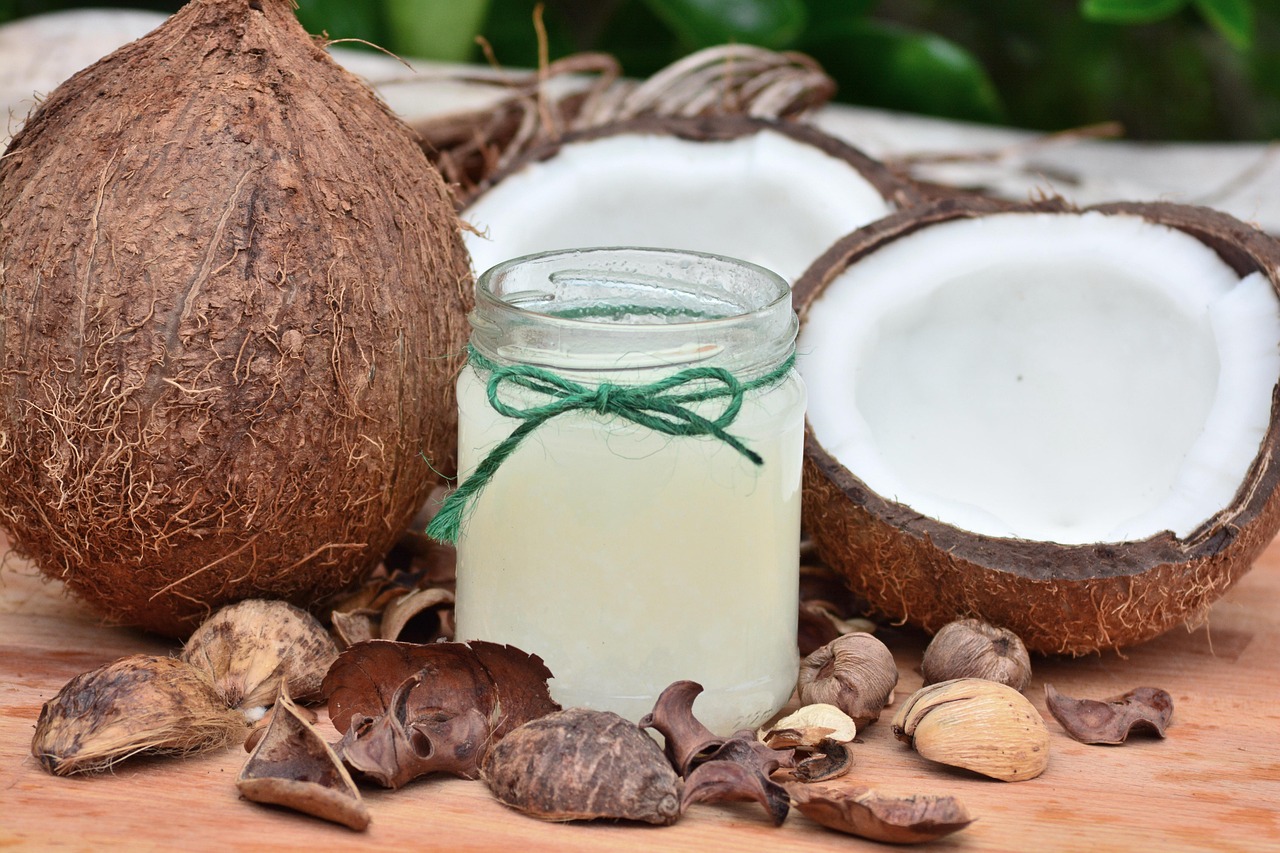
| ½ | cup | Virgin coconut oil, melted and slightly cooled |
| ¾ | cup | Granulated sugar (or ½ cup for less sweet) |
| 2 | large | Eggs, at room temperature |
| 1 | teaspoon | Vanilla extract |
| 3 | large | Very ripe bananas, mashed (about 1 ½ cups) |
| ½ | cup | Chocolate chips or chopped nuts (optional, for mix-ins) |
Step-by-Step Baking Instructions for Beginners
Follow these detailed steps, and you’ll be enjoying warm, homemade banana bread in no time. Don’t rush, and remember, baking is all about having fun!
Step 1: Preheat Your Oven & Prepare Your Pan
- Preheat your oven: Set your oven to 350°F (175°C). It’s crucial to preheat your oven completely before putting your batter in, as this ensures even baking and proper rising.
- Prepare your loaf pan: Take a 9×5 inch loaf pan. Grease it thoroughly with butter, coconut oil, or non-stick spray. Then, lightly “flour” the greased pan by sprinkling a tablespoon of flour inside, tilting and tapping the pan to coat all surfaces, and then tapping out any excess. This prevents your banana bread from sticking and makes for easy removal later. For extra insurance, you can also line the bottom with parchment paper, leaving an overhang on the sides to use as “handles.”
Step 2: Combine the Dry Ingredients
- In a large mixing bowl, whisk together the 2 cups of all-purpose flour, 1 teaspoon of baking soda, ½ teaspoon of salt, and (if using) 1 teaspoon of ground cinnamon.
- Beginner Tip: When measuring flour, spoon it into your measuring cup and then level it off with a straight edge (like the back of a knife). Don’t scoop directly from the bag, as this compacts the flour and can lead to a dry, dense loaf. Whisking helps to combine everything evenly and removes any lumps.
Step 3: Cream the Wet Ingredients
- In a separate, medium-sized bowl, pour in your ½ cup of melted and slightly cooled coconut oil. Add the ¾ cup of granulated sugar. Whisk them together until well combined.
- Add the eggs: Crack in the 2 large eggs (which should be at room temperature for better emulsion and a lighter texture). Whisk vigorously until the mixture is light yellow and slightly fluffy, about 1-2 minutes.
- Stir in vanilla: Add the 1 teaspoon of vanilla extract and mix well.
Step 4: Mash Your Bananas
- Take your 3 very ripe bananas. The riper they are (lots of brown spots!), the sweeter and more flavorful your banana bread will be.
- In a small bowl, use a fork or a potato masher to mash them until mostly smooth with a few small lumps remaining. A few lumps are perfectly fine and add texture!
- Add to wet ingredients: Stir the mashed bananas into your wet ingredient mixture until just combined.
Step 5: Gently Combine Wet and Dry Mixtures
- Pour the wet banana mixture into the bowl with your dry ingredients.
- Using a spatula or wooden spoon, gently fold the ingredients together until *just* combined. You should still see a few streaks of flour.
- CRITICAL Beginner Tip: Do NOT overmix! Overmixing develops the gluten in the flour, leading to a tough, dense, and chewy banana bread instead of a tender, moist one. A few lumps of flour are totally okay!
- If you’re adding chocolate chips or chopped nuts, fold them in now, again, mixing just until they are evenly distributed.
Step 6: Bake Your Banana Bread
- Pour the batter into your prepared loaf pan. You can use a spatula to smooth the top.
- Place the loaf pan in the preheated oven.
- Bake for 50-65 minutes. Baking times can vary depending on your oven.
- How to check for doneness: Insert a wooden skewer or a toothpick into the center of the loaf. If it comes out clean or with a few moist crumbs attached (not wet batter), your banana bread is done! If it comes out with wet batter, continue baking in 5-minute increments until done.
- If the top starts to brown too quickly, you can loosely tent the loaf with aluminum foil for the last 15-20 minutes of baking.
Step 7: Cool and Enjoy!
- Once baked, remove the banana bread from the oven.
- Let it cool in the pan on a wire rack for about 10-15 minutes. This allows it to set up properly and makes it easier to remove.
- After 10-15 minutes, carefully invert the pan to remove the loaf and place it directly onto the wire rack to cool completely.
- Beginner Tip: Resist the urge to slice into it while it’s still piping hot! Cooling completely allows the flavors to meld and the texture to firm up. Slicing too early can result in a crumbly loaf.
- Once cool, slice and serve!
Tips & Tricks for the Best Banana Bread Every Time
Mastering banana bread is easy when you keep these little secrets in mind:
- Banana Ripeness is Key: The browner and spottier your bananas are, the better! These bananas are sweeter and more aromatic, lending a much richer flavor to your bread. If your bananas aren’t ripe enough, you can bake them on a baking sheet at 300°F (150°C) for 15-20 minutes until their skins turn black – let them cool before mashing.
- Don’t Overmix: This is the golden rule of quick breads like banana bread. Mix your wet and dry ingredients just until combined. A few lumps of flour are fine! Overmixing develops gluten, leading to a tough, rubbery texture.
- Measure Flour Correctly: Always spoon your flour into the measuring cup and level it off with a straight edge. Scooping directly from the bag compacts the flour, adding too much to your recipe, which results in a dry loaf.
- Room Temperature Eggs: Eggs at room temperature emulsify better with the fats in your recipe, creating a smoother, more uniform batter and a lighter, airier final product. If you forget, place cold eggs in a bowl of warm water for 5-10 minutes.
- Get Creative with Add-ins: Feel free to customize! Chocolate chips (dark, milk, or white), chopped walnuts or pecans, shredded coconut, or a swirl of cream cheese are all fantastic additions. Just don’t add too much (½ to 1 cup is usually plenty) or it can affect baking time and structure.
- Storage: Store your cooled banana bread in an airtight container at room temperature for up to 3-4 days, or in the refrigerator for up to a week. For longer storage, wrap individual slices or the whole loaf tightly in plastic wrap and then foil, and freeze for up to 3 months. Thaw at room temperature.
Essential Baking Tools for Your Kitchen
Having the right tools makes baking a breeze! Here are a few essentials you’ll want on hand:
- Mixing Bowls (various sizes)
- Whisk
- 9×5 inch Loaf Pan
- Measuring Cups
- Measuring Spoons
- Rubber Spatula
- Wire Cooling Rack
- Parchment Paper (optional, but very helpful!)
Nutrition Information (Estimated per slice)
Please note: These values are approximate and can vary based on specific ingredients, portion size, and any additions like chocolate chips or nuts.
| Nutrient | Amount |
|---|---|
| Calories | 250-300 kcal |
| Carbohydrates | 40-50 g |
| Protein | 3-4 g |
| Fat | 10-15 g |
| Fiber | 1-2 g |
| Sugar | 20-25 g |
Frequently Asked Questions
Q: My bananas aren’t ripe enough! How can I ripen them quickly?
A: To speed up ripening, place your bananas in a paper bag with an apple or tomato overnight. The ethylene gas they release helps bananas ripen faster. For an even quicker fix, bake unpeeled bananas on a baking sheet at 300°F (150°C) for 15-20 minutes until their skins are completely black. Let them cool before mashing.
Q: Can I use another oil instead of coconut oil?
A: Yes, you can! While coconut oil adds a lovely subtle flavor and moisture, you can substitute it with an equal amount of vegetable oil, canola oil, or melted unsalted butter. Keep in mind the flavor profile might change slightly.
Q: My banana bread came out dense and gummy. What went wrong?
A: This is usually a sign of overmixing the batter. Remember to mix only until the wet and dry ingredients are just combined, with a few streaks of flour remaining. Overmixing develops the gluten, making the bread tough.
Q: How do I store leftover banana bread?
A: Store your completely cooled banana bread in an airtight container at room temperature for up to 3-4 days. For longer freshness, you can refrigerate it for up to a week. It also freezes beautifully for up to 3 months; just wrap it tightly in plastic wrap and then foil.
Q: Can I add nuts or chocolate chips to this recipe?
A: Absolutely! This recipe is perfect for customization. Fold in ½ to 1 cup of chocolate chips, chopped walnuts, pecans, or even shredded coconut along with the dry ingredients before combining with the wet. Just be careful not to overmix!
Time to Enjoy Your Homemade Banana Bread!
Congratulations, baker! You’ve just created a delicious, moist, and utterly comforting loaf of Banana Bread Recipe With Coconut Oil. There’s truly nothing quite like the smell of fresh banana bread wafting through your home. This recipe is designed to be forgiving and fun, perfect for anyone just starting their baking journey. Don’t be afraid to experiment with your favorite mix-ins next time, or simply enjoy it as is with a cup of coffee or tea.
We hope these detailed instructions and beginner-friendly tips have given you the confidence to bake this treat again and again. Happy baking, and don’t forget to share your delicious creations with us!