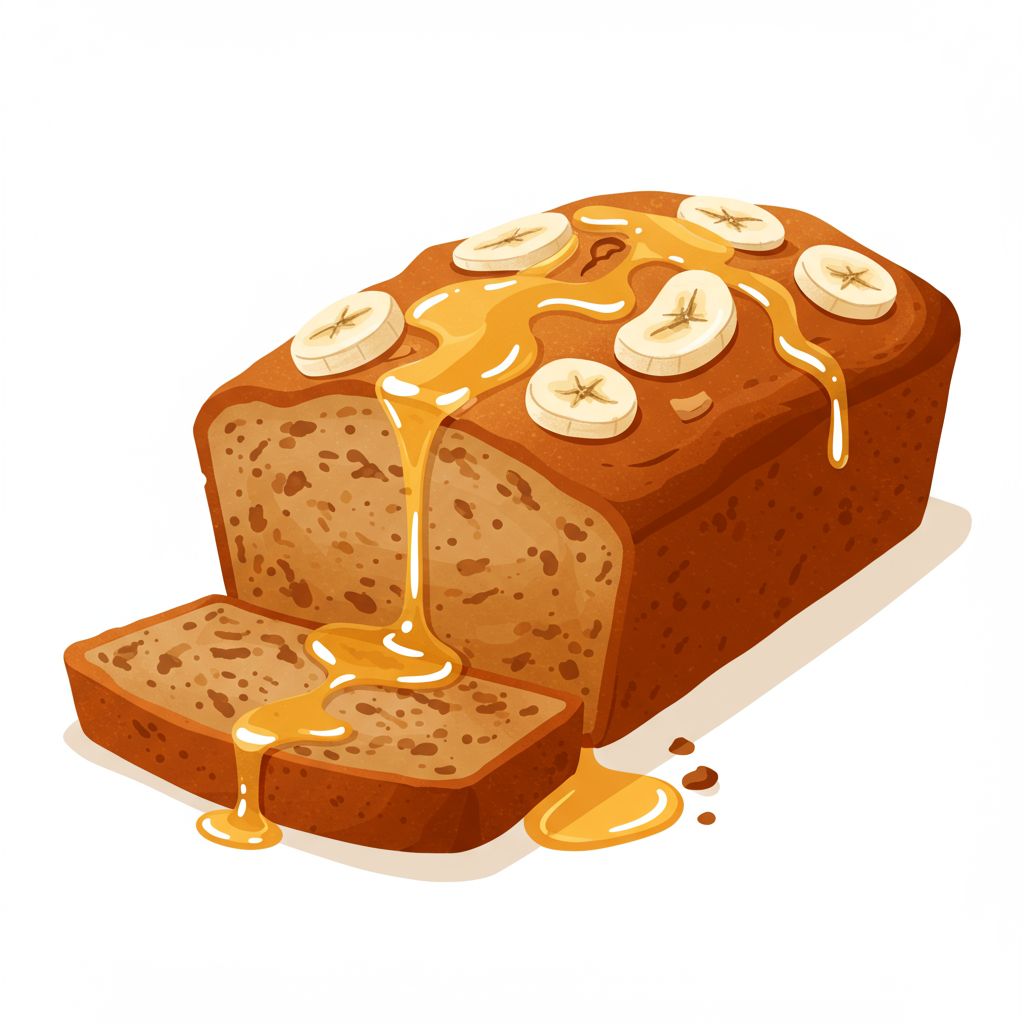
Welcome, fellow baking enthusiasts (and future enthusiasts)! If you’ve ever dreamt of filling your home with the irresistible aroma of freshly baked goods but felt intimidated by complex recipes, you’ve come to the right place. Today, we’re diving into one of the most comforting and forgiving bakes out there: a truly delightful Banana Bread Recipe With Honey.
This isn’t just any banana bread; it’s a version made with the golden sweetness of honey, giving it a unique depth of flavor and a wonderfully moist texture that’s simply divine. Perfect for breakfast, a snack, or even a simple dessert, this recipe is designed to be one of the most easy baking recipes you’ll ever try. We’ll walk through every step, offering plenty of helpful baking tips for beginners to ensure your success. Get ready to bake a loaf that will impress everyone, including yourself!
Gather Your Ingredients: Simple Goodness Awaits
Before we begin our baking adventure, let’s make sure you have all the necessary components. Using ripe bananas is key for the best flavor and moisture!
| Ingredient | Quantity | Unit |
|---|---|---|
| All-purpose flour | 1 ½ | cups |
| Baking soda | 1 | teaspoon |
| Salt | ½ | teaspoon |
| Very ripe bananas, mashed | 3-4 (about 1 cup) | medium |
| Unsalted butter, melted | ¼ | cup |
| Honey | ½ | cup |
| Large egg | 1 | large |
| Vanilla extract | 1 | teaspoon |
| (Optional) Chopped walnuts, pecans, or chocolate chips | ½ | cup |
Step-by-Step Baking: Your Path to Perfect Banana Bread
Follow these detailed instructions, and you’ll be pulling a golden-brown loaf out of your oven in no time!
Step 1: Preheat and Prep Your Pan
First things first, let’s get the oven ready. Preheat your oven to 350°F (175°C). This ensures an even bake from the moment your bread goes in. Next, prepare a 9×5 inch loaf pan. You can either grease it with butter or cooking spray, or for super easy removal, line it with parchment paper, leaving an overhang on the longer sides. This parchment paper sling will make lifting your cooled banana bread out of the pan a breeze!
Step 2: Mash Those Bananas
This is where the magic starts! In a medium bowl, mash your very ripe bananas with a fork until they are mostly smooth with a few small lumps remaining. Beginner Tip: The riper your bananas are (think brown spots all over, or even mostly brown!), the sweeter and more flavorful your banana bread will be. They also mash much more easily. If your bananas aren’t quite ripe enough, you can bake them on a baking sheet at 300°F (150°C) for 15-30 minutes until their skins turn black – let them cool before mashing.
Step 3: Combine Wet Ingredients
To your mashed bananas, add the melted unsalted butter, honey, large egg, and vanilla extract. Whisk everything together until it’s well combined and looks uniform. This mixture will be fragrant and wonderfully sweet already!
Step 4: Whisk Dry Ingredients
In a separate, larger bowl, whisk together the all-purpose flour, baking soda, and salt. Make sure these dry ingredients are thoroughly combined. This step is important to ensure the leavening agent (baking soda) and salt are evenly distributed throughout the batter, leading to a consistent rise and flavor. Beginner Tip: When measuring flour, use the “spoon and level” method: spoon flour into your measuring cup until it’s overflowing, then level it off with the back of a knife. Don’t scoop directly from the bag, as this can compact the flour and lead to too much flour, resulting in dry bread.
Step 5: Combine Wet and Dry Mixtures
Pour the wet banana mixture into the bowl with the dry ingredients. Stir gently with a spatula or wooden spoon until just combined. This is a crucial step for beginners: Do NOT overmix! Overmixing develops the gluten in the flour too much, which can lead to tough, dense banana bread instead of the tender, moist loaf we’re aiming for. A few lumps of flour are perfectly fine; they will disappear during baking. If you’re adding optional chopped nuts or chocolate chips, fold them in now.
Step 6: Pour into Pan and Bake
Pour the batter into your prepared loaf pan and spread it evenly. Place the pan in your preheated oven. Bake for 50-65 minutes. The baking time can vary depending on your oven, so keep an eye on it. How to check for doneness: Insert a wooden skewer or toothpick into the center of the loaf. If it comes out clean or with a few moist crumbs attached (but no wet batter), your banana bread is ready. If it comes out wet, continue baking for another 5-10 minutes and test again.
Step 7: Cool and Enjoy!
Once baked, remove the loaf pan from the oven and let it cool in the pan on a wire rack for about 10-15 minutes. This cooling period in the pan helps the bread to set and makes it easier to remove. After 10-15 minutes, use the parchment paper overhang (if used) or carefully invert the pan to remove the banana bread. Place it directly on the wire rack to cool completely before slicing. Beginner Tip: While it’s tempting to slice into warm banana bread, waiting until it’s fully cooled allows the flavors to meld and the structure to firm up, resulting in cleaner slices and a better texture.
Tips & Tricks for Your Best Banana Bread Ever
Elevate your banana bread game with these actionable tips, perfect for any beginner baker!
- Embrace the Brown Bananas: Seriously, the browner, the better! Overripe bananas are sweeter and more fragrant, yielding a superior banana bread. Don’t toss those spotty bananas – save them for baking! If you have too many, peel and freeze them for later use.
- Don’t Overmix: We can’t stress this enough! Overmixing is the number one culprit for tough, dry banana bread. Mix just until the wet and dry ingredients are combined. A few lumps are a sign of a perfectly mixed batter.
- Spoon and Level Your Flour: For accurate measurements and consistent results, always spoon your flour into the measuring cup, then level it off with a straight edge (like a knife). Scooping directly can compact the flour, leading to too much dry ingredient.
- Customize Your Loaf: This recipe is a fantastic base! Feel free to add ½ cup of chopped nuts (walnuts or pecans are classic), chocolate chips (milk, dark, or white), or even a swirl of cream cheese for an extra treat. A pinch of cinnamon or nutmeg can also enhance the flavor profile.
- Perfectly Moist Every Time: The key to moist banana bread is not overbaking. Start checking for doneness at the lower end of the baking time range. An oven thermometer can also help ensure your oven is at the correct temperature.
- Storage Secrets: Store your cooled banana bread tightly wrapped in plastic wrap or in an airtight container at room temperature for up to 3-4 days. For longer storage, slice the bread and freeze individual slices in a freezer-safe bag for up to 3 months. Thaw at room temperature or gently warm in the microwave.
Essential Baking Tools
Having the right tools makes baking a joy, not a chore. Here are a few essentials you’ll need for this recipe, with convenient links to find them on Amazon:
- Mixing Bowl
- Whisk
- Baking Pan (9×5 inch loaf pan)
- Measuring Cups
- Spatula
- Measuring Spoons (not linked, but essential!)
Nutrition Information (Estimated)
Here’s an estimated nutritional breakdown per slice (assuming 12 slices per loaf). Please note, these are approximate values and can vary based on specific ingredient brands and exact measurements.
| Nutrient | Amount (per slice) |
|---|---|
| Calories | ~260 kcal |
| Carbohydrates | ~45 g |
| Protein | ~4 g |
| Fat | ~9 g |
| Fiber | ~2 g |
| Sugar | ~28 g |
Frequently Asked Questions for Beginners
Q1: Why are very ripe bananas so important for this recipe?
A: Very ripe bananas (with lots of brown spots or even black skins) are crucial because they are much sweeter and more flavorful than underripe bananas. They also have a softer, creamier texture, which contributes significantly to the moisture and tenderness of the banana bread.
Q2: Can I use frozen bananas?
A: Absolutely! Frozen ripe bananas are perfect for banana bread. Just make sure to thaw them completely before mashing. They will release a lot of liquid as they thaw; don’t drain it, as this liquid adds moisture and flavor to your bread. Just mash them with the liquid.
Q3: My banana bread came out dry. What went wrong?
A: The most common reasons for dry banana bread are either overmixing the batter (which develops gluten and makes the bread tough) or overbaking. Make sure to mix just until the ingredients are combined and check for doneness with a toothpick at the earlier end of the suggested baking time.
Q4: Can I reduce the amount of honey in the recipe?
A: You can slightly reduce the honey if you prefer a less sweet bread, but be mindful that honey also contributes to the moisture and browning. Reducing it by more than a quarter might alter the texture. Very ripe bananas also add a lot of natural sweetness, so a slight reduction is usually fine.
Q5: Why did my banana bread sink in the middle?
A: Banana bread sinking in the middle can be due to several reasons: opening the oven door too early, overmixing the batter, using old or inactive baking soda, or not baking it long enough. Ensure your baking soda is fresh, don’t open the oven door too frequently, and always test for doneness with a toothpick in the center.
Happy Baking!
And there you have it! Your very own delicious, moist, and perfectly sweet Banana Bread Recipe With Honey. We hope this detailed, beginner-friendly guide has demystified the art of baking and given you the confidence to create something truly wonderful.

This recipe is more than just food; it’s a warm hug on a plate, a delightful treat for any time of day, and a fantastic way to use up those ripe bananas. Don’t be afraid to experiment with your favorite add-ins, and remember that practice makes perfect. So go ahead, bake a loaf, share it with loved ones, or simply enjoy a slice (or two!) all to yourself. We’d love to hear about your baking success in the comments below!
“`