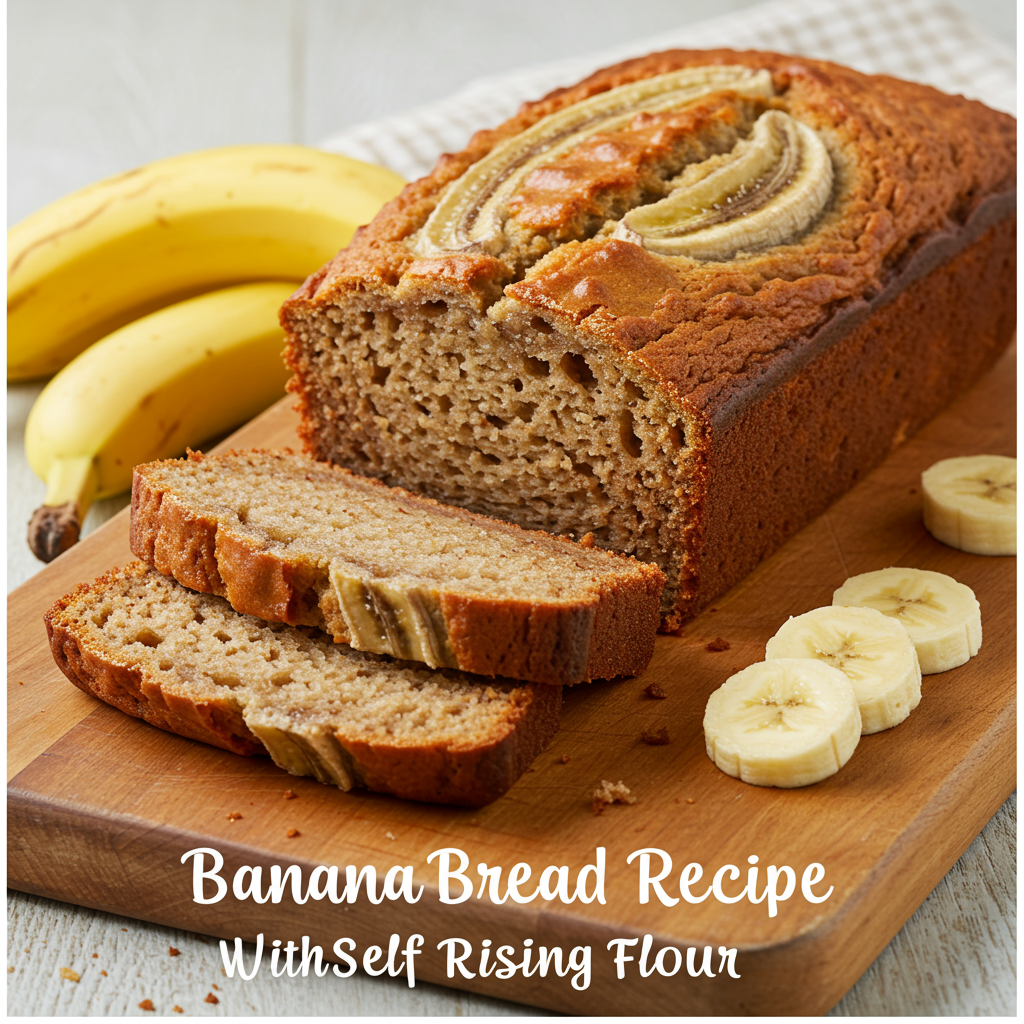
Banana Bread Recipe With Self Rising Flour: Your Easiest Bake Yet!
Ingredients List
Gather your ingredients! For the best results, try to use room temperature ingredients where specified, as this helps everything combine more smoothly.
| Ingredient | Quantity | Unit |
|---|---|---|
| Overripe Bananas (mashed) | 3-4 (about 1.5 cups) | medium |
| Self-Rising Flour | 1 ¾ | cups |
| Granulated Sugar | ½ | cup |
| Large Egg | 1 | |
| Unsalted Butter (melted) | ¼ | cup |
| Milk (any kind, room temp) | 2 | tablespoons |
| Vanilla Extract | 1 | teaspoon |
| Optional: Chocolate Chips, Chopped Nuts | ½ | cup |
Step-by-Step Instructions: Your Easy Guide to Perfect Banana Bread
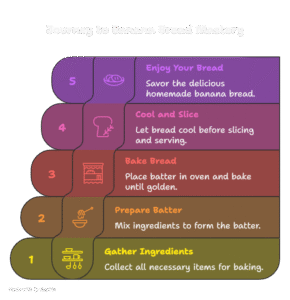
Follow these detailed steps carefully, and you’ll be a banana bread pro in no time! We’ve included extra tips to ensure success, even if it’s your very first time baking.
Step 1: Preheat and Prepare Your Pan
First things first, let’s get your oven ready. Preheat your oven to 350°F (175°C). While it’s heating up, prepare your loaf pan. Take a 9×5 inch loaf pan and either spray it generously with non-stick baking spray or grease it with butter and then dust it lightly with flour. Make sure to get into all the corners! This step is crucial to prevent your delicious banana bread from sticking to the pan, ensuring an easy release once it’s baked.
Step 2: Mash Your Bananas
This is where those wonderfully spotted, overripe bananas shine! Peel your 3-4 medium overripe bananas (they should be soft and have plenty of brown or black spots – this means more natural sweetness and banana flavor!). Place them in a large mixing bowl. Using a fork or a potato masher, mash them until they are mostly smooth with a few small lumps remaining. A little texture is great, but you don’t want big chunks. The riper the bananas, the easier they will mash and the more flavorful your bread will be.
Step 3: Combine the Wet Ingredients
In the bowl with your mashed bananas, add the melted butter (make sure it’s not piping hot, just warm), granulated sugar, the large egg (ideally at room temperature for a smoother batter), milk (also at room temperature), and vanilla extract. Use a whisk or a spatula to mix these ingredients together until they are well combined. You want a consistent, creamy mixture. Don’t worry about overmixing at this stage – just ensure everything is incorporated.
Step 4: Gently Fold in the Self-Rising Flour
Now, it’s time for the star ingredient: the self-rising flour. Add the 1 ¾ cups of self-rising flour directly into your wet ingredient mixture. Here’s a critical tip for beginners: DO NOT OVERMIX! Use a spatula or a wooden spoon and gently fold the flour into the wet ingredients until *just* combined. This means mixing until you no longer see streaks of dry flour. A few small lumps in the batter are perfectly fine, even desirable! Overmixing develops the gluten in the flour too much, leading to a tough, dense banana bread instead of a moist, tender one.
Step 5: Add Optional Mix-ins (If Desired)
If you’re using optional mix-ins like chocolate chips or chopped nuts, this is the time to add them. Gently fold in your ½ cup of chocolate chips or nuts until they are evenly distributed throughout the batter. Again, be gentle and avoid overmixing.
Step 6: Pour into Pan and Bake
Pour your banana bread batter into the prepared 9×5 inch loaf pan. Use your spatula to spread it evenly. Place the loaf pan into your preheated oven. Bake for approximately 50-65 minutes. Baking times can vary depending on your oven, so keep an eye on it.
Step 7: Check for Doneness
Around the 50-minute mark, you’ll want to check if your banana bread is done. The easiest way to do this is with the “toothpick test.” Insert a wooden skewer or toothpick into the very center of the loaf. If it comes out clean or with a few moist crumbs attached (not wet batter), your banana bread is ready! If it comes out with wet batter, continue baking for another 5-10 minutes and test again. The top should also be golden brown and the edges should be pulling slightly away from the pan.
Step 8: Cool and Enjoy!
Once baked, remove the banana bread from the oven. Let it cool in the loaf pan on a wire rack for about 10-15 minutes. This allows the bread to set and makes it easier to remove. After 10-15 minutes, carefully invert the pan to remove the loaf and place it directly onto the wire rack to cool completely. Slicing warm banana bread is tempting, but letting it cool fully makes for cleaner slices and a better texture. Once cooled, slice and enjoy your magnificent homemade banana bread!
Tips & Tricks for Beginner Bakers
To ensure your banana bread is a roaring success every single time, keep these simple yet effective tips in mind:
- Embrace Overripe Bananas: This is the secret weapon! Bananas with brown or black spots are sweeter and easier to mash, leading to a more flavorful and moist bread. Don’t use yellow or green bananas unless you want a less sweet and less intensely banana-flavored loaf.
- Do NOT Overmix the Batter: This cannot be stressed enough for beginners. Once you add the self-rising flour, mix just until combined. A few lumps are fine. Overmixing develops gluten, resulting in a tough, chewy, and dense bread rather than a tender, fluffy one.
- Room Temperature Ingredients: While not strictly essential for this recipe due to melted butter, using room temperature eggs and milk helps all the ingredients emulsify (blend) better, creating a smoother, more uniform batter and a finer crumb.
- Calibrate Your Oven: Ovens can be notoriously inaccurate. If your bread is consistently under- or over-baked compared to recipe times, consider getting an oven thermometer. Knowing your oven’s true temperature is a game-changer for all baking.
- The Toothpick Test is Your Best Friend: Don’t rely solely on the timer. Always use the toothpick test by inserting a skewer into the center of the loaf. If it comes out clean or with moist crumbs, it’s done. If it has wet batter, keep baking!
- Cooling is Crucial: Resist the urge to slice immediately! Letting the bread cool in the pan for a bit, then completely on a wire rack, allows the internal structure to set, preventing a gummy texture and making it much easier to slice neatly.
- Experiment with Add-ins: Once you’ve mastered the basic recipe, feel free to get creative! Walnuts, pecans, chocolate chips (dark, milk, or white), dried cranberries, or even a sprinkle of cinnamon or nutmeg can elevate your banana bread.
Essential Baking Tools
Having the right tools makes baking easier and more enjoyable. Here are some basics you’ll want on hand:
- Mixing Bowl: You’ll need at least one large one for your batter.
- Whisk: Perfect for combining wet ingredients smoothly.
- 9×5 Inch Loaf Pan: The star of the show for your banana bread.
- Measuring Cups: For accurate dry ingredient measurements.
- Measuring Spoons: Essential for precise liquid and small ingredient measurements.
- Spatula: Great for scraping down bowls and gently folding in flour.
- Wire Rack: For cooling your baked goods evenly.
Nutrition Information (Estimated per slice, 12 slices per loaf)
Please note that these are estimated values and can vary based on specific ingredients and portion sizes.
| Nutrient | Amount |
|---|---|
| Calories | 210 kcal |
| Carbohydrates | 35g |
| Protein | 3g |
| Fat | 7g |
| Fiber | 1g |
| Sugar | 19g |
Frequently Asked Questions (FAQs)
Q1: Can I use regular all-purpose flour instead of self-rising flour?
A: Yes, you can! If you don’t have self-rising flour, you can easily make your own. For every 1 cup of all-purpose flour, add 1.5 teaspoons of baking powder and ¼ teaspoon of salt. So, for this recipe, you would use 1 ¾ cups of all-purpose flour, about 2.5 teaspoons of baking powder, and a generous ⅓ teaspoon of salt. Make sure to whisk these dry ingredients together thoroughly before adding them to your wet ingredients.
Q2: How ripe do the bananas really need to be?
A: They need to be very ripe! Look for bananas that have a lot of brown or black spots on their peels, or are even entirely brown. They should be soft to the touch. This level of ripeness ensures maximum sweetness and intense banana flavor, which is key for delicious banana bread. Underripe bananas will result in a less flavorful and sweeter bread.
Q3: My banana bread came out dry/tough. What went wrong?
A: The most common culprits for dry or tough banana bread are overmixing the batter or overbaking. Remember to mix the flour in just until no dry streaks remain. Also, use the toothpick test to avoid baking longer than necessary. Every oven is different, so baking times are always a guideline.
Q4: How should I store leftover banana bread?
A: To keep your banana bread fresh, store it at room temperature in an airtight container or tightly wrapped in plastic wrap. It will stay fresh for about 2-3 days. For longer storage, you can refrigerate it for up to a week or freeze individual slices (well-wrapped) for up to 2-3 months. Thaw frozen slices at room temperature or gently warm them in the microwave.
Q5: Can I add other spices or mix-ins?
A: Absolutely! This recipe is a fantastic base for customization. Common additions include ½ teaspoon of ground cinnamon or nutmeg for extra warmth. Besides chocolate chips and nuts, you could try dried cranberries, raisins, shredded coconut, or even a cream cheese swirl on top before baking. Just be mindful not to add too many wet ingredients that could alter the batter consistency.
Conclusion
Congratulations, budding baker! You’ve just created a delicious, comforting loaf of homemade banana bread. This Banana Bread Recipe With Self Rising Flour is truly one of the most forgiving and rewarding easy baking recipes you can master. We hope our baking tips for beginners have empowered you to confidently tackle this bake and many more to come.
There’s nothing quite like the smell of fresh banana bread filling your home. So go ahead, pour yourself a cup of coffee or tea, slice into your masterpiece, and savor every bite. Don’t forget to share your baking success with us – happy baking!
“`
1 thought on “Banana Bread Recipe With Self Rising Flour – Sweet Homemade Fun”