Have you ever wondered what food tasted like thousands of years ago? There’s something truly special about connecting with the past through the simple act of baking. Today, we’re going on a culinary journey to bring you an authentic-tasting, yet incredibly simple, Biblical Bread Recipe. Forget complicated techniques and intimidating ingredients – this recipe is designed specifically as one of the most easy baking recipes you’ll ever try.
Whether you’re a complete novice or just looking to expand your bread-making skills, we’ve packed this guide with essential baking tips for beginners to ensure your first loaf is a resounding success. Get ready to fill your home with the warm, comforting aroma of freshly baked bread, just like they might have done in ancient times!
Ingredients for Your Ancient Loaf
Gathering your ingredients is the first step on your baking adventure. For this Biblical Bread, we’re focusing on simple, wholesome components that were readily available centuries ago. Precision is key in baking, so make sure to measure everything carefully!
Dry Ingredients:
| Ingredient | Quantity | Unit |
|---|---|---|
| Whole Wheat Flour | 3 | cups |
| Active Dry Yeast | 2 ¼ | teaspoons |
| Salt | 1 | teaspoon |
Wet Ingredients:
| Ingredient | Quantity | Unit |
|---|---|---|
| Warm Water (105-115°F / 40-46°C) | 1 ¼ | cups |
| Honey (optional, but recommended for flavor and yeast activation) | 1 | tablespoon |
| Olive Oil (plus extra for greasing) | 2 | tablespoons |
Step-by-Step Instructions: Baking Your Biblical Bread
Follow these detailed steps, and you’ll be enjoying your homemade bread in no time. Don’t be afraid to get your hands a little floury – that’s part of the fun!
Step 1: Activate Your Yeast (Proofing for Beginners!)
- In a large mixing bowl, combine the warm water (make sure it’s between 105-115°F or 40-46°C – slightly warmer than body temperature but not hot!) and the honey (if using).
- Sprinkle the active dry yeast evenly over the water. Don’t stir it in just yet!
- Let this mixture sit undisturbed for 5-10 minutes. You’ll know your yeast is alive and well when it becomes foamy and bubbly on the surface, resembling a creamy head on a beer. This process is called proofing the yeast.
- Beginner Tip: If your yeast doesn’t foam, your water might have been too hot (killing the yeast) or too cold (keeping it dormant), or your yeast might be old. It’s best to start over with fresh yeast and properly warmed water.
Step 2: Combine Wet and Dry Ingredients
- Once your yeast is proofed, add the olive oil and salt to the yeast mixture in the bowl. Give it a gentle stir with a whisk or spoon.
- Gradually add the whole wheat flour, about half a cup at a time, stirring with a sturdy spoon or spatula after each addition. The mixture will start to come together into a shaggy, somewhat sticky dough.
- Once all the flour is incorporated, the dough will be too stiff to stir. This is your cue to get ready for kneading!
Step 3: Knead Your Dough to Perfection
- Lightly flour a clean work surface (your kitchen counter is perfect!). Turn the shaggy dough out onto the floured surface.
- Begin to knead the dough. This involves pushing the dough away from you with the heels of your hands, folding it back over itself, rotating it a quarter turn, and repeating.
- Beginner Tip: Don’t add too much extra flour during kneading unless the dough is excessively sticky and unmanageable. A slightly sticky dough is normal, and it will become less sticky as you knead. Too much flour will make your bread dry and dense.
- Knead for 8-10 minutes. You’re looking for a dough that feels smooth, elastic, and springs back slowly when gently poked with your finger. This develops the gluten, which gives bread its structure.
- Alternative: If you have a stand mixer with a dough hook attachment, you can knead on medium-low speed for 6-8 minutes until the dough is smooth and elastic.
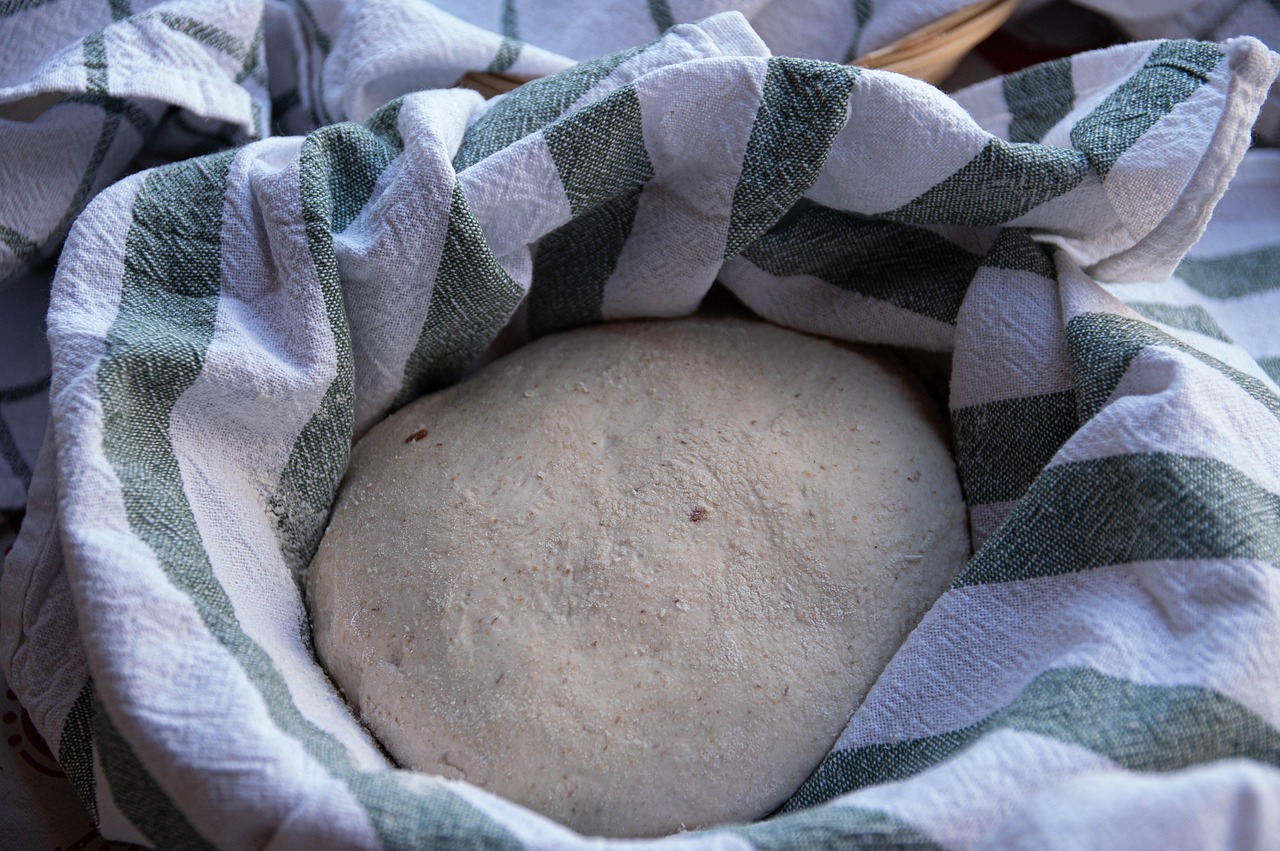
Step 4: First Rise (Bulk Fermentation)
- Lightly grease a clean large bowl with a little olive oil. Place the kneaded dough in the bowl, turning it once to coat the top with oil (this prevents a dry crust from forming).
- Cover the bowl tightly with plastic wrap or a clean kitchen towel.
- Place the bowl in a warm, draft-free spot. A slightly warm oven (turned off, but perhaps preheated to its lowest setting for 1-2 minutes then turned off) or simply on top of your refrigerator often works well.
- Let the dough rise for 1 to 1.5 hours, or until it has doubled in size. The exact time will depend on the temperature of your environment.
- Beginner Tip: Patience is a virtue in bread making! Don’t rush this step. An under-risen dough will result in dense bread.
Step 5: Shape Your Loaf
- Once the dough has doubled, gently punch it down to release the air. This is called “degassing” and helps create a finer crumb.
- Lightly flour your work surface again. Turn the dough out and gently shape it into a rectangular loaf that will fit snugly into your 9×5 inch loaf pan.
- Simple Shaping: Gently pat the dough into a rectangle, then roll it up tightly from one of the longer sides, pinching the seam closed at the bottom. Tuck in the ends.
Step 6: Second Rise (Proofing in the Pan)
- Lightly grease your 9×5 inch loaf pan with olive oil. Place the shaped dough seam-side down into the prepared pan.
- Cover the loaf pan loosely with plastic wrap or a clean kitchen towel.
- Let the dough rise again in a warm, draft-free spot for another 30-45 minutes, or until it has risen about 1 inch above the rim of the pan.
Step 7: Bake Your Biblical Bread
- About 15 minutes before the second rise is complete, preheat your oven to 375°F (190°C).
- Once preheated and the dough has risen, carefully place the loaf pan into the center of your preheated oven.
- Bake for 30-40 minutes, or until the crust is golden brown and the internal temperature of the bread reaches 200-210°F (93-99°C) when measured with an instant-read thermometer.
- Beginner Tip: If you don’t have a thermometer, tap the bottom of the loaf – it should sound hollow. If the top is browning too quickly, you can loosely tent it with aluminum foil for the last 10-15 minutes of baking.
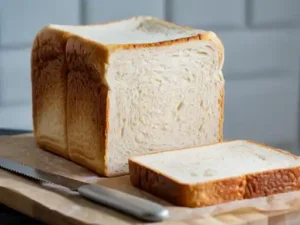
Step 8: Cool and Enjoy!
- Once baked, immediately remove the bread from the loaf pan and place it on a wire cooling rack.
- Allow the bread to cool completely (or at least for 30-60 minutes) before slicing. This is crucial! Slicing hot bread can make it gummy and dense inside.
- Serve warm with a drizzle of olive oil, a sprinkle of salt, or your favorite spread. Enjoy the taste of history!
Tips & Tricks for Beginner Bread Bakers
Baking bread is a wonderful journey, and these extra tips will help you navigate it with confidence:
- Measure Accurately: Especially for flour, use the “spoon and level” method. Spoon flour into your measuring cup until it overflows, then level it off with a straight edge (like the back of a knife). Don’t scoop directly from the bag, as this compacts the flour and you’ll end up with too much.
- Water Temperature is Key: Always check your water temperature for yeast activation. Too hot kills it; too cold slows it down or keeps it dormant. An instant-read thermometer is a great investment for bakers.
- Patience with Rising: Bread baking is not a race. Let the dough take its time to rise. If your kitchen is cold, find a warmer spot (like a turned-off oven or near a sunny window).
- Don’t Fear the Knead: Kneading develops gluten, which gives bread its structure and chewiness. Under-kneading results in dense, crumbly bread. Over-kneading is rare by hand, but possible with a machine.
- Listen to Your Dough: It will tell you what it needs. If it’s too sticky, a tiny bit more flour. If too dry, a tiny bit more water. It’s an art, not just a science!
- Cool Completely: Resist the urge to slice into your beautiful loaf immediately. Cooling allows the internal structure to set and steam to escape, preventing a gummy texture.
- Storage: Store leftover bread at room temperature in an airtight container or bread bag for 2-3 days. For longer storage, slice and freeze.
Essential Baking Tools for Your Kitchen
Having the right tools makes all the difference. Here are a few essentials that will make baking this Biblical Bread (and many other recipes) a breeze. Clicking these links will take you directly to Amazon:
- Mixing Bowl – A sturdy set of bowls in various sizes is invaluable.
- Whisk – Perfect for combining dry ingredients and activating yeast.
- Baking Pan (9×5 inch loaf pan) – The star of your bread-baking show.
- Measuring Cups & Measuring Spoons – Accuracy is paramount in baking.
- Spatula – For scraping bowls and folding ingredients.
- Dough Scraper (Optional but highly recommended) – Great for handling sticky dough and cleaning your work surface.
- Instant-Read Thermometer (Optional but a game-changer) – For checking water temperature and bread doneness.
Biblical Bread Nutrition Information (Estimated per slice, 1/12th of loaf)
While this is an estimation and can vary based on exact ingredients and portion sizes, here’s a general idea of the nutritional value of your homemade Biblical Bread:
| Nutrient | Amount |
|---|---|
| Calories | 180-200 kcal |
| Carbohydrates | 35-40 g |
| Protein | 6-8 g |
| Fat | 3-5 g |
| Fiber | 4-6 g |
| Sugar | 1-3 g |
Frequently Asked Questions (FAQs) for Beginner Bakers
Don’t worry, every baker started somewhere! Here are answers to some common questions you might have:
- Q: My dough isn’t rising, what went wrong?
- A: This is a common issue! The most likely culprits are: 1) Your water was too hot or too cold, killing or inactivating the yeast. 2) Your yeast is old or expired. 3) Your rising environment is too cold or drafty. Ensure your water is the right temperature (105-115°F / 40-46°C) and your yeast is fresh, then find a warm, draft-free spot for rising.
- Q: Do I have to knead the dough by hand? It seems like a lot of work!
- A: While kneading by hand is a wonderful, therapeutic experience, you absolutely don’t have to! A stand mixer with a dough hook attachment can do the job beautifully in about 6-8 minutes on medium-low speed. The goal is the same: a smooth, elastic dough.
- Q: Can I use all-purpose flour instead of whole wheat?
- A: Yes, you can! However, the texture and flavor will be different. All-purpose flour will result in a lighter, softer crumb, and the bread won’t have the same rustic, nutty flavor profile of whole wheat. You might also need slightly less water, as whole wheat flour absorbs more liquid.
- Q: How do I know when my bread is perfectly baked through?
- A: The best way is to use an instant-read thermometer. The internal temperature of a fully baked loaf should be between 200-210°F (93-99°C). If you don’t have a thermometer, tap the bottom of the loaf – it should sound hollow. The crust should also be a deep golden brown.
- Q: How long will my homemade Biblical Bread stay fresh?
- A: Stored in an airtight container or bread bag at room temperature, your bread will typically stay fresh for 2-3 days. For longer storage, you can slice the cooled loaf and freeze the slices. Just pop them in a toaster directly from the freezer for a quick, fresh-tasting piece of bread!
Your Ancient Culinary Journey Awaits!
Congratulations, aspiring baker! You’ve just completed a journey that stretches back through history, creating a beautiful and delicious loaf of Biblical Bread. This isn’t just a recipe; it’s a connection to ancient traditions, a testament to simple, wholesome ingredients, and a truly rewarding experience.
Don’t be discouraged if your first loaf isn’t picture-perfect. Every bake is a learning opportunity, and with each attempt, you’ll gain more confidence and skill. The most important thing is that you tried, you baked, and you created something wonderful with your own hands. We hope this guide has made your first foray into bread making an enjoyable and successful one.
So go ahead, slice into your warm loaf, savor the flavors, and share your creation with loved ones. Happy baking!