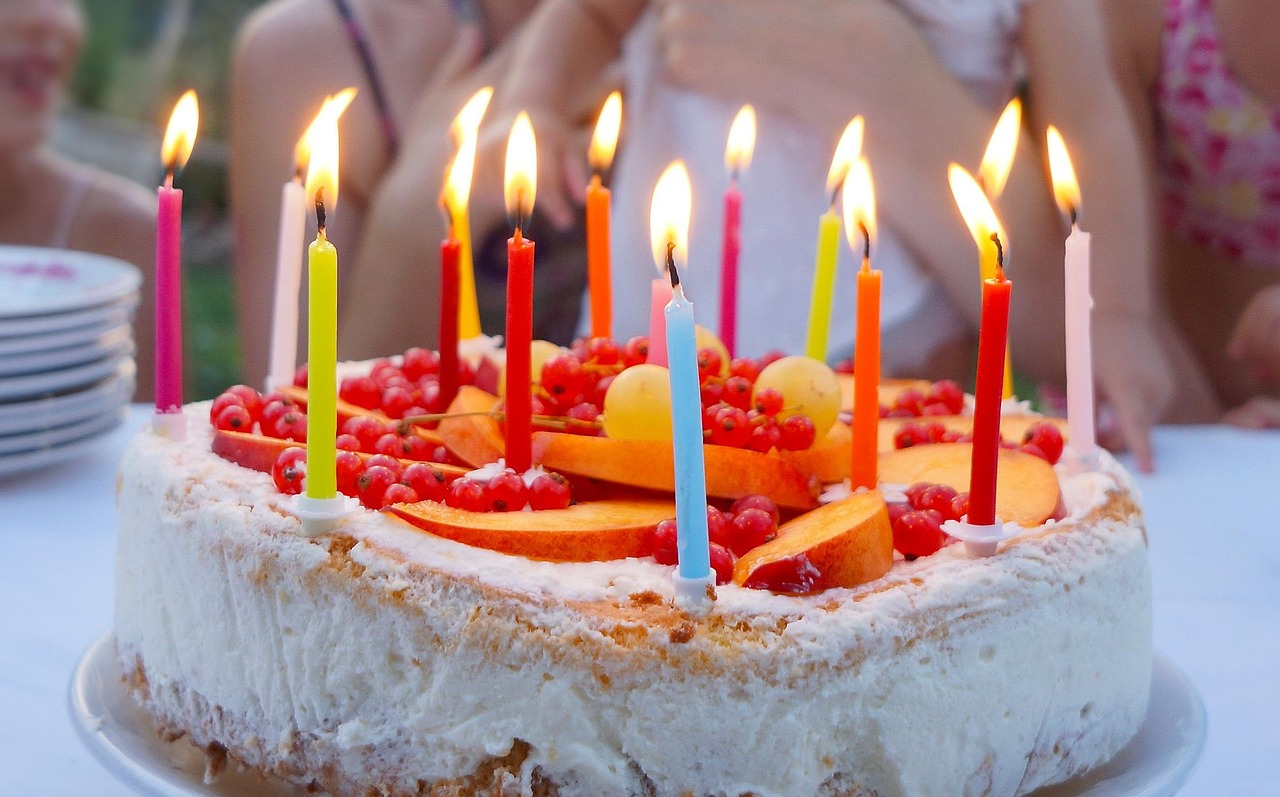
Welcome, aspiring bakers! Are you ready to dive into the wonderful world of French patisserie? Today, we’re tackling a treat that looks intimidating but is absolutely achievable with the right guidance: our delightful Birthday Cake Macaron Recipe. Imagine delicate, crispy shells with a chewy interior, bursting with classic birthday cake flavor, complete with sprinkles. While macarons have a reputation for being tricky, this post is packed with baking tips for beginners to ensure your success. Forget the myths; with patience and precision, you’ll be piping perfect macarons in no time. Get ready to impress yourself and your loved ones with these beautiful, celebratory confections. This is one of those easy baking recipes that will make you feel like a pro!
Ingredients List: What You’ll Need
Accuracy is key when making macarons, so we highly recommend using a kitchen scale for precise measurements!
For the Macaron Shells:
| Ingredient | Quantity | Unit |
|---|---|---|
| Almond Flour (finely ground) | 100 | grams |
| Powdered Sugar (confectioners’ sugar) | 100 | grams |
| Egg Whites (aged, about 2 large eggs) | 70 | grams |
| Granulated Sugar (superfine recommended) | 60 | grams |
| Cream of Tartar (optional, for meringue stability) | 1/4 | teaspoon |
| Gel Food Coloring (white, pink, blue, or yellow for birthday cake theme) | 1-2 | drops |
| Rainbow Sprinkles (nonpareils or jimmie style) | 1-2 | tablespoons |
For the Birthday Cake Buttercream Filling:
| Ingredient | Quantity | Unit |
|---|---|---|
| Unsalted Butter (softened) | 1/2 | cup (113g) |
| Powdered Sugar (confectioners’ sugar) | 2 | cups (240g) |
| Heavy Cream or Milk | 2-3 | tablespoons |
| Vanilla Extract | 1 | teaspoon |
| Almond Extract (optional, enhances cake flavor) | 1/4 | teaspoon |
| Rainbow Sprinkles (nonpareils or jimmie style) | 2 | tablespoons |
Step-by-Step Instructions: Your Macaron Journey Awaits!
Step 1: Prep Your Ingredients & Tools
Before you even think about mixing, make sure all your ingredients are measured precisely using a digital kitchen scale. This is arguably the most crucial step for macaron success! Separate your egg whites a day or two in advance and let them sit in an airtight container in the fridge. This “aging” process helps them whip up better, creating a more stable meringue. Bring them to room temperature before you start.
Step 2: Sift, Sift, Sift! (The “Tant Pour Tant”)
In a medium bowl, combine your almond flour and powdered sugar. Sift this mixture at least twice (three times is even better!) through a fine-mesh sieve into a clean bowl. This process, often called “tant pour tant” (equal parts), removes any lumps, ensuring smooth macaron shells. Discard any larger pieces of almond that don’t pass through the sieve. Set aside.
Beginner Tip: Don’t skip this! Lumps in your dry ingredients are a common cause of bumpy macaron shells.
Step 3: Whip Up the Meringue (The French Method)
In a very clean, grease-free stand mixer bowl (or a large bowl with a hand mixer), add your room-temperature egg whites. Begin whipping them on medium speed until they become foamy. Add the cream of tartar (if using) now. Gradually add the granulated sugar, one tablespoon at a time, while continuing to whip on medium-high speed.
Continue whipping until you achieve stiff, glossy peaks. This means when you lift the whisk, the meringue stands up straight without drooping, and the mixture looks shiny and smooth. If you’re adding gel food coloring, mix it in during the last minute of whipping until fully incorporated.
Common Mistake: Not whipping your meringue enough will result in flat macarons. Over-whipping can make it crumbly. Aim for firm, but not dry, stiff peaks.
Step 4: The Macaronage (The Art of Folding)
This is where the magic (and sometimes the challenge!) happens. Add about one-third of your meringue into the bowl with your sifted almond flour and powdered sugar mixture. Using a rubber spatula, gently fold it in until just combined. Add the remaining meringue in two additions, folding carefully after each.
The goal is to achieve the perfect consistency, often called “macaronage.” You’re looking for a mixture that flows like “lava” or forms a “figure eight” when you lift your spatula. It should be thick enough to hold its shape but fluid enough to slowly melt back into itself.
Beginner Tip: This is the trickiest part. To test the consistency, lift your spatula and let the batter drizzle back into the bowl. If it creates a ribbon that slowly disappears back into the main batter within 10-15 seconds, you’re good! If it’s too thick, continue folding a few more times. If it’s too runny, unfortunately, there’s no easy fix, but you’ll know for next time! Don’t overmix, or your macarons will be flat; don’t undermix, or they’ll be lumpy.
Step 5: Pipe Those Pretty Shells
Prepare a large piping bag fitted with a round tip (like an Ateco 804 or Wilton 1A). Transfer your macaron batter into the piping bag. Line several baking sheets with parchment paper or silicone mats (macaron templates underneath silicone mats are a huge help!).
Hold the piping bag vertically, about half an inch above the baking sheet. Apply even pressure to pipe out uniform circles, about 1.5 inches in diameter. Release pressure and flick the bag up to create a clean break. Leave about an inch between each macaron.
Once piped, immediately sprinkle your rainbow sprinkles over the wet macaron shells.
Common Mistake: Piping too close together can cause them to merge. Uneven pressure can lead to uneven sizes. Practice makes perfect!
Step 6: Tap and Rest (Forming the “Feet”)
Firmly tap each baking sheet against your counter 5-10 times. This helps release any trapped air bubbles, which can cause cracking during baking. You might see tiny bubbles rise to the surface; you can pop these with a toothpick.
Now, let your piped macarons rest at room temperature for 30-60 minutes, or until they form a “skin.” This means you should be able to gently touch the surface of a macaron without any batter sticking to your finger. This skin is crucial for developing the signature “feet” (ruffled edges) when baked.
Beginner Tip: Resting time can vary greatly depending on your kitchen’s humidity. In humid environments, it might take longer. Don’t rush this step!
Step 7: Bake to Perfection
Preheat your oven to 300°F (150°C). Once preheated and your macarons have rested, bake one tray at a time for 12-15 minutes. Baking time can vary by oven. The macarons are done when they have developed distinct “feet” and don’t wobble when gently nudged. If they wobble, bake for another 1-2 minutes.
Common Mistake: Oven temperature is vital. Too hot, and they crack; too cool, and they won’t form feet. Consider an oven thermometer for accuracy.
Step 8: Cool Down Completely
Once baked, remove the baking sheets from the oven and let the macarons cool completely on the sheet before attempting to remove them. This is critical! If you try to lift them too early, they’ll stick and break. Once cool, they should peel off easily from the parchment or silicone mat.
Step 9: Make the Birthday Cake Buttercream Filling
While your shells are cooling, prepare your filling. In a medium bowl, beat the softened unsalted butter with an electric mixer until light and fluffy (about 2-3 minutes). Gradually add the powdered sugar, one cup at a time, mixing well after each addition.
Add the vanilla extract and almond extract (if using), then slowly add the heavy cream or milk, one tablespoon at a time, until you reach your desired consistency – smooth, creamy, and spreadable. Finally, gently fold in the rainbow sprinkles.
Step 10: Assemble Your Birthday Cake Macarons!
Once the macaron shells are completely cool, match them up by size. Take one macaron shell, pipe or spoon a dollop of buttercream onto the flat side, then gently top with a second shell. Lightly twist to spread the filling evenly.
Your Birthday Cake Macarons are now ready! For best results, place them in an airtight container in the refrigerator for at least 24 hours. This “maturation” period allows the flavors to meld and the shells to soften slightly, achieving that perfect chewy texture. Enjoy!
Tips & Tricks for Macaron Success
Macarons are often called temperamental, but with these actionable tips, you’ll master them in no time!
- Weigh Everything: A digital kitchen scale is your best friend. Even a slight variation in ingredient amounts can throw off the delicate balance needed for macarons.
- Aged Egg Whites: Separating egg whites a day or two in advance and letting them sit at room temperature for a few hours (or even overnight in the fridge) makes them more stable and easier to whip into a stiff meringue.
- Cleanliness is Key: Ensure your mixing bowl and whisk are absolutely grease-free. Any trace of fat can prevent your egg whites from whipping up properly. Wipe them down with lemon juice or vinegar before starting.
- Don’t Rush Macaronage: This folding process is the most critical. Go slowly, test the consistency often. It’s better to under-mix slightly than to over-mix. Over-mixed batter will be too runny and won’t form feet.
- Tap and Rest: Don’t skip tapping the trays to release air bubbles, and allow sufficient resting time for the ‘skin’ to form. This prevents cracking and encourages beautiful feet.
- Oven Calibration: Ovens can vary wildly. Invest in an oven thermometer to ensure your oven is at the correct temperature. Even a 10-degree difference can impact your macarons.
- Humid Weather: Macarons are sensitive to humidity. On very humid days, they might take longer to dry, or the shells might be prone to cracking. Consider baking on drier days if possible.
- Patience for Cooling: Seriously, wait until they are completely cool before attempting to remove them from the mat. They will stick and break if still warm.
- Maturation: While tempting to eat immediately, macarons taste even better the next day after they’ve had a chance to “mature” in the fridge. This allows the filling to soften the shells to that perfect chewy consistency.
Essential Baking Tools
- Digital Kitchen Scale (Absolutely essential for precision!)
- Stand Mixer or Hand Mixer
- Mixing Bowl (Glass or metal preferred for meringue)
- Fine-Mesh Sieve
- Rubber Spatula
- Piping Bags (Disposable or reusable)
- Round Piping Tip (e.g., Ateco 804, Wilton 1A)
- Silicone Baking Mats (like Silpat) or Parchment Paper
- Baking Pan (standard half-sheet pans)
- Oven Thermometer (Highly recommended for accurate baking)
- Measuring Cups (for liquid ingredients and sprinkles)
- Measuring Spoons
Nutrition Info (Estimated per macaron, based on 30 servings)
| Nutrient | Amount |
|---|---|
| Calories | ~100-120 kcal |
| Carbohydrates | ~15-18 g |
| Protein | ~2-3 g |
| Fat | ~4-6 g |
| Fiber | ~0.5-1 g |
| Sugar | ~12-15 g |
*Note: These values are estimates and can vary based on exact ingredients and portion sizes.
Frequently Asked Questions (FAQs) for Beginners
Q1: Why didn’t my macarons get “feet”?
The most common reasons for no feet are an undermixed meringue (not stiff enough), an overmixed macaron batter (too runny), or not allowing the shells to rest long enough to form a skin. Ensure your meringue is stiff, your macaronage is “lava-like,” and the shells are dry to the touch before baking.
Q2: My macaron shells cracked on top. What went wrong?
Cracked shells often indicate trapped air bubbles that weren’t released by tapping the trays, or that the shells weren’t rested long enough to form a proper skin. Sometimes, an oven that’s too hot can also contribute to cracking. Make sure to tap vigorously and let them rest!
Q3: Can I use liquid food coloring instead of gel?
It’s strongly recommended to use gel or powder food coloring. Liquid food coloring adds too much moisture to the batter, which can negatively impact the macaron’s texture and stability, potentially leading to hollow or cracked shells.
Q4: How should I store my Birthday Cake Macarons?
Once filled, store your macarons in an airtight container in the refrigerator for up to 5-7 days. For best flavor and texture, let them come to room temperature for about 15-20 minutes before serving. You can also freeze unfilled shells for up to a month, or filled macarons for a couple of weeks. Thaw in the refrigerator overnight.
Q5: My macarons are hollow. How do I fix this?
Hollow macarons are a common issue. They can be caused by various factors, including an unstable meringue, incorrect oven temperature (often too high initially), or over-macaronage. Ensure your meringue is very stable, consider reducing your oven temperature slightly, and aim for that perfect lava consistency. Sometimes, aging the filled macarons for 24 hours in the fridge can also help reduce hollowness as the filling softens the shell.
Conclusion: Celebrate Your Macaron Success!
You did it! You’ve just created a batch of beautiful, delicious Birthday Cake Macarons! This journey, while requiring a bit of precision and patience, is incredibly rewarding. Each perfect shell, each delicate foot, is a testament to your newfound baking skills. Don’t be discouraged if your first batch isn’t absolutely perfect; macaron making is a skill that improves with practice. Keep experimenting, keep learning, and most importantly, keep enjoying the process. Now go on, share these delightful treats, and bask in the praise. Happy baking!