Ingredients You’ll Need
Gather your components! This recipe uses a few pantry staples combined with a secret ingredient – a box of cake mix – to create a surprisingly versatile dough.
| Ingredient | Quantity | Unit |
|---|---|---|
| Yellow or Vanilla Cake Mix | 1 | (15.25 oz) box |
| All-Purpose Flour | 1/2 | cup |
| Large Eggs | 2 | |
| Vegetable Oil (or melted unsalted butter) | 1/4 | cup |
| Almond Extract | 1 | tsp |
| Vanilla Extract | 1 | tsp |
| Sliced or Chopped Almonds (optional, but highly recommended!) | 1/2 | cup |
Step-by-Step Instructions for Perfect Biscotti
Follow these detailed steps carefully, and you’ll be enjoying homemade biscotti in no time! Remember, baking is a science, but it’s also about having fun.
Step 1: Preheat and Prep Your Baking Sheet
- Begin by preheating your oven to 350°F (175°C). This ensures your oven is at the correct temperature when your dough is ready, promoting even baking.
- Line a large baking sheet with parchment paper. Beginner Tip: Parchment paper prevents sticking and makes cleanup a breeze. Don’t skip this step! If you don’t have parchment paper, you can lightly grease and flour your baking sheet, but parchment is highly recommended for easy handling of the dough logs.
Step 2: Combine Wet Ingredients
- In a medium-sized mixing bowl, whisk together the 2 large eggs, 1/4 cup vegetable oil (or melted butter for a richer flavor), 1 teaspoon almond extract, and 1 teaspoon vanilla extract.
- Beginner Tip: Whisk until the mixture is well combined and slightly frothy. The extracts are key for that classic biscotti flavor, so don’t be shy!
Step 3: Mix Dry Ingredients
- In a separate, larger mixing bowl, combine the entire box of cake mix and 1/2 cup all-purpose flour.
- Why add flour? Cake mix alone creates a very soft dough, too soft for the firm structure needed for biscotti. The added flour helps to achieve that perfect chewiness and crispness after the double bake. Whisk them together briefly to ensure there are no lumps and they are evenly distributed.
Step 4: Combine Wet and Dry Mixtures
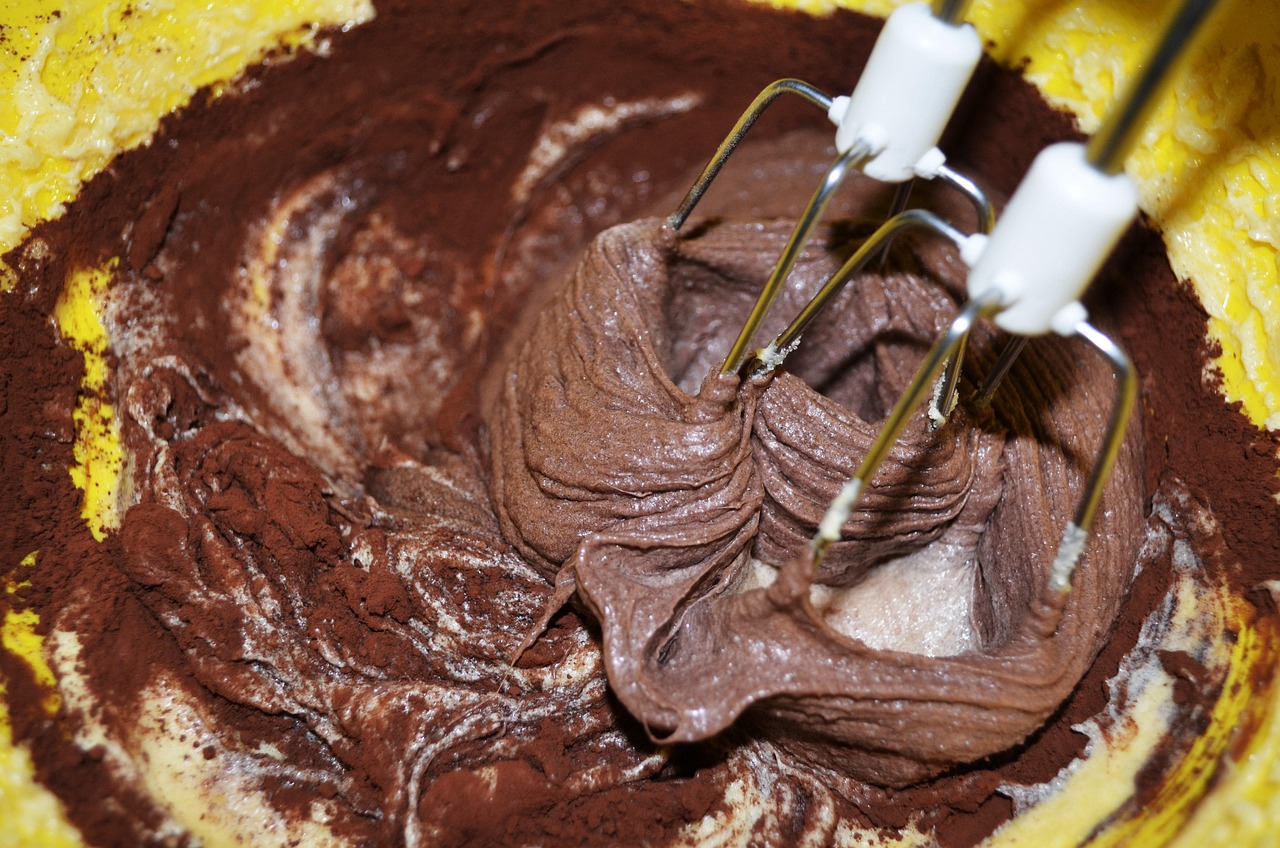
- Pour the wet ingredient mixture into the bowl with your dry ingredients.
- Using a sturdy spoon or a rubber spatula, mix until just combined. The dough will be thick and sticky – this is perfectly normal for biscotti dough!
- Common Mistake & Fix: Do not overmix! Overmixing develops gluten, which can lead to tough biscotti. Mix only until no streaks of dry ingredients remain.
Step 5: Fold in the Almonds (or other mix-ins)
- Gently fold in the 1/2 cup of sliced or chopped almonds. If you’re adding other mix-ins like chocolate chips or dried cranberries, this is the time to add them.
- Beginner Tip: A rubber spatula works best for folding, ensuring even distribution without overworking the dough.
Step 6: Form the Logs
- Lightly flour your hands. This dough is sticky, and a little flour on your hands will make shaping much easier.
- Divide the dough into two equal portions.
- On your prepared baking sheet, shape each portion into a log, approximately 9-10 inches long and 2 inches wide. Make sure they are about 3-4 inches apart, as they will spread slightly during baking.
- Beginner Tip: Try to make the logs as uniform in thickness as possible to ensure even baking. If they are too thin in the middle, they might bake faster there.
Step 7: First Bake (The “Pre-Bake”)
- Place the baking sheet with your dough logs into the preheated oven.
- Bake for 20-25 minutes, or until the logs are lightly golden brown and firm to the touch.
- What to look for: The logs should hold their shape well and feel somewhat solid.
Step 8: Cool and Slice
- Remove the baking sheet from the oven and let the logs cool on the baking sheet for about 10-15 minutes. This cooling period is crucial as it allows the biscotti to firm up, making them much easier to slice without crumbling.
- Reduce your oven temperature to 300°F (150°C) for the second bake.
- Carefully transfer one log to a cutting board. Using a sharp, serrated knife (a bread knife works wonderfully!), slice the log diagonally into 1/2-inch thick pieces.
- Beginner Tip: A serrated knife is essential for clean cuts through the slightly crumbly texture. Saw gently rather than pressing down hard.
Step 9: Second Bake (The “Crunchifier”)
- Arrange the sliced biscotti pieces cut-side up on the same baking sheet (you might need two sheets if they don’t all fit in a single layer).
- Return them to the oven and bake for another 15-20 minutes, flipping them halfway through (around 8-10 minutes) to ensure even toasting on both sides.
- What to look for: The biscotti should be golden brown and feel dry and crisp.
Step 10: Cool Completely and Enjoy!
- Remove the biscotti from the oven and transfer them to a wire rack to cool completely.
- Patience is a virtue here! Biscotti will crisp up further as they cool. Resisting the urge to eat them warm is the hardest part, but it’s worth it for that perfect crunch!
- Once cooled, serve with your favorite coffee, tea, or even a glass of milk.
Tips & Tricks for Biscotti Success
Elevate your baking game with these handy tips and ensure every batch of your cake mix biscotti is a triumph!
- Don’t Overmix the Dough: This is a golden rule in baking! Overmixing develops gluten, which can lead to tough, chewy biscotti instead of light and crisp. Mix only until the ingredients are just combined.
- Flour Your Hands: Biscotti dough can be quite sticky. A light dusting of flour on your hands before shaping the logs will make the process much smoother and less messy.
- Use a Serrated Knife for Slicing: A sharp serrated knife (like a bread knife) is your best friend when it comes to slicing the pre-baked logs. It helps you cut through the slightly crumbly texture cleanly, preventing breakage and creating beautifully uniform pieces.
- Even Thickness is Key: When shaping your logs and slicing your biscotti, aim for consistent thickness. This ensures even baking and a uniform crunch in every bite.
- Cooling is Crucial: Allow your biscotti to cool completely on a wire rack after the second bake. This is when they truly develop their characteristic crispness. Rushing this step will result in softer biscotti.
- Flavor Variations are Endless: Feel free to experiment! Instead of almonds, try pecans, walnuts, or pistachios. Add chocolate chips (mini ones work great!), dried cranberries, or a pinch of citrus zest (lemon or orange) for a bright flavor.
- Storage Savvy: Store cooled biscotti in an airtight container at room temperature for up to 2 weeks. They also freeze beautifully for up to 3 months – just thaw at room temperature before serving.
Essential Baking Tools
Having the right tools makes all the difference, especially for beginners. Here are a few essentials that will make this recipe, and many others, a breeze!
- Mixing Bowl
- Whisk
- Baking Pan (or Baking Sheet)
- Measuring Cups
- Spatula (rubber spatula and a sturdy one for mixing)
- Parchment Paper
- Sharp Serrated Knife (like a bread knife)
- Wire Cooling Rack
Nutrition Information (Estimated)
Here’s an estimated nutritional breakdown per serving for this Biscotti Cake Mix Recipe. Please note that these are approximate values and can vary based on specific brands of ingredients used and portion sizes.
| Nutrient | Per Serving (estimate) |
|---|---|
| Calories | ~170-200 kcal |
| Carbohydrates | ~25-30g |
| Protein | ~3-5g |
| Fat | ~7-10g |
| Fiber | ~1-2g |
| Sugar | ~15-20g |
Frequently Asked Questions (FAQs)
Got questions? We’ve got answers, especially for our beginner bakers!
Q1: My dough is too sticky to handle. What should I do?
A: This is a common issue with biscotti dough! First, try flouring your hands generously before shaping the logs. If it’s still unmanageably sticky, you can add another tablespoon or two of all-purpose flour to the dough, mixing just until it’s slightly less sticky. Be careful not to add too much, as it can make the biscotti dry.
Q2: Can I use a different flavor cake mix?
A: Absolutely! This recipe is incredibly versatile. Chocolate fudge cake mix with chocolate chips and a hint of mint extract would be delicious, or a lemon cake mix with lemon zest for a bright, zesty biscotti. Get creative with your flavor combinations!
Q3: How do I store homemade biscotti to keep them fresh?
A: Once completely cooled, store your biscotti in an airtight container at room temperature. They will stay fresh and crunchy for up to two weeks. For longer storage, you can freeze them in an airtight container for up to three months.
Q4: Why isn’t my biscotti crunchy? It’s a bit soft.
A: The crunch comes from the second bake! If your biscotti are soft, it likely means they didn’t bake long enough during the second round. Pop them back into the 300°F (150°C) oven for another 5-10 minutes, checking frequently, until they feel dry and crisp. Also, ensure they cool completely on a wire rack.
Q5: Can I skip the nuts or add other mix-ins?
A: Yes, the nuts are optional! You can omit them entirely if you prefer a plain biscotti, or substitute them with other ingredients. Mini chocolate chips, dried cranberries, chopped dried apricots, or even some sprinkles (for a fun, festive twist) are all great options. Just keep the total quantity of mix-ins to about 1/2 to 3/4 cup.
Your Biscotti Journey Begins Now!
And there you have it! A truly easy, delightfully delicious Biscotti Cake Mix Recipe that proves you don’t need years of baking experience to create something truly special. This recipe is designed to boost your confidence in the kitchen and show you just how accessible baking can be. Whether you’re making them for a quiet moment with a cup of coffee or to share with friends and family, these biscotti are sure to be a hit. So, grab that box of cake mix, follow these simple steps, and get ready to enjoy the satisfying crunch of your very own homemade biscotti. Don’t be afraid to experiment with flavors and make it your own. Happy baking, and we can’t wait to hear about your biscotti adventures!