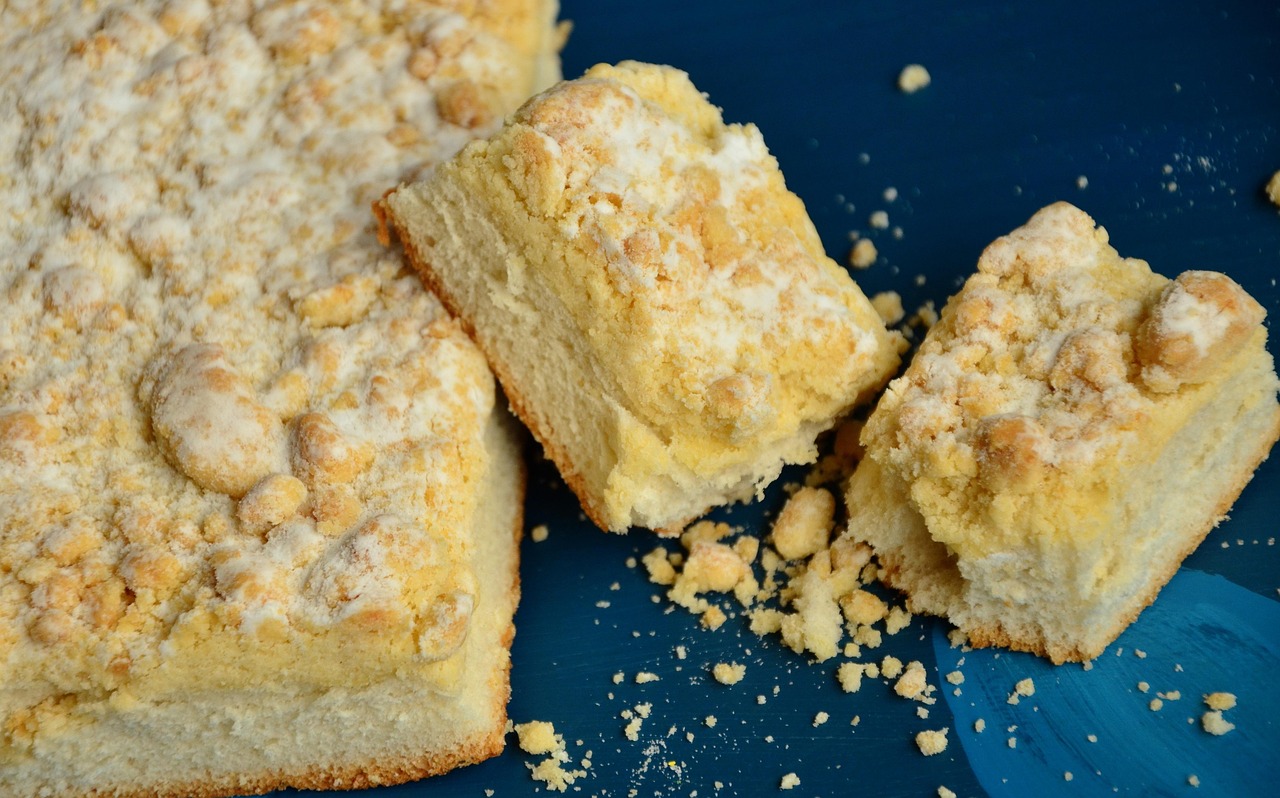
Welcome, fellow baking enthusiasts (and soon-to-be enthusiasts)! If you’ve been searching for a dessert that’s both comforting and bursting with fresh flavor, look no further. This Blackberry Crumb Cake Recipe is an absolute dream come true, especially if you’re venturing into the world of baking for the first time. We’ve crafted this guide to be incredibly easy, walking you through every single step with clear, concise instructions and plenty of baking tips for beginners. Forget complex techniques; this recipe focuses on simple ingredients and straightforward methods to create a moist, tender cake layered with juicy blackberries and topped with a delightful, buttery crumb. Get ready to impress yourself and your loved ones with this truly irresistible treat! It’s one of those easy baking recipes that you’ll want to make again and again.
Ingredients You’ll Need
Precision is key in baking, so make sure to measure your ingredients carefully!
For the Crumb Topping:
| Ingredient | Quantity |
|---|---|
| All-Purpose Flour | 1 cup (120g) |
| Granulated Sugar | ½ cup (100g) |
| Light Brown Sugar, packed | ¼ cup (50g) |
| Ground Cinnamon | ½ teaspoon |
| Unsalted Butter, cold and cubed | ½ cup (113g) |
For the Blackberry Filling:
| Ingredient | Quantity |
|---|---|
| Fresh or Frozen Blackberries | 2 cups (about 250g) |
| Granulated Sugar | 2 tablespoons |
| Cornstarch | 1 tablespoon |
| Lemon Juice | 1 teaspoon |
For the Cake Batter:
| Ingredient | Quantity |
|---|---|
| All-Purpose Flour | 1 ½ cups (180g) |
| Granulated Sugar | ¾ cup (150g) |
| Baking Powder | 1 ½ teaspoons |
| Salt | ½ teaspoon |
| Unsalted Butter, softened | ½ cup (113g) |
| Large Eggs, room temperature | 2 |
| Whole Milk, room temperature | ½ cup (120ml) |
| Vanilla Extract | 1 teaspoon |
Step-by-Step Instructions: Your Baking Journey Begins!
Read through all the steps before you begin. This will help you understand the flow of the recipe and prepare adequately.
1. Prepare Your Crumb Topping First:
- Combine Dry Ingredients: In a medium bowl, whisk together the 1 cup all-purpose flour, ½ cup granulated sugar, ¼ cup packed light brown sugar, and ½ teaspoon ground cinnamon. Whisking ensures everything is evenly distributed.
- Add Cold Butter: Add the ½ cup (113g) of cold, cubed unsalted butter to the dry ingredients.
- Create the Crumb: Using your fingertips, a pastry blender, or a fork, cut the butter into the flour mixture until coarse crumbs form. The mixture should resemble wet sand with some pea-sized pieces of butter remaining. This texture is key for a good crumb. Beginner Tip: Don’t overmix! You want distinct crumbs, not a paste. Set this aside in the refrigerator while you prepare the rest. Chilling helps the crumbs stay distinct during baking.
2. Make the Blackberry Filling:
- Prepare Blackberries: If using fresh blackberries, gently rinse them and pat them dry. If using frozen, let them thaw slightly and drain any excess liquid to prevent the cake from becoming too wet.
- Mix Ingredients: In a small bowl, gently combine the 2 cups of blackberries with 2 tablespoons of granulated sugar, 1 tablespoon of cornstarch, and 1 teaspoon of lemon juice. The cornstarch will help thicken the berry juices, and the lemon juice brightens the flavor.
- Set Aside: Let the filling sit for a few minutes while you prepare the cake batter.
3. Prepare Your Cake Batter:
- Preheat Oven & Prep Pan: Preheat your oven to 375°F (190°C). Grease and flour a 9×9 inch square baking pan or an 8-inch round springform pan. You can also line it with parchment paper for easy removal. Greasing and flouring ensures your cake won’t stick!
- Combine Dry Ingredients: In a medium bowl, whisk together the 1 ½ cups all-purpose flour, ¾ cup granulated sugar, 1 ½ teaspoons baking powder, and ½ teaspoon salt. Set aside.
- Cream Butter and Sugar: In a large mixing bowl, using an electric mixer (handheld or stand mixer with paddle attachment), beat the ½ cup (113g) softened unsalted butter and ¾ cup granulated sugar on medium-high speed until light and fluffy, about 2-3 minutes. This step is called “creaming” and incorporates air, making your cake tender. Beginner Tip: Make sure your butter is truly softened (not melted!) – it should yield easily to a gentle press.
- Add Eggs: Add the 2 large room temperature eggs one at a time, beating well after each addition until just combined. Scrape down the sides of the bowl as needed. Room temperature eggs emulsify better with the butter, creating a smoother batter.
- Add Vanilla: Stir in the 1 teaspoon vanilla extract.
- Alternate Dry and Wet: With the mixer on low speed, gradually add the dry ingredients to the wet ingredients in three additions, alternating with the ½ cup whole milk in two additions. Begin and end with the dry ingredients. For example: dry, milk, dry, milk, dry. Mix until just combined after each addition. Crucial Tip: Do NOT overmix! Overmixing develops gluten, leading to a tough, dry cake. Mix only until no streaks of flour remain.
4. Assemble and Bake Your Crumb Cake:
- Layer the Batter: Pour about half of the cake batter into your prepared baking pan and spread it evenly with a spatula. It doesn’t have to be perfect.
- Add Blackberry Filling: Evenly spoon the blackberry filling over the first layer of batter. Try to avoid pushing the berries right to the edges of the pan, as they can sometimes stick.
- Top with Remaining Batter: Carefully dollop the remaining cake batter over the blackberry layer. Gently spread it out to cover the berries as much as possible. It’s okay if some berries peek through.
- Sprinkle Crumb Topping: Retrieve your chilled crumb topping from the refrigerator and generously sprinkle it over the top of the cake batter.
- Bake: Place the pan in the preheated oven. Bake for 45-55 minutes, or until a wooden skewer or toothpick inserted into the center of the cake comes out with moist crumbs attached (not wet batter). If the topping starts to brown too quickly, you can loosely tent it with aluminum foil. Oven Variation: Ovens vary, so keep an eye on your cake. Start checking around 40 minutes.
- Cool: Once baked, remove the cake from the oven and let it cool in the pan on a wire rack for at least 30 minutes before attempting to slice. Cooling completely allows the cake to set properly and prevents it from falling apart. For best results, let it cool completely to room temperature.
Tips & Tricks for Baking Success
- Measure Accurately: Baking is a science! Use proper measuring cups and spoons, and for dry ingredients like flour, spoon it into the measuring cup and level it off with a straight edge (like the back of a knife) rather than scooping directly from the bag. Better yet, invest in a kitchen scale for ultimate precision.
- Room Temperature Ingredients are Key: This isn’t just a suggestion! Softened butter and room temperature eggs and milk emulsify better, creating a smoother, more uniform batter and a lighter, fluffier cake. Take them out of the fridge at least 30-60 minutes before you start.
- Don’t Overmix: When adding dry ingredients to wet, mix only until just combined. Overmixing develops gluten, which can lead to a tough, dense cake. A few small lumps are better than overmixed batter.
- Know Your Oven: Ovens can vary widely in temperature. Consider getting an oven thermometer to ensure your oven is truly at the temperature you set it to. This helps prevent under or over-baking.
- Check for Doneness Properly: The toothpick test is reliable. Insert a wooden skewer or toothpick into the center of the cake. If it comes out clean or with a few moist crumbs, it’s done. If it’s wet with batter, continue baking for a few more minutes.
- Cool Completely: Resist the urge to cut into the cake while it’s still warm. Crumb cakes need time to set, and cutting too early can result in a crumbly mess. Patience is a virtue in baking!
- Storage: Store leftover crumb cake tightly covered at room temperature for up to 2-3 days, or in the refrigerator for up to 5 days. You can also freeze individual slices for longer storage.
Essential Baking Tools
Having the right tools makes baking much easier and more enjoyable!
- Mixing Bowls (various sizes)
- Whisk
- 9×9 Inch Square Baking Pan or 8-inch Round Springform Pan
- Measuring Cups and Spoons
- Rubber Spatula
- Electric Mixer (handheld or stand mixer)
- Pastry Blender (optional, for crumb topping)
- Wire Cooling Rack
Nutrition Information (Estimated per Serving)
Please note, these values are estimates and can vary based on specific ingredients and portion sizes. This recipe yields approximately 12 servings.
| Nutrient | Amount (per serving) |
|---|---|
| Calories | 350-400 kcal |
| Carbohydrates | 50-60 g |
| Protein | 4-6 g |
| Fat | 15-20 g |
| Fiber | 2-3 g |
| Sugar | 30-40 g |
Frequently Asked Questions (FAQs)
Q1: Can I use frozen blackberries instead of fresh?
Absolutely! If using frozen blackberries, there’s no need to completely thaw them. You can toss them with the sugar, cornstarch, and lemon juice directly from frozen. Just be sure to drain any excess liquid that might accumulate as they sit, to prevent the cake from becoming too watery. The baking time might increase by a few minutes.
Q2: How do I know if my cake is fully baked?
The best way is to insert a wooden skewer or toothpick into the very center of the cake. If it comes out clean or with only a few moist crumbs attached, your cake is done. If you see wet batter, bake for another 5-10 minutes and test again. Also, the edges of the cake should be golden brown, and the crumb topping should be nicely toasted.
Q3: My crumb topping isn’t crumbly enough, what went wrong?
This usually happens if the butter wasn’t cold enough or if you overmixed the ingredients. For a good crumb, you want the butter to be cold and cut into small pieces. When mixing, use your fingertips or a pastry blender to gently work the butter into the flour until coarse crumbs form. Don’t knead or press too hard, as this will melt the butter and create more of a dough than a crumb.
Q4: Can I make this cake ahead of time?
Yes, this cake is actually wonderful on the second day as the flavors meld even more. You can bake it a day in advance and store it tightly covered at room temperature. For longer storage, individual slices can be wrapped and frozen for up to 1-2 months. Thaw at room temperature or gently warm in the microwave.
Q5: Can I substitute other fruits for blackberries?
Definitely! This recipe is very versatile. You can use raspberries, blueberries, sliced strawberries, or a mix of berries. Just ensure the fruit quantities remain similar, and adjust the sugar slightly if your chosen fruit is much sweeter or tarter than blackberries.
Q6: Why is room temperature butter so important?
Room temperature butter is crucial because it creams with sugar much more effectively, creating tiny air pockets. These air pockets are what give your cake a light and tender texture. Cold butter won’t cream properly, and melted butter will lead to a dense, greasy cake. Likewise, room temperature eggs emulsify better with the butter and sugar, leading to a smoother, more uniform batter.
Enjoy Your Homemade Blackberry Crumb Cake!
Congratulations, baker! You’ve just created a truly magnificent Blackberry Crumb Cake Recipe from scratch. Whether this is your first baking adventure or a delightful addition to your repertoire of easy baking recipes, you should be incredibly proud. The aroma filling your kitchen is just the beginning of the delicious experience awaiting you. This cake is perfect for breakfast, brunch, or a lovely dessert with a cup of coffee. Don’t be afraid to experiment with different berries next time! We hope these baking tips for beginners have empowered you to step into the kitchen with confidence. Happy baking, and don’t forget to share your creations with us.