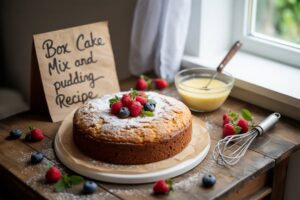
Ever wished baking could be simpler, yielding consistently perfect results every single time? Well, your wish is about to come true! Welcome to the secret weapon in every smart baker’s arsenal: the Box Cake Mix And Pudding Recipe. This isn’t just another cake; it’s a transformation. By adding a simple box of instant pudding mix to your favorite cake mix, you unlock unparalleled moisture, a richer flavor, and a denser, more tender crumb that will have everyone asking for your “secret ingredient.”
Forget dry, crumbly cakes of the past. This method is one of the ultimate easy baking recipes for anyone, especially those looking for baking tips for beginners. It takes minimal extra effort but delivers maximum impact. Whether you’re a seasoned pro looking for a shortcut or a complete novice stepping into the kitchen for the first time, this recipe is your golden ticket to a show-stopping dessert. Get ready to impress yourself and your loved ones with a cake that tastes homemade, even though it started with a box!
Why This Recipe Is a Game-Changer for Beginners
Baking can sometimes feel intimidating, with precise measurements and complex techniques. But this Box Cake Mix And Pudding Recipe simplifies everything. It builds on the reliability of a pre-formulated cake mix and enhances it with the magical properties of instant pudding. The pudding mix contains starches that absorb extra moisture during baking, preventing your cake from drying out and giving it that luxurious, melt-in-your-mouth texture. It’s truly one of the best baking tips for beginners you’ll ever learn!
Ingredients You’ll Need
Gathering your ingredients is the first step to baking success. Here’s what you’ll need for this incredibly moist and delicious cake. Most of these can be found in any standard grocery store!
| Ingredient | Quantity | Unit |
|---|---|---|
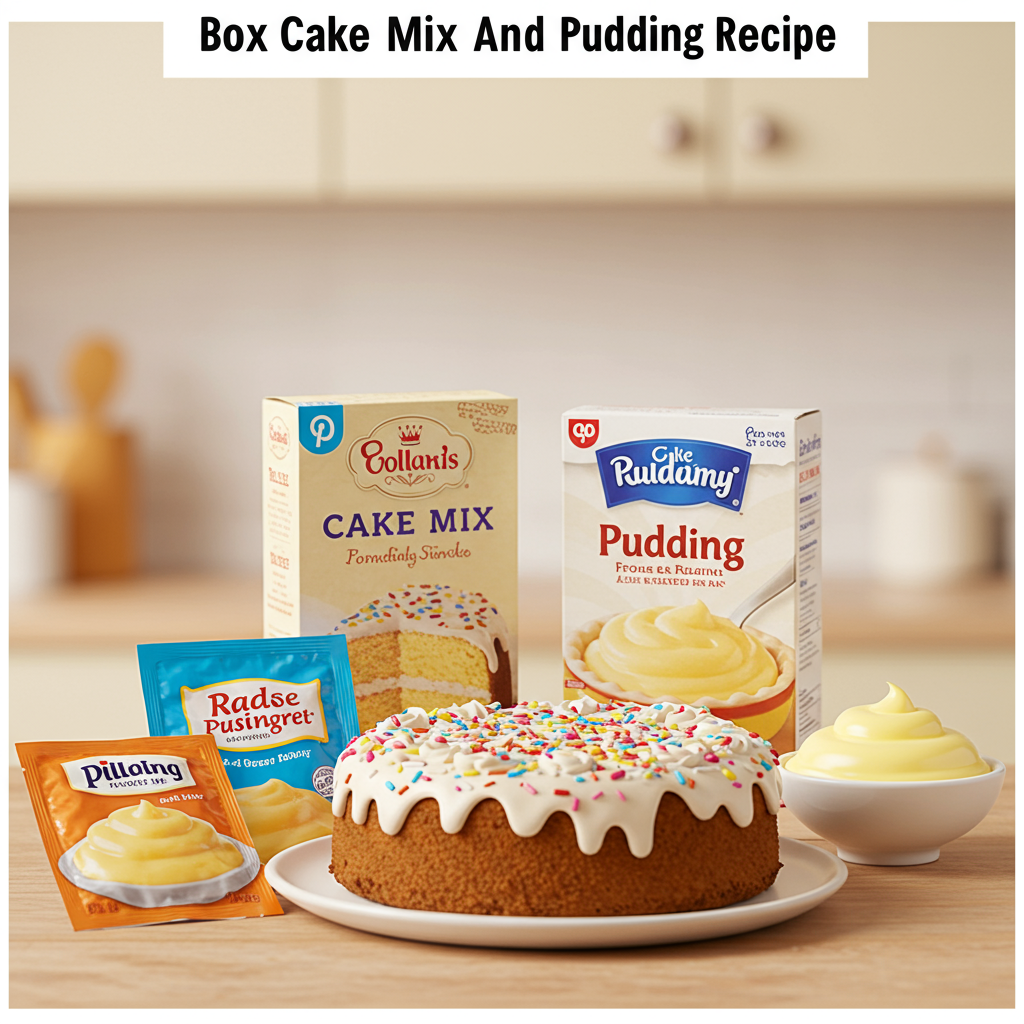
| Boxed Yellow Cake Mix | 1 (15.25 oz) | package |
| Instant Vanilla Pudding Mix (not sugar-free, not cook-and-serve) | 1 (3.4 oz) | package |
| Large Eggs | 4 | |
| Vegetable Oil | ½ | cup (120 ml) |
| Water (or whole milk for extra richness) | 1 | cup (240 ml) |
| Optional: Vanilla Extract | 1 | teaspoon |
Step-by-Step Instructions: Your Path to a Perfect Cake
Follow these detailed instructions carefully, and you’ll be enjoying a perfectly moist cake in no time. We’ve included beginner-friendly tips every step of the way!
Step 1: Preheat Your Oven & Prepare Your Pan
This crucial first step sets the stage for even baking. Preheat your oven to 350°F (175°C). While the oven warms up, prepare your baking pan. For this recipe, a 9×13 inch baking pan is ideal. To prevent sticking, generously grease the bottom and sides of the pan with butter, shortening, or non-stick baking spray. For extra insurance, you can lightly flour the greased pan, tapping out any excess flour. A fantastic trick for easy cake removal is to line the bottom of the pan with parchment paper after greasing, then grease and flour the parchment paper too! This makes flipping the cake out a breeze.
Beginner Tip: Don’t skip the pan preparation! A sticky cake is a frustrating cake. If you’re using a dark metal pan, you might want to reduce the oven temperature by 25°F (about 15°C) as dark pans absorb more heat and can lead to over-browning.
Step 2: Combine the Dry Ingredients
In a large mixing bowl, empty the entire package of boxed yellow cake mix. Next, add the entire package of instant vanilla pudding mix. It’s very important to use “instant” pudding, not “cook-and-serve” or “sugar-free,” as these have different properties that won’t give you the desired moist result. Use a whisk to thoroughly combine these two dry ingredients. Make sure there are no lumps of pudding mix left; you want a uniform blend.
Beginner Tip: Mixing the dry ingredients well ensures that the pudding is evenly distributed throughout the cake batter, which is key for consistent moisture and flavor. Don’t rush this step!
Step 3: Add the Wet Ingredients
Once your dry ingredients are well combined, it’s time to introduce the wet components. Crack the 4 large eggs directly into the bowl. Pour in the ½ cup of vegetable oil and the 1 cup of water (or milk, if you’re opting for a richer cake). If you’re using the optional 1 teaspoon of vanilla extract, add it now. This extra splash of vanilla can deepen the flavor profile beautifully.
Beginner Tip: Using room temperature eggs can lead to a lighter, fluffier cake. If your eggs are cold, you can warm them quickly by placing them in a bowl of warm (not hot) water for 5-10 minutes before using.
Step 4: Mix the Batter
Now for the fun part! Using an electric mixer (either a stand mixer with the paddle attachment or a hand mixer), start mixing on low speed until the dry ingredients are just moistened. Then, increase the speed to medium and beat for exactly 2 minutes. During this time, scrape down the sides of the bowl with a spatula once or twice to ensure everything is fully incorporated.
Beginner Tip: Do NOT overmix! Overmixing develops the gluten in the flour too much, which can lead to a tough, chewy cake instead of a tender, moist one. Stick to the 2-minute rule. The batter might still have a few tiny lumps, and that’s perfectly fine.
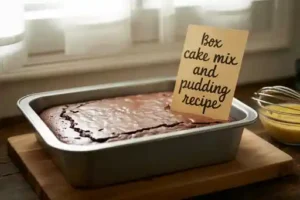
Step 5: Pour into the Pan & Bake
Carefully pour the cake batter into your prepared 9×13 inch baking pan. Use your spatula to spread the batter evenly across the pan. Place the pan into your preheated oven. Bake for approximately 30-35 minutes. Baking times can vary slightly depending on your oven, so keep an eye on it.
Beginner Tip: Avoid opening the oven door too frequently during baking, especially in the first 20-25 minutes. Sudden temperature drops can cause your cake to sink in the middle.
Step 6: Check for Doneness
To check if your cake is done, gently insert a toothpick into the center of the cake. If it comes out clean or with a few moist crumbs attached (but no wet batter), your cake is ready! If it comes out with wet batter, continue baking for another 2-5 minutes and test again.
Beginner Tip: An overbaked cake is a dry cake! It’s better to slightly underbake than overbake, as the cake continues to cook slightly from residual heat once removed from the oven.
Step 7: Cool Your Cake
Once baked, remove the cake from the oven and place it on a wire rack to cool in the pan for about 10-15 minutes. This initial cooling period allows the cake to set and prevents it from breaking when you remove it. After 10-15 minutes, if you wish to remove it from the pan, invert the cake onto the wire rack to cool completely. If you lined your pan with parchment paper, you can simply lift the cake out by the paper. Allow the cake to cool completely before frosting or serving, as frosting a warm cake will cause it to melt.
Beginner Tip: Patience is a virtue in baking! Cooling your cake completely before frosting is essential for a smooth, professional-looking finish. Rushing this step will lead to a messy, melted frosting situation.
Tips & Tricks for Box Cake Mix Perfection
Want to elevate your **Box Cake Mix And Pudding Recipe** even further? These actionable tips will help you achieve bakery-quality results every time, even if you’re a complete beginner!
- Room Temperature Ingredients: This is a golden rule in baking! Using room temperature eggs and any liquid (like milk or water) helps them emulsify better with the fats, creating a smoother batter and a more uniform, tender crumb.
- Don’t Overmix: We can’t stress this enough! Mix just until the ingredients are combined and no dry streaks remain. Overmixing develops gluten, leading to a tough, dense cake. Once the 2 minutes are up, stop the mixer.
- Substitute Water with Milk: For an even richer, denser, and more flavorful cake, swap out the recommended water for whole milk or even buttermilk. The added fat and acidity contribute to superior moisture and texture.
- Add Sour Cream or Greek Yogurt: For the ultimate moisture bomb, add ½ cup of full-fat sour cream or plain Greek yogurt to your batter along with the wet ingredients. It makes the cake incredibly tender and luscious.
- Extra Flavor Boost: Don’t be shy about adding an extra teaspoon of vanilla extract, almond extract, or even a dash of lemon zest to your batter. These small additions can significantly enhance the overall flavor.
- Proper Pan Preparation: Always grease and flour your pan thoroughly. For extra peace of mind, line the bottom with parchment paper. This ensures your beautiful cake releases effortlessly.
- Altitude Adjustments: If you live at a high altitude (3,500 feet or more above sea level), box cake mixes might need slight adjustments. Typically, this involves adding a bit more liquid, reducing leavening, or increasing oven temperature. Check the cake mix box for specific high-altitude instructions.
- Get Creative with Pudding Flavors: While vanilla is a classic, don’t limit yourself! Try chocolate pudding with chocolate cake mix, lemon pudding with yellow cake mix, or even cheesecake pudding for a unique twist.
- Cool Completely Before Frosting: This step is non-negotiable! Frosting a warm cake will result in a melted, runny mess. Patience here will be rewarded with a beautiful, smooth finish.
Essential Baking Tools
Having the right tools makes baking a breeze! Here are some essential items that will help you master this recipe and many others. We’ve included links to help you find them easily on Amazon.
- Mixing Bowl – A sturdy, large mixing bowl is indispensable for combining your ingredients.
- Whisk – Perfect for blending dry ingredients and ensuring a smooth batter.
- 9×13 Inch Baking Pan – The ideal size for this recipe, ensuring even baking.
- Measuring Cups – Accurate measurements are key to consistent baking results.
- Spatula – Essential for scraping down the sides of your bowl and spreading batter evenly.
- Electric Mixer (Handheld or Stand) – While not hyperlinked, an electric mixer will make mixing much easier and more efficient.
- Wire Cooling Rack – Helps air circulate around the cake for even cooling.
Estimated Nutrition Information (Per Serving)
Please note: This nutrition information is an estimation based on a typical 15.25 oz yellow cake mix and 3.4 oz instant pudding mix, prepared with the listed ingredients and divided into 12 servings. Values can vary based on specific brands and any additional ingredients or frosting. This does not include frosting.
| Nutrient | Amount (Approx.) |
|---|---|
| Calories | 280-320 kcal |
| Carbohydrates | 45-55 g |
| Protein | 3-5 g |
| Fat | 12-16 g |
| Fiber | 0-1 g |
| Sugar | 28-38 g |
Frequently Asked Questions (FAQs)
1. Can I use sugar-free or “cook-and-serve” pudding mix?
No, it’s highly recommended to use instant, regular (not sugar-free) pudding mix. Sugar-free pudding contains different starches and ingredients that won’t provide the same moisture-enhancing properties. “Cook-and-serve” pudding requires heat to thicken, which means it won’t work correctly in a cake batter.
2. My cake sank in the middle! What went wrong?
A sunken cake can happen for a few reasons:
- Oven Temperature: Your oven might be too cool, or you might have opened the oven door too early, causing a sudden temperature drop.
- Overmixing: As mentioned, overmixing develops gluten, which can cause the cake to rise too quickly and then collapse.
- Expired Leavening: If your cake mix or pudding mix is old, the leavening agents might not be active enough.
- Too Much Liquid: Double-check your measurements to ensure you didn’t add too much liquid.
3. How do I store this cake?
Once cooled and frosted (if applicable), store the cake covered at room temperature for up to 2-3 days. If your frosting contains dairy (like cream cheese frosting), or if you live in a very warm climate, it’s best to store the cake in the refrigerator. Bring it to room temperature before serving for the best flavor and texture.
4. Can I make cupcakes with this recipe?
Absolutely! This recipe works wonderfully for cupcakes. Simply line a muffin tin with paper liners and fill each about two-thirds full with batter. Bake at 350°F (175°C) for approximately 18-22 minutes, or until a toothpick inserted into the center comes out clean. This recipe should yield about 24 cupcakes.
5. What if I don’t have vegetable oil? Can I use butter?
While vegetable oil is often recommended for its neutral flavor and ability to keep cakes moist, you can substitute it with an equal amount of melted unsalted butter. Keep in mind that butter will slightly change the texture and flavor, making it a bit denser. Other neutral oils like canola or grapeseed oil are also good substitutes.
6. Can I use a different flavor of cake mix or pudding?
Yes, absolutely! This is where the fun begins. Feel free to experiment with different combinations. Chocolate cake mix with chocolate pudding, lemon cake mix with lemon pudding, or even a white cake mix with pistachio pudding for a fun green cake. The possibilities are endless!
Conclusion: Your Moist Cake Journey Starts Now!
Congratulations, budding baker! You’ve just discovered one of the simplest yet most effective baking tips for beginners out there. This Box Cake Mix And Pudding Recipe is your ticket to consistently moist, flavorful, and utterly delicious cakes that taste like they came straight from a gourmet bakery. No more dry, crumbly disappointments – just pure, tender cake perfection every single time.
Don’t be afraid to experiment with different cake and pudding flavor combinations, or to add a little extra vanilla extract or sour cream for an even richer experience. Baking is a journey of discovery, and this recipe is the perfect starting point to build your confidence and impress everyone with your newfound skills. So grab your mixing bowl, preheat your oven, and get ready to bake a cake that will become a cherished favorite in your home. Happy baking!
1 thought on “Box Cake Mix And Pudding Recipe – Ultimate Baking Treat”