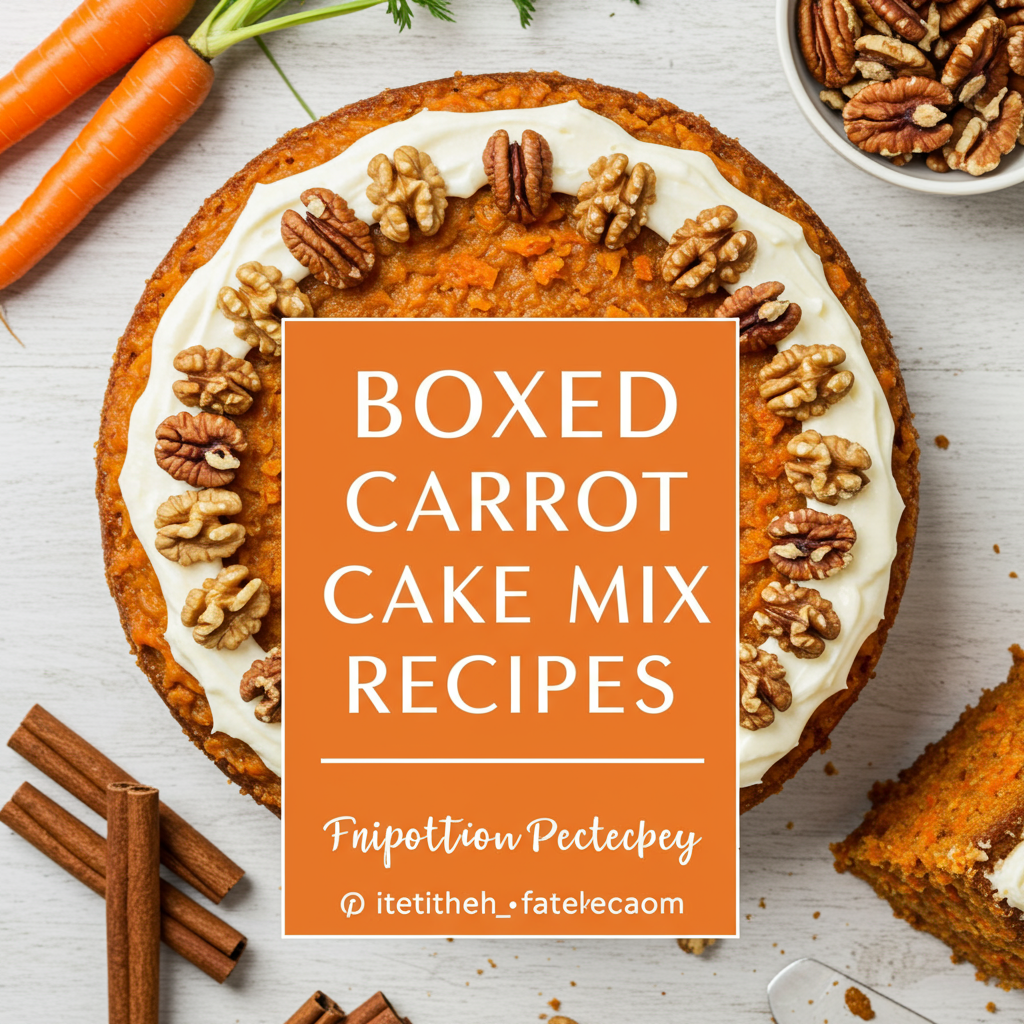
Welcome, aspiring bakers! Are you craving a moist, spiced carrot cake but feel intimidated by complicated recipes? You’ve come to the right place! This guide is specifically designed for you. We’re going to transform a simple Boxed Carrot Cake Mix into an absolutely delightful dessert that tastes homemade, without all the fuss. Forget the stress; we’re focusing on easy baking recipes that build confidence. By the end of this post, you’ll have a fantastic cake and a collection of invaluable baking tips for beginners to carry into your future culinary adventures. Get ready to impress yourself and your loved ones with this incredibly forgiving and utterly delicious carrot cake!
Ingredients You’ll Need
While the box mix provides most of the heavy lifting, we’ll add a few simple ingredients to make it extra special. Don’t worry, these are all common items!
For the Cake:
| Ingredient | Quantity | Unit |
|---|---|---|
| Boxed Carrot Cake Mix (e.g., Duncan Hines, Betty Crocker) | 1 | (15.25 oz / 432g) |
| Large Eggs | 3 | |
| Vegetable Oil (or other neutral oil like canola) | 1/2 | cup |
| Water | 1 | cup |
| Optional: Finely Shredded Carrots (for extra moisture/flavor) | 1/2 – 1 | cup |
| Optional: Chopped Pecans or Walnuts | 1/2 | cup |
| Optional: Raisins or Golden Raisins | 1/4 – 1/2 | cup |
| Optional: Ground Cinnamon (for extra spice) | 1/2 | teaspoon |
For the Cream Cheese Frosting (Homemade – Recommended!):
If you’re truly a beginner and want to keep it super simple, feel free to use a 16-ounce can of store-bought cream cheese frosting instead!
| Ingredient | Quantity | Unit |
|---|---|---|
| Cream Cheese, softened | 8 | ounces |
| Unsalted Butter, softened | 1/2 | cup (1 stick) |
| Powdered Sugar (Confectioners’ Sugar) | 3 – 4 | cups |
| Vanilla Extract | 1 | teaspoon |
| Pinch of Salt (optional, balances sweetness) | 1/8 | teaspoon |
Step-by-Step Instructions: Your Guide to a Perfect Carrot Cake
Follow these detailed steps carefully, and you’ll be amazed at what you can create!
Step 1: Preheat Your Oven & Prep Your Pan
- Preheat: Set your oven to the temperature indicated on your specific box mix, usually around 350°F (175°C). It’s crucial to preheat your oven completely before placing your cake inside. This ensures even baking and helps the cake rise properly from the start. Don’t rush this step!
- Pan Preparation: Choose a 9×13 inch baking pan for a sheet cake, or two 8-inch/9-inch round cake pans for a layer cake. For cupcakes, use a 12-cup muffin tin.
- For a 9×13 pan: Lightly grease the bottom and sides of the pan with butter, shortening, or non-stick baking spray. Then, lightly flour the greased pan. To do this, add a tablespoon or two of all-purpose flour to the greased pan, tilt and tap the pan until the flour coats all greased surfaces, then tap out any excess flour. This prevents your cake from sticking – a common beginner frustration!
- For round pans: Grease and flour as above, or line the bottoms with parchment paper rounds for extra non-stick insurance.
- For cupcakes: Line your muffin tin with paper liners. No greasing needed!
Step 2: Combine Wet Ingredients
- In a large mixing bowl, crack your 3 large eggs. Add the 1/2 cup vegetable oil and 1 cup water.
- Using a whisk or an electric mixer on low speed, beat these wet ingredients together until they are well combined and slightly frothy. This usually takes about 1-2 minutes. Mixing them first helps ensure everything is evenly distributed when you add the dry mix.
Step 3: Add the Boxed Cake Mix & Optional Extras
- Pour the entire contents of your Boxed Carrot Cake Mix into the bowl with the wet ingredients.
- Add your optional ingredients now: If you’re using finely shredded carrots, chopped nuts, raisins, or extra cinnamon, gently fold them into the batter at this stage. Adding them now ensures they are evenly distributed throughout the cake.
- Mix Carefully: With your whisk or electric mixer on *low speed*, begin mixing the dry ingredients into the wet. Mix just until everything is combined. It’s okay if there are a few small lumps – that’s normal! The key here is to **avoid overmixing**. Overmixing develops the gluten in the flour, which can lead to a tough, dry, or rubbery cake. Stop mixing as soon as you don’t see any streaks of dry mix. This usually takes only 1-2 minutes.
Step 4: Pour Batter into Pan & Bake
- Carefully pour your cake batter into your prepared baking pan(s), spreading it evenly with a spatula. If using round pans, divide the batter equally between them.
- Place the pan(s) into your preheated oven.
- Baking Time:
- For a 9×13 inch sheet cake: Bake for approximately 30-35 minutes.
- For two 8-inch/9-inch round cakes: Bake for approximately 25-30 minutes.
- For cupcakes: Bake for approximately 18-22 minutes.
Baking times can vary significantly between ovens, so always use the visual and toothpick tests for doneness.
- Check for Doneness: After the minimum baking time, insert a wooden toothpick into the center of the cake. If it comes out clean or with a few moist crumbs attached (but no wet batter), your cake is done! If it comes out with wet batter, continue baking for another 2-5 minutes and test again.
Step 5: Cool the Cake
- Once baked, remove the cake from the oven.
- Let the cake cool in its pan on a wire rack for about 10-15 minutes. This allows the cake to firm up slightly, making it easier to handle.
- After 10-15 minutes, carefully invert the cake onto the wire rack to cool completely. If using round pans, invert each layer. If making cupcakes, remove them from the tin and place them directly on the wire rack.
- This step is CRUCIAL: Your cake must be completely cool before you attempt to frost it. If you frost a warm cake, the frosting will melt and slide right off, creating a sticky mess. This can take 1-2 hours, or even longer for a thick sheet cake. Patience is a virtue in baking!
Step 6: Prepare the Cream Cheese Frosting (If Homemade)
If you’re using store-bought frosting, skip this step and simply open your can!
- In a medium mixing bowl, using an electric mixer, beat the 8 ounces softened cream cheese and 1/2 cup softened unsalted butter together on medium speed until smooth and creamy, about 2-3 minutes. Make sure both are at room temperature for the best consistency and to avoid lumps.
- Gradually add the 3-4 cups powdered sugar, starting with 1 cup at a time, mixing on low speed until combined, then increasing to medium speed. Continue adding sugar until you reach your desired sweetness and consistency.
- Stir in the 1 teaspoon vanilla extract and the optional pinch of salt. Beat on medium-high speed for another 1-2 minutes until the frosting is light, fluffy, and smooth. If it’s too thick, add a tiny splash of milk (1/2 teaspoon at a time) until it reaches your desired consistency. If too thin, add more powdered sugar.
Step 7: Frost and Serve!
- Once your cake is completely cool, it’s time to frost! Use an offset spatula or a knife to spread the cream cheese frosting evenly over the top and sides of the cake. For cupcakes, you can use a knife or a piping bag with a decorative tip.
- For an extra touch, you can sprinkle a few more chopped nuts or a dusting of cinnamon on top.
- Slice and serve your delicious, “homemade” carrot cake!
Tips & Tricks for Baking Success
These little nuggets of wisdom will elevate your baking game and help you avoid common beginner pitfalls.
- Room Temperature Ingredients are Key: For the frosting, ensure your cream cheese and butter are softened at room temperature. This makes them much easier to cream together smoothly, preventing lumps in your frosting. For the cake mix, the liquid ingredients (eggs, water) are often best at room temp too, as they incorporate more smoothly into the batter.
- Don’t Overmix the Batter: This is one of the most common beginner mistakes! Mix only until the dry ingredients are just combined and no streaks of flour remain. Overmixing develops gluten, leading to a tough, dense, and dry cake.
- Measure Accurately: Baking is a science! Use proper measuring cups for dry ingredients (levelled off with a straight edge) and liquid measuring cups for wet ingredients (read at eye level). Even small deviations can impact the texture and rise of your cake.
- Grease and Flour Properly: A well-prepped pan is your best friend. A cake stuck to the bottom of the pan is incredibly frustrating. Don’t skip the greasing and flouring (or parchment paper) steps.
- Invest in an Oven Thermometer: Oven temperatures can vary significantly from what the dial says. An inexpensive oven thermometer will give you an accurate reading, ensuring your cakes bake at the correct temperature every time. This helps prevent under or over-baking.
- Cool Completely: We can’t stress this enough! Frosting a warm cake will result in a runny, messy disaster. Allow ample time for your cake to cool down before applying any frosting.
- Add a Zest of Flavor: For an extra bright flavor in your frosting, add 1/2 teaspoon of fresh orange or lemon zest. It beautifully complements the cream cheese and carrot flavors.
- Storage: Carrot cake with cream cheese frosting should be stored in an airtight container in the refrigerator due to the dairy in the frosting. It will stay fresh for 3-5 days.
Essential Baking Tools
Having the right tools makes baking easier and more enjoyable. Here are a few basics we recommend:
- Mixing Bowl
- Whisk
- Baking Pan (9×13 inch or 8/9 inch round)
- Measuring Cups & Spoons
- Spatula (rubber or offset for frosting)
- Electric Mixer (handheld or stand mixer – optional but highly recommended for frosting)
- Wire Cooling Rack
- Toothpicks (for testing doneness)
Nutrition Information (Estimated Per Slice)
Please note: This is an estimated nutritional breakdown for one slice (assuming 16 slices from a 9×13 cake) and can vary based on the specific brand of cake mix, oil used, and frosting recipe/amount applied.
| Nutrient | Amount |
|---|---|
| Calories | 350-450 kcal |
| Carbohydrates | 45-60 g |
| Protein | 3-5 g |
| Fat | 18-25 g |
| Fiber | 1-2 g |
| Sugar | 30-45 g |
Frequently Asked Questions (FAQs)
1. Can I add more carrots to the mix?
Yes, absolutely! The box mix often has a minimal amount. Adding 1/2 to 1 cup of finely shredded fresh carrots will boost flavor, moisture, and texture. Just make sure they are very finely shredded so they blend seamlessly into the cake.
2. Why is my cake dry?
The most common reasons for a dry cake are overmixing the batter (which develops gluten and makes the cake tough) or overbaking it (leaving it in the oven for too long). Make sure to mix just until combined and use the toothpick test to avoid overbaking.
3. Can I substitute applesauce for oil?
You can often substitute unsweetened applesauce for half or all of the oil in a boxed cake mix to reduce fat and calories. However, be aware that it might alter the texture slightly, making the cake a bit denser or gummier. Start by replacing half the oil first to see if you like the result.
4. How do I know when the cake is perfectly baked?
The best way is the toothpick test. Insert a wooden toothpick into the very center of the cake. If it comes out clean, the cake is done. If it comes out with wet batter, it needs more time. A few moist crumbs are acceptable and indicate a perfectly moist cake.
5. Can I make cupcakes with this recipe?
Yes! This recipe is fantastic for cupcakes. Simply line a muffin tin with paper liners, fill each liner about two-thirds full, and bake for approximately 18-22 minutes. Test for doneness with a toothpick as you would with a regular cake.
6. How should I store leftover carrot cake?
Because cream cheese frosting contains dairy, carrot cake with this frosting should always be stored in an airtight container in the refrigerator. It will stay fresh and delicious for 3-5 days. You can also freeze individual slices for longer storage (up to 2-3 months).
Ready to Bake Your Masterpiece?
You now have everything you need to bake a truly fantastic carrot cake using a simple boxed mix. Remember, baking should be fun and rewarding, not stressful! Don’t be afraid to experiment a little with the optional add-ins, and most importantly, enjoy the process.

This Boxed Carrot Cake Mix Recipe is your perfect entry into the world of delicious baking. We’re confident that your first attempt will be a huge success, and you’ll be proud to share your creation. Happy baking!