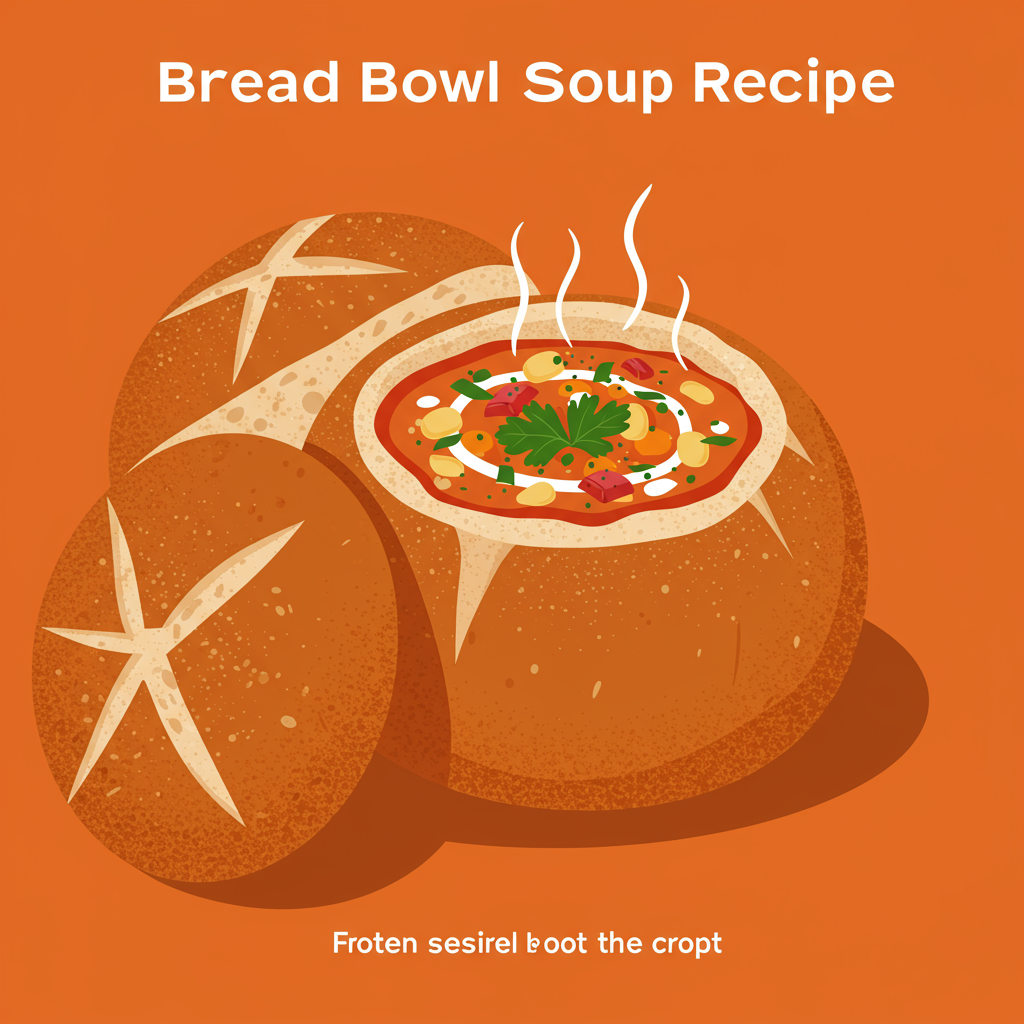
Warm Your Soul with Our Easy Bread Bowl Soup Recipe: A Beginner’s Guide!
There’s something incredibly comforting about a warm bowl of soup, especially when that bowl is made of freshly baked, crusty bread! If you’ve ever dreamt of serving up a show-stopping meal that looks impressive but is surprisingly simple to make, then our **Bread Bowl Soup Recipe** is exactly what you need. This guide is crafted specifically for aspiring bakers, making it one of the most accessible **easy baking recipes** you’ll find. We’ll walk you through every step, ensuring your first foray into homemade bread bowls is a resounding success. Get ready to impress your family and friends with these delightful edible vessels, packed with practical **baking tips for beginners** to make your journey smooth and enjoyable!
Ingredients for Your Homemade Bread Bowls
Gathering your ingredients is the first step to baking success. Here’s what you’ll need for perfectly tender yet sturdy bread bowls. Measurements are precise, so grab your measuring cups and spoons!
| Ingredient | Quantity | Unit |
|---|---|---|
| Warm Water (105-115°F / 40-46°C) | 1 ½ | cups |
| Active Dry Yeast | 2 ¼ | teaspoons |
| Granulated Sugar | 1 | tablespoon |
| All-Purpose Flour (plus more for dusting) | 4 | cups |
| Salt | 2 | teaspoons |
| Olive Oil (for greasing) | 2 | tablespoons |
| Egg (for egg wash, optional) | 1 | large |
| Water (for egg wash, optional) | 1 | tablespoon |
| Your favorite soup (for serving) | 4-6 | cups |
Step-by-Step Instructions: Baking Your Perfect Bread Bowls
Follow these detailed steps carefully, and you’ll be a bread-baking pro in no time! We’ve included beginner-friendly tips to help you at each stage.
Step 1: Activate Your Yeast
In a large mixing bowl, combine the warm water (ensure it’s not too hot, or it will kill the yeast, and not too cold, or it won’t activate) and granulated sugar. Sprinkle the active dry yeast over the top. Give it a gentle stir and let it sit for about 5-10 minutes. You’re looking for a foamy, bubbly mixture – this tells you your yeast is alive and ready to work its magic! If it doesn’t foam, your yeast might be old or the water temperature was off; you’ll need to start again with fresh yeast.
Step 2: Mix the Dough
Once your yeast is activated, add 2 tablespoons of olive oil, salt, and 2 cups of the all-purpose flour to the yeast mixture. Stir with a wooden spoon or spatula until well combined. Gradually add the remaining 2 cups of flour, about ½ cup at a time, mixing after each addition. The dough will become stiff. When it’s too hard to stir, turn it out onto a lightly floured surface.
Step 3: Knead the Dough (The Fun Part!)
For beginners, don’t be intimidated by kneading! It’s simply working the dough to develop gluten, which gives bread its structure. Knead the dough for about 8-10 minutes. Push the dough away from you with the heels of your hands, fold it back over, turn it a quarter turn, and repeat. Add tiny amounts of flour only if the dough is excessively sticky, but try to resist adding too much, as this can make your bread tough. Your dough is ready when it’s smooth, elastic, and springs back when gently poked.
Common Mistake: Over-flouring. Adding too much flour results in dry, dense bread. Start with the recipe amount and only add more if truly necessary, a tablespoon at a time.
Step 4: First Rise (Proofing for Flavor)
Lightly grease a clean large bowl with a little olive oil. Place your kneaded dough into the bowl, turning it once to coat all sides with oil. Cover the bowl tightly with plastic wrap or a clean kitchen towel. Place it in a warm, draft-free spot. Let the dough rise for 1 to 1.5 hours, or until it has doubled in size. A warm oven (turned off, with just the light on) or a sunny spot on your counter works wonders.
Step 5: Shape Your Bread Bowls
Once the dough has doubled, gently punch it down to release the air. This is called “degassing.” Turn the dough out onto a lightly floured surface. Divide the dough into 4-6 equal pieces, depending on how large you want your bread bowls to be. For each piece, gently form it into a tight, smooth ball. To do this, pull the edges of the dough under itself, creating tension on the top surface, then pinch the bottom seams together to seal. This helps create a nice, round shape.
Step 6: Second Rise (Final Proof)
Line a large baking sheet with parchment paper. Place your shaped bread bowls on the prepared baking sheet, leaving ample space between them (they will expand!). Cover them loosely with plastic wrap or a clean kitchen towel. Let them rise again in a warm spot for another 30-45 minutes, or until noticeably puffy and almost doubled in size.
Step 7: Prepare for Baking & Bake!
Preheat your oven to 400°F (200°C) during the last 15 minutes of the second rise. If using an egg wash for a glossy, golden crust, whisk one large egg with 1 tablespoon of water. Gently brush the tops of your risen bread bowls with this egg wash.
Bake for 20-25 minutes, or until the bread bowls are a beautiful golden brown and sound hollow when tapped on the bottom. If they’re browning too quickly, you can loosely tent them with foil.
Step 8: Cool and Hollow
Once baked, transfer the bread bowls to a wire rack to cool completely. This is crucial! Cutting into them too soon will result in a gummy texture. Once cool, use a serrated knife to cut a circle on the top of each bread bowl, about ½ inch from the edge. Carefully hollow out the inside, leaving a sturdy wall (about ¾ to 1 inch thick). Don’t discard the scooped-out bread! It’s perfect for dipping into your soup.
Step 9: Fill and Serve!
Warm up your favorite soup (creamy soups like tomato, broccoli cheddar, or clam chowder work wonderfully) and ladle it into your homemade bread bowls. Serve immediately and enjoy the ultimate comfort food experience!
Tips & Tricks for Bread Bowl Perfection
Baking bread is a delightful science, and these extra tips will help you master your bread bowls:
- Check Your Yeast: Always ensure your yeast is fresh. If it doesn’t foam in Step 1, it’s likely dead, and your dough won’t rise. Buy new yeast!
- Water Temperature is Key: For active dry yeast, water between 105-115°F (40-46°C) is ideal. Too cold, and the yeast won’t activate; too hot, and it will die. Use a kitchen thermometer for accuracy.
- Don’t Rush the Rise: Patience is a virtue in bread baking. Let the dough rise fully. A slow, steady rise often leads to better flavor and texture.
- The “Hollow Sound” Test: When tapped on the bottom, fully baked bread will sound hollow. This is a great indicator that your bread is cooked through.
- Preventing Soggy Bowls: To keep your bread bowls from getting soggy too quickly, you can lightly toast the hollowed-out insides in the oven for 5-10 minutes before filling. Also, fill them just before serving.
- Soup Suggestions: Thick, hearty soups like clam chowder, creamy tomato soup, broccoli cheddar, or even a rich chili are perfect for bread bowls as they won’t make the bread soggy too quickly.
- Storing Leftovers: Baked and cooled bread bowls can be stored in an airtight container at room temperature for up to 2-3 days, or frozen for up to a month. Thaw at room temperature and refresh in a warm oven before filling.
Essential Baking Tools for Your Kitchen
Having the right tools makes baking much easier and more enjoyable. Here are some essentials:
- Mixing Bowl
- Whisk
- Baking Pan
- Measuring Cups
- Spatula
- Kitchen thermometer (for water temperature)
- Serrated knife (for hollowing)
- Parchment paper
Nutrition Information (Per Bread Bowl, estimated, without soup)
Here’s an approximate nutritional breakdown for one homemade bread bowl to help you plan your meal.
| Nutrient | Amount | Unit |
|---|---|---|
| Calories | 350 | kcal |
| Carbohydrates | 68 | g |
| Protein | 12 | g |
| Fat | 3 | g |
| Fiber | 3 | g |
| Sugar | 2 | g |
Disclaimer: Nutritional values are estimates and may vary based on specific ingredients and preparation methods.
Frequently Asked Questions (FAQs)
Got questions? We’ve got answers, especially for our beginner bakers!
- Q: My dough isn’t rising, what went wrong?
- A: The most common reasons are inactive yeast (check the expiration date!) or water that was too hot or too cold when you activated it. Ensure your water is within the 105-115°F range and your yeast is fresh.
- Q: Can I use whole wheat flour instead of all-purpose?
- A: Yes, but whole wheat flour absorbs more liquid. You might need to add an extra tablespoon or two of water to achieve the right dough consistency. The texture will also be denser.
- Q: How do I prevent my bread bowls from getting soggy when filled with soup?
- A: For best results, fill the bread bowls just before serving. You can also lightly toast the hollowed-out insides in a 350°F (175°C) oven for 5-10 minutes to create a slightly firmer barrier against the soup.
- Q: Can I make the bread bowls ahead of time?
- A: Absolutely! Bake and cool the bread bowls completely, then store them in an airtight container at room temperature for up to 2-3 days. For longer storage, freeze them for up to a month. Thaw at room temperature and refresh in a warm oven for 10 minutes before hollowing and filling.
- Q: What kind of soup works best in bread bowls?
- A: Thick, creamy, and hearty soups are ideal. Think clam chowder, broccoli cheddar, creamy tomato, French onion (without the crouton layer), or even a robust chili. Avoid very thin or watery soups.
- Q: Do I really need to knead the dough for 8-10 minutes? It feels like a lot!
- A: For this recipe, kneading is important for developing the gluten that gives the bread its structure and chewy texture. While it might seem like a lot, it’s essential for a good bread bowl. If you have a stand mixer with a dough hook, it can do the work for you!
Enjoy Your Homemade Bread Bowl Soup!
There you have it – your complete guide to crafting delicious, homemade bread bowls! We hope this detailed, beginner-friendly recipe empowers you to dive into the wonderful world of baking. There’s nothing quite like the aroma of fresh bread filling your kitchen, and the satisfaction of serving a meal made with your own hands. Don’t be afraid to experiment with different soups or even seasonings in your dough once you get the hang of it. Happy baking, and we can’t wait to hear about your bread bowl soup adventures! Feel free to share your successes and questions in the comments below.
“`