Welcome, aspiring home cooks and seasoned foodies alike! If you’re looking for an incredibly simple yet profoundly delicious way to kick off a meal, entertain guests, or just treat yourself, you’ve come to the right place. Today, we’re diving into the wonderful world of Bread Dipping Recipes With Olive Oil. This isn’t just a recipe; it’s an experience – a symphony of flavors that comes together with minimal effort,

making it one of the most delightful easy baking recipes or rather, pairing with baked recipes you’ll ever master. Perfect for anyone new to the kitchen, we’ll share plenty of valuable baking tips for beginners to ensure your dip is a showstopper every time. Get ready to impress with this effortlessly elegant appetizer!
Ingredients You’ll Need
Gathering your ingredients is the first step to success. For this classic Italian-American style bread dip, quality matters, especially when it comes to your olive oil!
| Ingredient | Quantity | Unit |
|---|---|---|
| Extra Virgin Olive Oil (good quality) | 1/2 | cup |
| Balsamic Glaze (or Balsamic Vinegar) | 2-3 | tablespoons |
| Garlic, fresh, minced | 2-3 | cloves |
| Dried Oregano | 1 | teaspoon |
| Dried Basil | 1 | teaspoon |
| Dried Rosemary, crushed | 1/2 | teaspoon |
| Red Pepper Flakes (optional, for a kick) | 1/4 – 1/2 | teaspoon |
| Sea Salt, to taste | 1/4 – 1/2 | teaspoon |
| Freshly Ground Black Pepper, to taste | 1/4 | teaspoon |
| Fresh Parsley or Basil, chopped (for garnish, optional) | 1 | tablespoon |
| Freshly Grated Parmesan Cheese (optional) | 2 | tablespoons |
| Crusty Bread (e.g., baguette, ciabatta, focaccia) | 1 | loaf |
Step-by-Step Instructions: Crafting Your Perfect Dip
This recipe is incredibly forgiving and flexible, making it ideal for beginners. Follow these steps to create a show-stopping bread dip!
Step 1: Prepare Your Garlic
- Start by peeling your garlic cloves. For a quick and easy peel, place the clove flat on a cutting board, lay the side of a large knife blade over it, and give it a firm whack with the heel of your hand. The skin should loosen right up!
- Next, finely mince the garlic. The smaller you mince it, the more flavor it will release into your oil. If you’re a beginner and find mincing tricky, you can use a garlic press for an even easier solution. Just be careful not to get too much pulp, as it can be bitter.
- Beginner Tip: If you’re not a huge fan of raw garlic’s intensity, you can slightly reduce the amount or even lightly sauté it in a tiny bit of olive oil for 30 seconds (until fragrant, not browned!) before adding it to your dip. This mellows the flavor considerably.
Step 2: Combine the Dry Herbs and Spices
- In a small bowl, combine your dried oregano, dried basil, dried rosemary, red pepper flakes (if using), sea salt, and freshly ground black pepper.
- Beginner Tip: Crush the dried rosemary between your fingers before adding it to help release its aromatic oils and prevent large, woody pieces in your dip. This simple action significantly enhances the flavor!
- Mix these dry ingredients well. This ensures an even distribution of flavor throughout your dip.
Step 3: Assemble Your Dipping Bowl
- Choose a shallow, wide bowl or a small platter for your dip. This makes it easier for everyone to dip their bread without making a mess.
- Pour the 1/2 cup of high-quality Extra Virgin Olive Oil into the center of your chosen bowl. Using a good EVOO is crucial here, as it’s the base of your dip. It should have a pleasant, fruity, slightly peppery flavor.
- Sprinkle the combined dry herb mixture evenly over the olive oil.
- Add the minced garlic directly over the herbs and oil.
- Now, artfully drizzle the balsamic glaze (or balsamic vinegar) over the top. Balsamic glaze is thicker and sweeter, creating beautiful swirls and a concentrated flavor. If using vinegar, it will blend more, but still provide that tangy counterpoint.
- Common Mistake & Alternative: Don’t just dump everything in! Layering helps create visual appeal and allows flavors to meld beautifully. If you don’t have balsamic glaze, regular balsamic vinegar works just fine, though the flavor will be a bit sharper and less sweet. You can reduce it slightly on the stovetop to make your own glaze if you’re feeling adventurous!
Step 4: Let the Flavors Mingle
- Once all ingredients are in the bowl, use a small spoon or whisk to gently swirl the ingredients together, just enough to combine without fully emulsifying the oil and balsamic. You want distinct layers and pockets of flavor.
- Allow the dip to sit at room temperature for at least 15-20 minutes before serving. This crucial step lets the garlic and dried herbs infuse their flavors into the olive oil, deepening the overall taste. For the best flavor, let it sit for an hour or even two!
- Beginner Tip: Don’t rush this step! Just like a good stew, flavors need time to get to know each other. This is where the magic happens and transforms a simple mix into a gourmet experience.
Step 5: Prepare Your Bread and Serve
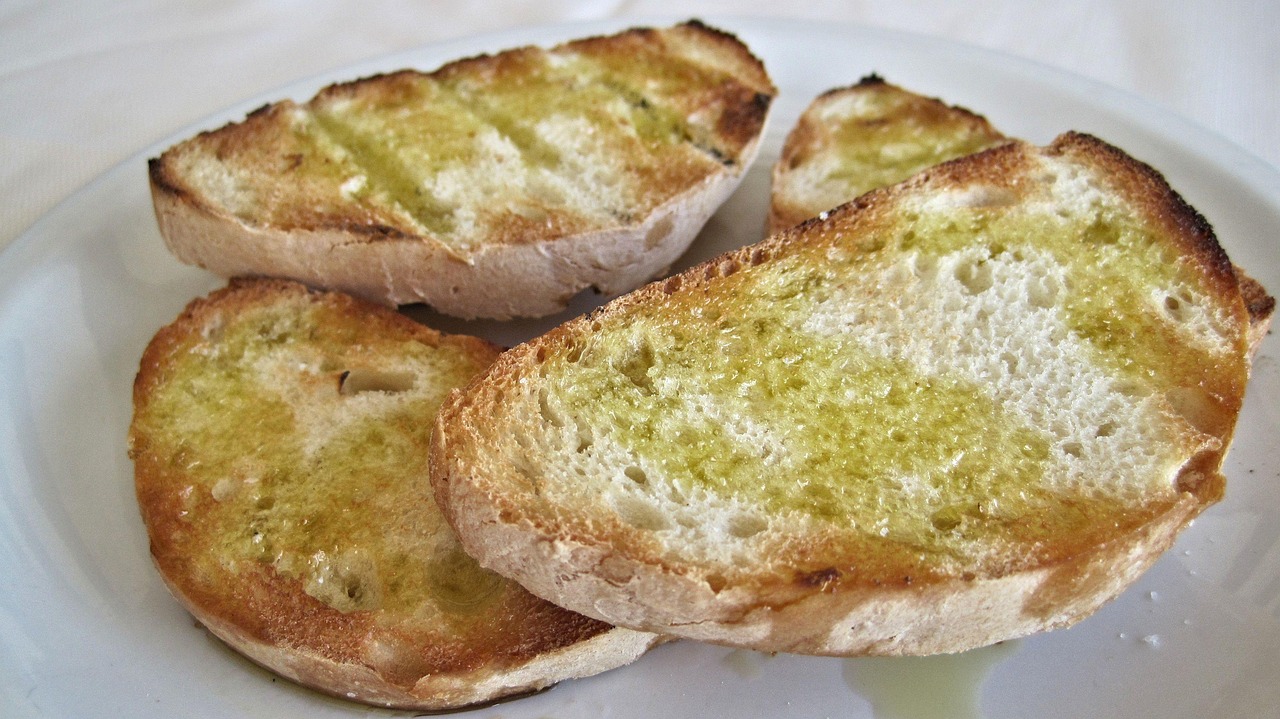
- While your dip is infusing, prepare your bread. A crusty baguette, a rustic ciabatta, or a soft focaccia are all excellent choices. Slice the bread into manageable pieces, ideally about 1/2 to 3/4 inch thick.
- Serving Suggestion: For an extra touch, you can lightly toast your bread slices in the oven at 350°F (175°C) for 5-7 minutes, or until just warmed and slightly crispy on the edges. This is one of those simple baking tips for beginners that elevates a simple serving.
- Just before serving, you can sprinkle with fresh chopped parsley or basil for a pop of color and fresh flavor, and a dusting of freshly grated Parmesan cheese if desired.
- Serve immediately with your prepared bread and watch it disappear!
Tips & Tricks for the Best Bread Dipping Experience
Mastering this simple dip is all about the little details. Here are some actionable tips to elevate your Bread Dipping Recipes With Olive Oil:
- Quality Over Quantity: Since olive oil is the star, invest in a good quality Extra Virgin Olive Oil. It makes a huge difference in flavor. Look for cold-pressed varieties in dark bottles.
- Fresh vs. Dried Herbs: While dried herbs are convenient and work wonderfully here, feel free to substitute with fresh herbs. Use about three times the amount of fresh herbs compared to dried (e.g., 3 tsp fresh basil for 1 tsp dried). Mince them finely.
- Garlic Mellowing: If raw garlic is too pungent for your taste, try grating it instead of mincing, or gently warm it in a tablespoon of olive oil over low heat for a minute before adding to the dip.
- Make Ahead Magic: This dip actually gets better with time! You can prepare it a few hours in advance, or even the day before, and store it covered at room temperature (if using within 24 hours). Just give it a good stir before serving.
- Balsamic Boost: If you only have balsamic vinegar, you can make a quick glaze by simmering it gently in a small saucepan until it reduces by about half and thickens. Be careful not to burn it!
- Spice It Up: Don’t be shy with the red pepper flakes if you love a little heat! You can also add a pinch of smoked paprika for a different smoky flavor.
- Bread Choices Matter: While a classic baguette is great, experiment with different breads. Rosemary focaccia, a rustic sourdough, or even a crusty whole-wheat loaf can offer unique flavor combinations.
- Presentation is Key: A beautiful shallow dish and a garnish of fresh herbs or a sprinkle of Parmesan can turn a simple dip into an elegant centerpiece.
Essential Kitchen Tools for Beginners
Even for a simple recipe like this, having the right tools makes all the difference. These are fundamental for any beginner’s kitchen:
- Mixing Bowl: Essential for combining your herbs and spices.
- Whisk: Great for gently swirling your dip ingredients or mixing dry herbs.
- Baking Pan: Useful for warming or lightly toasting your bread slices.
- Measuring Cups: Crucial for accurate liquid and dry ingredient measurements.
- Spatula: Handy for scraping out ingredients or gently mixing.
- Cutting Board and Knife: For mincing garlic and slicing bread (not hyperlinked, but essential).
Nutrition Information (Per Serving, Dip Only)
Please note that this is an approximation for one serving of the dip (about 2 tablespoons) and does not include the bread. Nutritional values can vary based on specific brands and ingredient quantities.
| Nutrient | Amount |
|---|---|
| Calories | 120-150 kcal |
| Carbohydrates | 2-4 g |
| Protein | 0-1 g |
| Fat | 13-16 g |
| Fiber | 0 g |
| Sugar | 1-2 g |
Frequently Asked Questions for Beginners
Q1: Can I use regular olive oil instead of Extra Virgin Olive Oil?
While you *can* use regular olive oil, we highly recommend using Extra Virgin Olive Oil (EVOO) for this recipe. EVOO has a richer, fruitier flavor profile and a lower acidity, which is crucial since it’s the main ingredient. Regular olive oil is more processed and has a milder, less complex flavor that won’t give you the same depth in your dip. Think of EVOO as the star of the show here!
Q2: How long can I store this olive oil dip?
This dip is best enjoyed fresh or within a few hours of making it. If you have leftovers, you can store them in an airtight container at room temperature for up to 24 hours. If you plan to keep it longer, store it in the refrigerator for up to 3-4 days. Just be aware that the olive oil may solidify in the fridge; simply bring it back to room temperature for about 30 minutes before serving, and give it a good stir.
Q3: What kind of bread is best for dipping?
The best bread for dipping is typically a crusty, porous bread that can soak up all that delicious oil and flavor. Popular choices include:
- Baguette: Classic, light, and crispy.
- Ciabatta: Chewy with a good crumb for soaking.
- Focaccia: Often already flavored with herbs and olive oil, making it an excellent pairing.
- Sourdough: Its tangy flavor can beautifully complement the dip.
Avoid very soft, dense breads like sandwich bread, as they won’t hold up as well.
Q4: Can I make this dip spicier?
Absolutely! If you love heat, feel free to increase the amount of red pepper flakes to 1/2 teaspoon or even 1 teaspoon, depending on your preference. You can also add a pinch of cayenne pepper for a different kind of kick. For an extra layer of flavor, consider adding a tiny dash of hot sauce like Tabasco or a few drops of a chili-infused olive oil.
Q5: What are some other variations or additions I can try?
This recipe is super versatile! Here are a few ideas to get creative:
- Cheesy Dip: Stir in a tablespoon or two of finely grated Parmesan or Pecorino Romano cheese.
- Mediterranean Twist: Add finely chopped sun-dried tomatoes, olives, or a pinch of dried za’atar.
- Citrus Brightness: A squeeze of fresh lemon juice or a bit of lemon zest can add a wonderful zing.
- Sweet & Savory: Drizzle with a touch of honey or maple syrup alongside the balsamic.
Don’t be afraid to experiment and find your favorite combination!
Conclusion: Your Journey to Deliciousness Starts Here!
There you have it – a truly simple yet incredibly satisfying recipe for Bread Dipping Recipes With Olive Oil. We hope this detailed guide, packed with baking tips for beginners, has shown you just how easy and rewarding it can be to create something wonderful in your kitchen. This dip isn’t just an appetizer; it’s an invitation to gather, share, and savor good food with loved ones. So go ahead, grab your ingredients, and whip up this delightful creation. You’ll be amazed at the flavors you can achieve with so little effort. Happy dipping, and happy cooking!