Warm, Wholesome, and Wonderfully Easy: Your New Favorite Bread Machine Honey Wheat Bread Recipe!
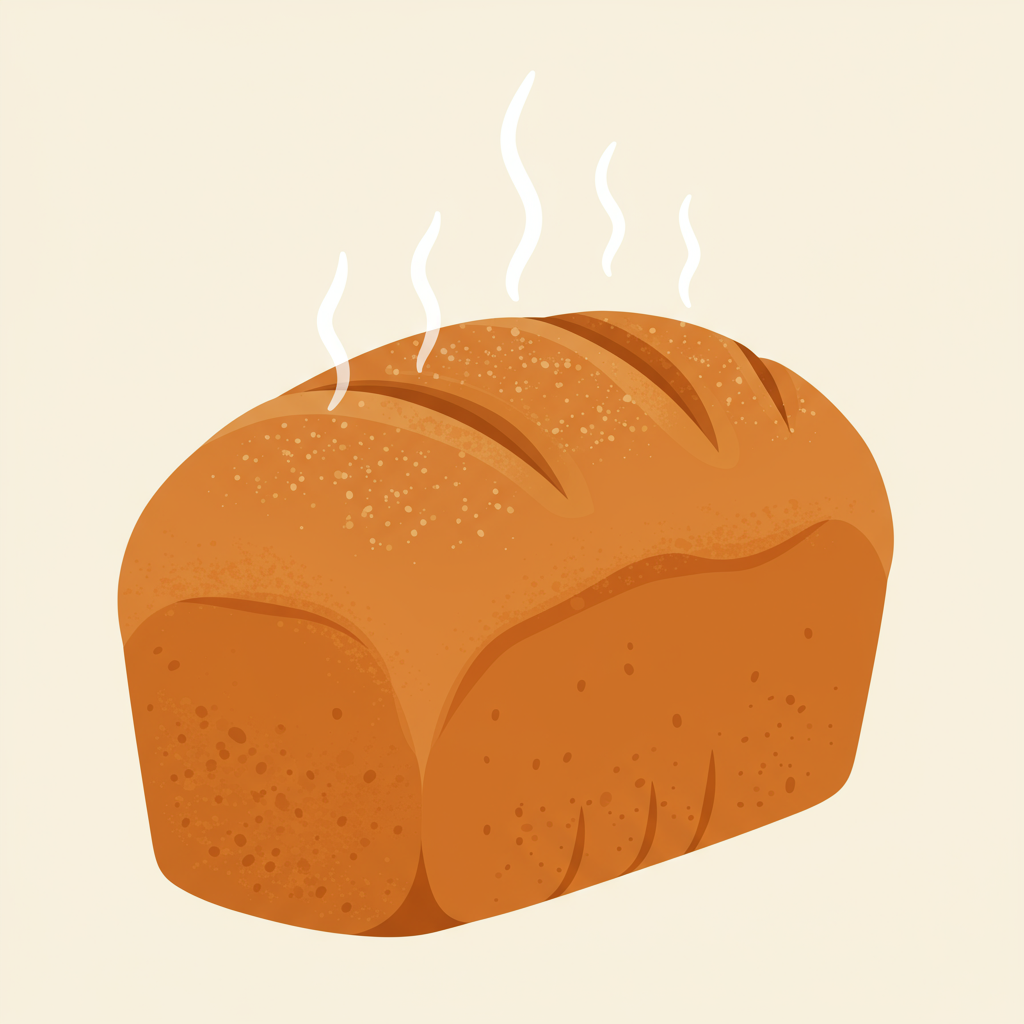
There’s nothing quite like the aroma of freshly baked bread wafting through your home. It’s a scent that promises comfort, warmth, and deliciousness. For many, the idea of baking bread from scratch can seem daunting, but what if we told you it doesn’t have to be? With the magic of a bread machine, you can enjoy homemade goodness with minimal effort. Today, we’re diving into the delightful world of our **Bread Machine Honey Wheat Bread Recipe** – a truly satisfying loaf that’s both wholesome and incredibly simple to make.
This recipe is one of our go-to **easy baking recipes** for a reason. It combines the nutty flavor of whole wheat with the subtle sweetness of honey, creating a tender, flavorful crumb and a perfectly golden crust. Perfect for sandwiches, toast, or just slathered with butter, this bread will quickly become a family favorite. We’ve packed this post with all the **baking tips for beginners** you’ll need to achieve a perfect loaf every single time. Get ready to impress yourself!
Ingredients for Your Honey Wheat Loaf
Gathering your ingredients is the first step to baking success. Accuracy is key, especially with bread machines, so make sure to measure carefully!
| Ingredient | Quantity | Unit |
|---|---|---|
| Warm Water (105-115°F / 40-46°C) | 1 cup + 2 tbsp | (270ml) |
| Honey | 1/4 cup | (60ml) |
| Vegetable Oil (or melted butter) | 2 tbsp | (30ml) |
| Salt | 1 tsp | |
| Whole Wheat Flour | 2 cups | (240g) |
| Bread Flour | 1 cup | (120g) |
| Active Dry Yeast (or Instant Yeast) | 2 tsp |
A Quick Note on Ingredients:
- Water Temperature: This is crucial! Too hot, and you’ll kill the yeast. Too cold, and the yeast won’t activate. Use a thermometer if you’re unsure.
- Flour Type: Using a combination of whole wheat and bread flour gives you a good balance of flavor, nutrition, and structure. Bread flour has a higher protein content, which is great for gluten development.
- Yeast: Make sure your yeast is fresh! Old yeast is a common culprit for bread that doesn’t rise.
Step-by-Step Instructions: Baking Your Bread Machine Honey Wheat Bread
Follow these instructions carefully for a perfect loaf. The order of ingredients is very important for bread machines!
Step 1: Add Liquids to Your Bread Machine Pan
Pour the warm water, honey, and vegetable oil into your bread machine pan first. Many bread machines recommend adding liquids first, followed by dry ingredients, and then yeast. This prevents the yeast from activating too early or coming into direct contact with salt, which can inhibit its growth.
- Beginner Tip: Ensure your water is the correct temperature. You can test it on your wrist; it should feel pleasantly warm, not hot.
Step 2: Add Dry Ingredients (Except Yeast)
Next, carefully add the salt, whole wheat flour, and bread flour to the pan. Try to layer them on top of the liquids. Do your best to keep the salt separate from where the yeast will go. Salt can draw moisture from yeast and hinder its activation.
- Beginner Tip: When measuring flour, spoon it lightly into your measuring cup and then level it off with a straight edge (like a knife). Don’t pack the flour down, as this can lead to too much flour and a dense loaf.
Step 3: Add the Yeast Last
Make a small indentation in the center of the flour mixture and add the active dry yeast (or instant yeast) directly into it. The goal is to keep the yeast dry and separate from the liquids and salt until the mixing cycle begins.
- Beginner Tip: Always check the expiration date on your yeast package. If it’s expired, it’s best to get a new packet to ensure a good rise.
Step 4: Select Your Bread Machine Settings
Place the bread machine pan back into the machine. Close the lid and select the appropriate settings:
- Cycle: Choose the “Whole Wheat” or “Basic/White” cycle. The whole wheat cycle is often longer and designed to handle the heavier nature of whole wheat flour.
- Loaf Size: Select 1.5 lb loaf.
- Crust Color: Choose “Medium” for a perfectly golden crust.
Press “Start” and let your bread machine do its magic!
Step 5: Monitor the Dough During the First Knead (Optional but Recommended)
About 5-10 minutes into the first kneading cycle, open the lid (briefly!) and observe the dough. This is a crucial step for beginners to understand dough consistency.
- If the dough looks too sticky: It might be sticking excessively to the sides of the pan and look very wet. Add 1 tablespoon of bread flour at a time, allowing it to incorporate fully before adding more, until the dough forms a smooth, elastic ball.
- If the dough looks too dry: It might be struggling to come together, appearing crumbly or stiff. Add 1 teaspoon of warm water at a time, allowing it to incorporate, until the dough forms a cohesive, slightly tacky ball.
- Beginner Tip: Don’t panic! Adjusting dough consistency is a common part of bread making, even for experienced bakers. Factors like humidity, flour type, and exact measurements can all influence it.
Step 6: Let the Machine Finish Its Cycle
Once you’ve made any necessary adjustments, simply let the bread machine complete its full cycle of kneading, rising, and baking. Avoid opening the lid during the rising and baking phases, as this can cause the bread to collapse or affect its texture.
Step 7: Cool and Enjoy!
When the machine beeps, carefully remove the bread pan from the bread machine using oven mitts. Immediately invert the pan onto a wire cooling rack to release the loaf. If the kneading paddle is stuck in the bread, carefully remove it with a utensil. Allow the bread to cool completely for at least 1-2 hours before slicing. Slicing hot bread can lead to a gummy texture.
- Beginner Tip: Cooling bread properly allows the internal structure to set and steam to escape, resulting in a much better texture and flavor. Patience is a virtue here!
Tips & Tricks for Bread Machine Success
Achieving bakery-quality bread from your machine is easy with these simple tips:
- Fresh Ingredients are Key: Always use fresh yeast and good quality flour. Old yeast is the most common reason for bread not rising. Store yeast in an airtight container in the refrigerator or freezer to extend its shelf life.
- Measure Accurately: Especially with bread machine recipes, precise measurements are critical. Use liquid measuring cups for liquids and dry measuring cups for dry ingredients, leveling them off properly. Too much flour is a common mistake that leads to dense, dry bread.
- Water Temperature Matters: Yeast is a living organism. Water that is too hot will kill it; water that is too cold won’t activate it. Aim for a warm bath-like temperature (105-115°F or 40-46°C).
- Don’t Skip the Dough Check: Briefly checking the dough during the first knead allows you to make minor adjustments that can drastically improve your loaf’s texture and rise. It’s a skill you’ll quickly master!
- Altitude Adjustments: If you live at a high altitude (above 3,000 feet), you might need to make small adjustments. Typically, this involves slightly reducing the yeast and sugar/honey, and sometimes increasing the liquid, as dough tends to rise faster and dry out more quickly at higher altitudes.
- Proper Cooling: Always cool your bread completely on a wire rack. This prevents the bottom from becoming soggy and allows the internal structure to firm up, making for easier, cleaner slicing and a better eating experience.
- Storage: Store your cooled bread in an airtight container or bread bag at room temperature for up to 3-4 days. For longer storage, slice the loaf and freeze the slices in a freezer-safe bag.
Essential Baking Tools
While your bread machine does most of the heavy lifting, a few basic kitchen tools will make your bread-making experience even smoother. (And of course, the most essential tool is your bread machine itself!)
- Mixing Bowl (for pre-measuring or if you ever try a manual bread recipe)
- Whisk (useful for blending dry ingredients if you pre-mix)
- Baking Pan (not strictly needed for a bread machine, but good for general baking)
- Measuring Cups (both liquid and dry sets are essential)
- Spatula (for scraping, or removing dough if needed)
- Kitchen Scale: While not on the provided list, a kitchen scale is a game-changer for precise flour measurement and highly recommended for consistent bread results.
- Instant-Read Thermometer: Invaluable for checking water temperature for yeast.
Estimated Nutrition Information (per slice, approximately 1/12th of a 1.5lb loaf)
Please note that these values are estimates and can vary based on specific brands of ingredients and exact loaf size.
| Nutrient | Amount |
|---|---|
| Calories | 160-180 kcal |
| Carbohydrates | 30-35 g |
| Protein | 5-7 g |
| Fat | 3-4 g |
| Fiber | 2-3 g |
| Sugar | 6-8 g |
Frequently Asked Questions (FAQs) for Beginner Bread Bakers
Q1: My bread didn’t rise. What went wrong?
A: The most common reasons for bread not rising are inactive or old yeast, water that was too hot (killing the yeast) or too cold (not activating it), or too much salt coming into direct contact with the yeast. Always check yeast expiration dates and ensure your water temperature is correct.
Q2: Why is my bread dense and heavy?
A: A dense loaf can be caused by too much flour, not enough liquid, or insufficient rise time (which the bread machine usually handles). Make sure you’re spooning and leveling your flour, not scooping and packing it. Also, ensure your yeast is active and your water temperature is optimal.
Q3: Can I substitute other flours, like all-purpose flour, for bread flour?
A: Yes, you can. All-purpose flour will work, but your bread might be slightly less chewy and have a little less structure than if you used bread flour. Bread flour has a higher protein content, which develops more gluten for a better rise and texture. For this specific recipe, using the whole wheat and bread flour blend is recommended for optimal results.
Q4: My crust is too hard/chewy. How can I fix this?
A: The crust setting on your bread machine directly impacts this. If it’s too hard, try selecting a “light” crust setting next time. Also, ensure your dough wasn’t too dry (too much flour) or your kitchen isn’t overly dry, as this can affect crust texture.
Q5: How do I store homemade bread to keep it fresh?
A: Once completely cooled, store your bread in an airtight container, a bread box, or a sealed plastic bag at room temperature. It will stay fresh for 3-4 days. For longer storage, slice the loaf and freeze the slices. You can then toast them directly from the freezer.
The Joy of Homemade Bread Awaits You!
There you have it – everything you need to bake a delicious, wholesome loaf of **Bread Machine Honey Wheat Bread**. With its perfect balance of sweet and savory, and that incredible fresh-baked aroma, this recipe is sure to become a cherished addition to your kitchen repertoire. Don’t be intimidated by baking; your bread machine is a fantastic tool to help you create something truly special with ease.
So go ahead, gather your ingredients, set your machine, and prepare to fill your home with the comforting scent of freshly baked bread. You’ll be amazed at how simple and rewarding it is. Happy baking!
“`