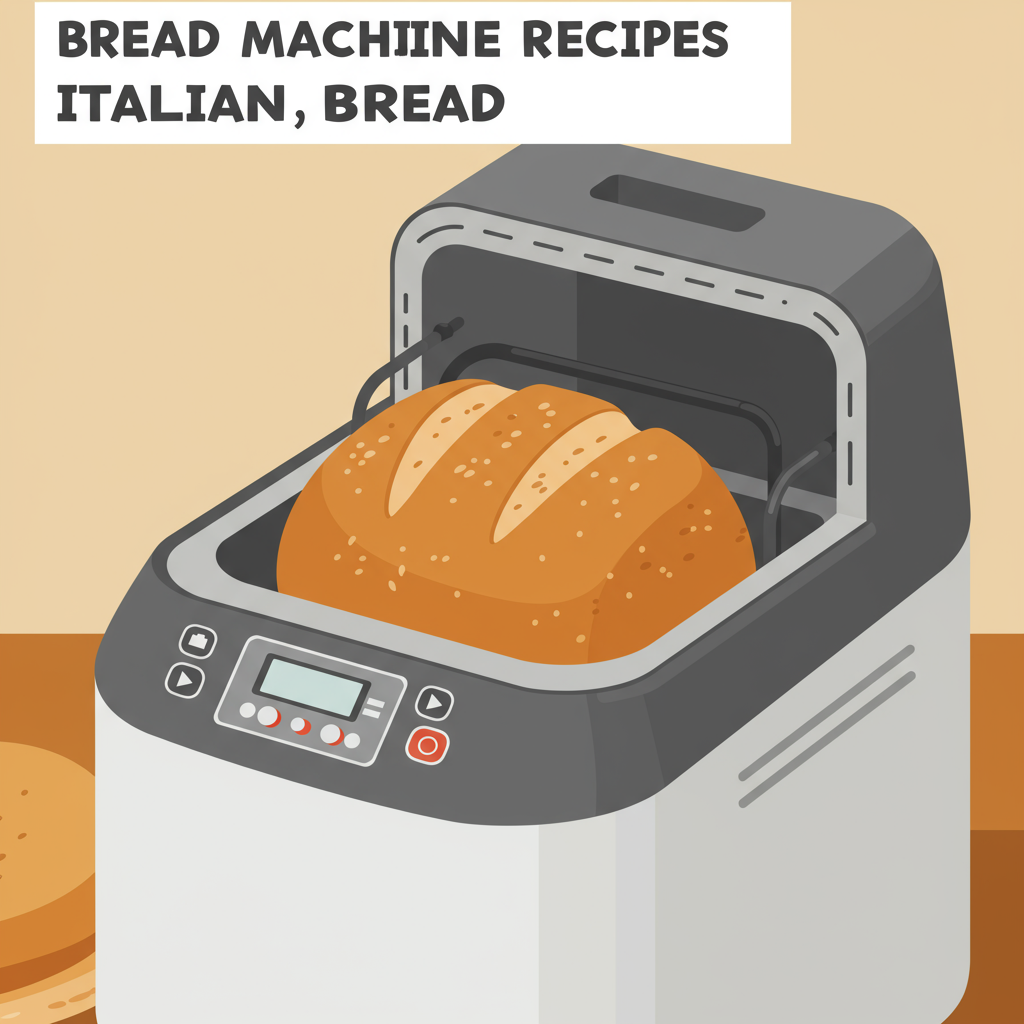
Welcome, fellow food lovers and aspiring bakers! Are you ready to fill your home with the irresistible aroma of freshly baked bread, without all the fuss? Today, we’re diving into one of the most satisfying **Bread Machine Recipes Italian Bread** you’ll ever try. Forget store-bought loaves; this recipe delivers a beautifully crusty exterior and a soft, chewy interior, perfect for dipping in olive oil, making sandwiches, or simply enjoying on its own. It’s truly one of those **easy baking recipes** that feels gourmet but requires minimal effort, making it ideal for anyone looking for **baking tips for beginners**. Your bread machine is about to become your new best friend on this delicious journey!
Easy Homemade Italian Bread Machine Recipe
Yields: 1 (1.5-2 lb) loaf | Prep time: 5 minutes | Cook time: 3-4 hours (bread machine cycle)
Ingredients List
Getting your ingredients right is the first step to a perfect loaf. Always measure accurately!
| Ingredient | Quantity | Unit |
|---|---|---|
| Warm Water (105-115°F / 40-46°C) | 1 ¼ | cups |
| Olive Oil | 2 | tablespoons |
| Bread Flour | 3 ½ | cups |
| Granulated Sugar | 1 | tablespoon |
| Salt | 1 ½ | teaspoons |
| Active Dry Yeast | 2 ¼ | teaspoons |
Step-by-Step Instructions
Follow these simple steps for a perfect loaf every time. The key to bread machine success is often the order of ingredients!
- Prepare Your Bread Machine: First, ensure your bread machine pan is clean and the kneading paddle is securely in place. Some machines have a non-stick coating, so avoid scratching it.
-
Add Liquids First: Pour the warm water into the bread machine pan. The warmth is crucial for activating the yeast, but too hot will kill it, and too cold won’t activate it properly. Aim for around 105-115°F (40-46°C). Follow with the olive oil.
Beginner Tip: Always check your water temperature with a thermometer. This is one of the most common reasons bread doesn’t rise!
-
Add Dry Ingredients (Layering is Key!): Carefully add the bread flour over the liquids, spreading it evenly. Then, add the granulated sugar and salt to separate corners of the pan, away from where the yeast will go.
Why Layering Matters: Salt can inhibit yeast activity if they come into direct contact too early. Layering prevents this, allowing the yeast to activate optimally when the kneading cycle begins.
-
Add the Yeast Last: Make a small indentation in the center of the flour (don’t dig down to the liquid) and pour the active dry yeast into this well. This keeps the yeast dry until the mixing cycle starts.
Pro Tip for Yeast: Make sure your yeast isn’t expired! Expired yeast is a common culprit for bread that doesn’t rise. If you’re unsure, you can “proof” a small amount in warm water with a pinch of sugar; it should foam within 5-10 minutes.
- Select Your Bread Machine Setting: Place the pan securely back into your bread machine. Close the lid. For Italian bread, the “Basic,” “White Bread,” or “French Bread” setting usually works best. Select a 1.5 lb or 2 lb loaf size, depending on your machine and preference, and a “Medium” crust setting for that perfect golden-brown finish.
-
Start the Cycle: Press the ‘Start’ button and let your bread machine do its magic! The machine will go through cycles of kneading, rising, and baking.
Check Your Dough (Optional but Recommended!): About 5-10 minutes into the first kneading cycle, lift the lid and observe the dough. It should form a smooth, elastic ball. If it’s too sticky and clinging to the sides of the pan, add flour 1 tablespoon at a time. If it’s too dry and crumbly, add warm water 1 teaspoon at a time. Close the lid quickly after checking.
Common Mistake & Fix: Beginners often add too much flour. Resist the urge! A slightly tacky dough is usually perfect. Small adjustments are key.
-
Baking and Cooling: Once the bread machine completes its cycle, it will typically beep. Carefully remove the bread pan (it will be very hot!). Invert the pan onto a wire rack and gently shake the loaf out. If the kneading paddle is stuck in the bottom of the loaf, carefully remove it with a utensil.
Why a Wire Rack? Cooling on a wire rack allows air to circulate around the entire loaf, preventing the bottom from becoming soggy due to trapped steam. This is essential for a crisp crust.
- Cool Completely Before Slicing: Let the bread cool on the wire rack for at least 30-60 minutes before slicing. Slicing hot bread can make it gummy and dense. Patience is a virtue here!
-
Enjoy Your Homemade Italian Bread! Slice with a serrated knife and savor the wonderful taste and texture of your freshly baked Italian bread.
Alternative: Using Dough Cycle Only: If you prefer to shape your loaf or want to bake it in a conventional oven for a specific crust, you can select the “Dough” cycle on your bread machine. Once the cycle finishes, remove the dough, punch it down gently, shape it into an Italian-style loaf or rolls, let it rise again in a warm place for 30-45 minutes (covered), then bake in a preheated oven at 375°F (190°C) for 25-35 minutes, or until golden brown and hollow-sounding when tapped.
Tips & Tricks for Bread Machine Success
Mastering your bread machine is all about understanding a few key principles. These tips will help you consistently bake delicious loaves:
- Measure Precisely: Baking is a science! Use proper measuring cups and spoons. For flour, spoon it into your measuring cup and then level it off with a straight edge; don’t scoop directly from the bag, as this can compact the flour and lead to too much being used.
- Ingredient Temperature: Beyond warm water, ensure other ingredients like flour and yeast are at room temperature. Cold ingredients can slow down yeast activity.
- Fresh Yeast is Happy Yeast: Always check the expiration date on your yeast. If it’s old, your bread won’t rise. Store opened yeast in an airtight container in the refrigerator or freezer to extend its life.
- Don’t Peek Too Much: While it’s fine to lift the lid briefly during the first kneading cycle to check dough consistency, avoid opening it during the rising or baking cycles. This can cause temperature fluctuations that might collapse your loaf.
- Know Your Machine: Every bread machine is slightly different. Some run hotter, some knead longer. Pay attention to how your machine performs and adjust slightly if needed (e.g., a tiny bit more water if your dough is consistently too dry).
- Clean Paddle: If your kneading paddle consistently gets stuck in the bread, try lightly greasing it with a tiny bit of oil before adding ingredients.
- Proper Storage: Once cooled, store your Italian bread in an airtight container or a bread bag at room temperature for 2-3 days. For longer storage, slice and freeze the bread; it toasts beautifully from frozen!
Essential Baking Tools
While your bread machine does most of the heavy lifting, a few basic tools will make your baking experience even smoother.
- Mixing Bowl (for optional dough adjustments or other recipes)
- Whisk (for combining dry ingredients, if pre-mixing)
- Baking Pan (if using the dough cycle for oven baking)
- Measuring Cups (for accurate ingredient portions)
- Spatula (for scraping down bowls or assisting with dough)
Nutrition Information (per slice, estimated)
This information is an estimate based on a 1.5lb loaf yielding approximately 16 slices.
| Nutrient | Amount |
|---|---|
| Calories | 130 kcal |
| Carbohydrates | 25g |
| Protein | 5g |
| Fat | 2g |
| Fiber | 1g |
| Sugar | 1g |
Frequently Asked Questions (FAQs)
1. Why didn’t my bread rise properly?
This is the most common issue for beginners! The main culprits are usually: 1) Dead or expired yeast, 2) Water temperature that’s too hot (kills yeast) or too cold (doesn’t activate it), or 3) Too much salt or sugar directly contacting the yeast. Always check your yeast’s freshness and water temperature, and layer your ingredients as instructed.
2. Can I use all-purpose flour instead of bread flour?
Yes, you can, but your results will be slightly different. Bread flour has a higher protein content, which develops more gluten, giving Italian bread its characteristic chewy texture and good structure. All-purpose flour will result in a softer, less chewy loaf with less volume. For best results, stick to bread flour.
3. My dough is too sticky/too dry during the kneading cycle. What should I do?
This is normal and easily fixable! If the dough is too sticky and wet (slapping the sides of the pan), add flour 1 tablespoon at a time until it forms a smooth ball. If it’s too dry and crumbly, add warm water 1 teaspoon at a time until it comes together. Make these adjustments during the first kneading cycle, and remember, a slightly tacky dough is usually perfect.
4. How do I store homemade Italian bread?
Once completely cooled, store your bread in an airtight container, a bread box, or a large resealable plastic bag at room temperature for 2-3 days. To keep it fresh longer, slice the cooled bread and freeze it in a freezer-safe bag. You can toast slices directly from frozen!
5. Can I add herbs or cheese to this recipe?
Absolutely! This Italian bread recipe is a fantastic base for customization. You can add 1-2 tablespoons of dried Italian herbs (like oregano, basil, rosemary) to the dry ingredients. For cheese, consider adding ½ cup of grated Parmesan or shredded mozzarella during the last 5-10 minutes of the kneading cycle, so it gets evenly distributed.
6. My bread machine paddle always gets stuck in the loaf. Any tips?
It’s a common bread machine annoyance! Try lightly greasing the kneading paddle with a bit of olive oil or non-stick spray before adding your ingredients. Some bakers also wait until the dough has finished its first rise (before the final rise/bake cycle) to remove the paddle, then gently reshape the dough, but this requires opening the machine and can be tricky.
Conclusion
And there you have it! A simple, foolproof recipe for making delicious, authentic Italian bread right in your own kitchen with the help of your trusty bread machine. Gone are the days of dense, flavorless store-bought loaves. Now, you can enjoy the warmth, aroma, and incredible taste of homemade bread anytime you wish. Don’t be afraid to experiment and make it your own. Baking is a journey of discovery, and every loaf is a step towards becoming a more confident baker. So go ahead, give this **Bread Machine Recipes Italian Bread** a try, and prepare to impress yourself and your loved ones. Happy baking!
“`