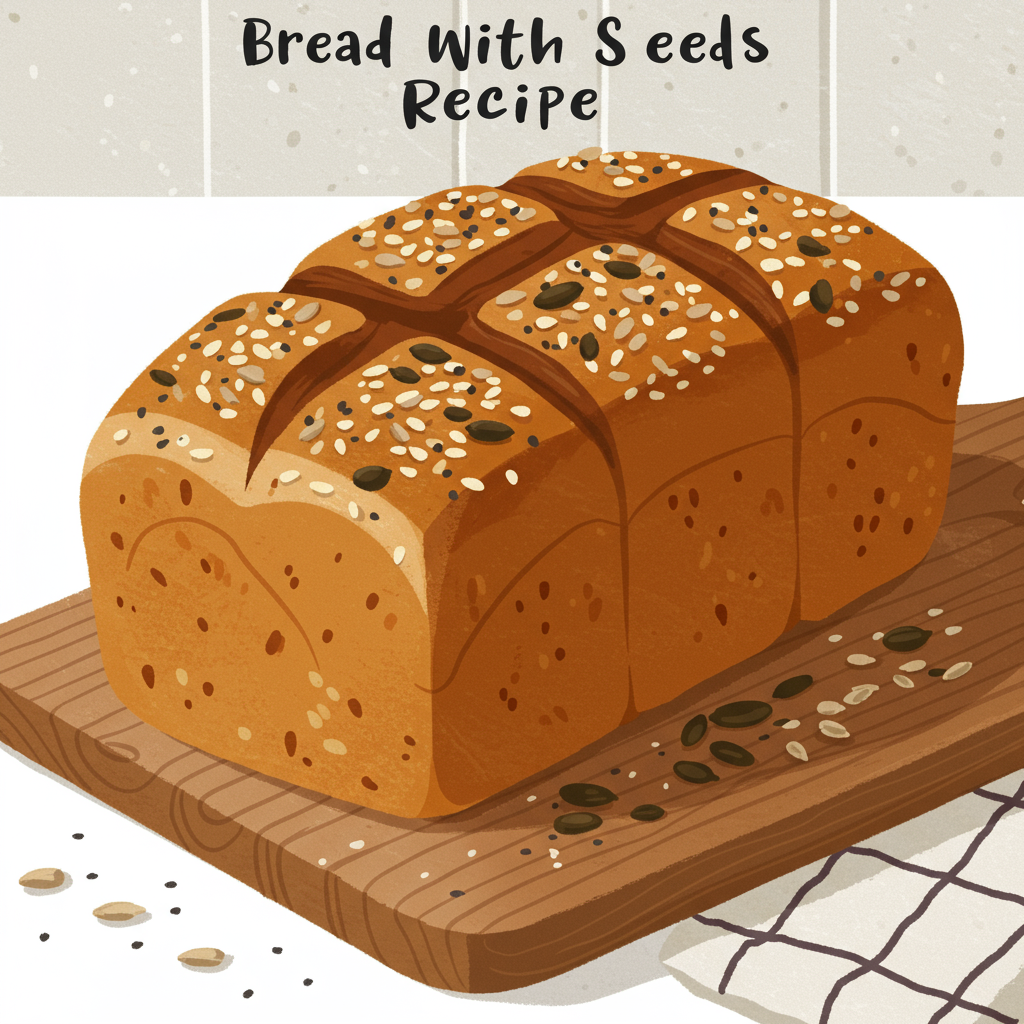
There’s nothing quite like the aroma of freshly baked bread wafting through your home. It’s an experience that feels both comforting and incredibly rewarding. If you’ve ever thought baking bread from scratch was too complicated, think again! Our Bread With Seeds Recipe is specifically designed for beginners, making it one of the most easy baking recipes you can master. We’ve packed it with essential baking tips for beginners to guide you every step of the way, ensuring your first loaf is a resounding success. Get ready to impress yourself and your loved ones with a delicious, wholesome, and perfectly seeded loaf that you made right in your own kitchen!
Ingredients List
Before we dive into the fun part, let’s gather everything we need. Measuring accurately is key in baking, so take your time with this step!
| Ingredient | Quantity | Unit |
|---|---|---|
| All-Purpose Flour (or Bread Flour) | 3 | cups |
| Warm Water (105-115°F / 40-46°C) | 1 | cup |
| Active Dry Yeast | 2 ¼ | teaspoons (1 standard packet) |
| Granulated Sugar | 1 | tablespoon |
| Fine Sea Salt | 1 | teaspoon |
| Olive Oil (plus extra for greasing) | 2 | tablespoons |
| Mixed Seeds (e.g., sunflower, pumpkin, flax, sesame) | ¼ | cup (for dough) |
| Mixed Seeds (for topping) | 2 | tablespoons |
Step-by-Step Instructions: Baking Your Seeded Bread
Follow these detailed steps carefully, and you’ll be enjoying your homemade bread in no time!
Step 1: Activate the Yeast (The “Proofing” Stage)
In a large mixing bowl (or the bowl of your stand mixer), pour in the 1 cup of warm water. It’s crucial that the water is between 105-115°F (40-46°C). If it’s too cold, the yeast won’t activate; too hot, and it will kill the yeast. A quick check with a thermometer is ideal, but if you don’t have one, it should feel warm to the touch, like a comfortable bath, but not hot. Sprinkle the granulated sugar and the active dry yeast over the water. Give it a gentle stir and let it sit for 5-10 minutes. You’ll know the yeast is alive and active when it becomes frothy and foamy on the surface – this is often called “proofing the yeast.” If it doesn’t foam, your yeast might be old or the water temperature was off, and it’s best to start over with fresh yeast.
Step 2: Combine Dry Ingredients
While your yeast is proofing, in a separate medium bowl, whisk together the 3 cups of all-purpose flour and the 1 teaspoon of fine sea salt. Whisking ensures the salt is evenly distributed throughout the flour, which is important for flavor and yeast activity.
Step 3: Mix Wet and Dry Ingredients
Once your yeast mixture is bubbly, add the 2 tablespoons of olive oil to it. Then, gradually add the flour mixture to the wet ingredients, about a cup at a time, mixing with a wooden spoon or a stand mixer with a dough hook on low speed. Mix until a shaggy dough forms and all the flour is incorporated. The dough might look a bit sticky at this point, which is perfectly normal. Don’t worry if it’s not perfectly smooth yet.
Step 4: Knead the Dough (Developing the Gluten)
Now for the fun part: kneading! If using a stand mixer, increase the speed to medium-low and knead for 7-10 minutes. If kneading by hand, turn the dough out onto a lightly floured surface. Knead the dough by pushing it away from you with the heel of your hand, folding it back over, and rotating it. Continue this process for 8-10 minutes. The goal is to develop the gluten, which gives bread its structure and chewiness. You’ll know it’s ready when the dough becomes smooth, elastic, and less sticky. It should spring back when gently poked with a finger.
Beginner Tip: Don’t be afraid to knead! It might feel a bit messy at first, but practice makes perfect. If the dough is too sticky, add a tiny bit more flour (½ teaspoon at a time). If it’s too stiff, add a tiny bit of water. The key is to add very small amounts to adjust consistency.
Step 5: First Rise (Bulk Fermentation)
Lightly grease a clean large bowl with a little olive oil. Place the kneaded dough into the bowl, turning it once to coat the top with oil. This prevents it from drying out. Cover the bowl tightly with plastic wrap or a clean kitchen towel. Place the bowl in a warm, draft-free spot (like an oven that’s turned off, or a sunny spot in your kitchen). Let the dough rise for 1 to 1.5 hours, or until it has doubled in size. This is called the “bulk fermentation” or “first rise.” This step allows the yeast to work its magic, creating air pockets and flavor.
Common Mistake: Not letting the dough rise enough or letting it rise too much. For beginners, doubling in size is a good visual cue. If it doesn’t double, your environment might be too cold or your yeast wasn’t fully active.
Step 6: Incorporate Seeds & Shape the Loaf
Once the dough has doubled, gently punch it down to release the air. Turn the dough out onto a lightly floured surface. Flatten it into a rectangle. Sprinkle the ¼ cup of mixed seeds evenly over the dough. Fold the dough over itself a few times and knead gently for just 1-2 minutes to incorporate the seeds. Now, it’s time to shape your loaf. Gently pat the dough into a rectangle, then roll it tightly into a log, pinching the seam closed at the bottom. Tuck the ends under to create a neat loaf shape.
Alternative: If you prefer a round loaf, gently shape the dough into a ball by pulling the edges underneath until a smooth top forms.
Step 7: Second Rise (Proofing the Loaf)
Lightly grease a 9×5 inch loaf pan. Carefully place your shaped dough into the prepared loaf pan, seam-side down. Cover the loaf pan with plastic wrap or a clean kitchen towel and return it to your warm, draft-free spot. Let it rise for another 30-45 minutes, or until it has visibly increased in size (about 1.5 times its original size) and looks puffy. This is the “second rise” or “proofing.”
Step 8: Preheat Oven & Bake
About 15 minutes before the second rise is complete, preheat your oven to 375°F (190°C). Just before placing the loaf in the oven, you can lightly brush the top with a little water (or an egg wash for a shinier crust) and sprinkle the remaining 2 tablespoons of mixed seeds over the top. This will help them stick and add a lovely crunch.
Bake for 30-35 minutes, or until the crust is golden brown and the internal temperature reaches 200-210°F (93-99°C). If you don’t have a thermometer, you can tap the bottom of the loaf – it should sound hollow. If the top is browning too quickly, you can loosely tent it with aluminum foil.
Step 9: Cool Completely
Once baked, immediately remove the bread from the loaf pan and place it on a wire rack to cool completely. This is a crucial step! Slicing into hot bread will result in a gummy texture. Let it cool for at least 1-2 hours before slicing and enjoying. The cooling process allows the starches to set, resulting in a perfect texture.
Tips & Tricks for Beginner Bread Bakers
- Measure Accurately: For flour, use the “spoon and level” method. Spoon flour into your measuring cup, then level off the top with a straight edge (like a knife). Don’t scoop directly from the bag, as this compacts the flour and you’ll end up with too much.
- Yeast is Alive: Treat your yeast with care! Ensure your water is the right temperature – too hot kills it, too cold won’t activate it. If your yeast doesn’t foam, it’s best to discard it and start with fresh yeast.
- Warm Environment for Rising: Dough loves warmth! A slightly warm oven (turned off, of course!), a sunny spot, or even placing the bowl near a warm appliance can help with rising. Avoid drafty areas.
- Don’t Be Afraid to Knead: Kneading is essential for developing gluten, which gives bread its structure. It might feel sticky at first, but as you knead, it will become smooth and elastic. If using a stand mixer, let it do the work!
- Listen to Your Dough: Baking isn’t always about strict timings. If your dough needs a little more time to rise, give it! If it feels too dry, add a tiny bit of water. Too sticky? A tiny bit of flour.
- Cooling is Crucial: Patience is a virtue, especially with bread. Cooling on a wire rack allows steam to escape and prevents a gummy interior. Resist the urge to slice too early!
- Experiment with Seeds: Feel free to customize your seed mix! Poppy seeds, chia seeds, or even a sprinkle of rolled oats can add different textures and flavors.
Essential Baking Tools
Having the right tools can make your baking experience much smoother and more enjoyable. Here are a few essentials:
- Large Mixing Bowl
- Whisk
- 9×5 inch Loaf Pan
- Measuring Cups and Spoons
- Rubber Spatula or Wooden Spoon
- Kitchen Scale (optional, but highly recommended for accuracy)
- Instant-Read Thermometer (for water temp and bread doneness)
Nutrition Information (per slice, approx. 12 slices per loaf)
Please note that these are estimated values and can vary based on exact ingredients and portion sizes.
| Nutrient | Amount |
|---|---|
| Calories | 170 kcal |
| Carbohydrates | 28 g |
| Protein | 6 g |
| Fat | 4 g |
| Fiber | 2 g |
| Sugar | 1 g |
Frequently Asked Questions (FAQs)
Q1: My dough isn’t rising. What went wrong?
A: The most common culprits are inactive yeast (it might be old or expired) or incorrect water temperature. Ensure your water is between 105-115°F (40-46°C) – not too hot, not too cold. Also, ensure your rising environment is warm and free from drafts.
Q2: Can I use different types of flour for this recipe?
A: Yes! While all-purpose flour works great, bread flour will give you a slightly chewier texture due to its higher protein content. Whole wheat flour can also be used, but you might need to add a little extra water as it absorbs more liquid, and the loaf might be denser.
Q3: How do I know when the bread is fully baked?
A: The best way is to use an instant-read thermometer. The internal temperature of the loaf should be between 200-210°F (93-99°C). If you don’t have a thermometer, tap the bottom of the loaf – it should sound hollow when done.
Q4: Can I make this bread without a stand mixer?
A: Absolutely! This recipe is perfectly suited for hand-kneading. It takes a bit more elbow grease, but it’s a wonderfully therapeutic process. Just follow the kneading instructions in Step 4 carefully.
Q5: How should I store homemade bread, and how long does it last?
A: Store your cooled bread at room temperature in an airtight container, a bread box, or a sealed plastic bag. It typically stays fresh for 3-4 days. For longer storage, you can slice it and freeze it for up to 2-3 months. Just pop a slice in the toaster when you’re ready to enjoy!
Q6: Can I use different types of seeds, or omit them entirely?
A: Yes, feel free to get creative with your seeds! Sunflower, pumpkin, flax, sesame, poppy, or even chia seeds all work well. You can use a single type or a mix. If you prefer a plain loaf, you can certainly omit the seeds altogether.
Time to Enjoy Your Masterpiece!
Congratulations, baker! You’ve just created a beautiful, fragrant loaf of **Bread With Seeds**. There’s a special kind of pride that comes with pulling a warm, golden loaf from your oven, and you’ve earned every bit of it. This recipe is more than just bread; it’s a stepping stone into the wonderful world of baking, showing you that even seemingly complex tasks can be broken down into easy baking recipes with the right baking tips for beginners.

Slice it thick, slather it with butter, use it for sandwiches, or simply enjoy it on its own. We hope this experience has filled your home with warmth and your heart with joy. Don’t hesitate to experiment with different seeds or even add a touch of herbs next time. Happy baking, and we can’t wait to see what you create next!
1 thought on “Bread With Seeds Recipe – Delicious Moments”