Welcome, fellow baking enthusiasts (and future baking enthusiasts)! Have you ever dreamed of pulling a warm, golden-brown cake out of your oven, filling your home with an irresistible aroma, but felt overwhelmed by complicated recipes? Well, your search ends here. We’re thrilled to introduce you to our Butter Cake Lazy Dog Recipe a truly stress-free and utterly delightful way to bake a classic butter cake.
This isn’t just another cake recipe; it’s a gateway to joyful baking, especially designed for those new to the kitchen. Forget complex techniques and a mountain of dirty dishes. Our goal is to make baking accessible, fun, and incredibly rewarding. With our clear, step-by-step instructions and essential baking tips for beginners, you’ll master this simple yet elegant cake in no time. Get ready to impress yourself and your loved ones with one of the most delicious and easy baking recipes you’ll ever try. Let’s get baking!
Ingredients You’ll Need
Gathering your ingredients before you start is a crucial step for any beginner. This ensures a smooth baking process without frantic searching in the middle of a step. For this recipe, make sure all your refrigerated ingredients (butter, eggs, milk) are at room temperature this is a game-changer for cake texture!
| Quantity | Unit | Ingredient |
|---|---|---|
| 1 ½ | cups | All-Purpose Flour |
| 1 ½ | teaspoons | Baking Powder |
| ½ | teaspoon | Salt |
| ½ | cup (1 stick) | Unsalted Butter, softened to room temperature |
| 1 | cup | Granulated Sugar |
| 2 | large | Eggs, at room temperature |
| 1 | teaspoon | Vanilla Extract |
| ½ | cup | Whole Milk, at room temperature |
| For the Pan: Butter or baking spray and a dusting of flour | ||
Step-by-Step Instructions for Your Lazy Dog Butter Cake
Follow these steps carefully, and you’ll have a beautiful, tender butter cake ready to enjoy. Remember, baking is a science, so precision helps, but don’t be afraid to have fun!
-
Prepare Your Oven and Pan:
Preheat your oven to **350°F (175°C)**. This is crucial for even baking! Take a 9-inch round cake pan or an 8×8-inch square pan. Grease it thoroughly with butter or baking spray, then lightly dust it with flour, tapping out any excess. This prevents sticking, ensuring your beautiful cake comes out perfectly.
Beginner Tip: A well-greased and floured pan is your best friend. If you skip this, your cake might stick, leading to a broken cake when you try to remove it. You can also line the bottom with parchment paper for extra security.
-
Whisk Dry Ingredients:
In a medium bowl, whisk together the **all-purpose flour, baking powder, and salt**. Whisking isn’t just about combining; it also aerates the flour, which contributes to a lighter cake texture. Set this bowl aside.
Common Mistake: Don’t just dump and stir! Whisking dry ingredients ensures that the leavening agent (baking powder) and salt are evenly distributed throughout the flour, leading to an even rise and flavor in every bite.
-
Cream Butter and Sugar:
In a large mixing bowl, using an electric mixer (handheld or stand mixer with paddle attachment), beat the **softened unsalted butter** on medium speed for about 1-2 minutes until it’s light and creamy. Then, gradually add the **granulated sugar**, beating for another 3-5 minutes until the mixture is light, fluffy, and pale yellow. This process, called “creaming,” incorporates air into the butter and sugar, which is essential for a tender cake crumb.
Why Room Temperature Butter? Softened butter creams much better with sugar, creating tiny air pockets that expand in the oven, making your cake light and airy. Cold butter won’t cream properly, and melted butter will result in a dense, greasy cake.
-
Add Eggs and Vanilla:
Add the **room temperature eggs** to the butter and sugar mixture, one at a time, beating well after each addition until fully incorporated. Scrape down the sides of the bowl with a spatula after each egg to ensure everything is mixed evenly. Finally, beat in the **vanilla extract**.
Beginner Tip: Adding eggs one at a time allows each egg to fully emulsify into the mixture, preventing the batter from curdling and ensuring a smooth texture. If your batter looks a little curdled, don’t panic! It will usually come together once you add the dry ingredients.
-
Alternate Dry and Wet Ingredients:
Now, it’s time to combine the dry ingredients with the wet. Add about one-third of the dry ingredient mixture to the wet mixture and mix on low speed until just combined. Then, add half of the room temperature whole milk and mix until just combined. Repeat this process: add another third of the dry ingredients, then the remaining milk, and finally the last third of the dry ingredients.
Crucial for Beginners: Do NOT Overmix! Overmixing develops the gluten in the flour too much, leading to a tough, rubbery cake. Mix only until the ingredients are just combined and no streaks of flour remain. A few small lumps are perfectly fine!
-
Pour into Pan and Bake:
Pour the cake batter evenly into your prepared pan. Gently tap the pan on the counter a couple of times to release any large air bubbles. Bake for 30-35 minutes, or until a wooden skewer or toothpick inserted into the center of the cake comes out clean or with a few moist crumbs attached.
Oven Safety: Avoid opening the oven door during the first 20-25 minutes of baking, as this can cause the cake to sink in the middle.
-
Cooling Process:
Once baked, remove the cake from the oven and let it cool in the pan on a wire rack for about **10-15 minutes**. This allows the cake to set and firm up before you attempt to remove it. After 10-15 minutes, carefully invert the cake onto the wire rack to cool completely. This prevents the bottom of the cake from becoming soggy.
Patience is a Virtue: Resist the urge to frost a warm cake! It will melt your frosting into a messy puddle. A completely cooled cake is key for beautiful frosting.
-
Serve and Enjoy!
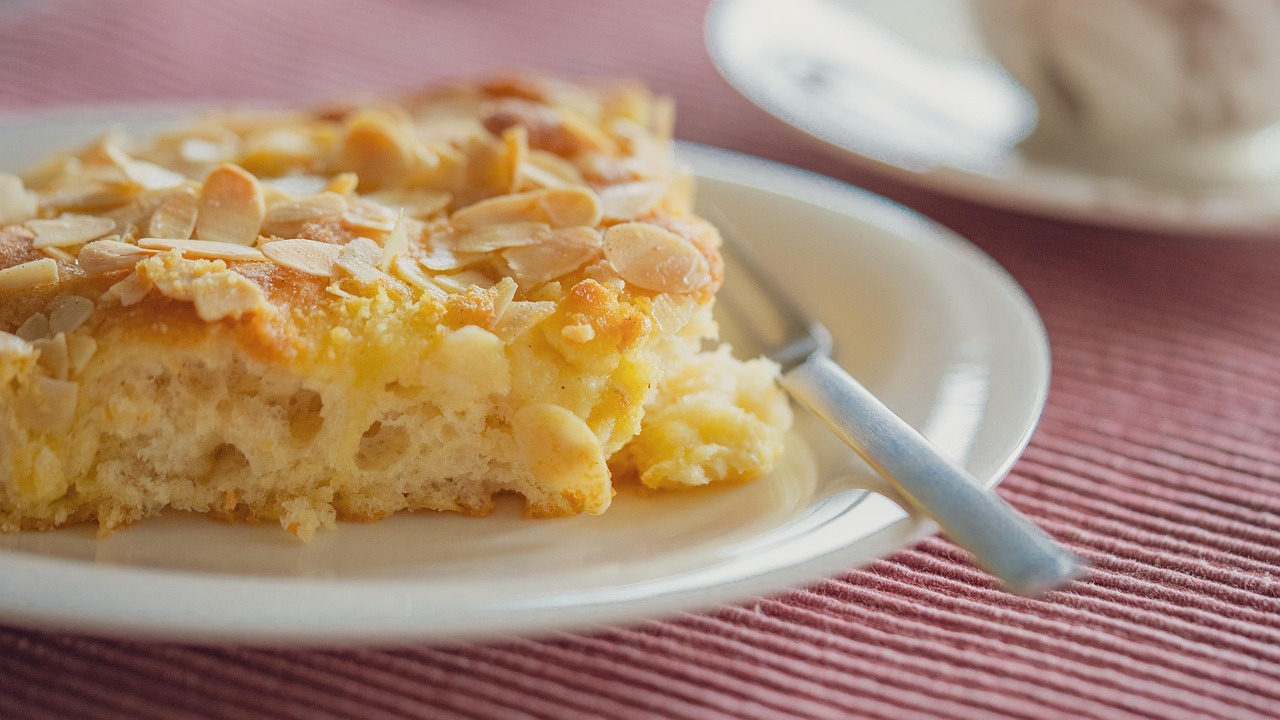
Once cooled, your Butter Cake is ready to be enjoyed! Serve it plain for a simple, comforting treat, or get creative with your favorite frosting, a dusting of powdered sugar, or fresh berries. This cake is wonderfully versatile and delicious any way you slice it!
Tips & Tricks for Beginner Bakers
Baking can seem daunting, but these little tricks will make a big difference in your success and confidence:
- Room Temperature is Key: We can’t stress this enough! Butter, eggs, and milk at room temperature emulsify better, create a smoother batter, and result in a finer, more tender crumb. If you forget, warm eggs in a bowl of warm water for 5-10 minutes, and slice butter thinly to speed up softening.
- Measure Accurately: Baking is a science. Use proper measuring cups for dry ingredients (levelled off with a straight edge) and liquid measuring cups for wet ingredients (read at eye level). For best results, consider investing in a kitchen scale for flour; it’s the most accurate method.
- Don’t Overmix: This is the golden rule for tender cakes. Once you add flour, mix only until just combined. Overmixing develops gluten, leading to a tough, chewy cake.
- Know Your Oven: Ovens can vary. An oven thermometer can help you verify your oven’s true temperature, preventing under or over-baking. If your cake browns too quickly on top, you might have a hot spot.
- Patience During Cooling: Letting your cake cool properly in the pan then on a wire rack is essential. It allows the cake structure to set and prevents it from becoming dense or soggy.
- Read the Entire Recipe First: Before you even touch an ingredient, read through the entire recipe. This helps you understand the process, anticipate steps, and avoid surprises.
Essential Baking Tools
Having the right tools makes baking much easier and more enjoyable. Here are a few basics we recommend:
- Mixing Bowls (various sizes)
- Whisk
- Baking Pan (9-inch round or 8×8-inch square)
- Measuring Cups and Measuring Spoons
- Rubber Spatula
- Electric Mixer (handheld or stand mixer)
- Wire Rack
- Parchment Paper (optional, but very helpful!)
Nutrition Information (Estimated per slice, 12 servings)
Please note that these values are estimates and can vary based on specific ingredients and portion sizes.
| Nutrient | Amount |
|---|---|
| Calories | 250-280 kcal |
| Carbohydrates | 35-40 g |
| Protein | 3-4 g |
| Fat | 10-12 g |
| Fiber | ~1 g |
| Sugar | 20-25 g |
Frequently Asked Questions (FAQs) for Beginner Bakers
1. My cake sank in the middle! What went wrong?
This is a common issue for beginners! It’s often due to opening the oven door too early (before the cake structure is set), overmixing the batter, incorrect oven temperature (too high then cools down quickly, or too low), or using too much leavening agent (baking powder).
2. Can I use cold butter or eggs if I’m short on time?
While technically possible, it’s highly advised against for this recipe. Cold ingredients don’t emulsify properly with sugar, leading to a denser, less tender cake. If you’re really pressed, you can cut butter into small pieces and let it sit for 15-20 minutes, and place eggs in a bowl of warm (not hot) water for 5-10 minutes.
3. What if I don’t have whole milk? Can I use skim or plant-based milk?
Whole milk provides richness and moisture that contributes to the classic butter cake texture. You can use 2% milk, but skim milk might result in a slightly drier cake. For plant-based milk, unsweetened almond or soy milk can work, but the cake might have a slightly different flavor and texture due to the difference in fat content.
4. How do I know when the cake is fully baked?
The best way is the toothpick test! Insert a wooden skewer or toothpick into the very center of the cake. If it comes out clean or with only a few moist crumbs attached, your cake is done. If it has wet batter, bake for a few more minutes and test again.
5. Can I add other flavors to this butter cake?
Absolutely! This is a fantastic base. You can add citrus zest (lemon, orange), a touch of almond extract, or even fold in some chocolate chips or sprinkles at the very end of mixing (just before pouring into the pan). Be creative!
6. How should I store leftover butter cake?
Store the cake at room temperature, covered tightly, for up to 3-4 days. If it’s frosted with a cream cheese or whipped cream frosting, it’s best stored in the refrigerator. You can also freeze unfrosted slices, wrapped tightly in plastic wrap and then foil, for up to 2-3 months.
Your Baking Journey Starts Now!
Congratulations, budding baker! You’ve just equipped yourself with all the knowledge and steps needed to bake a truly fantastic Butter Cake. This Butter Cake Lazy Dog Recipe isn’t just about following instructions; it’s about building confidence, understanding the basics, and discovering the sheer joy of creating something delicious from scratch. Don’t worry if your first attempt isn’t perfect; every baker has had a mishap or two. The most important thing is to enjoy the process and savor the results.
So go ahead, preheat that oven, gather your ingredients, and embark on your delightful baking adventure. We can’t wait to hear how your Lazy Dog Butter Cake turns out.