Whether you’re new to the world of baking or simply looking for a straightforward recipe that delivers incredible results every time, you’ve come to the right place. We’ll walk you through every stage, providing essential baking tips for beginners to ensure your butter cake turns out perfectly moist, golden, and utterly irresistible. Get ready to impress yourself and your loved ones with this simple yet sophisticated dessert!
Ingredients You’ll Need
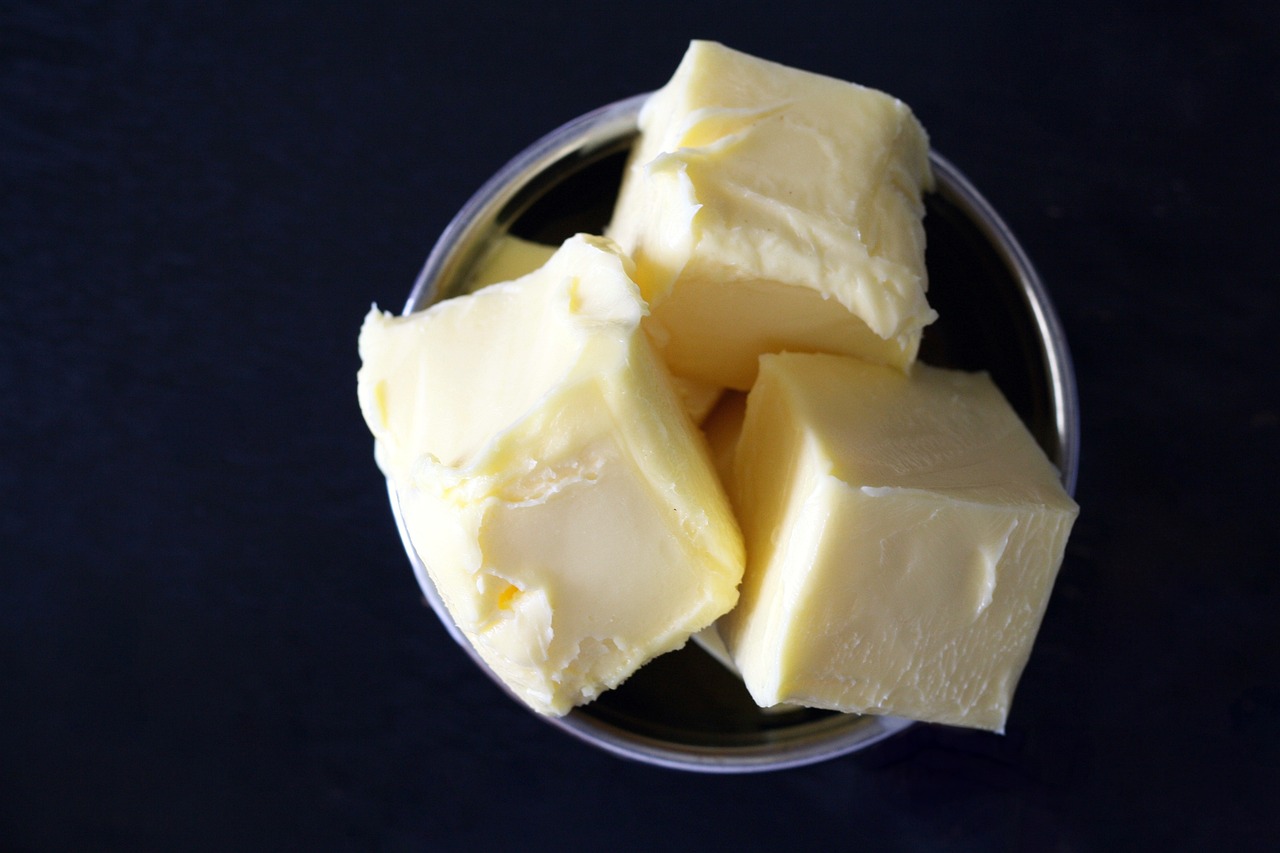
Gather your ingredients! For the best results, ensure your butter and eggs are at room temperature. This helps them emulsify better, creating a smoother batter and a finer-textured cake.
| Ingredient | Quantity |
|---|---|
| All-Purpose Flour | 2 ½ cups (300g) |
| Granulated Sugar | 1 ½ cups (300g) |
| Unsalted Butter, softened | 1 cup (2 sticks / 226g) |
| Large Eggs, room temperature | 4 |
| Whole Milk, room temperature | 1 cup (240ml) |
| Vanilla Extract | 2 teaspoons |
| Baking Powder | 2 teaspoons |
| Salt | ½ teaspoon |
| Confectioners’ Sugar (for dusting, optional) | As needed |
Step-by-Step Instructions for Your Perfect Butter Cake
Follow these detailed steps carefully, and you’ll be enjoying a slice of homemade heaven in no time. We’ve included plenty of tips to guide beginners!
Step 1: Prepare Your Baking Pan and Preheat Your Oven
- Preheat your oven: Set your oven to 350°F (175°C). It’s crucial for the oven to be at the correct temperature before the cake goes in, as this helps it rise properly.
- Prepare your pan: Take an 8×8 or 9×9 inch square baking pan (or a 9-inch round cake pan). Lightly grease the inside with butter or a non-stick baking spray. Then, dust it with a tablespoon of flour, tapping out any excess. This creates a non-stick layer that helps the cake release easily after baking. You can also line the bottom with parchment paper for extra insurance!
Step 2: Whisk Dry Ingredients
- In a medium bowl, combine your all-purpose flour, baking powder, and salt.
- Whisk them together thoroughly for about 30 seconds. This is important because it evenly distributes the leavening agent (baking powder) and salt throughout the flour, ensuring a consistent rise and flavor in your cake. It also helps to aerate the flour, making for a lighter cake.
- Set this bowl aside.
Step 3: Cream Butter and Sugar
- In a large mixing bowl (preferably using an electric mixer with a paddle attachment, or a hand mixer), add your softened unsalted butter and granulated sugar.
- Beat them together on medium-high speed for 3-5 minutes. This process, called “creaming,” is essential. You want the mixture to become light in color, fluffy, and airy. The sugar crystals cut into the butter, creating tiny air pockets that contribute to the cake’s tender texture. Scrape down the sides of the bowl occasionally to ensure everything is well combined.
- Beginner Tip: If your butter is too cold, it won’t cream properly. If it’s too warm (melted), the cake can become greasy. Softened butter should yield slightly when pressed but still hold its shape.
Step 4: Add Eggs and Vanilla
- Once the butter and sugar are beautifully creamed, add the eggs, one at a time.
- Beat well after each addition, allowing each egg to fully incorporate into the mixture before adding the next. This prevents the mixture from curdling and ensures a smooth batter.
- After all eggs are added and mixed in, stir in the vanilla extract until just combined.
- Common Mistake: Adding all eggs at once can cause the batter to separate or look curdled. Taking your time here makes a big difference in the final texture.
Step 5: Alternate Dry and Wet Ingredients
- Now it’s time to add the dry ingredients and milk to your wet mixture. We’ll do this in stages to prevent overmixing and ensure a tender crumb.
- Add about one-third of your dry flour mixture to the wet ingredients. Mix on low speed until just combined – don’t overmix!
- Next, pour in half of your whole milk. Mix on low speed until just combined.
- Repeat this process: add another third of the dry mixture, then the remaining half of the milk, and finally the last third of the dry mixture.
- Mixing Tip: After each addition, mix only until the ingredients are *just* incorporated. Overmixing at this stage can develop the gluten in the flour too much, leading to a tough, dense cake instead of a light and fluffy one. A few lumps are okay!
- Use a rubber spatula to give the batter one final gentle fold by hand, scraping down the sides and bottom of the bowl to catch any unmixed bits.
Step 6: Bake Your Butter Cake
- Pour the prepared batter evenly into your greased and floured baking pan. Use your spatula to spread it smoothly.
- Place the pan in your preheated oven.
- Bake for 30-35 minutes.
- How to check for doneness: The cake is ready when a wooden skewer or toothpick inserted into the center comes out clean or with only a few moist crumbs attached (no wet batter). The top should be golden brown and spring back lightly when gently pressed.
- Alternative: If your oven runs hot or cold, baking times may vary. An oven thermometer can be a great investment for consistent results.
Step 7: Cool and Serve
- Once baked, remove the cake from the oven.
- Let the cake cool in the pan for about 10-15 minutes. This allows it to set and firm up, making it less likely to break when you remove it.
- After 10-15 minutes, carefully invert the cake onto a wire rack. Remove the pan and peel off any parchment paper.
- Allow the cake to cool completely on the wire rack before slicing and serving. Cooling completely ensures the cake’s texture fully develops.
- Once cooled, dust with confectioners’ sugar if desired, or serve plain. It’s also fantastic with fresh berries or a scoop of vanilla ice cream!
Tips & Tricks for Baking Success
Baking is a science, but with these simple tips, you’ll feel like a pro in no time!
- Room Temperature is Key: Don’t skip this! Softened butter and room temperature eggs and milk emulsify better, creating a smooth batter that holds more air, resulting in a lighter, fluffier cake. Take them out of the fridge at least 30-60 minutes before you start.
- Measure Accurately: Especially with flour! Use the “spoon and level” method: spoon flour into your measuring cup until overflowing, then level it off with a straight edge (like the back of a knife). Scooping directly can pack too much flour, leading to a dry cake.
- Don’t Overmix the Batter: Once you add the flour, mix only until just combined. Overmixing develops gluten, which can make your cake tough and chewy instead of tender. A few small lumps are perfectly fine!
- Scrape Down the Bowl: Frequently scrape down the sides and bottom of your mixing bowl with a rubber spatula, especially when creaming butter and sugar and adding eggs. This ensures all ingredients are evenly incorporated.
- Know Your Oven: Ovens can vary significantly in temperature. Investing in an inexpensive oven thermometer can help you ensure your oven is truly at the temperature you set it to, preventing under or over-baking.
- Cooling Patience: Resist the urge to slice into your cake while it’s still warm. Cooling allows the cake’s structure to set and the flavors to meld, resulting in a much better texture and taste.
- Serving Suggestions: While delicious plain, this butter cake is elevated with a dusting of confectioners’ sugar, a dollop of whipped cream, fresh berries, or even a simple fruit compote.
Essential Baking Tools You’ll Need
Having the right tools makes all the difference for a smooth baking experience. Here are some essentials:
- Mixing Bowls (various sizes)
- Whisk
- 8×8 or 9×9 Inch Baking Pan
- Measuring Cups
- Measuring Spoons
- Rubber Spatula
- Electric Mixer (Stand mixer or Handheld)
- Wire Cooling Rack
- Parchment Paper (optional, but recommended)
Nutrition Information (Estimated per serving)
Please note that this is an approximate nutritional breakdown for one slice (assuming 12 servings from an 8×8 inch cake). Actual values may vary based on specific ingredients and portion sizes.
| Nutrient | Amount |
|---|---|
| Calories | Approx. 340-380 kcal |
| Carbohydrates | Approx. 45-50 g |
| Protein | Approx. 4-5 g |
| Fat | Approx. 18-22 g |
| Fiber | Approx. 1 g |
| Sugar | Approx. 28-32 g |
Frequently Asked Questions (FAQs)
Q1: Why do my butter and eggs need to be at room temperature?
A: Room temperature ingredients are crucial for creating a smooth, emulsified batter. Cold butter and eggs won’t blend properly with the sugar, leading to a lumpy batter and a cake with a less even texture. They also incorporate more air, which contributes to a lighter, fluffier cake.
Q2: How do I know when my butter cake is fully baked?
A: The best way to check is to insert a wooden skewer or toothpick into the center of the cake. If it comes out clean or with just a few moist crumbs attached, your cake is done. If you see wet batter, bake for a few more minutes and check again. The top should also be golden brown and spring back slightly when gently pressed.
Q3: Can I use a different size baking pan?
A: Yes, but you might need to adjust the baking time. A 9×13 inch pan will likely bake faster (around 25-30 minutes) as the batter will be thinner. If you use smaller pans (like two 8-inch round pans for a layer cake), they might take a bit longer. Always use the toothpick test for accuracy!
Q4: My cake turned out dry/dense. What went wrong?
A: A dry cake is often a sign of overbaking, while a dense cake can be due to overmixing the batter once the flour is added. Ensure you only mix until the ingredients are just combined. Also, make sure your measuring cups for flour aren’t packed too tightly – use the spoon and level method.
Q5: Can I make this butter cake ahead of time?
A: Absolutely! Butter cakes generally keep very well. Once completely cooled, you can store it in an airtight container at room temperature for 2-3 days, or in the refrigerator for up to a week. For longer storage, you can freeze individual slices, wrapped tightly, for up to 2-3 months.
Your Delicious Journey Starts Now!
There you have it – a comprehensive guide to baking a truly delightful butter cake, inspired by the classic flavors from California Pizza Kitchen. We hope this detailed, beginner-friendly recipe empowers you to create something truly special in your kitchen. Remember, baking is a journey of learning and discovery, and every cake you bake is a step towards becoming a more confident baker.
Don’t be afraid to dive in, follow the steps, and enjoy the process. The aroma of a freshly baked butter cake filling your home is a reward in itself! We can’t wait to hear how your creation turns out. Share your pictures and thoughts in the comments below – happy baking!