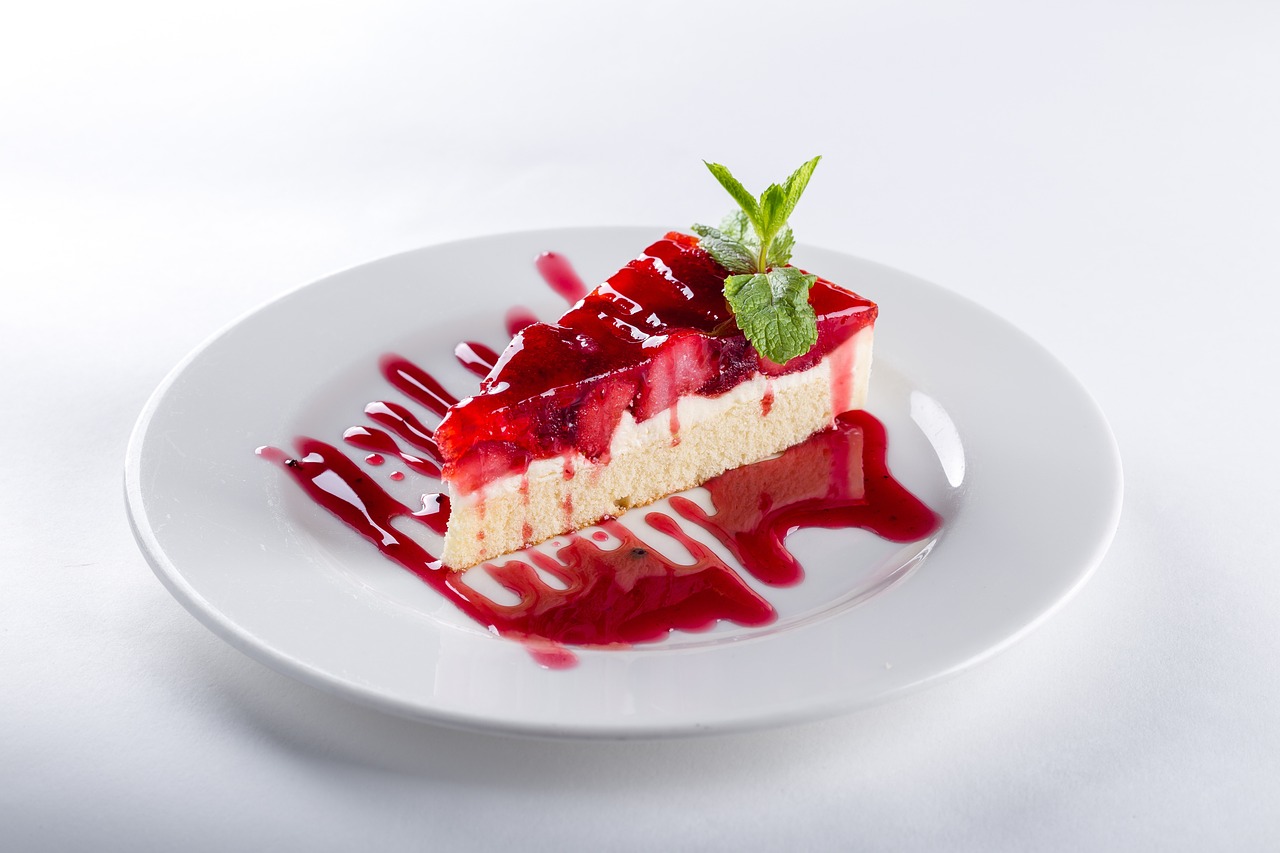
Dreaming of cozy nights by the fire, but stuck indoors. No problem We’re bringing the magic of the campfire right into your kitchen with these incredible Campfire Cake Recipes. This isn’t just any dessert; it’s a nostalgic journey to gooey marshmallows, rich chocolate, and crunchy graham crackers, all wrapped up in a tender, moist cake. Perfect for potlucks, parties, or just a sweet treat for your family, this recipe is designed to be one of the most easy baking recipes you’ll ever try. Whether you’re a seasoned baker or just starting your culinary adventures, we’ve packed this post with helpful baking tips for beginners to ensure your Campfire Cake turns out absolutely perfect. Get ready to impress yourself and everyone you share it with!
Ingredients for Your S’mores Campfire Cake
Gathering your ingredients correctly is the first step to baking success. Here’s what you’ll need to create this delicious S’mores-inspired Campfire Cake:
| Ingredient | Quantity | Unit |
|---|---|---|
| All-purpose flour | 1 ½ | cups |
| Granulated sugar | 1 | cup |
| Unsweetened cocoa powder | ½ | cup |
| Baking soda | 1 | teaspoon |
| Salt | ½ | teaspoon |
| Large eggs | 2 | |
| Whole milk | ½ | cup |
| Vegetable oil (or melted unsalted butter) | ½ | cup |
| Vanilla extract | 1 | teaspoon |
| Hot water (or hot coffee for richer flavor) | ½ | cup |
| Graham cracker crumbs | 1 | cup |
| Semi-sweet chocolate chips | 1 | cup |
| Mini marshmallows | 3 | cups |
Step-by-Step Instructions: How to Bake Your Campfire Cake
Follow these detailed steps carefully, and you’ll be enjoying a slice of homemade heaven in no time. Don’t worry if you’re new to baking; we’ve included plenty of tips to guide you!
Step 1: Gather and Prepare Your Tools & Ingredients
Before you even think about mixing, take a moment to get everything ready. Measure all your ingredients and have them laid out. This is called “mise en place” (everything in its place) and it prevents you from scrambling mid-recipe. For best results, ensure your eggs and milk are at room temperature. This helps them incorporate better into the batter, leading to a smoother, more evenly baked cake.
Step 2: Preheat and Prep Your Pan
Preheat your oven to 350°F (175°C). For your cake pan, use a 9×13 inch baking pan. To prevent sticking and ensure easy removal, lightly grease the inside of the pan with butter or cooking spray. Then, dust it with a tablespoon of flour, tapping out any excess. For an extra layer of non-stick magic, you can also line the bottom with parchment paper, leaving an overhang on the sides to lift the cake out later. This is a great baking tip for beginners to avoid a stuck cake!
Step 3: Combine Dry Ingredients
In a large mixing bowl, whisk together the all-purpose flour, granulated sugar, unsweetened cocoa powder, baking soda, and salt. Whisking ensures that all the ingredients are evenly distributed and helps to aerate the flour, which contributes to a lighter cake texture. Don’t skip this step!
Step 4: Mix Wet Ingredients
In a separate medium bowl, whisk together the room temperature eggs, whole milk, vegetable oil (or melted butter), and vanilla extract until well combined. The room temperature ingredients will mix together more smoothly and create a more uniform batter.
Step 5: Marry the Wet and Dry
Pour the wet ingredients into the bowl with the dry ingredients. Using a spatula or a hand mixer on low speed, mix until just combined. Then, carefully pour in the hot water or hot coffee. Mix until the batter is smooth. Do not overmix! Overmixing develops the gluten in the flour too much, which can lead to a tough, dense cake. A few lumps are okay; it’s better to slightly undermix than overmix.
Step 6: Layer the S’mores Magic
Pour about two-thirds of the cake batter into your prepared baking pan and spread it evenly. Sprinkle about half of the graham cracker crumbs (½ cup) and half of the chocolate chips (½ cup) over the batter. Now, carefully spoon the remaining batter over the top, gently spreading it to cover the crumbs and chips. Finally, sprinkle the remaining graham cracker crumbs and chocolate chips over the top of the batter. This layering creates pockets of s’mores goodness throughout the cake!
Step 7: Bake to Perfection
Place the cake pan in your preheated oven. Bake for 25-30 minutes, or until a wooden skewer or toothpick inserted into the center of the cake comes out with moist crumbs, but not wet batter. Avoid opening the oven door too early, especially in the first 20 minutes, as this can cause the cake to sink.
Step 8: The Toasted Marshmallow Crown
Once the cake is baked, remove it from the oven. Immediately sprinkle the mini marshmallows evenly over the entire surface of the hot cake. Return the cake to the oven and bake for another 3-5 minutes, or until the marshmallows are puffed and lightly golden brown. Keep a very close eye on them, as marshmallows can burn quickly! Alternatively, if you have a kitchen torch, you can use it to toast the marshmallows after the cake has cooled slightly, giving you more control over the browning.
Step 9: Cool and Serve
Allow the Campfire Cake to cool in the pan on a wire rack for at least 20-30 minutes before slicing and serving. This allows the cake to set properly and makes for cleaner slices. The marshmallows will be gooey and delicious when warm. Enjoy your homemade Campfire Cake!
Pro Baking Tips & Tricks for a Flawless Campfire Cake
Even though this is an easy recipe, these extra insights will help you achieve baking perfection every time:
- Room Temperature Ingredients are Key: As mentioned, eggs and milk at room temperature emulsify better, creating a smoother batter and a finer crumb for your cake. If you forget, place eggs in warm water for 5-10 minutes, and milk can be gently warmed in the microwave for 10-15 seconds.
- Measure Accurately: Baking is a science! Use proper measuring cups and spoons, leveling off dry ingredients with a straight edge. For flour, spoon it into your measuring cup and then level it off, rather than scooping directly from the bag (which can compact it and lead to too much flour).
- Don’t Overmix: This is one of the most common beginner mistakes. Mix only until ingredients are just combined. Overmixing develops gluten, leading to a tough, dry cake. A few small lumps in the batter are perfectly fine.
- Test for Doneness: The toothpick test is your best friend. Insert a wooden skewer or toothpick into the center of the cake. If it comes out clean or with a few moist crumbs attached, it’s done. If it comes out with wet batter, bake for a few more minutes.
- Customize Your Toppings: Feel free to experiment! You can use milk chocolate, dark chocolate, or even white chocolate chips. Crushed chocolate bars or different types of cookies (like shortbread) instead of graham crackers can also be fun.
- Storage Savvy: Store any leftover cake covered tightly at room temperature for up to 3 days, or in the refrigerator for up to 5 days. For the best gooey marshmallow experience, gently warm individual slices in the microwave for a few seconds before serving.
Essential Baking Tools You’ll Need
Having the right tools makes baking much easier and more enjoyable. Here are some essentials for your kitchen:
- Mixing Bowl
- Whisk
- 9×13 inch Baking Pan
- Measuring Cups
- Measuring Spoons
- Spatula
- Wire Rack (for cooling)
- Parchment Paper (optional, but highly recommended)
Nutrition Information (Estimated Per Serving)
This information is an estimate based on approximately 12 servings per cake and typical ingredient values. Actual values may vary depending on specific brands and portion sizes.
| Nutrient | Amount |
|---|---|
| Calories | 380 kcal |
| Carbohydrates | 55g |
| Protein | 5g |
| Fat | 18g |
| Fiber | 2g |
| Sugar | 38g |
Frequently Asked Questions (FAQs) for Beginner Bakers
Q1: Can I make this Campfire Cake ahead of time?
Absolutely! You can bake the cake a day in advance. If you’re doing this, bake the cake, let it cool completely, then cover it tightly. Add the marshmallows and toast them just before serving for the best gooey experience. You can also toast the marshmallows and then gently rewarm the entire cake in a low oven (around 250°F / 120°C) for 10-15 minutes before serving.
Q2: How should I store leftover Campfire Cake?
Store any leftover cake covered tightly with plastic wrap or in an airtight container at room temperature for up to 3 days. If you prefer, or if your kitchen is particularly warm, you can refrigerate it for up to 5 days. For the best flavor and texture, bring refrigerated cake back to room temperature before serving, or warm a slice briefly in the microwave.
Q3: Can I use different types of chocolate or crackers?
Yes, absolutely! Feel free to customize your Campfire Cake. Instead of semi-sweet chocolate chips, try milk chocolate, dark chocolate, or even a mix. For the graham cracker crumbs, you could experiment with crushed shortbread cookies, digestive biscuits, or even chocolate wafer cookies for a different twist.
Q4: My cake turned out dry, what went wrong?
A dry cake is often a sign of overbaking or using too much flour. Double-check your oven temperature with an oven thermometer to ensure it’s accurate. Make sure you’re measuring your flour correctly (spoon into the cup and level off, don’t scoop directly). Also, ensure you don’t overmix the batter, as this develops gluten and can lead to a tougher, drier texture. Use the toothpick test to avoid overbaking!
Q5: What’s the best way to toast the marshmallows?
For this recipe, adding marshmallows to the hot cake and returning it to the oven for 3-5 minutes is the easiest method. Keep a very close eye on them as they brown quickly. If you want more control, use a kitchen torch (like those used for crème brûlée) after the cake has cooled slightly. This allows for precise browning without the risk of overbaking the cake or burning the marshmallows.
Q6: Can I bake this recipe in a different size pan?
Yes, but you’ll need to adjust baking times. If using two 8-inch round cake pans, the baking time might be slightly shorter (around 20-25 minutes). If using a larger or smaller pan, always use the toothpick test to determine doneness. For cupcakes, fill liners about two-thirds full and bake for 18-22 minutes. Remember, smaller pans mean more surface area and faster baking.
Ready to Create Your Own Campfire Cake Memory?
There you have it a complete guide to creating a truly delightful Campfire Cake right in your own kitchen. This recipe is more than just a dessert; it’s an experience, a taste of adventure, and a testament to how fun and rewarding baking can be. Don’t be intimidated by the idea of baking; with these detailed instructions and helpful tips, you’re set up for success.
So, grab your ingredients, preheat your oven, and prepare to fill your home with the irresistible aroma of chocolate, graham crackers, and toasted marshmallows. We can’t wait to see your creations! Share your Campfire Cake triumphs with us in the comments below or on social media. Happy baking!