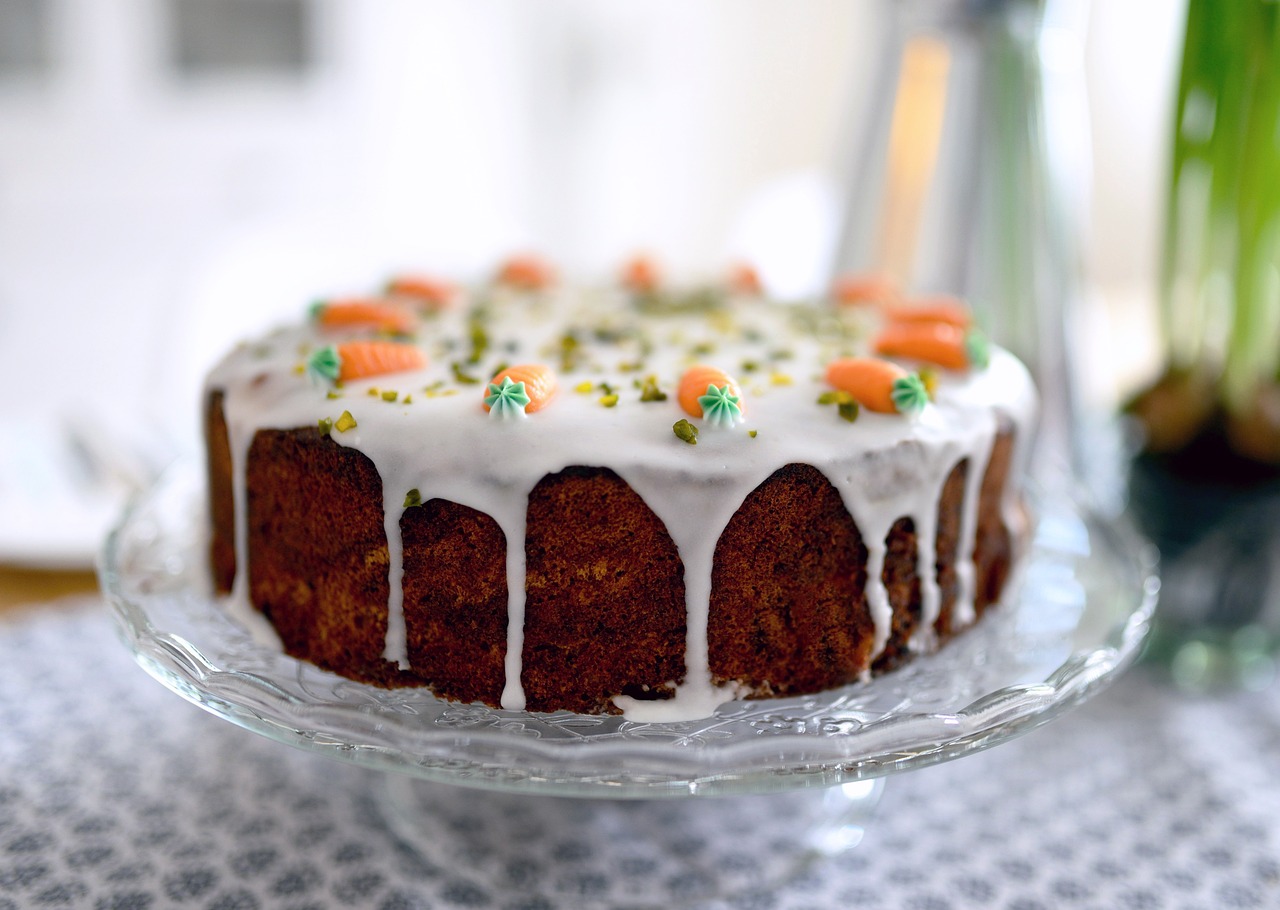
Are you ready to impress everyone (including yourself!) with a show-stopping dessert that’s surprisingly achievable, even if you’re just starting your baking journey? Look no further than this incredible Caramel Crunch Cake Recipe. This isn’t just any cake; it’s a moist, tender vanilla cake layered with a rich, buttery homemade caramel sauce, and topped with a delightful crunchy pecan and toffee topping. It’s the perfect balance of sweet, salty, and textural bliss.
We know that diving into new recipes can feel daunting, especially with all the jargon and precise measurements. That’s why we’ve crafted this guide to be one of the most easy baking recipes you’ll ever follow. We’ll walk you through every single step, providing invaluable baking tips for beginners to ensure your success. From understanding why room temperature ingredients matter to mastering the art of homemade caramel, you’ll gain confidence and skills with every whisk and fold. Get ready to bake something truly spectacular!
What Makes This Caramel Crunch Cake So Special?
- Perfectly Moist Cake: A fluffy vanilla cake base that stays tender for days.
- Decadent Homemade Caramel: Learn to make a rich, glossy caramel sauce from scratch – it’s easier than you think!
- Irresistible Crunch Topping: A delightful mix of toasted pecans and buttery toffee bits adds amazing texture.
- Beginner-Friendly: Detailed instructions and tips designed to guide novice bakers to success.
Ingredients You’ll Need
Before we begin, gather all your ingredients. This practice, known as “mise en place,” makes the baking process smoother and helps prevent forgotten ingredients!
For the Vanilla Cake:
| Ingredient | Quantity |
|---|---|
| All-Purpose Flour | 2 ½ cups (300g) |
| Granulated Sugar | 1 ¾ cups (350g) |
| Baking Powder | 1 tbsp |
| Salt | ½ tsp |
| Unsalted Butter, softened | 1 cup (2 sticks / 226g) |
| Large Eggs, room temperature | 4 |
| Whole Milk, room temperature | 1 cup (240ml) |
| Vanilla Extract | 2 tsp |
For the Homemade Caramel Sauce:
| Ingredient | Quantity |
|---|---|
| Granulated Sugar | 1 cup (200g) |
| Water | ¼ cup (60ml) |
| Heavy Cream, warmed | ¾ cup (180ml) |
| Unsalted Butter, cut into cubes | 4 tbsp (½ stick / 56g) |
| Salt | ½ tsp |
| Vanilla Extract | 1 tsp |
For the Crunch Topping:
| Ingredient | Quantity |
|---|---|
| Chopped Pecans (or Walnuts) | 1 cup |
| Toffee Bits (Heath bar bits work great!) | ½ cup |
Step-by-Step Instructions: Your Beginner-Friendly Guide
Follow these detailed steps carefully, and you’ll have a magnificent Caramel Crunch Cake ready to enjoy!
Part 1: Baking the Vanilla Cake
- Preheat and Prep: Preheat your oven to 350°F (175°C). Grease and flour two 8-inch or 9-inch round cake pans, or line them with parchment paper. This prevents sticking, a common beginner’s frustration! If you don’t have parchment, greasing well and then dusting with flour is crucial.
- Combine Dry Ingredients: In a medium bowl, whisk together the all-purpose flour, baking powder, and salt. Whisking ensures these ingredients are evenly distributed, so your cake rises uniformly. Set aside.
- Cream Butter and Sugar: In a large bowl, using an electric mixer (handheld or stand mixer), beat the softened unsalted butter and granulated sugar on medium-high speed until light and fluffy. This usually takes about 3-5 minutes. This step incorporates air, which contributes to the cake’s tender texture. Beginner Tip: Make sure your butter is truly softened (leave it out for an hour or two) but not melted, otherwise, your cake might be dense.
- Add Eggs: Add the room temperature large eggs one at a time, beating well after each addition. Scrape down the sides of the bowl as needed to ensure everything is fully combined. Adding eggs one by one helps them emulsify properly into the butter mixture.
- Alternate Dry and Wet: With the mixer on low speed, gradually add about one-third of the dry ingredient mixture to the butter mixture, mixing just until combined. Then, pour in half of the room temperature whole milk and mix. Repeat, alternating with dry and wet, ending with the last third of the dry ingredients. Add the vanilla extract with the final addition of milk. Key Beginner Tip: Do NOT overmix! Overmixing develops gluten in the flour, which can lead to a tough, dry cake. Mix just until no dry streaks remain.
- Divide and Bake: Divide the batter evenly between your two prepared cake pans. Spread gently with a spatula to level the tops. Bake for 25-30 minutes, or until a wooden skewer or toothpick inserted into the center of the cakes comes out clean. The cakes should be lightly golden and spring back when gently pressed. Beginner Tip: Ovens can vary, so start checking at 25 minutes. If the cakes are browning too quickly, you can loosely tent them with foil.
- Cool the Cakes: Let the cakes cool in their pans on a wire rack for 10-15 minutes. This allows them to firm up slightly. Then, carefully invert them onto the wire rack to cool completely. Cooling completely is vital before frosting, otherwise, your caramel will melt and slide off!
Part 2: Making the Homemade Caramel Sauce
This part can seem intimidating, but with patience and attention, you’ll master it!
- Prepare Ingredients: Have your warmed heavy cream, cubed butter, salt, and vanilla extract measured out and ready to go. Caramel making moves quickly, so you won’t have time to measure in the middle of it. To warm the cream, gently heat it in a small saucepan or microwave until it’s warm to the touch (not boiling).
- Melt Sugar and Water: In a heavy-bottomed saucepan (preferably light-colored so you can see the color change), combine the granulated sugar and water. Stir gently just to moisten the sugar. Place the saucepan over medium heat.
- Boil and Watch: Let the sugar mixture come to a boil without stirring. You can gently swirl the pan occasionally to ensure even heating. Watch carefully! The mixture will first become clear, then start to bubble, and eventually turn a beautiful amber color. This can take 8-12 minutes. Crucial Beginner Tip: If sugar crystals form on the sides of the pan, dip a pastry brush in water and gently brush them down into the syrup. Do NOT stir with a spoon once it starts boiling, or it can crystallize.
- Achieve Amber Color: Continue to cook until the caramel reaches a deep amber color. This is where flavor develops. Be careful not to let it get too dark, or it will taste burnt. Remove from heat immediately once it reaches your desired color.
- Carefully Add Cream: Slowly and very carefully pour the warmed heavy cream into the hot caramel while whisking constantly. The mixture will bubble up violently and steam, so be cautious! Keep whisking until smooth. Safety First: Stand back from the pan as you add the cream, and wear oven mitts if you’re nervous about splashes.
- Stir in Butter, Salt, and Vanilla: Add the cubed unsalted butter, salt, and vanilla extract. Whisk until the butter is completely melted and incorporated, and the sauce is smooth and glossy. The salt helps balance the sweetness and enhances the flavor.
- Cool the Caramel: Pour the caramel sauce into a heatproof jar or bowl. Let it cool completely to room temperature, stirring occasionally as it cools. It will thicken significantly as it cools. If it seems too thick, you can gently warm it on the stove over low heat or in the microwave for a few seconds before using.
Part 3: Assembling the Caramel Crunch Cake
- Prepare Topping: In a small bowl, combine the chopped pecans and toffee bits. Give them a quick stir to mix them evenly. Set aside.
- Level Cakes (Optional but Recommended): If your cake tops are domed, use a serrated knife to carefully level them. This creates flat surfaces for stacking and a professional look. Beginner Tip: You can use a ruler to help guide your knife for an even cut.
- First Layer: Place one cooled cake layer on your serving plate or cake stand. Spread about half of the cooled caramel sauce evenly over the top of this layer, leaving a small border around the edge.
- Second Layer: Carefully place the second cake layer on top of the first. Gently press down to secure it.
- Final Caramel and Crunch: Pour the remaining caramel sauce over the top of the second cake layer, letting some of it drip attractively down the sides. While the caramel is still slightly wet, generously sprinkle the entire pecan and toffee crunch topping over the caramel. You can gently press some of the topping into the sides if you like.
- Chill (Optional but Recommended): For best results and easier slicing, chill the cake in the refrigerator for at least 30 minutes to allow the caramel to set further. Then, let it sit at room temperature for 15-20 minutes before serving for optimal flavor and texture.
Tips & Tricks for Baking Success
Even with detailed instructions, a few extra pointers can make all the difference for beginners:
- Room Temperature is Key: This isn’t just a suggestion! Room temperature butter and eggs emulsify better, creating a smoother batter and a more tender, well-risen cake. Cold ingredients can cause your batter to curdle and result in a dense cake.
- Measure Flour Correctly: Don’t scoop flour directly from the bag with your measuring cup. Instead, spoon flour into your measuring cup and then level it off with the back of a knife. Too much flour is a common cause of dry cakes.
- Don’t Overmix: Once you add the flour to your wet ingredients, mix only until just combined. Overmixing develops gluten, which leads to a tough, chewy cake rather than a soft, tender one.
- Invest in an Oven Thermometer: Oven temperatures can vary significantly from what the dial says. An inexpensive oven thermometer ensures your oven is truly at the temperature you set, preventing under or over-baking.
- Caramel Safety: Hot sugar can cause severe burns. Be extremely careful when making caramel. Keep children and pets away from the kitchen, and never taste hot caramel directly from the pan.
- Patience with Cooling: Resist the urge to frost a warm cake! Caramel will melt and slide off, making a mess. Allow your cake layers to cool completely before assembling.
- Storage: Store leftover cake covered at room temperature for up to 2 days, or in the refrigerator for up to 4-5 days. Bring to room temperature before serving for the best flavor and texture.
- Customization: Feel free to experiment with the crunch topping! Try walnuts, almonds, crushed pretzels, or even a sprinkle of sea salt flakes over the caramel for an extra gourmet touch.
Essential Baking Tools
Having the right tools makes baking easier and more enjoyable. Here are a few essentials for this recipe:
- Mixing Bowls (various sizes)
- Whisk
- Electric Mixer (Handheld or Stand)
- Round Cake Pans (8 or 9-inch)
- Measuring Cups
- Measuring Spoons
- Rubber Spatula
- Heavy-Bottomed Saucepan (for caramel)
- Wire Cooling Rack
- Parchment Paper (optional, but recommended)
Nutrition Information (Estimated per Serving)
Please note that these values are estimates and can vary based on specific ingredients and serving size.
| Nutrient | Amount |
|---|---|
| Calories | 480 kcal |
| Carbohydrates | 65g |
| Protein | 5g |
| Fat | 25g |
| Saturated Fat | 15g |
| Fiber | 1g |
| Sugar | 48g |
Frequently Asked Questions (FAQs) for Beginner Bakers
-
Why do my ingredients need to be at room temperature?
Room temperature butter and eggs create a smoother, more emulsified batter. Cold ingredients don’t blend well, leading to a lumpy batter and a potentially dense, less airy cake. For butter, leave it out for 1-2 hours. For eggs, place them in a bowl of warm water for 10-15 minutes.
-
My caramel hardened after cooling. What went wrong?
This is common! Caramel thickens significantly as it cools. If it becomes too hard to pour or spread, gently reheat it over very low heat on the stove, stirring constantly, or in the microwave in 15-second intervals, stirring after each, until it reaches your desired consistency. Be careful not to overheat.
-
Can I make this cake ahead of time?
Absolutely! You can bake the cake layers up to 2 days in advance. Wrap them tightly in plastic wrap once completely cooled and store at room temperature. The caramel sauce can also be made 2-3 days ahead and stored in an airtight container in the refrigerator; gently reheat before using. Assemble the cake closer to serving for the freshest crunch.
-
My cake turned out dry. What could be the cause?
Common culprits for dry cakes include: too much flour (always spoon and level!), overmixing the batter, or overbaking. Ensure you’re measuring accurately and checking for doneness at the earliest recommended time.
-
Can I use store-bought caramel sauce?
While homemade caramel truly elevates this cake, if you’re short on time or nervous about making it from scratch, you can certainly use a good quality store-bought caramel sauce. You’ll need about 1 ½ to 2 cups. Just make sure it’s a thick, pourable consistency.
Ready to Bake Your Masterpiece?
You’ve got all the tools, tips, and step-by-step guidance you need to create this absolutely divine Caramel Crunch Cake Recipe. Don’t be afraid to get a little messy, embrace the process, and most importantly, have fun! Baking is a wonderful way to express creativity and bring joy to those around you.
Imagine the smiles when you present this beautiful cake, knowing you made every delicious component yourself. We’re confident that even as a beginner, you’ll achieve fantastic results. So, preheat that oven, gather your ingredients, and let’s get baking! We can’t wait to hear about your success. Feel free to leave a comment below with your experience or any questions you might have.