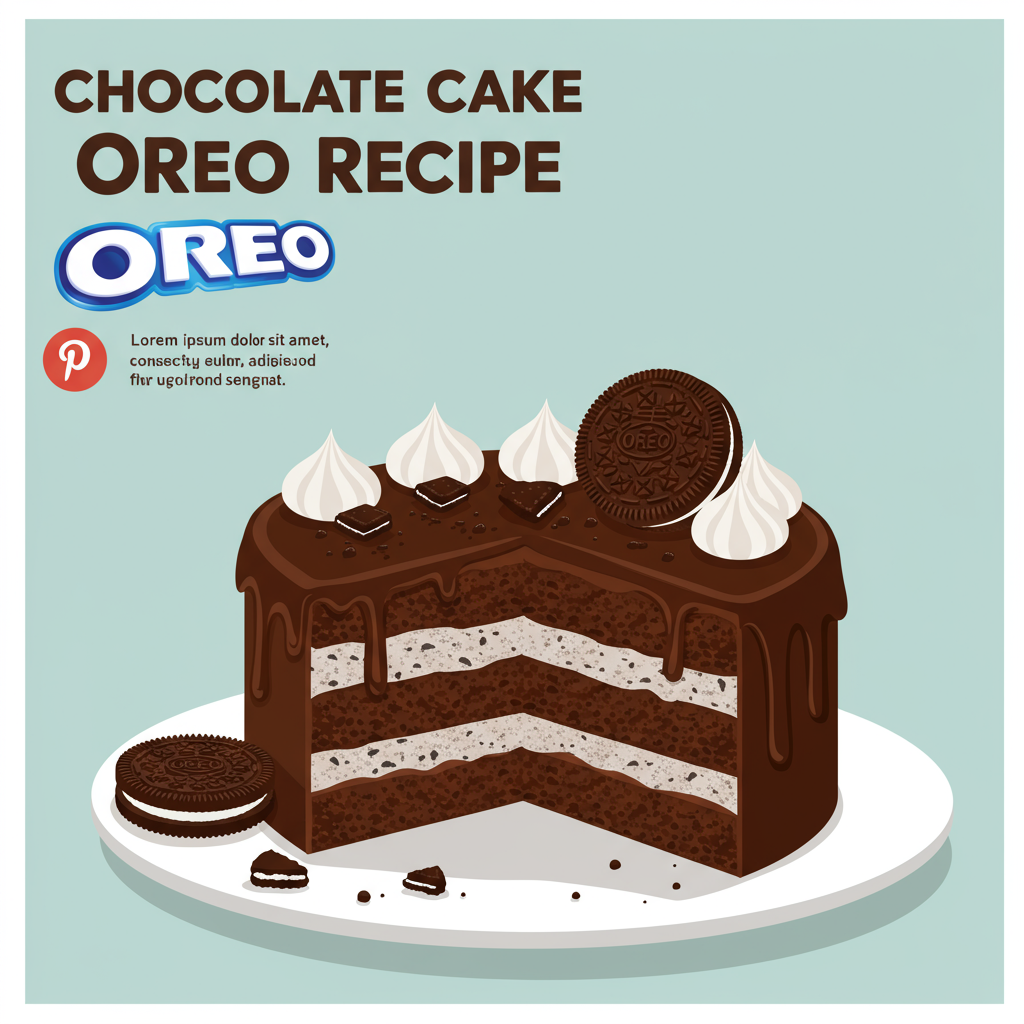
Welcome, fellow baking enthusiasts! Are you ready to dive into the wonderful world of chocolate and cookies? Today, we’re tackling a truly magical dessert: the Chocolate Cake Oreo Recipe. This isn’t just any chocolate cake; it’s a moist, rich, and utterly delightful cake studded with your favorite Oreo cookies, perfect for any celebration or just a cozy night in. If you’ve been looking for easy baking recipes that deliver impressive results without the stress, you’ve come to the right place. We’ll walk you through every step, providing essential baking tips for beginners to ensure your first (or fiftieth!) attempt is a roaring success. Get ready to bake something truly special!
Ingredients List
Before we begin, gather all your ingredients. Room temperature ingredients are key for a smooth, well-emulsified batter!
| Ingredient | Quantity | Unit |
|---|---|---|
| All-Purpose Flour | 2 | cups |
| Granulated Sugar | 2 | cups |
| Unsweetened Cocoa Powder | ¾ | cup |
| Baking Soda | 2 | teaspoons |
| Baking Powder | 1 | teaspoon |
| Salt | 1 | teaspoon |
| Milk (whole or 2%) | 1 | cup |
| Vegetable Oil | ½ | cup |
| Large Eggs | 2 | |
| Vanilla Extract | 2 | teaspoons |
| Boiling Water | 1 | cup |
| Oreo Cookies (for batter & decoration) | 36-40 | cookies |
| For the Oreo Buttercream Frosting: | ||
| Unsalted Butter (softened) | 1 ½ | cups (3 sticks) |
| Powdered Sugar (confectioners’ sugar) | 6-8 | cups |
| Heavy Cream or Milk | ¼ – ½ | cup |
| Vanilla Extract | 1 | teaspoon |
| Pinch of Salt | ||
| Oreo Cookies (crushed, for frosting) | 15-20 | cookies |
Step-by-Step Instructions for the Perfect Chocolate Oreo Cake
Follow these detailed steps carefully, and you’ll be enjoying a delicious homemade cake in no time!
Part 1: Preparing the Chocolate Cake Layers
- Preheat Your Oven and Prepare Pans: Start by preheating your oven to 350°F (175°C). This is crucial for even baking! Grease and flour two 8-inch or 9-inch round baking pans. You can also line the bottoms with parchment paper for extra insurance against sticking. Beginner Tip: To grease and flour, first spread a thin layer of butter or cooking spray evenly, then add a spoonful of flour, tilting the pan to coat all surfaces. Tap out any excess flour.
- Combine Dry Ingredients: In a large mixing bowl, whisk together the all-purpose flour, granulated sugar, unsweetened cocoa powder, baking soda, baking powder, and salt. Make sure to whisk thoroughly for about 30 seconds to a minute; this helps distribute the leavening agents (baking soda and powder) evenly, preventing lumps and ensuring a consistent rise. Beginner Tip: Sifting your dry ingredients can help prevent lumps, especially with cocoa powder.
- Add Wet Ingredients (Except Boiling Water): To the dry ingredients, add the milk, vegetable oil, large eggs, and vanilla extract. Using a stand mixer with a paddle attachment or a hand mixer, beat on medium speed for about 2 minutes. Scrape down the sides of the bowl with a spatula to ensure everything is well combined. Beginner Tip: Ensure your eggs and milk are at room temperature. This helps them emulsify better with the fats, resulting in a smoother, more uniform batter and a lighter cake texture.
- Incorporate Boiling Water (The Secret to Moisture!): Carefully pour the boiling water into the batter. Mix on low speed until just combined. The batter will be thin – don’t worry, this is exactly how it should be! This hot liquid ‘blooms’ the cocoa powder, intensifying the chocolate flavor and contributing to the cake’s incredible moisture. Beginner Tip: Do not overmix after adding the water; mix only until no streaks of dry ingredients remain. Overmixing develops gluten, which can lead to a tough cake.
- Add Crushed Oreos to the Batter: Take about 10-12 Oreo cookies and crush them into small pieces. You can do this by placing them in a Ziploc bag and crushing them with a rolling pin or by pulsing them briefly in a food processor. Gently fold these crushed Oreos into the cake batter using a spatula. This adds a delightful cookie crunch to every bite!
- Divide and Bake: Divide the batter evenly between your two prepared baking pans. Bake for 30-35 minutes, or until a wooden skewer or toothpick inserted into the center of the cakes comes out clean or with moist crumbs attached (no wet batter). Beginner Tip: Avoid opening the oven door frequently, especially during the first 20 minutes, as this can cause the cake to sink.
- Cooling the Cake Layers: Once baked, remove the cakes from the oven and let them cool in their pans on a wire rack for about 10-15 minutes. This allows the cakes to set and become firm enough to handle. After this initial cooling, carefully invert the cakes onto the wire rack to cool completely. This step is crucial! Frosting warm cakes will melt your frosting and lead to a messy disaster. Allow them to cool for at least 2-3 hours, or even overnight.
Part 2: Making the Oreo Buttercream Frosting
- Crush Oreos for Frosting: Take 15-20 Oreo cookies and crush them more finely than you did for the cake batter. You want mostly fine crumbs with a few small pieces for texture. A food processor works best here, but a Ziploc bag and rolling pin will also do the trick. Set aside.
- Cream the Butter: In a large mixing bowl, using a stand mixer with a paddle attachment or a hand mixer, beat the softened unsalted butter on medium speed for 2-3 minutes until it’s light, fluffy, and pale in color. This incorporates air, making your frosting light and smooth. Beginner Tip: Ensure your butter is truly softened, not melted. It should give slightly when pressed but not be greasy.
- Gradually Add Powdered Sugar: With the mixer on low speed, gradually add the powdered sugar, one cup at a time, mixing well after each addition. The mixture will look crumbly at first.
- Add Liquid and Flavor: Once all the powdered sugar is incorporated, add the vanilla extract, pinch of salt, and 1/4 cup of heavy cream or milk. Increase the mixer speed to medium-high and beat for another 3-5 minutes until the frosting is light, fluffy, and spreadable. If it’s too thick, add more cream or milk, one tablespoon at a time, until you reach your desired consistency. If it’s too thin, add a little more powdered sugar.
- Fold in Crushed Oreos: Gently fold in the finely crushed Oreo cookies (from step 8) into the buttercream using a spatula. Do not overmix, just combine until the crumbs are evenly distributed.
Part 3: Assembling Your Chocolate Oreo Masterpiece
- Level Your Cakes (Optional but Recommended): If your cake layers have domed tops, you can level them with a serrated knife for a flatter, more professional-looking cake. Beginner Tip: A cake leveling tool makes this much easier, but a long serrated knife and a steady hand work perfectly. You can even use a few toothpicks inserted around the cake as a guide.
- First Layer and Filling: Place one cooled cake layer on your serving plate or cake stand. Spread about 1 to 1.5 cups of Oreo buttercream evenly over the top of this layer.
- Second Layer and Crumb Coat: Carefully place the second cake layer on top. Apply a thin layer of frosting all over the top and sides of the cake. This is called a “crumb coat” and it traps any loose crumbs, preventing them from getting into your final frosting layer. Beginner Tip: Don’t worry if this layer looks messy; its purpose is purely functional.
- Chill the Crumb Coat: Place the cake in the refrigerator for 15-20 minutes to allow the crumb coat to firm up. This makes applying the final layer of frosting much easier and cleaner.
- Final Frosting and Decoration: Once the crumb coat is firm, apply the remaining Oreo buttercream to the top and sides of the cake, smoothing it out with an offset spatula or a bench scraper. For decoration, take the remaining 10-15 Oreo cookies, crush some, and leave some whole or halved. Arrange them artfully on top of the cake and around the base. Get creative!
- Serve and Enjoy!: Slice into your magnificent Chocolate Cake Oreo Recipe and enjoy the fruits of your labor! This cake is best served at room temperature.
Tips & Tricks for Baking Success
Baking can seem daunting, but with a few simple tips, you’ll be a pro in no time! Here’s some actionable advice:
- Read the Entire Recipe First: Before you even preheat your oven, read through all the steps. This helps you understand the process and avoid surprises.
- Measure Accurately: Baking is a science! Use proper measuring cups and spoons. For flour, spoon it into your measuring cup and then level it off with a straight edge (like the back of a knife) – don’t scoop directly from the bag, as this compacts the flour and you’ll end up with too much.
- Room Temperature Ingredients: As mentioned, this is vital for smooth batters and fluffy frostings. Cold ingredients don’t emulsify properly with fats, leading to lumpy batter and separated frosting. Take butter, eggs, and milk out of the fridge at least 30-60 minutes before you start.
- Don’t Overmix: Once you add flour, mix only until just combined. Overmixing develops gluten, making cakes tough and chewy instead of tender and moist.
- Preheat Your Oven Properly: Give your oven at least 15-20 minutes to reach and stabilize at the correct temperature before putting your cakes in. An accurate oven temperature is crucial for even baking.
- Cool Cakes Completely: Patience is a virtue in baking! Frosting a warm cake will melt your beautiful buttercream into a sad, sugary puddle.
- Invest in a Good Timer: Don’t rely solely on your phone. A dedicated kitchen timer will be your best friend, reminding you when to check your bake.
Essential Baking Tools
Having the right tools makes all the difference, especially when you’re starting out. Here are some essentials:
- Mixing Bowl (a set of various sizes is ideal)
- Whisk (for dry ingredients and lighter batters)
- Baking Pan (two 8-inch or 9-inch round pans are perfect for this recipe)
- Measuring Cups and Measuring Spoons (for accurate ingredient measurement)
- Spatula (rubber or silicone for scraping bowls and folding ingredients)
- Electric Hand Mixer or Stand Mixer (makes creaming butter and making frosting much easier)
- Parchment Paper (prevents sticking and makes pan cleanup a breeze)
- Wire Cooling Rack (essential for cooling cakes evenly)
- Serrated Knife or Cake Leveler (for perfectly flat cake layers)
Nutrition Info (Estimated per slice, 12 servings)
Please note: These are estimated values and can vary based on specific ingredients and portion sizes.
| Nutrient | Amount |
|---|---|
| Calories | 550-650 kcal |
| Carbohydrates | 80-95 g |
| Protein | 5-7 g |
| Fat | 25-35 g |
| Fiber | 2-3 g |
| Sugar | 60-75 g |
Frequently Asked Questions (FAQs)
Q: Can I make this Chocolate Cake Oreo Recipe ahead of time?
A: Absolutely! The cake layers can be baked up to 2-3 days in advance. Once completely cooled, wrap them tightly in plastic wrap and store at room temperature or freeze for up to a month. The frosting can also be made 2-3 days ahead and stored in an airtight container in the refrigerator; let it come to room temperature and re-whip before using. The assembled cake is best enjoyed within 2-3 days.
Q: How should I store the finished cake?
A: Store the frosted cake in an airtight cake carrier or under a cake dome at room temperature for up to 2 days. If your kitchen is very warm, or if you prefer, you can refrigerate it. If refrigerated, let it come to room temperature for about 30-60 minutes before serving for the best texture and flavor.
Q: Can I use different cookies instead of Oreos?
A: Yes, you can! Get creative! While Oreos are classic, you could experiment with other cream-filled sandwich cookies, chocolate chip cookies, or even crushed graham crackers for a different twist. Just make sure they’re not too soft or they might get mushy in the batter.
Q: Why did my cake sink in the middle?
A: There are a few common reasons for a sunken cake:
- Oven Temperature: An oven that’s too cool or opening the oven door too early can cause the cake to collapse.
- Old Leavening Agents: Baking soda and baking powder lose their potency over time. Check their expiration dates.
- Too Much Liquid: Ensure accurate measurements.
- Overmixing: As mentioned, overmixing develops gluten and can lead to a dense, sunken cake.
- Underbaked: The cake wasn’t fully cooked through when removed from the oven. Always do the toothpick test!
Q: Is it really necessary to bring ingredients to room temperature?
A: For cakes and frostings, yes, it truly makes a difference! Room temperature butter creams beautifully with sugar, incorporating air for a light texture. Room temperature eggs and milk emulsify better with the fats, creating a smoother, more stable batter. This results in a more uniform crumb and a tender, moist cake.
Conclusion
Congratulations, baker! You’ve just created a stunning and delicious Chocolate Cake Oreo Recipe. Whether this was your very first cake or a new addition to your repertoire, you should be incredibly proud. Baking is a journey of learning and delicious discovery, and every cake you bake builds your confidence and skills. Don’t be afraid to experiment, and remember that even the best bakers have “oops” moments. The most important ingredient is always love (and a little bit of patience!).
We hope you and your loved ones enjoy this delightful treat. If you bake this cake, we’d love to hear about it in the comments below! Happy baking!