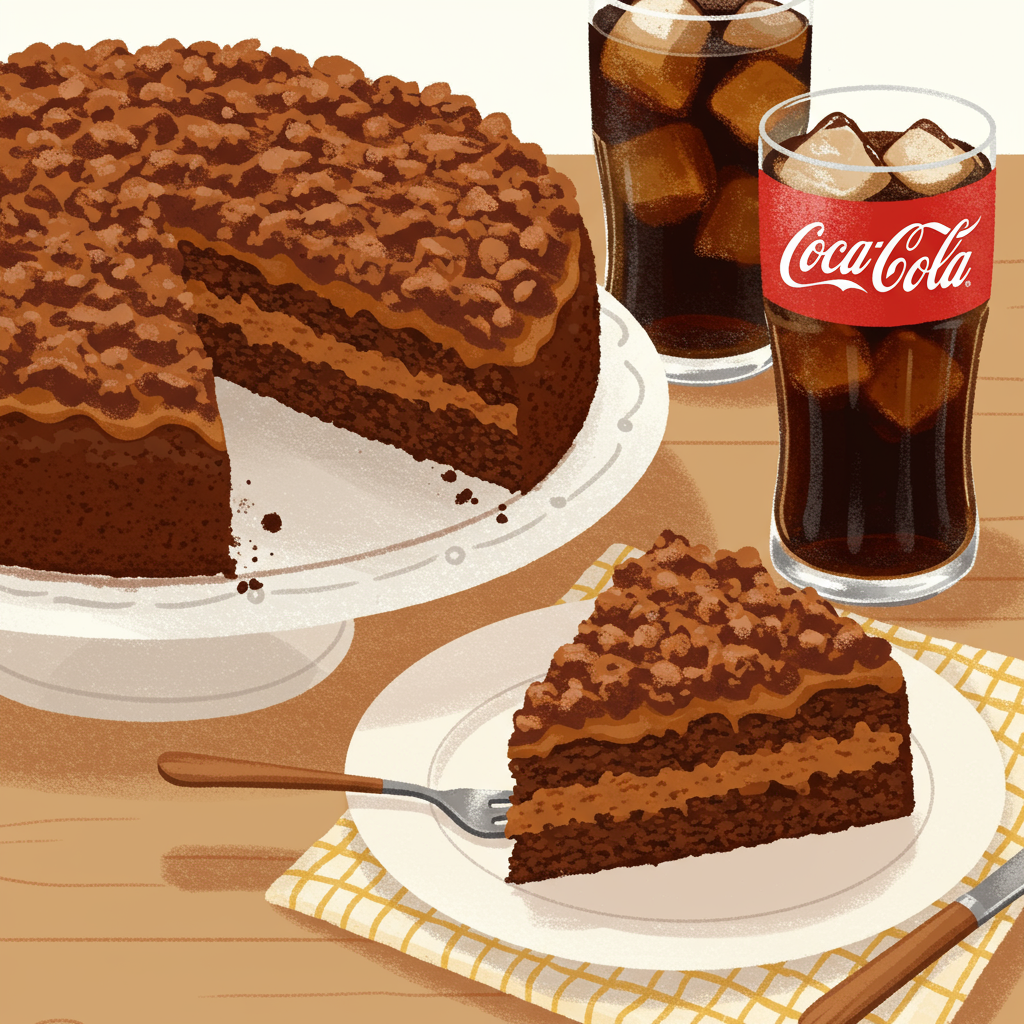
Welcome, aspiring bakers and dessert enthusiasts! Have you ever dreamt of recreating that iconic, moist, and utterly delightful chocolate cake from Cracker Barrel right in your own kitchen? Well, today’s your lucky day! We’re diving deep into the world of the Coca Cola Cake Recipe Cracker Barrel style – a truly unique dessert that combines the rich flavor of chocolate with the surprising sweetness and fizz of Coca-Cola. Don’t worry if you’re new to the kitchen; this recipe is designed to be one of the most easy baking recipes you’ll ever tackle. We’ll walk you through every step, providing essential baking tips for beginners to ensure your cake turns out perfectly moist, tender, and incredibly delicious. Get ready to impress your family and friends with this classic Southern treat!
Ingredients You’ll Need
Gather your ingredients before you begin. This ensures a smooth and stress-free baking process, especially for beginners!
For the Coca-Cola Cake:
| Ingredient | Quantity | Unit |
|---|---|---|
| All-Purpose Flour | 2 | cups |
| Granulated Sugar | 2 | cups |
| Unsweetened Cocoa Powder | 1/2 | cup |
| Baking Soda | 1 | teaspoon |
| Salt | 1/2 | teaspoon |
| Unsalted Butter | 1 | cup (2 sticks) |
| Coca-Cola (regular, not diet) | 1 | cup |
| Buttermilk | 1/2 | cup |
| Large Eggs | 2 | |
| Vanilla Extract | 1 | teaspoon |
| Mini Marshmallows (optional, for frosting) | 1 | cup |
For the Coca-Cola Frosting:
| Ingredient | Quantity | Unit |
|---|---|---|
| Unsalted Butter | 1/2 | cup (1 stick) |
| Unsweetened Cocoa Powder | 1/4 | cup |
| Coca-Cola (regular) | 1/4 | cup |
| Powdered Sugar (Confectioners’ Sugar) | 3 1/2 – 4 | cups |
| Vanilla Extract | 1/2 | teaspoon |
| Chopped Pecans (optional, for topping) | 1/2 | cup |
Step-by-Step Instructions: Your Path to Cake Perfection
Follow these detailed steps carefully, and you’ll be enjoying your homemade Coca-Cola cake in no time. Remember, baking is a science, so precise measurements and steps are key!
For the Coca-Cola Cake:
- Preheat Your Oven & Prep Your Pan: First things first! Preheat your oven to 350°F (175°C). This ensures the oven is at the correct temperature when your cake goes in, which is crucial for even baking. Next, take a 9×13 inch baking pan. Grease it thoroughly with butter or cooking spray, then lightly flour it. To flour, add about a tablespoon of flour, tilt the pan to coat all surfaces, and tap out any excess. This prevents your cake from sticking – a common beginner’s mishap!
- Whisk Dry Ingredients: In a large mixing bowl, combine your 2 cups of all-purpose flour, 2 cups of granulated sugar, 1/2 cup of unsweetened cocoa powder, 1 teaspoon of baking soda, and 1/2 teaspoon of salt. Use a whisk to gently mix these ingredients together until they are well combined. This distributes the leavening agents and flavor evenly throughout your cake.
- Heat Wet Ingredients (Part 1): In a medium saucepan, combine 1 cup of unsalted butter (that’s two sticks!) and 1 cup of Coca-Cola. Place the saucepan over medium heat and bring it to a gentle boil, stirring occasionally. Once it reaches a boil and the butter is fully melted, immediately remove it from the heat. This step infuses the butter with the unique Coca-Cola flavor and prepares it for mixing.
- Combine Wet & Dry: Pour the hot butter and Coca-Cola mixture directly into your bowl of dry ingredients. Using a whisk or a rubber spatula, stir until just combined. Be careful not to overmix! Overmixing can develop the gluten in the flour too much, leading to a tough, dense cake – and we want a light, moist one.
- Add Remaining Wet Ingredients: In a separate small bowl, lightly whisk together 1/2 cup of buttermilk, 2 large eggs, and 1 teaspoon of vanilla extract. Make sure your eggs are at room temperature if possible; this helps them emulsify better with the other ingredients, creating a smoother batter. Slowly add this mixture to your cake batter, stirring gently until everything is just incorporated. Again, avoid overmixing.
- Pour and Bake: Pour your beautifully mixed cake batter into your prepared 9×13 inch baking pan. Spread it evenly with a spatula. Place the pan in the preheated oven and bake for 30-35 minutes. How do you know it’s done? The cake is ready when a wooden skewer or toothpick inserted into the center comes out clean or with a few moist crumbs attached.
- Optional Marshmallow Step: If you’re using mini marshmallows, sprinkle them evenly over the hot cake immediately after removing it from the oven. The residual heat will slightly melt them, creating a delicious gooey layer.
- Cool the Cake: Allow the cake to cool in the pan on a wire rack for at least 30 minutes before frosting. Cooling is essential; frosting a warm cake will cause the frosting to melt and slide right off.
For the Coca-Cola Frosting:
This frosting is designed to be poured over the warm cake, creating a delicious glaze that soaks in slightly. If you prefer a thicker, spreadable frosting, you can adjust the powdered sugar quantity.
- Melt Butter & Cocoa: While the cake is cooling, prepare your frosting. In a medium saucepan, melt 1/2 cup of unsalted butter over medium heat. Once melted, add 1/4 cup of unsweetened cocoa powder and stir until smooth and well combined.
- Add Coca-Cola: Pour in 1/4 cup of Coca-Cola (regular, not diet). Bring the mixture to a gentle boil, stirring constantly. Remove from heat immediately once it boils.
- Whisk in Powdered Sugar & Vanilla: Gradually add 3 1/2 to 4 cups of powdered sugar to the hot mixture, whisking continuously until smooth. Start with 3.5 cups and add more if you desire a thicker consistency. Stir in 1/2 teaspoon of vanilla extract. The frosting should be pourable but thick enough to coat the back of a spoon.
- Pour and Top: Once the cake has cooled slightly (it should still be warm, but not piping hot, if you skipped the marshmallows; if you used marshmallows, the cake needs to cool enough for the marshmallows to set a bit, then pour the warm frosting over), pour the warm frosting evenly over the entire cake. If using, sprinkle with chopped pecans immediately while the frosting is still wet.
- Final Cool Down: Let the cake cool completely on the wire rack until the frosting sets. This may take an hour or two. Once set, slice and serve!
Tips & Tricks for Beginner Bakers
Baking can seem daunting, but with a few simple guidelines, you’ll be a pro in no time! Here are some invaluable **baking tips for beginners**:
- Room Temperature Ingredients: Always aim for room temperature butter and eggs unless specified otherwise. This helps them emulsify better, creating a smoother, more uniform batter and a lighter cake texture. Plan ahead and take them out of the fridge an hour or two before you start.
- Measure Accurately: Baking is a science. Use proper measuring cups for dry ingredients (levelled off with a straight edge) and liquid measuring cups for liquids (read at eye level). Don’t pack flour into your measuring cup; spoon it in and then level.
- Don’t Overmix: Once you add flour to wet ingredients, mix only until just combined. Overmixing develops gluten, which can make your cake tough and chewy instead of tender and moist. A few lumps are okay!
- Preheat Your Oven: Give your oven plenty of time to reach the correct temperature before putting your cake in. An oven thermometer can confirm accuracy. If your oven isn’t hot enough, your cake might not rise properly.
- Patience with Cooling: Resist the urge to frost a warm cake! It will melt the frosting and create a mess. Allow your cake to cool completely on a wire rack before applying frosting.
- Read the Entire Recipe First: Before you even get out your ingredients, read the recipe from start to finish. This helps you understand the process, identify any steps you might need to prepare for, and ensures you have all necessary ingredients and tools.
- Invest in a Good Pan: A light-colored metal baking pan will conduct heat more evenly than a dark one, preventing over-browning on the edges.
Essential Baking Tools
Having the right tools makes all the difference, especially when you’re starting out. Here are some basics that will help you succeed:
- Mixing Bowl Set: Various sizes for different stages of your recipe.
- Whisk: Essential for combining dry ingredients and light mixing.
- 9×13 Inch Baking Pan: The perfect size for this sheet cake.
- Measuring Cups and Spoons: Accurate measurements are crucial in baking.
- Rubber Spatula: For scraping bowls clean and gentle folding.
- Electric Mixer (Handheld or Stand): Speeds up creaming butter and sugar, and mixing batter.
- Wire Rack: For cooling your cake evenly.
- Parchment Paper (optional but recommended): Makes removing cakes from pans much easier.
Nutrition Information (Estimated per serving)
Please note that these values are estimates and can vary based on specific brands and exact portion sizes. This recipe makes approximately 12-16 servings.
| Nutrient | Per Serving |
|---|---|
| Calories | ~450-550 kcal |
| Carbohydrates | ~70-85 g |
| Protein | ~4-6 g |
| Fat | ~20-28 g |
| Fiber | ~1-2 g |
| Sugar | ~55-70 g |
Frequently Asked Questions (FAQs)
1. Can I use diet Coca-Cola for this recipe?
It’s highly recommended to use regular, full-sugar Coca-Cola for this recipe. The sugar and corn syrup in regular soda contribute significantly to the cake’s moisture, texture, and flavor profile. Diet soda often contains artificial sweeteners that can react differently with heat and may not provide the same results in terms of structure or taste.
2. What does Coca-Cola do to the cake? Does it taste like soda?
The Coca-Cola in this recipe does a few magical things! It reacts with the baking soda to create a lighter, more tender crumb. It also adds a subtle, almost caramel-like depth of flavor that complements the chocolate beautifully, without making the cake taste overtly like soda. It enhances the richness and moisture, making the cake incredibly tender.
3. I don’t have buttermilk. What can I use instead?
No buttermilk? No problem! You can easily make a substitute. For 1/2 cup of buttermilk, simply pour 1/2 tablespoon of white vinegar or lemon juice into a measuring cup, then fill the rest of the cup with regular milk (dairy or non-dairy). Stir it gently and let it sit for 5-10 minutes until it slightly curdles. This “sour milk” will work perfectly as a buttermilk substitute.
4. How should I store the Coca-Cola Cake?
Once cooled and frosted, store the cake covered tightly at room temperature for up to 2-3 days. If you live in a very warm climate or want to extend its freshness, you can store it in the refrigerator for up to 5 days. Just be sure to bring it back to room temperature before serving for the best flavor and texture.
5. My cake turned out dry/dense. What went wrong?
Several factors can lead to a dry or dense cake. Common culprits include: overmixing the batter (which develops too much gluten), overbaking (always check for doneness with a toothpick), using incorrect measurements (especially too much flour), or oven temperature issues (an oven that runs too hot can dry out a cake quickly). Make sure your ingredients are at room temperature and follow the steps carefully!
Conclusion: Your Delicious Coca-Cola Cake Awaits!
Congratulations, budding baker! You’ve just mastered the art of making a delightful Coca Cola Cake Recipe Cracker Barrel style. This recipe is a fantastic introduction to baking, proving that even unique and seemingly complex desserts can be incredibly straightforward with the right guidance.
The rich chocolate, the subtle fizz, and the irresistible moistness of this cake make it a true crowd-pleaser. Don’t be afraid to experiment, and most importantly, have fun with it! Share your creation with loved ones, and savor every bite of your homemade masterpiece. Happy baking!