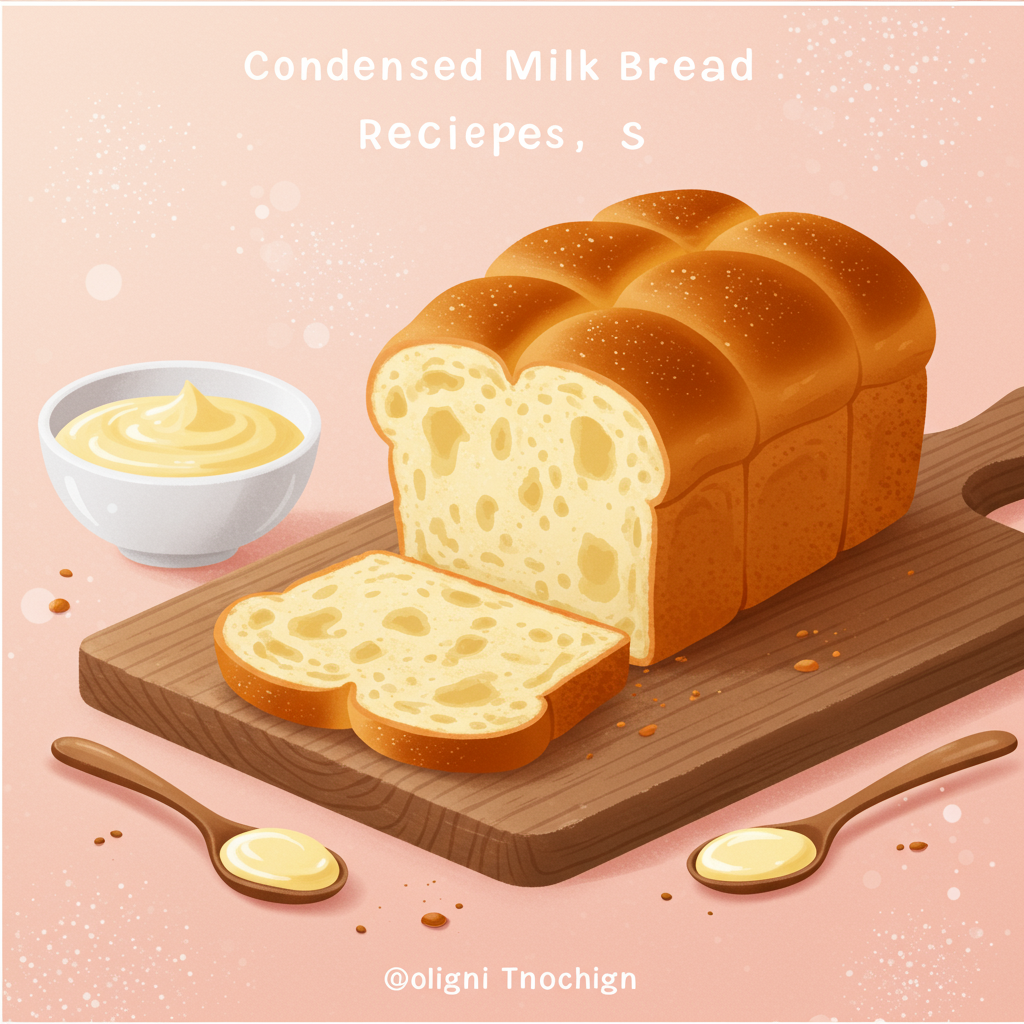
Welcome, aspiring bakers! Are you ready to dive into the delightful world of homemade bread? If the thought of baking bread from scratch seems daunting, fear not! This recipe for Condensed Milk Bread Recipes is specifically designed for you. Imagine a loaf that’s incredibly soft, subtly sweet, and wonderfully fragrant – that’s what you’re about to create. This isn’t just another bread recipe; it’s one of the most easy baking recipes you’ll encounter,
perfect for anyone looking to build confidence in the kitchen. We’ll walk you through every step, providing essential baking tips for beginners to ensure your success. Get ready to impress yourself and your loved ones with this truly irresistible treat!
Ingredients List
Gather your ingredients! Precision is key in baking, so make sure to measure everything accurately.
| Ingredient | Quantity | Unit |
|---|---|---|
| All-Purpose Flour | 3 | cups |
| Active Dry Yeast | 2.25 | tsp (1 standard packet) |
| Granulated Sugar | 2 | tbsp |
| Salt | 1 | tsp |
| Warm Milk (105-115°F / 40-46°C) | 1 | cup |
| Sweetened Condensed Milk | 1/2 | cup |
| Unsalted Butter, melted and slightly cooled | 1/4 | cup |
| Large Egg (for egg wash) | 1 |
Step-by-Step Instructions: Your Journey to Delicious Bread
Follow these detailed steps, and you’ll be a bread-baking pro in no time! Remember, baking is a science, but also an art of patience and observation.
Step 1: Activate Your Yeast
- In a large mixing bowl (or the bowl of a stand mixer), combine the warm milk and granulated sugar. Stir gently until the sugar dissolves.
- Sprinkle the active dry yeast over the milk mixture. Give it a quick stir.
- Let this sit for 5-10 minutes. You’ll know your yeast is active and alive if it becomes foamy and bubbly on top. This is called “proofing” the yeast. Beginner Tip: If your yeast doesn’t foam, your milk might have been too hot (killing the yeast) or too cold (not activating it), or your yeast might be old. It’s best to start over with fresh yeast and properly warmed milk.
Step 2: Combine Wet Ingredients
- Once your yeast is nice and foamy, add the sweetened condensed milk and the melted and slightly cooled unsalted butter to the yeast mixture.
- Whisk everything together until well combined. The mixture should smell sweet and inviting!
Step 3: Add Dry Ingredients
- In a separate medium bowl, whisk together the all-purpose flour and salt. This helps distribute the salt evenly throughout the flour.
- Gradually add the dry flour mixture to the wet ingredients in the large bowl, about a cup at a time.
- Mix with a wooden spoon or a stand mixer with a dough hook attachment on low speed. Mix until a shaggy dough forms.
- Beginner Tip: Don’t just dump all the flour in at once! Adding it gradually helps prevent lumps and allows the flour to properly hydrate.
Step 4: Knead the Dough
Kneading develops the gluten, which gives bread its structure and chewiness. This is a light-knead recipe, making it perfect for beginners.
- By Hand: Turn the dough out onto a lightly floured surface. Knead for about 5-7 minutes. Push the dough away from you with the heels of your hands, then fold it back towards you, rotate, and repeat. The dough will be sticky at first, but resist the urge to add too much extra flour, as this can make your bread dry. It should become smoother and more elastic.
- With a Stand Mixer: Attach the dough hook and knead on medium-low speed for about 5 minutes. The dough should pull away from the sides of the bowl and gather around the hook.
- How to tell if it’s kneaded enough: The dough should be smooth, elastic, and slightly tacky to the touch. It shouldn’t stick excessively to your hands or the bowl.
Step 5: First Rise (Proofing)
- Lightly grease a clean large bowl with a little oil (vegetable oil or olive oil works well).
- Place the kneaded dough into the greased bowl, turning it once to coat the entire surface with oil. This prevents it from drying out.
- Cover the bowl tightly with plastic wrap or a clean kitchen towel.
- Place the bowl in a warm, draft-free place to rise for 1 to 1.5 hours, or until the dough has doubled in size. Beginner Tip: A slightly warm oven (turned off, but warmed for a few minutes then turned off again) or a sunny spot on your countertop can work wonders. If your kitchen is cold, it will take longer.
Step 6: Shape the Loaf
- Once the dough has doubled, gently punch it down to release the air. This is satisfying!
- Turn the dough out onto a lightly floured surface.
- Gently flatten the dough into a rectangle, roughly 8×12 inches.
- Starting from one of the longer sides, tightly roll the dough into a log. Pinch the seam closed firmly with your fingers.
- Tuck the ends under to create a neat loaf shape.
- Lightly grease a 9×5 inch loaf pan. Place the shaped dough seam-side down into the prepared pan.
Step 7: Second Rise
- Cover the loaf pan loosely with plastic wrap or a clean kitchen towel.
- Return the pan to your warm, draft-free spot for another 30-45 minutes, or until the dough has risen by about 50% and looks puffy. It won’t quite double this time, but it should look noticeably fuller.
- Preheat your oven: About 15 minutes before the second rise is complete, preheat your oven to 350°F (175°C).
Step 8: Egg Wash and Bake
- In a small bowl, whisk the large egg with 1 tablespoon of water or milk. This is your egg wash.
- Gently brush the top of the risen dough with the egg wash. This will give your bread a beautiful golden, shiny crust.
- Place the loaf pan in the preheated oven.
- Bake for 30-35 minutes, or until the top is golden brown and the internal temperature reaches 200-205°F (93-96°C) when checked with an instant-read thermometer.
- Common Mistake & Alternative: If the top is browning too quickly, you can loosely tent it with aluminum foil for the last 10-15 minutes of baking.
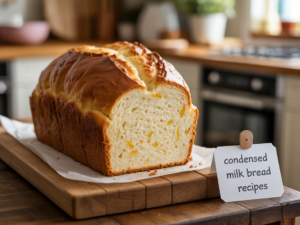
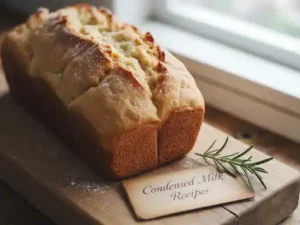
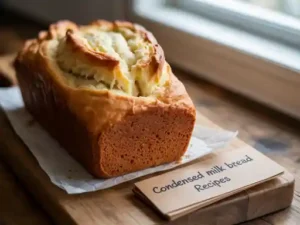
Step 9: Cool and Enjoy!
- Once baked, carefully remove the loaf pan from the oven.
- Let the bread cool in the pan for 5-10 minutes. This helps the bread set.
- Then, carefully invert the pan to remove the bread and transfer it to a wire rack to cool completely.
- Beginner Tip: It’s crucial to let bread cool! Slicing hot bread can make it gummy and dense. Patience is a virtue here!
- Once completely cool, slice and enjoy your delicious homemade Condensed Milk Bread!
Tips & Tricks for Perfect Condensed Milk Bread
Baking is all about practice and understanding a few key principles. Here are some extra tips to make your bread-making journey even smoother:
- Accurate Measuring: Always spoon flour into your measuring cup and then level it off with a straight edge (like a knife). Scooping directly can compact the flour, leading to too much flour and a dry loaf.
- Yeast is Alive: Treat your yeast with care! Ensure your milk is at the right temperature (105-115°F / 40-46°C). Too cold and it won’t activate; too hot and you’ll kill it. A kitchen thermometer is your best friend here.
- Warm Environment for Rising: Dough loves warmth! If your kitchen is chilly, try placing the covered bowl in a slightly warm (but OFF!) oven, or near a sunny window, or even on top of your refrigerator.
- Don’t Over-Flour: When kneading by hand, it’s tempting to add a lot of extra flour if the dough is sticky. Resist! A slightly tacky dough is good. Too much flour results in dense, dry bread.
- Check for Doneness: The best way to tell if bread is fully baked is by its internal temperature. A reading of 200-205°F (93-96°C) means it’s done. If you don’t have a thermometer, tap the bottom of the loaf – it should sound hollow.
- Storage: Store your cooled bread in an airtight container or bread bag at room temperature for 3-4 days. For longer storage, slice and freeze the bread; it toasts beautifully from frozen!
Essential Baking Tools
Having the right tools makes all the difference for a smooth baking experience. Here are some essentials:
- Mixing Bowl
- Whisk
- 9×5 inch Loaf Baking Pan
- Measuring Cups
- Measuring Spoons
- Rubber Spatula
- Instant Read Thermometer (optional, but highly recommended)
Nutrition Information (Per Serving, approximately 1 slice)
Please note: These are estimated values and can vary based on exact ingredients and serving size.
| Nutrient | Amount |
|---|---|
| Calories | 180-220 kcal |
| Carbohydrates | 35-45 g |
| Protein | 5-7 g |
| Fat | 4-6 g |
| Fiber | 1-2 g |
| Sugar | 10-15 g |
Frequently Asked Questions (FAQs)
Q1: My dough isn’t rising, what went wrong?
A: The most common culprits are inactive yeast (check the expiration date!) or incorrect liquid temperature. Ensure your milk is between 105-115°F (40-46°C). Also, make sure your rising environment is warm and draft-free.
Q2: Can I use instant yeast instead of active dry yeast?
A: Yes! If using instant yeast, you don’t strictly need to proof it first. You can add it directly to the dry ingredients. However, for beginners, proofing is a great way to ensure your yeast is active before committing to the whole recipe.
Q3: I don’t have a stand mixer. Can I still make this bread?
A: Absolutely! This recipe is very forgiving. The instructions include details for hand-kneading. It might take a little more elbow grease, but the results are just as delicious and satisfying.
Q4: How do I store the leftover Condensed Milk Bread?
A: Once completely cooled, store the bread in an airtight container or a bread bag at room temperature for up to 3-4 days. For longer storage, slice the bread and freeze in a freezer-safe bag for up to 2-3 months. You can toast slices directly from frozen!
Q5: Can I make this bread less sweet?
A: You can try reducing the granulated sugar by half a tablespoon, but the sweetened condensed milk is a key flavor and moisture component. Significantly reducing it might alter the texture and taste. For your first attempt, we recommend sticking to the recipe!
Conclusion: Your Delicious Journey Begins Now!
Congratulations, future bread baker! You’ve just discovered how simple and rewarding it can be to bake your own Condensed Milk Bread. This recipe is truly one of the most delightful and easy baking recipes out there, designed to give you confidence with every step. Don’t be afraid to get your hands a little floury – that’s part of the fun! With these detailed instructions and helpful baking tips for beginners, you’re well-equipped to create a loaf that’s not just food, but a warm, comforting hug in bread form.
We encourage you to try this recipe, savor the incredible aroma filling your home, and share your baking triumphs with us! Happy baking!
“`