Sweet & Simple: Your Go-To Condensed Milk Bread Recipe!
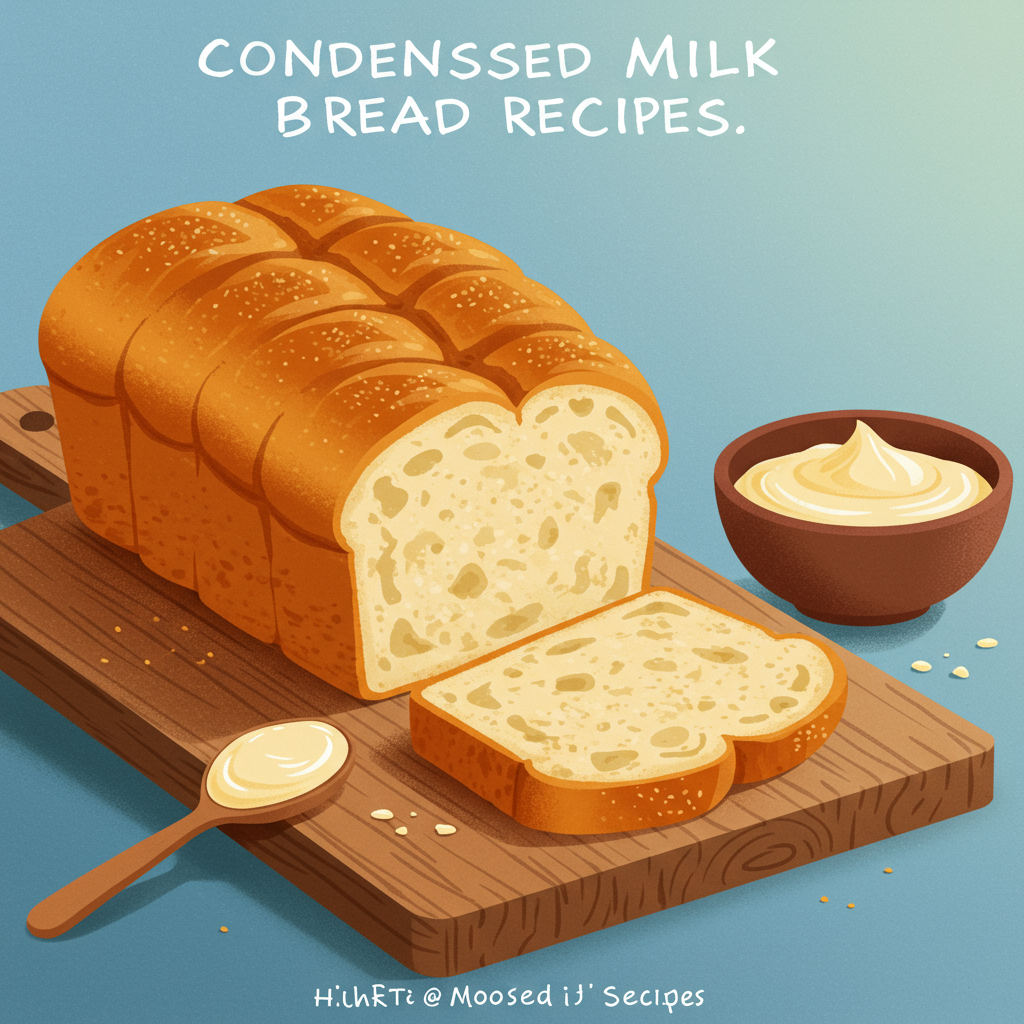
Welcome, budding bakers and seasoned pros alike! Are you ready to dive into the wonderful world of homemade bread, but feel a little intimidated? Fear not! This **Condensed Milk Bread Recipes** post is designed specifically for you. Imagine a loaf of bread that’s incredibly soft, subtly sweet, and has a heavenly aroma that fills your entire kitchen. That’s exactly what you’ll get with this recipe!
We’ve stripped away the complexity, focusing on an **easy baking recipes** approach that guarantees success, even if it’s your very first time kneading dough. Condensed milk isn’t just for desserts; it’s a secret ingredient that lends an unparalleled tenderness and a delicate sweetness to this bread, making it irresistibly delicious. Get ready to impress yourself and your loved ones with minimal effort. We’ll also sprinkle in some essential **baking tips for beginners** along the way to ensure your journey is smooth and enjoyable. Let’s bake some magic!
Ingredients You’ll Need
Gathering your ingredients is the first step to baking success. Make sure everything is measured accurately!
| Ingredient | Quantity | Unit |
|---|---|---|
| All-Purpose Flour | 3.5 | cups (420g) |
| Instant Dry Yeast | 2.25 | teaspoons (1 packet) |
| Granulated Sugar | 2 | tablespoons |
| Salt | 1 | teaspoon |
| Warm Milk (105-115°F / 40-46°C) | 1/2 | cup |
| Sweetened Condensed Milk | 1/2 | cup |
| Large Egg | 1 | (room temperature) |
| Unsalted Butter (melted and cooled) | 1/4 | cup (4 tablespoons) |
| Egg Yolk (for egg wash, optional) | 1 | |
| Water (for egg wash, optional) | 1 | tablespoon |
Step-by-Step Instructions for Perfect Condensed Milk Bread
Follow these detailed steps carefully, and you’ll be enjoying your homemade bread in no time!
Step 1: Activate Your Yeast & Combine Wet Ingredients
- Prepare your yeast: In a large mixing bowl (or the bowl of your stand mixer), combine the **warm milk** (make sure it’s not too hot, or it will kill the yeast – it should feel like a warm bath), **instant dry yeast**, and **granulated sugar**. Give it a gentle stir.
- Let it bloom: Let this mixture sit for about 5-10 minutes. You should see a foamy layer form on top; this indicates your yeast is active and ready to work its magic! If it doesn’t foam, your yeast might be old, or the milk was too hot/cold. Start over with fresh yeast and properly warmed milk.
- Add the liquids: To the foamy yeast mixture, add the **sweetened condensed milk**, the **room temperature large egg**, and the **melted and cooled unsalted butter**. Whisk everything together until well combined. Using room temperature ingredients helps them emulsify better and activates the yeast more effectively.
Step 2: Mix the Dry Ingredients & Form the Dough
- Combine dry ingredients: In a separate medium bowl, whisk together the **all-purpose flour** and **salt**. This ensures the salt is evenly distributed throughout the dough.
- Gradually add dry to wet: Gradually add the dry flour mixture to the wet ingredients in the large bowl, mixing with a wooden spoon or a spatula until a shaggy dough forms.
- Switch to kneading: Once the dough is too stiff to stir, turn it out onto a lightly floured surface.
Step 3: Knead the Dough
Kneading is crucial for developing gluten, which gives bread its structure and chewiness. Don’t be afraid to get your hands dirty!
- Knead by hand: Push the dough away from you with the heels of your hands, then fold it back towards you. Rotate the dough a quarter turn and repeat. Continue this process for 8-10 minutes. The dough will be sticky at first, but as you knead, it will become smoother, more elastic, and less sticky. It should pass the “windowpane test” – you should be able to stretch a small piece of dough thin enough to see light through it without tearing.
- Kneading with a stand mixer (optional): If using a stand mixer with a dough hook, mix on low speed for 2 minutes until combined, then increase to medium-low speed and knead for 6-8 minutes, or until the dough is smooth, elastic, and pulls away from the sides of the bowl.
- Troubleshooting sticky dough: If your dough is too sticky, add flour one tablespoon at a time. If it’s too dry, add a teaspoon of water or milk.
Step 4: First Rise (Proofing)
- Prepare for rising: Lightly grease a large clean bowl with a little oil (vegetable or olive oil works great).
- Place the dough: Place the kneaded dough into the greased bowl, turning it once to coat the entire surface with oil. This prevents it from drying out.
- Cover and rise: Cover the bowl tightly with plastic wrap or a clean kitchen towel.
- Warm spot: Place the bowl in a warm, draft-free spot. A slightly warm oven (turned off, with just the light on) or a sunny spot on your counter works well.
- First rise duration: Let the dough rise for 1 to 1.5 hours, or until it has doubled in size. This is called the “first proof” or “bulk fermentation.” The exact time depends on the warmth of your environment.
Step 5: Shape the Bread
- Punch down: Once the dough has doubled, gently punch it down to release the air.
- Turn out: Turn the dough out onto a lightly floured surface.
- Shape into a loaf: Gently flatten the dough into a rectangle. Fold the top third down to the center, then the bottom third up over the top, like folding a letter. Pinch the seam closed. Then, roll the dough into a tight log. Pinch the ends and the final seam firmly to seal. This creates tension that helps the bread rise nicely.
- Prepare the pan: Lightly grease a standard 9×5 inch loaf pan.
- Place in pan: Carefully place the shaped dough into the prepared loaf pan, seam-side down.
Step 6: Second Rise (Proofing)
- Cover again: Cover the loaf pan loosely with plastic wrap or a clean kitchen towel.
- Warm spot: Return the pan to a warm, draft-free spot.
- Second rise duration: Let it rise for another 45-60 minutes, or until it has nearly doubled in size again and looks puffy. This is the “second proof” or “final proof.” Don’t rush this step! An under-proofed loaf will be dense, and an over-proofed loaf might collapse.
Step 7: Bake Your Condensed Milk Bread
- Preheat oven: About 15-20 minutes before the second rise is complete, preheat your oven to **350°F (175°C)**.
- Prepare egg wash (optional but recommended): In a small bowl, whisk together the **egg yolk** and **1 tablespoon of water**. This egg wash will give your bread a beautiful golden-brown, shiny crust.
- Apply egg wash: Gently brush the top of the risen dough with the egg wash. Be careful not to deflate the dough.
- Bake: Place the loaf pan in the preheated oven.
- Baking time: Bake for 30-35 minutes, or until the crust is golden brown and the internal temperature reaches **200-210°F (93-99°C)** when checked with an instant-read thermometer. If the top is browning too quickly, you can loosely tent it with aluminum foil.
- Cooling: Once baked, remove the bread from the oven. Let it cool in the pan for 5-10 minutes before carefully transferring it to a wire rack to cool completely. Cooling completely is important for the bread’s texture and makes it easier to slice.
Tips & Tricks for Beginner Bakers
Baking bread is a joyful experience, and these extra pointers will help ensure your success every time:
- Accurate Measuring: Always use proper measuring cups and spoons. For flour, spoon it into your measuring cup and then level it off with a straight edge, rather than scooping directly from the bag (this can pack too much flour).
- Temperature Matters: Yeast is sensitive! Ensure your milk is warm (105-115°F or 40-46°C) – think warm bathwater. Too hot will kill it; too cold won’t activate it. Room temperature eggs and butter also blend better into the dough.
- Don’t Rush the Rise: Proofing (rising) takes time, and the exact duration can vary based on your kitchen’s temperature. Look for the dough to double in size, not just a specific time. Patience is a virtue in bread baking!
- Kneading is Key: Don’t under-knead. Proper kneading develops gluten, which gives your bread its structure and soft texture. If you’re hand-kneading, it might feel like a workout, but it’s worth it!
- Test for Doneness: The best way to know if your bread is fully baked is by using an instant-read thermometer. Insert it into the center of the loaf; it should read 200-210°F (93-99°C).
- Cool Completely: Resist the urge to slice into your warm bread immediately. It’s still cooking internally! Letting it cool on a wire rack allows steam to escape and sets the crumb, preventing a gummy texture.
- Storage: Store cooled bread in an airtight container or bread bag at room temperature for up to 3-4 days. For longer storage, slice and freeze for up to 2-3 months.
Essential Baking Tools
Having the right tools makes baking much easier and more enjoyable. Here are some essentials:
- Mixing Bowl
- Whisk
- 9×5 inch Loaf Pan
- Measuring Cups & Spoons
- Rubber Spatula
- Instant-Read Thermometer (optional, but highly recommended)
Nutrition Information (Estimated Per Slice, 12 slices per loaf)
Please note that these values are estimates and can vary based on exact ingredients and portion sizes.
| Nutrient | Amount |
|---|---|
| Calories | 220 kcal |
| Carbohydrates | 38g |
| Protein | 6g |
| Fat | 5g |
| Fiber | 1g |
| Sugar | 12g |
Frequently Asked Questions (FAQs)
1. Why isn’t my dough rising?
The most common reasons for dough not rising are inactive yeast (check the expiration date!), water/milk that’s too hot (killing the yeast) or too cold (not activating it), or a cold environment for proofing. Ensure your liquid temperature is between 105-115°F (40-46°C) and your rising spot is warm and draft-free.
2. Can I use active dry yeast instead of instant dry yeast?
Yes, you can! If using active dry yeast, you’ll need to “proof” it first. Combine it with the warm milk and a pinch of sugar, let it sit for 5-10 minutes until foamy, then proceed with the recipe. You might also add about 1/4 teaspoon more yeast than specified for instant yeast, as active dry yeast is slightly less potent.
3. My bread came out dense, what went wrong?
Density can be caused by several factors: under-kneading (not enough gluten development), under-proofing (not letting the dough rise enough), or too much flour (making the dough too stiff). Make sure to knead until elastic and let the dough double in size during both rises.
4. How do I know when the bread is fully baked?
The crust should be golden brown, and when tapped on the bottom, it should sound hollow. For absolute certainty, use an instant-read thermometer to check the internal temperature; it should be between 200-210°F (93-99°C).
5. Can I make this bread ahead of time?
Yes! You can prepare the dough up to the first rise, then punch it down, shape it, and place it in the loaf pan. Cover tightly with plastic wrap and refrigerate overnight (up to 24 hours). The next day, take it out of the fridge and let it come to room temperature and complete its second rise (this might take longer than usual) before baking.
6. What can I do with leftover condensed milk bread?
This bread is delicious on its own, toasted with butter, or used for sweet sandwiches. It also makes fantastic French toast or bread pudding if it starts to get a little stale. Get creative!
Conclusion
And there you have it – your very own homemade Condensed Milk Bread! We hope this detailed, beginner-friendly guide has given you the confidence to embark on your baking adventure. Remember, every baker starts somewhere, and every loaf is a step towards perfection. Don’t be afraid to experiment, learn from any mistakes, and most importantly, enjoy the process. The aroma, the texture, and the taste of this sweet, soft bread are truly rewarding. Happy baking, and we can’t wait to hear how your first loaf turns out!
“`