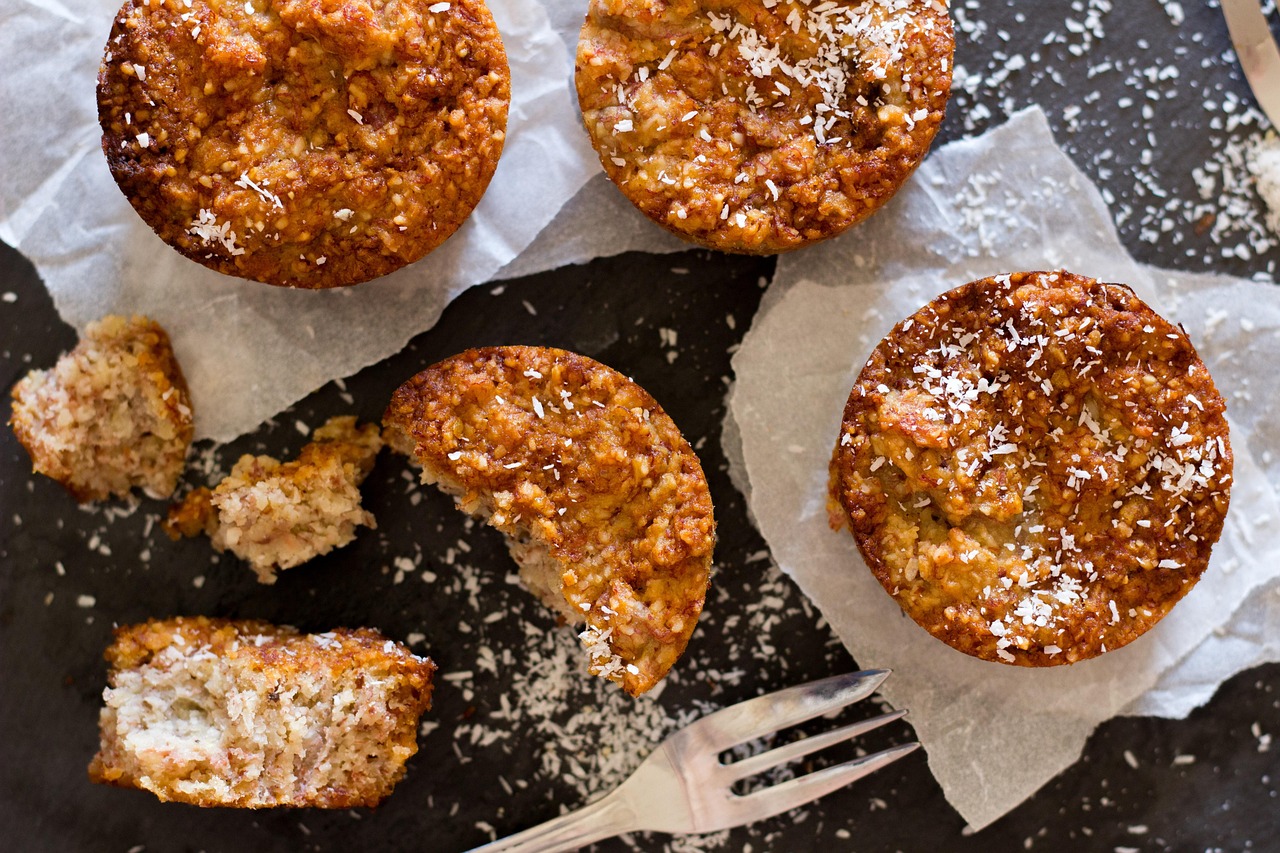
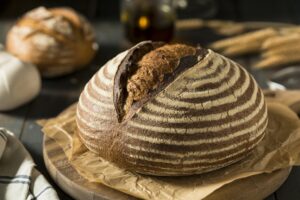
There’s nothing quite like the comforting aroma of freshly baked banana bread wafting through your home. It’s a scent that promises warmth, coziness, and a delicious treat. If you’ve been searching for a Cook’S Illustrated Banana Bread Recipe that’s truly foolproof, incredibly moist, and bursting with flavor, you’ve found it! Cook’s Illustrated is renowned for its meticulously tested recipes, and their banana bread is no exception – it’s perfect for both seasoned bakers and those just starting their journey into easy baking recipes.
This post is designed to be your ultimate guide, packed with baking tips for beginners to ensure your success. We’ll walk you through every step, from selecting the perfect bananas to achieving that golden-brown crust and tender crumb. Get ready to bake a loaf so good, it might just become your signature dessert!
Ingredients You’ll Need
Gathering your ingredients before you start is a great habit for baking tips for beginners. This ensures you won’t be scrambling mid-recipe!
| Quantity | Unit | Ingredient |
|---|---|---|
| 1 ¾ | cups | All-Purpose Flour |
| 1 | teaspoon | Baking Soda |
| ½ | teaspoon | Salt |
| ½ | teaspoon | Ground Cinnamon (optional, but highly recommended!) |
| 1 | cup | Granulated Sugar |
| 3 | large | Very Ripe Bananas (about 1 ½ cups mashed) |
| 2 | large | Eggs |
| ½ | cup (1 stick) | Unsalted Butter, melted and cooled slightly |
| ¼ | cup | Sour Cream or Plain Whole Milk Yogurt |
| 1 | teaspoon | Vanilla Extract |
| ½ | cup | Chopped Walnuts or Chocolate Chips (optional) |
Step-by-Step Instructions for Perfect Banana Bread
Follow these detailed steps carefully for a moist and flavorful banana bread every time. Remember, baking is a science, so precision helps!
Step 1: Prepare Your Oven and Pan
- Preheat your oven to 350°F (175°C). Getting your oven to the correct temperature before you put the batter in is crucial for even baking.
- Grease and flour a 9×5-inch loaf pan. You can use cooking spray and a dusting of flour, or butter and flour. This prevents the bread from sticking, ensuring a clean release after baking. Beginner Tip: To flour, add a tablespoon of flour to the greased pan, tilt and tap until the flour coats all surfaces, then tap out any excess.
Step 2: Mash the Bananas
- Peel your very ripe bananas. They should have plenty of brown spots on the peel – this indicates maximum sweetness and flavor.
- Place the bananas in a medium bowl and mash them thoroughly with a fork or a potato masher until smooth, with only a few small lumps remaining. You’ll want about 1 ½ cups of mashed banana. Beginner Tip: If your bananas aren’t quite ripe enough, you can bake them unpeeled on a baking sheet at 300°F (150°C) for 15-30 minutes until they turn black. Let them cool before mashing.
Step 3: Combine the Dry Ingredients
- In a large bowl, whisk together the all-purpose flour, baking soda, salt, and ground cinnamon (if using).
- Why do this? Whisking ensures that the leavening agent (baking soda) and other dry ingredients are evenly distributed throughout the flour, which leads to a consistent rise and texture in your banana bread. Set this bowl aside.
Step 4: Combine the Wet Ingredients
- In another large bowl, add the mashed bananas, granulated sugar, eggs, melted butter, sour cream (or yogurt), and vanilla extract.
- Whisk these ingredients together until they are well combined and smooth. The sugar should be mostly dissolved.
- Why separate wet and dry? This method helps prevent overmixing the batter later, which can lead to tough bread.
Step 5: Combine Wet and Dry Mixtures
- Pour the wet ingredient mixture into the bowl with the dry ingredients.
- Using a spatula or a wooden spoon, gently fold the ingredients together until just combined.
- CRITICAL Beginner Tip: Do NOT overmix! Overmixing develops the gluten in the flour too much, resulting in a tough, dry, and chewy banana bread instead of a moist and tender one. Stop mixing as soon as you no longer see streaks of dry flour. A few small lumps are perfectly fine!
Step 6: Add Optional Mix-ins (if desired)
- If you’re adding chopped walnuts, pecans, or chocolate chips, gently fold them into the batter now.
- Again, mix just enough to distribute them evenly.
Step 7: Fill the Loaf Pan
- Pour the batter into your prepared 9×5-inch loaf pan.
- Use your spatula to spread the batter evenly in the pan, creating a smooth top.
Step 8: Bake to Perfection
- Place the loaf pan in the preheated oven.
- Bake for 55-70 minutes. Baking times can vary slightly depending on your oven, so keep an eye on it.
- How to check for doneness (Beginner’s Guide):
- The top of the bread should be a beautiful golden brown.
- Insert a wooden skewer, toothpick, or thin knife into the center of the loaf. If it comes out clean or with only a few moist crumbs attached (no wet batter), your banana bread is done!
- If it comes out wet, continue baking for another 5-10 minutes and test again.
Step 9: Cool Properly
- Once baked, remove the loaf pan from the oven.
- Let the banana bread cool in the pan for about 10-15 minutes. This allows the bread to set and firm up, making it easier to remove without breaking.
- After 10-15 minutes, carefully invert the pan onto a wire rack, then turn the bread right side up.
- Allow the banana bread to cool completely on the wire rack before slicing. Why cool completely? Slicing hot banana bread can make it crumbly and seem gummy. Cooling allows the internal structure to stabilize and for the moisture to redistribute, resulting in the perfect texture.
Step 10: Slice and Enjoy!
- Once cooled, use a serrated knife to slice your delicious banana bread.
- Serve plain, with a smear of butter, or a dollop of cream cheese. Enjoy your homemade masterpiece!
Essential Baking Tips & Tricks for Beginners
Mastering banana bread is a fantastic step in your baking journey. Here are some extra tips to ensure consistent success:
- Don’t Skimp on Ripe Bananas: This is arguably the most crucial tip! The browner and spottier your bananas, the sweeter and more flavorful your bread will be. Under-ripe bananas result in bland bread.
- Accurate Measuring: Always use proper measuring techniques. For flour, spoon it into your measuring cup and then level it off with a straight edge (like the back of a knife). Don’t scoop directly from the bag, as this compacts the flour and you’ll end up with too much, leading to dry bread.
- Avoid Overmixing: We mentioned it in the instructions, but it bears repeating! Overmixing is the enemy of tender baked goods. Mix only until the ingredients are just combined.
- Room Temperature Ingredients: Eggs and sour cream (or yogurt) mix more evenly into the batter when they are at room temperature. This creates a smoother, more emulsified batter.
- Patience with Cooling: Resist the urge to slice into your warm banana bread immediately. Cooling on a wire rack allows the steam to escape, preventing a soggy bottom, and lets the internal structure set properly.
- Customize It: Feel free to experiment with additions! Beyond walnuts and chocolate chips, try pecans, shredded coconut, dried cranberries, or a pinch of nutmeg for different flavor profiles.
- Storage: Store leftover banana bread tightly wrapped in plastic wrap or in an airtight container at room temperature for up to 3-4 days. For longer storage, freeze individual slices (wrapped well) for up to 3 months.
Essential Baking Tools
Having the right tools makes all the difference, especially for **baking tips for beginners**! Here are some basics you’ll want in your kitchen:
- Mixing Bowl (various sizes are helpful)
- Whisk (for dry ingredients and wet ingredients)
- 9×5-inch Loaf Pan (essential for banana bread)
- Measuring Cups (for dry and liquid ingredients)
- Rubber Spatula (for scraping bowls and folding ingredients)
- Measuring Spoons
- Wire Rack (for cooling)
- Fork or Potato Masher (for bananas)
Nutrition Information (Estimated per slice, 12 servings)
Please note that these values are estimates and can vary based on specific ingredients and portion sizes.
| Nutrient | Amount |
|---|---|
| Calories | 250 kcal |
| Total Carbohydrates | 38g |
| Protein | 4g |
| Total Fat | 10g |
| Dietary Fiber | 1.5g |
| Total Sugars | 22g |
Frequently Asked Questions (FAQs)
Q: How ripe should my bananas really be for banana bread?
A: The riper, the better! Look for bananas with plenty of brown spots and even some blackening on the peel. They will be soft to the touch and very fragrant. This ensures maximum sweetness and moisture in your bread.
Q: Can I use frozen bananas for this recipe?
A: Absolutely! Frozen ripe bananas are excellent for banana bread. Thaw them completely at room temperature or in the microwave. They will release a lot of liquid, so be sure to drain off any excess before mashing and adding to the batter to avoid a watery bread.
Q: My banana bread came out dry. What went wrong?
A: A dry banana bread is usually a sign of one of two things:
- Overmixing the batter: This develops the gluten in the flour too much, making the bread tough and dry.
- Overbaking: Baking for too long at too high a temperature can dry out the loaf. Always rely on the toothpick test rather than just the timer.
Q: How should I store leftover banana bread?
A: For best results, store your banana bread in an airtight container or tightly wrapped in plastic wrap at room temperature for up to 3-4 days. If you live in a very humid environment or want to extend its freshness, you can store it in the refrigerator for up to a week, but it might dry out slightly.
Q: Can I add other mix-ins besides nuts or chocolate chips?
A: Yes, definitely! Get creative. Some popular additions include shredded coconut, dried cranberries or raisins, a swirl of cream cheese, or a dash of nutmeg or allspice for extra warmth. Just remember to keep the total amount of mix-ins to about ½ to ¾ cup to avoid overcrowding the batter.
Q: Why did my banana bread sink in the middle?
A: This can happen for a few reasons. It might be underbaked (the center wasn’t fully cooked), or you opened the oven door too early during baking, causing a sudden temperature drop. Too much leavening (baking soda) or a batter that’s too wet can also contribute to sinking.
Your Delicious Journey Awaits!
Congratulations, future baker! You now have all the knowledge and baking tips for beginners you need to create a truly spectacular Cook’S Illustrated Banana Bread Recipe. This recipe isn’t just about baking; it’s about creating memories, sharing joy, and filling your home with an irresistible aroma.
Don’t be afraid to get your hands a little messy, follow the steps, and trust the process. The reward is a moist, tender, and incredibly delicious loaf of banana bread that will impress everyone (especially yourself!). We can’t wait to hear about your baking success. Happy baking!