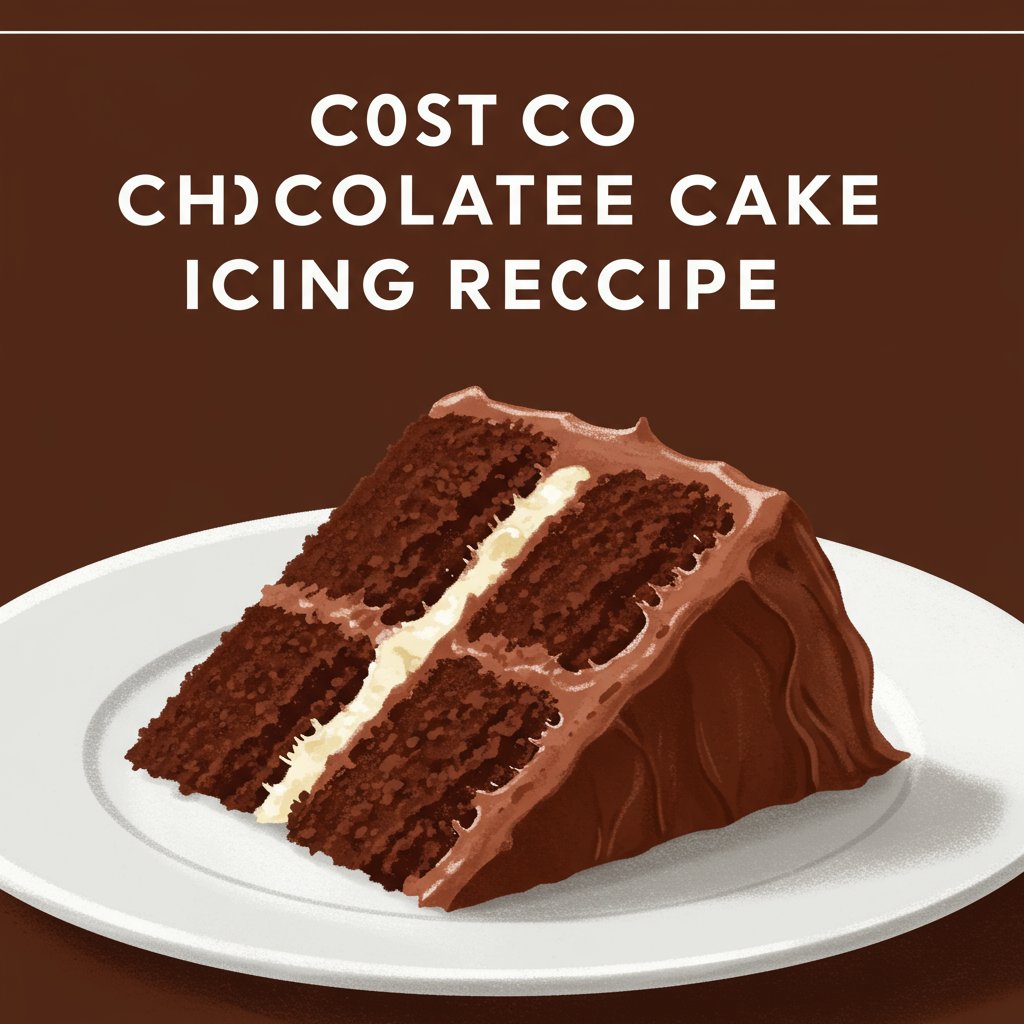
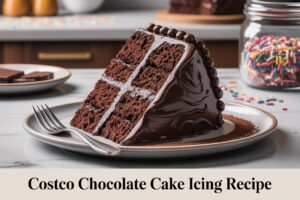
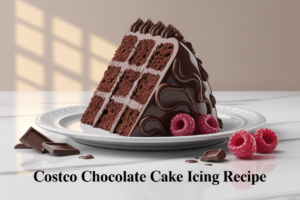
Have you ever taken a bite of that iconic Costco chocolate cake and wondered, “How do they get that icing so perfect?” You’re not alone! That rich, velvety, intensely chocolatey frosting is legendary. While we can’t share the exact secret Costco recipe (it’s top-secret, after all!), we’ve cracked the code to a homemade version that comes remarkably close. Get ready to impress everyone with this incredible Costco Chocolate Cake Icing Recipe!
If you’re new to the world of baking, don’t fret! This guide is designed specifically for you. We’ll walk you through every single step, making it one of the most easy baking recipes you’ll ever try. Forget complicated techniques; we’re focusing on simple, achievable results. Plus, we’ll sprinkle in plenty of baking tips for beginners to ensure your success, even if this is your very first time making frosting from scratch. Say goodbye to store-bought tubs and hello to your new favorite chocolate frosting!
Ingredients List
Gathering your ingredients before you start is a crucial step for any baker, especially beginners. This is called “mise en place” (everything in its place) and it helps ensure a smooth baking process. Here’s what you’ll need for this decadent chocolate icing:
| Ingredient | Quantity | Unit |
|---|---|---|
| Unsalted Butter, softened | 1 | cup (2 sticks / 226g) |
| Powdered Sugar (Confectioners’ Sugar) | 4-5 | cups |
| Unsweetened Cocoa Powder (Dutch-processed recommended) | ¾ | cup |
| Whole Milk or Heavy Cream | ¼ – ½ | cup |
| Pure Vanilla Extract | 1 | teaspoon |
| Salt | ¼ | teaspoon |
| (Optional) Espresso Powder | ½ | teaspoon |
Step-by-Step Instructions: Achieve Icing Perfection
Ready to transform simple ingredients into a luscious, bakery-worthy chocolate frosting? Follow these detailed steps, and you’ll be frosting like a pro in no time!
Step 1: Prepare Your Butter – The Foundation of Fluffy Frosting
- Bring Butter to Room Temperature: This is arguably the most important step for perfectly smooth, creamy frosting. Take your unsalted butter out of the refrigerator at least 1-2 hours before you plan to start. It should be soft enough to indent easily with your finger, but not melted or greasy. If it’s too cold, your frosting will be lumpy; too warm, and it might separate.
- Why it matters: Room temperature butter creams beautifully, incorporating air and creating that light, fluffy texture we’re aiming for. Cold butter won’t blend properly, and melted butter will result in a greasy, runny frosting.
Step 2: Cream the Butter – Light and Airy
- Beat the Butter: Place your softened butter into a large mixing bowl (if using a hand mixer) or the bowl of a stand mixer fitted with the paddle attachment. Beat the butter on medium speed for 2-3 minutes.
- What to look for: The butter should become noticeably lighter in color, pale yellow, and significantly fluffier in texture. It will also increase slightly in volume as air is incorporated.
- Beginner Tip: Don’t skip this step! It’s essential for creating a light and airy frosting, rather than a dense, heavy one. Scrape down the sides of the bowl with a spatula once or twice during this process to ensure all the butter is evenly creamed.
Step 3: Sift the Dry Ingredients – Say No to Lumps!
- Combine and Sift: In a separate medium-sized bowl, combine your powdered sugar, unsweetened cocoa powder, and the optional espresso powder (if using). Use a fine-mesh sieve or a sifter to sift these dry ingredients directly over a piece of parchment paper or into another bowl.
- Why Sifting is Key: Powdered sugar often clumps together, and cocoa powder can also be lumpy. Sifting ensures a super smooth, lump-free frosting. This is a non-negotiable step for a truly professional-looking and feeling icing!
- Common Mistake & Fix: If you skip sifting, you’ll likely end up with tiny, hard sugar or cocoa lumps in your finished frosting. If this happens, you can try beating the frosting for a much longer time, but it’s often hard to fully get rid of them. Better to sift from the start!
Step 4: Gradually Add the Sifted Dry Ingredients – Slow and Steady Wins the Race
- Incorporate in Batches: With your mixer on the lowest speed, begin adding the sifted powdered sugar and cocoa mixture to the creamed butter, one cup at a time. Add a cup, let it incorporate, then add the next.
- Prevent a “Powdered Sugar Cloud”: Start on the absolute lowest speed to prevent a huge cloud of powdered sugar from erupting in your kitchen! Once it’s mostly incorporated, you can slightly increase the speed.
- Scrape, Scrape, Scrape: After each addition, pause and scrape down the sides and bottom of the bowl with your spatula. This ensures all the dry ingredients are fully mixed into the butter.
Step 5: Add Wet Ingredients and Flavor – The Magic Touch
- Add Flavorings: Once all the dry ingredients are incorporated, add the vanilla extract and salt.
- Adjust Consistency with Milk/Cream: Now, begin adding the whole milk or heavy cream, one tablespoon at a time. Start with ¼ cup, and beat on medium speed for 1-2 minutes.
- Achieving the Perfect Consistency:
- Too Thick? If your frosting is too stiff or crumbly, add another tablespoon of milk or cream. Continue adding one tablespoon at a time, beating after each addition, until you reach your desired consistency. You want it spreadable but still firm enough to hold its shape.
- Too Thin? If you accidentally add too much liquid and your frosting is too thin, don’t panic! Add another ¼ to ½ cup of sifted powdered sugar, one tablespoon at a time, until it thickens up.
- Beginner Tip: It’s much easier to add more liquid than to remove it, so be conservative with your milk/cream additions.
Step 6: Beat Until Light and Fluffy – The Grand Finale
- Whip it Good: Once all ingredients are combined and you’ve achieved your desired consistency, increase the mixer speed to medium-high. Beat the frosting for an additional 3-5 minutes.
- Why this step is important: This final beating incorporates more air, making the frosting incredibly light, fluffy, and smooth – just like the Costco version! It also helps to fully dissolve any remaining sugar crystals, ensuring a silky texture.
- What to look for: The frosting will become visibly lighter in color, increase in volume, and develop a beautiful, almost mousse-like texture.
- Alternative: If you don’t have a stand mixer, a good quality hand mixer will work perfectly. Just be prepared for a bit more arm work!
Step 7: Ready to Use!
- Your homemade Costco-style chocolate icing is now ready to spread on your favorite chocolate cake, cupcakes, or even enjoy by the spoonful (we won’t tell!).
Tips & Tricks for a Foolproof Frosting
Mastering frosting is all about a few key details. Here are some actionable tips to ensure your Costco-style chocolate icing turns out perfect every single time:
- Quality Ingredients Matter: Use good quality unsalted butter and pure vanilla extract. These foundational flavors really shine through. For cocoa powder, Dutch-processed cocoa will give you a darker, less bitter chocolate flavor, closer to that deep Costco taste.
- Room Temperature is Non-Negotiable: We can’t stress this enough! Butter at the right temperature is key for a smooth, lump-free, and airy frosting. If your kitchen is cold, you can gently warm your butter by placing it near a warm (but not hot) oven for a few minutes, or even microwaving it for 5-10 seconds at a time (be careful not to melt it!).
- Sift, Sift, Sift: Seriously, just do it. Sifting your powdered sugar and cocoa powder prevents lumps and ensures a silky-smooth texture. It takes an extra minute but makes all the difference.
- Control Consistency: Always add liquid (milk/cream) one tablespoon at a time. It’s much easier to add more liquid to thin out frosting than it is to thicken it up. If it gets too thin, you’ll need to add more sifted powdered sugar.
- Don’t Be Afraid to Beat: Once all ingredients are incorporated, beat the frosting on medium-high for a good 3-5 minutes. This aerates the frosting, making it lighter, fluffier, and smoother, mimicking that whipped, melt-in-your-mouth quality of store-bought bakery frostings.
- Flavor Boosters: A tiny pinch of espresso powder (as suggested in the ingredients) dramatically enhances the chocolate flavor without making the frosting taste like coffee. It’s a secret weapon many professional bakers use!
- Scrape Down the Bowl: Frequently scrape down the sides and bottom of your mixing bowl with a rubber spatula. This ensures all ingredients are fully incorporated and prevents streaks of unmixed butter or sugar.
- Storage: Leftover frosting can be stored in an airtight container in the refrigerator for up to a week. Let it come to room temperature and give it a good whip with your mixer before using again to restore its light texture.
Essential Baking Tools
Having the right tools makes all the difference, especially for beginners. Here are some fundamental items that will make your frosting journey a breeze:
- Mixing Bowl: A large, sturdy mixing bowl is essential for combining your ingredients without making a mess.
- Whisk: While a hand or stand mixer is ideal for creaming butter, a whisk can be handy for sifting and initial mixing of dry ingredients.
- Baking Pan: (While not directly for frosting, you’ll need this to bake the cake you’re frosting!)
- Measuring Cups: Accurate measuring cups are crucial for getting the right ratios of ingredients.
- Spatula: A good rubber spatula is indispensable for scraping down the sides of the bowl and folding ingredients.
- Hand Mixer or Stand Mixer: While not on the provided list, a hand mixer or stand mixer (with a paddle attachment) is highly recommended for achieving the light and fluffy texture of this frosting.
- Fine-Mesh Sieve/Sifter: Absolutely essential for sifting powdered sugar and cocoa powder to prevent lumps.
Nutrition Info (Estimated per serving)
Please note: This nutrition information is an estimate based on standard ingredient values and assumes the recipe yields enough frosting for a 2-layer 8-inch cake, divided into 12 servings. Actual values may vary depending on specific brands and quantities used.
| Nutrient | Per Serving (approx. 1/12th of recipe) |
|---|---|
| Calories | 320 kcal |
| Carbohydrates | 50 g |
| Protein | 2 g |
| Fat | 15 g |
| Fiber | 1 g |
| Sugar | 45 g |
FAQs: Your Baking Questions Answered!
Q: My frosting is too thin or too thick, what should I do?
A: Don’t worry, this is a common beginner question! If your frosting is too thin, gradually add more sifted powdered sugar (1-2 tablespoons at a time), beating well after each addition until it reaches your desired consistency. If it’s too thick, add a small amount of milk or cream (½-1 teaspoon at a time), beating until it loosens up. Always make adjustments gradually!
Q: Can I make this frosting ahead of time?
A: Absolutely! This frosting can be made 3-5 days in advance. Store it in an airtight container in the refrigerator. When you’re ready to use it, let it come to room temperature for about 30-60 minutes, then give it a good whip with your stand mixer (or hand mixer) for a few minutes. This will restore its light, fluffy texture.
Q: What kind of cocoa powder should I use?
A: For a flavor closest to the Costco cake, we highly recommend using Dutch-processed unsweetened cocoa powder. It has a smoother, less acidic, and darker chocolate flavor compared to natural unsweetened cocoa powder. Either will work, but Dutch-processed will give you that signature deep chocolate taste and color.
Q: Why is my frosting lumpy?
A: Lumpy frosting is almost always due to two main reasons: either your butter wasn’t at true room temperature (meaning it was still a bit cold), or you skipped sifting your powdered sugar and cocoa powder. Make sure your butter is soft, and always sift your dry ingredients to prevent those pesky lumps!
Q: Can I use margarine instead of butter?
A: While technically possible, we strongly recommend against using margarine for this recipe. Butter provides a superior flavor, texture, and richness that margarine simply can’t replicate. The fat content and composition of margarine are different, which can lead to a less stable, greasier, and less flavorful frosting.
Q: How much frosting does this recipe make?
A: This recipe yields approximately 4-5 cups of frosting, which is enough to generously frost a two-layer 8 or 9-inch round cake, a 9×13 inch sheet cake, or about 24 standard cupcakes. It’s a generous amount, ensuring you have plenty to work with!
Conclusion: Your Homemade Bakery Masterpiece Awaits!
There you have it! Your very own Costco Chocolate Cake Icing Recipe, ready to elevate any dessert to bakery-level status. We hope this detailed, beginner-friendly guide has demystified the art of making delicious chocolate frosting from scratch. Remember, baking is all about practice and enjoying the process. Don’t be afraid to experiment a little, and most importantly, have fun!
The next time you crave that iconic chocolate cake, you’ll have the confidence and skills to create a frosting that’s incredibly close to the real deal, right in your own kitchen. Go ahead, whip up a batch, frost your favorite cake, and revel in the joy of homemade goodness. We’d love to hear how it turns out for you in the comments below!