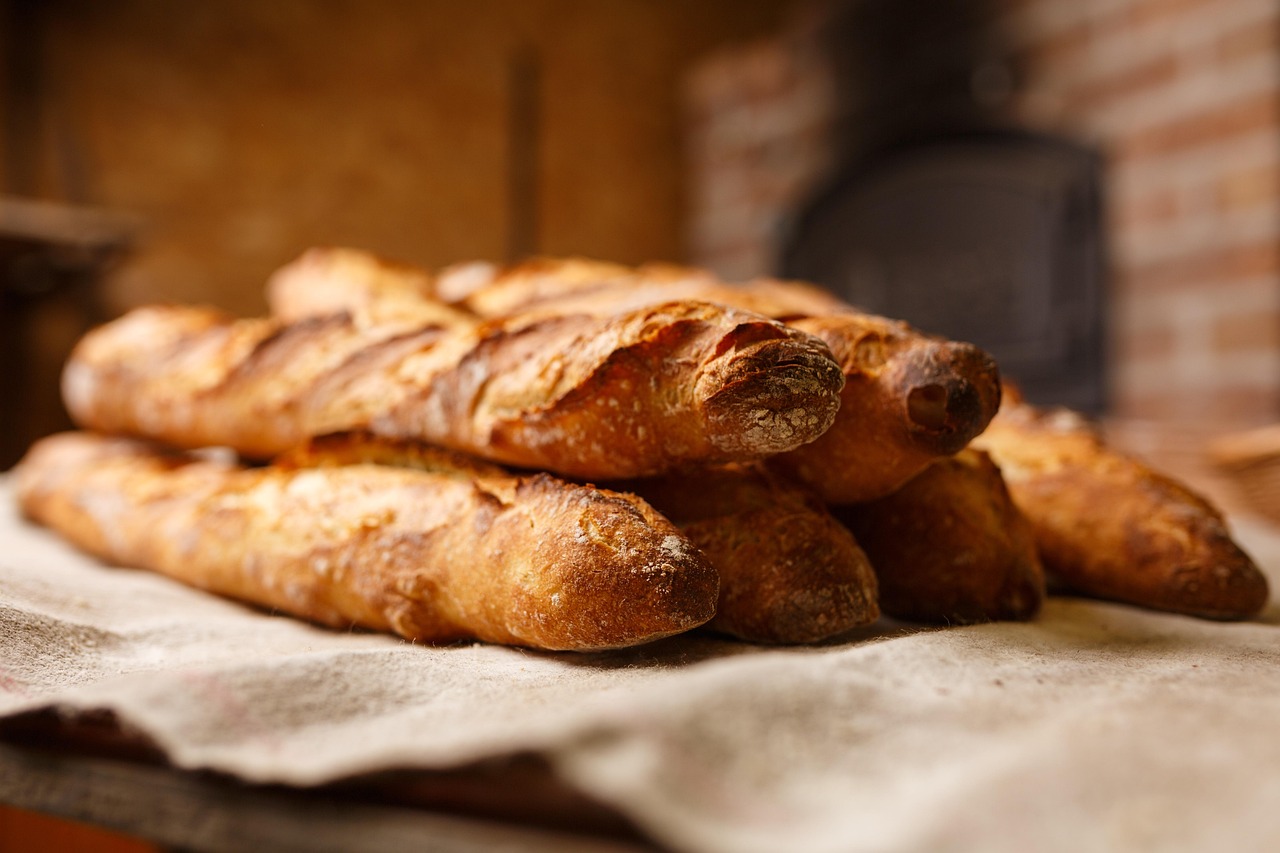
Welcome, aspiring bakers! Are you ready to embark on a truly rewarding culinary adventure? Today, we’re diving into the wonderful world of wholesome, homemade bread with our incredible Cracked Wheat Bread Recipe. This isn’t just any bread; it’s a hearty, nutritious loaf packed with texture and flavor, perfect for sandwiches, toast, or alongside your favorite soup.
Many people shy away from bread baking, thinking it’s too complicated, but I promise you, with these easy baking recipes and detailed baking tips for beginners, you’ll be pulling a beautiful, fragrant loaf from your oven in no time. Forget store-bought; the aroma of freshly baked bread filling your home is an experience like no other. Let’s get started on creating your new favorite bread!
Ingredients You’ll Need
Gather your ingredients! Using fresh, good quality ingredients is the first step to a successful bake.
| Quantity | Unit | Ingredient |
|---|---|---|
| 1/2 | cup | Cracked Wheat |
| 1 | cup | Boiling Water (for cracked wheat) |
| 2 1/4 | teaspoons | Active Dry Yeast (or 1 packet) |
| 1/2 | cup | Warm Water (105-115°F / 40-46°C, for yeast) |
| 1/4 | cup | Honey (or Maple Syrup) |
| 1/4 | cup | Vegetable Oil (or Melted Butter) |
| 1 1/2 | teaspoons | Salt |
| 2 | cups | Whole Wheat Flour |
| 1 1/2 to 2 | cups | All-Purpose Flour (or Bread Flour), plus more for dusting |
| 1 | tablespoon | Milk or Water (for brushing, optional) |
| 1 | tablespoon | Rolled Oats or Sesame Seeds (for topping, optional) |
Step-by-Step Instructions for Perfect Cracked Wheat Bread
Follow these detailed steps carefully, and you’ll be a bread-baking pro in no time! Remember, baking is a science, but it also benefits from a little patience and love.
Phase 1: Prepare the Cracked Wheat
- Hydrate the Cracked Wheat: In a medium heat-proof bowl, combine the ½ cup cracked wheat with 1 cup boiling water. Stir well.
- Let it Soak: Cover the bowl with a plate or plastic wrap and let it sit for at least 30 minutes, or until all the water has been absorbed and the cracked wheat is tender. This step is crucial for softening the grains and preventing them from making your bread dry or too dense. Let it cool completely to room temperature before adding to the dough, as hot grains can kill your yeast.
Phase 2: Activate the Yeast
- Proof the Yeast: In a large mixing bowl (or the bowl of your stand mixer), pour in ½ cup warm water. The temperature is key here: it should feel like a warm bath, between 105-115°F (40-46°C). If it’s too hot, it will kill the yeast; too cold, and the yeast won’t activate. Sprinkle the 2 ¼ teaspoons (one packet) of active dry yeast over the water.
- Add a Pinch of Sweetener: Add a pinch of the honey (about ½ teaspoon) to the yeast water. This gives the yeast a little food to get started.
- Let it Bloom: Let the mixture sit undisturbed for 5-10 minutes. You should see a foamy, frothy layer form on top. This is a sign that your yeast is alive and active! If it doesn’t foam, your yeast might be old or the water temperature was off, and you’ll need to start this step over with fresh yeast.
Phase 3: Mix the Dough
- Combine Wet Ingredients: To the activated yeast mixture, add the remaining honey (¼ cup), vegetable oil (¼ cup), and salt (1 ½ teaspoons). Stir everything together until well combined.
- Add Whole Wheat Flour and Cracked Wheat: Stir in the 2 cups of whole wheat flour and the cooled, hydrated cracked wheat. Mix until just combined. The dough will be thick and shaggy at this point.
- Gradually Add All-Purpose Flour: Begin adding the all-purpose flour, ½ cup at a time. Mix after each addition. You’ll likely need between 1 ½ to 2 cups of all-purpose flour, but the exact amount can vary based on humidity and how much flour your whole wheat flour absorbed.
- Form the Dough: Continue adding flour until the dough starts to come together and pull away from the sides of the bowl. It should be slightly sticky but manageable.
Phase 4: Kneading
- Prepare Your Surface: Lightly flour a clean countertop or a large kneading board.
- Turn Out the Dough: Scrape the dough out onto your floured surface.
- Knead the Dough: This is where the magic happens!
- For Beginners: Push the dough away from you with the heels of your hands, then fold it back towards you. Give it a quarter turn and repeat. Continue kneading for 8-10 minutes. The dough will feel sticky at first, but resist the urge to add too much extra flour, as this can make your bread dry. Only add a tiny sprinkle if it’s truly sticking unmanageably.
- What to Look For: As you knead, the dough will become smoother, more elastic, and less sticky. It should spring back slowly when poked with your finger. This process develops the gluten, which gives your bread its structure and chewiness.
Phase 5: First Rise (Bulk Fermentation)
- Prepare the Bowl: Lightly grease a large, clean bowl with a little vegetable oil.
- Place the Dough: Place the kneaded dough into the greased bowl, turning it once to coat the top with oil. This prevents it from drying out.
- Cover and Rise: Cover the bowl tightly with plastic wrap or a clean kitchen towel.
- Warm Spot for Rising: Place the bowl in a warm, draft-free spot. An oven with just the light on (not heated!) or a microwave that’s been warmed slightly by a cup of hot water can work perfectly.
- First Rise Time: Let the dough rise for 1 to 1 ½ hours, or until it has doubled in size. This can take longer in a cooler environment, so be patient.
Phase 6: Shape the Loaf
- Punch Down the Dough: Once doubled, gently punch down the dough to release the air. This is satisfying!
- Prepare Baking Pan: Lightly grease a 9×5-inch loaf pan.
- Shape the Loaf:
- Turn the dough out onto a lightly floured surface.
- Gently flatten it into a rectangle, roughly the length of your loaf pan.
- Starting from one of the shorter ends, tightly roll up the dough into a log.
- Pinch the seam closed along the bottom and tuck the ends under to create a neat loaf shape. A tight roll ensures a good crumb structure and prevents large air pockets.
- Place in Pan: Carefully place the shaped loaf seam-side down into the prepared loaf pan.
Phase 7: Second Rise (Proofing)
- Cover and Rise Again: Cover the loaf pan loosely with plastic wrap or a clean kitchen towel.
- Second Rise Time: Let it rise again in a warm, draft-free spot for another 45-60 minutes, or until the dough has nearly doubled in size and extends about 1 inch above the rim of the pan. This second rise is crucial for a light and airy texture.
- Preheat Oven: About 15-20 minutes before the second rise is complete, preheat your oven to 375°F (190°C).
- Optional Topping: If desired, gently brush the top of the risen loaf with milk or water and sprinkle with rolled oats or sesame seeds for an extra touch of flavor and texture.
Phase 8: Bake the Bread
- Bake: Place the loaf pan in the preheated oven.
- Baking Time: Bake for 30-35 minutes, or until the crust is golden brown and the internal temperature reaches 200-210°F (93-99°C) when measured with an instant-read thermometer. If the top is browning too quickly, you can loosely tent it with aluminum foil.
- Cooling: Once baked, immediately remove the loaf from the pan and place it on a wire rack to cool completely. This prevents the bottom from getting soggy.
- Resist the Urge! It’s tempting, but let the bread cool for at least an hour before slicing. Slicing too early can result in a gummy texture inside.
Cracked Wheat Bread Tips & Tricks for Success
Baking bread is a journey, and these tips will help ensure a smooth ride, especially for beginners!
- Accurate Measuring: Always measure your flour using the “spoon and level” method. Spoon flour into your measuring cup until overflowing, then level it off with a straight edge. Don’t scoop directly from the bag, as this compacts the flour and you’ll end up with too much, leading to dry bread.
- Yeast is Key: Ensure your yeast is fresh and active. Always proof it first. If it doesn’t foam, get new yeast! This is the most common reason for bread not rising.
- Warmth for Rising: Yeast loves warmth. Find a consistently warm, draft-free spot for your dough to rise. If your kitchen is cool, an oven with just the light on provides a perfect micro-climate.
- Don’t Over-Flour: While kneading, resist the urge to add too much extra flour. A slightly sticky dough is normal and will result in a more tender crumb. Only add a minimal amount if the dough is truly unmanageable.
- Patience is a Virtue: Don’t rush the rising times. The dough will tell you when it’s ready, not the clock. Look for it to double in size.
- Cool Completely: I know it’s hard, but letting your bread cool completely on a wire rack allows the internal structure to set and prevents a gummy texture.
- Storage: Store your cooled bread in an airtight container or bread bag at room temperature for 3-4 days. For longer storage, slice and freeze for up to 3 months.
Essential Baking Tools for Your Kitchen
Having the right tools makes all the difference in your baking journey!
- Large Mixing Bowl
- Whisk (for combining dry ingredients)
- 9×5 Inch Loaf Pan
- Measuring Cups and Spoons
- Rubber Spatula (for scraping dough)
- Kitchen Scale (optional, but highly recommended for accuracy)
- Instant-Read Thermometer (for checking water temp and bread doneness)
- Wire Cooling Rack
Cracked Wheat Bread Nutrition Information (Per Slice, Approx.)
Please note: These values are estimates and can vary based on specific ingredients and serving size.
| Nutrient | Amount |
|---|---|
| Calories | 180 kcal |
| Carbohydrates | 32 g |
| Protein | 7 g |
| Fat | 4 g |
| Fiber | 4 g |
| Sugar | 5 g |
Frequently Asked Questions
Q1: My dough isn’t rising. What went wrong?
A1: The most common culprit is inactive yeast. Ensure your yeast is fresh and that your warm water for proofing is between 105-115°F (40-46°C). Too hot will kill it, too cold won’t activate it. Also, make sure your rising environment is warm and draft-free.
Q2: Can I use instant yeast instead of active dry yeast?
A2: Yes, you can! If using instant yeast, you don’t necessarily need to proof it first. You can add it directly to the dry ingredients. However, for beginners, proofing active dry yeast is a great way to confirm it’s alive before committing to the whole recipe.
Q3: Why is my bread so dense?
A3: Density can be due to several factors: not enough kneading (which develops gluten for structure), too much flour (making the dough stiff), not enough rising time (the yeast didn’t have enough time to produce gas), or the yeast wasn’t active. Review the kneading and rising steps carefully!
Q4: Can I substitute the honey?
A4: Yes, you can substitute other liquid sweeteners like maple syrup or agave nectar. Granulated sugar can also be used, but it might slightly alter the moisture content and flavor profile. The sugar acts as food for the yeast and adds to the browning of the crust.
Q5: How do I know when the bread is fully baked?
A5: The best way is to use an instant-read thermometer. Insert it into the center of the loaf; it should read between 200-210°F (93-99°C). Visually, the crust should be a deep golden brown, and if you tap the bottom of the loaf, it should sound hollow.
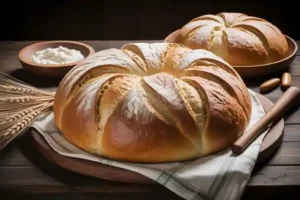
Enjoy Your Wholesome Homemade Cracked Wheat Bread!
Congratulations, baker! You’ve just created a beautiful, wholesome loaf of cracked wheat bread from scratch. There’s truly nothing quite like the taste and satisfaction of homemade bread. Slice it thick for hearty sandwiches, toast it for breakfast, or simply enjoy a warm slice with a pat of butter. This Cracked Wheat Bread Recipe is designed to be approachable and rewarding, proving that even as a beginner, you can achieve fantastic results.
Don’t be afraid to experiment and make it your own next time. Perhaps add some seeds to the dough, or try a different mix of flours. The world of bread baking is vast and delicious. We’d love to hear about your baking success in the comments below! Happy baking!