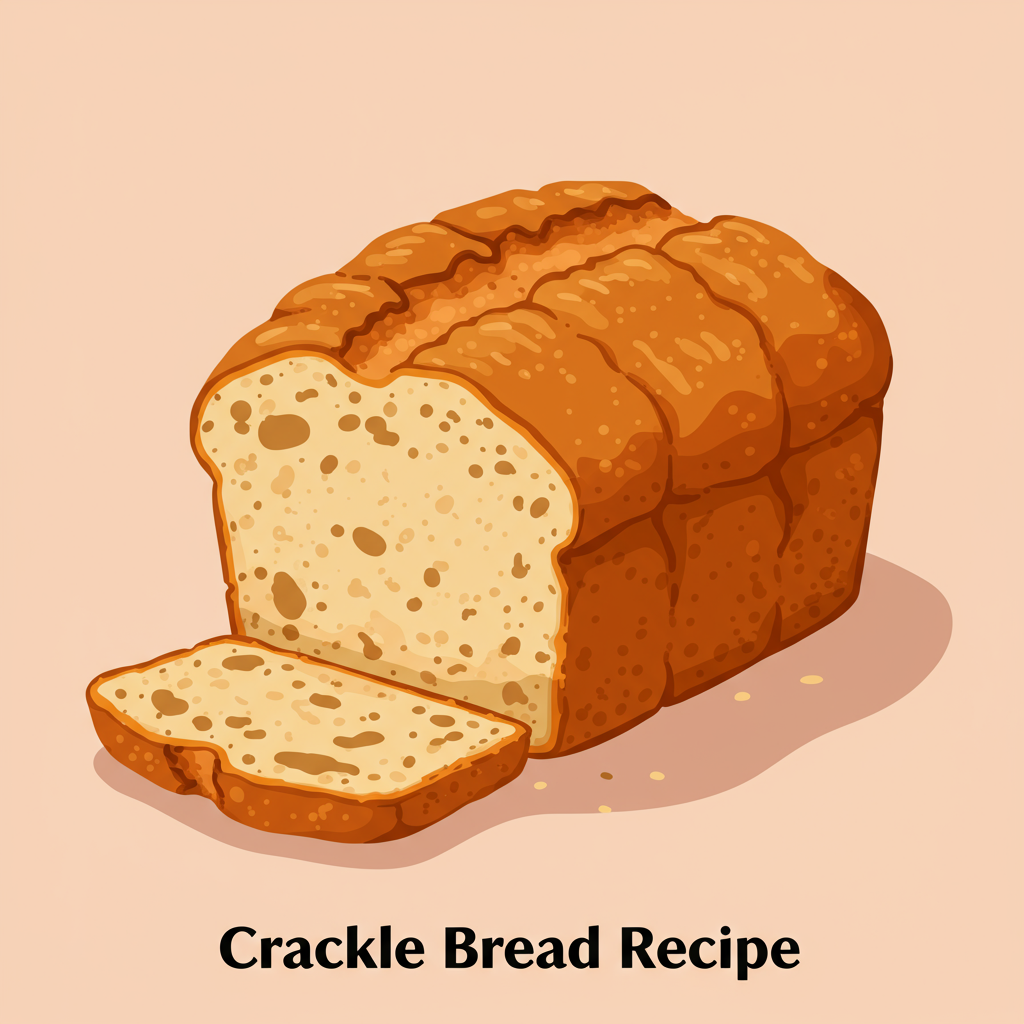
Are you ready to dive into the wonderful world of homemade bread but feel a little intimidated? Fret not! Our Crackle Bread Recipe is specifically designed for absolute beginners, promising a deliciously satisfying loaf with a stunning, crispy crust that practically sings when you slice into it. Forget complicated techniques; this recipe focuses on simplicity and clear instructions, making it one of the most easy baking recipes you’ll ever try.
We’ll walk you through every single step, offering invaluable baking tips for beginners to ensure your first attempt is a resounding success. Imagine the aroma filling your kitchen, the warmth of a freshly baked slice, and the incredible pride of creating something so wholesome and delicious with your own hands. This isn’t just about making bread; it’s about discovering the joy and magic of baking. Let’s transform flour, water, yeast, and a little love into pure culinary delight!
Ingredients List
Gathering your ingredients is the first step to baking success. Accuracy matters here, so make sure to measure everything precisely using your measuring cups and spoons!
| Ingredient | Quantity | Unit |
|---|---|---|
| All-Purpose Flour (plus extra for dusting) | 3 | cups |
| Warm Water (105-115°F / 40-46°C) | 1.25 | cups |
| Active Dry Yeast | 2.25 | teaspoons |
| Granulated Sugar | 1 | tablespoon |
| Salt | 1 | teaspoon |
| Olive Oil (or melted unsalted butter) | 2 | tablespoons |
| Cornmeal (for dusting) | 1 | tablespoon |
Step-by-Step Instructions: Bake Your Perfect Crackle Bread
Follow these detailed instructions carefully, and you’ll be enjoying your homemade Crackle Bread in no time! Remember, patience is your best friend in bread baking.
Step 1: Activate the Yeast (The “Proof” is in the Pudding!)
- In a large mixing bowl (or the bowl of your stand mixer if you’re using one), combine the warm water** (105-115°F / 40-46°C) and the granulated sugar. Stir gently with a whisk until the sugar dissolves. The sugar provides food for the yeast.
- Sprinkle the active dry yeast evenly over the surface of the water. Do not stir it in at this point; let it sit on top.
- Let this mixture sit undisturbed for 5-10 minutes. You’re looking for a foamy, frothy layer to form on top, much like the head on a beer. This foam indicates that your yeast is alive and active – it’s proofing! If you don’t see foam, your water might have been too hot (killing the yeast) or too cold (not activating it), or your yeast might be old. It’s best to start again with fresh yeast and correct water temperature if this happens.
Step 2: Mix the Dough
- Once your yeast mixture is bubbly, add the olive oil (or melted butter) and the salt to the bowl. Stir briefly to combine these ingredients with the activated yeast.
- Gradually add the all-purpose flour, one cup at a time, mixing with a sturdy wooden spoon, a spatula, or a stand mixer with a dough hook on low speed. After adding the first two cups, the mixture will look shaggy and a bit sticky.
- Continue adding the third cup of flour. The dough will become stiffer and start to pull away from the sides of the bowl. It might still feel a little sticky to the touch, which is perfectly normal for bread dough. Don’t add all your extra flour yet!
Step 3: Knead the Dough (Building Strength!)
Kneading is essential for developing gluten, which gives bread its structure and chewiness.
- By Hand: Turn the dough out onto a lightly floured surface. Begin to knead. This involves pushing the dough away from you with the heels of your hands, folding it back over itself, rotating it a quarter turn, and repeating the motion. Continue kneading for 8-10 minutes. The dough should gradually become smooth, elastic, and less sticky. A good test for doneness: stretch a small piece of dough; if it forms a thin, translucent “windowpane” without tearing, it’s ready.
- With a Stand Mixer: If using a stand mixer, attach the dough hook and knead on medium-low speed for 6-8 minutes. The dough should gather around the hook and clear the sides of the bowl. It will look smooth and springy.
Step 4: First Rise (Bulk Fermentation)
This is where the yeast gets to work, creating gas that makes the dough rise and develop flavor.
- Lightly grease a clean large bowl with a little olive oil. Place the kneaded dough into the bowl, turning it once to coat the entire surface with oil. This prevents it from drying out and sticking.
- Cover the bowl tightly with plastic wrap or a clean, damp kitchen towel. This creates a warm, humid environment the yeast loves.
- Place the bowl in a warm, draft-free spot. A slightly warm oven (turned off, or just turned on for a minute and then off to create residual warmth) or near a sunny window works well. Avoid cold spots!
- Let the dough rise for 60-90 minutes, or until it has doubled in size. This is crucial for flavor and texture! Don’t rush this step; a slow rise often yields better flavor.
Step 5: Shape the Loaf
Now we’ll give your dough its final shape before the last rise.
- Gently “punch down” the risen dough to release the air. This isn’t aggressive; just a gentle deflate with your fist.
- Turn the dough out onto a lightly floured surface. Use your hands to gently press and shape it into a rectangle, roughly the length of your loaf pan.
- Starting from one of the longer sides, tightly roll the dough into a log. Once rolled, pinch the seam closed along the bottom and at the ends to create a smooth, tight loaf. A tight seam prevents the loaf from splitting oddly during baking.
Step 6: Second Rise (Proofing in the Pan)
This final rise ensures a light, airy texture in your baked bread.
- Grease a standard 9×5 inch loaf pan. Sprinkle the bottom with about half a tablespoon of cornmeal – this helps prevent sticking and adds a little extra texture to the bottom crust.
- Carefully place the shaped dough, seam-side down, into the prepared loaf pan.
- Cover the loaf pan loosely with plastic wrap or a clean kitchen towel.
- Let the dough rise again in a warm, draft-free spot for another 30-45 minutes, or until it has risen about 1 inch above the rim of the pan. It should look puffy and light, indicating it’s ready for the oven.
Step 7: Prepare for the “Crackle” and Bake!
This is where the magic happens for that signature crackly crust!
- Preheat your oven to 375°F (190°C) while the dough is on its second rise. Ensure your oven is fully preheated for even baking.
- Once the dough has risen sufficiently and your oven is hot, uncover it. Lightly spray the top of the loaf with water using a clean spray bottle (a fine mist works best). This step is crucial for the crackle!
- Evenly sprinkle the remaining cornmeal over the wet surface of the loaf. The water helps the cornmeal adhere and creates the steam needed to encourage the crackle effect as the crust sets.
- Carefully place the loaf pan into the preheated oven.
- Bake for 30-35 minutes, or until the crust is a deep golden brown and sounds hollow when tapped gently on the bottom. For extra assurance, an internal temperature of 190-200°F (88-93°C) indicates it’s fully baked. If it browns too quickly, you can loosely tent it with foil.
Step 8: Cool and Enjoy!
The final, and perhaps hardest, step: waiting!
- Once baked, immediately remove the bread from the loaf pan and transfer it to a wire rack. This is crucial to prevent the bottom crust from becoming soggy due to trapped steam.
- Allow the bread to cool completely for at least 1-2 hours before slicing. Slicing hot bread can result in a gummy texture inside, as the internal structure is still setting. Patience is a virtue here!
- Slice, serve, and savor your incredible homemade Crackle Bread! It’s fantastic with butter, jam, or alongside your favorite meal. Listen for that satisfying crackle as you cut!
Tips & Tricks for Baking Success
Even with an easy recipe, a few insider tips can elevate your baking game and ensure consistent, delicious results every time:
- Accurate Measuring is Key: Especially for flour, spoon it into your measuring cup and then level it off with a straight edge (like the back of a knife). Don’t scoop directly from the bag, as this compacts the flour and leads to using too much, resulting in dry bread.
- Yeast is Alive: Treat your yeast with care! Water that’s too hot will kill it; water that’s too cold won’t activate it. Stick precisely to the recommended 105-115°F (40-46°C). If your yeast doesn’t foam, it’s best to start over with fresh yeast.
- Warm Environment for Rising: Bread dough loves warmth. If your kitchen is cool, try placing the covered bowl in a warm oven (turned off, or just briefly warmed and then off) or near a heating vent. A warm, humid environment encourages a good rise.
- Don’t Over-Flour: While kneading, resist the urge to add too much extra flour to your work surface or the dough itself. A slightly sticky dough is often a good sign; too much flour can result in dry, dense bread.
- Patience, My Friend: Bread baking is not a race. Let the dough rise fully for both the first and second rises. Rushing the rising process will yield a dense loaf with a less developed flavor.
- The “Crackle” Secret: The water spray before baking creates steam in the hot oven, which helps the crust expand rapidly. As the steam escapes and the crust dries out, it creates those beautiful, audible cracks. Don’t skip this step for that signature texture!
- Cool Completely: We know it’s hard, but letting your bread cool fully on a wire rack allows the internal structure to set and prevents a gummy, doughy texture.
- Storage: Store cooled bread in an airtight container, a bread box, or a bread bag at room temperature for up to 3-4 days. For longer storage, slice the cooled loaf and freeze the slices individually. You can then toast them directly from frozen!
Essential Baking Tools
Having the right tools makes all the difference, especially when you’re starting out. Here are a few essentials that will make your bread-baking journey smoother:
- Mixing Bowl (at least 4-quart capacity for easy mixing and rising)
- Whisk (for combining wet ingredients and activating yeast)
- Baking Pan (a standard 9×5 inch loaf pan is perfect)
- Measuring Cups & Spoons (for precise ingredient measurements)
- Spatula (or a sturdy wooden spoon for mixing)
- Instant Read Thermometer:(Optional, but highly recommended for checking water temperature for yeast and internal bread temperature for doneness)
- **Clean Spray Bottle:** (Essential for achieving that crackly crust!)
- **Wire Cooling Rack:** (Crucial for proper cooling and preventing soggy bottoms)
Nutrition Information (per slice, approx. 12 slices per loaf)
Please note that these are approximate values and can vary based on specific ingredients, brand, and preparation methods. This table provides a general estimate for one slice of our Crackle Bread.
| Nutrient | Amount |
|---|---|
| Calories | 160 kcal |
| Carbohydrates | 32 g |
| Protein | 5 g |
| Fat | 2 g |
1 thought on “Crackle Bread Recipe – Easy & Tasty”