Welcome, fellow baking enthusiasts (and nervous newbies)! If you’ve been searching for a way to use up those perfectly spotted, overripe bananas sitting on your counter, you’ve come to the right place. Today, we’re diving into the wonderful world of banana bread with a twist that makes it accessible to even more people: a Dairy Free Banana Bread Recipe that’s incredibly moist, flavorful, and surprisingly simple to make. Forget complicated techniques; this is one of those easy baking recipes that builds confidence.
We’ll walk through every step, offering plenty of baking tips for beginners to ensure your first (or fiftieth!) loaf turns out perfectly golden and delicious. Get ready to fill your home with the most comforting aroma!
Ingredients for Your Dairy-Free Banana Bread
Gathering your ingredients is the first step to baking success. Make sure everything is at room temperature where specified for the best results!
| Quantity | Unit | Ingredient |
|---|---|---|
| 3-4 | medium | Ripe Bananas (very ripe, with brown spots) |
| 1/2 | cup | Dairy-Free Butter (softened, e.g., Earth Balance, Miyoko’s) |
| 3/4 | cup | Granulated Sugar |
| 1 | large | Egg (room temperature) |
| 1/4 | cup | Dairy-Free Milk (e.g., almond, soy, oat) |
| 1 | teaspoon | Vanilla Extract |
| 1 1/2 | cups | All-Purpose Flour |
| 1 | teaspoon | Baking Soda |
| 1/2 | teaspoon | Salt |
| 1/2 | teaspoon | Ground Cinnamon (optional, but highly recommended!) |
| 1/2 | cup | Chopped Walnuts or Pecans (optional) |
| 1/2 | cup | Dairy-Free Chocolate Chips (optional) |
Step-by-Step Instructions: Baking Your Dairy-Free Banana Bread
Follow these detailed steps, and you’ll have a perfect loaf in no time. Remember, baking is a science, but it’s also about enjoying the process!
Phase 1: Preparation is Key!
- Preheat Your Oven: Start by preheating your oven to 350°F (175°C). This is crucial because a properly preheated oven ensures even baking from the moment your batter goes in.
- Prepare Your Loaf Pan: Grease and flour a 9×5 inch loaf pan. You can use dairy-free butter or cooking spray for greasing, then dust with a little flour. This prevents your bread from sticking and makes for easy removal later. Alternatively, line it with parchment paper for an even easier lift-out!
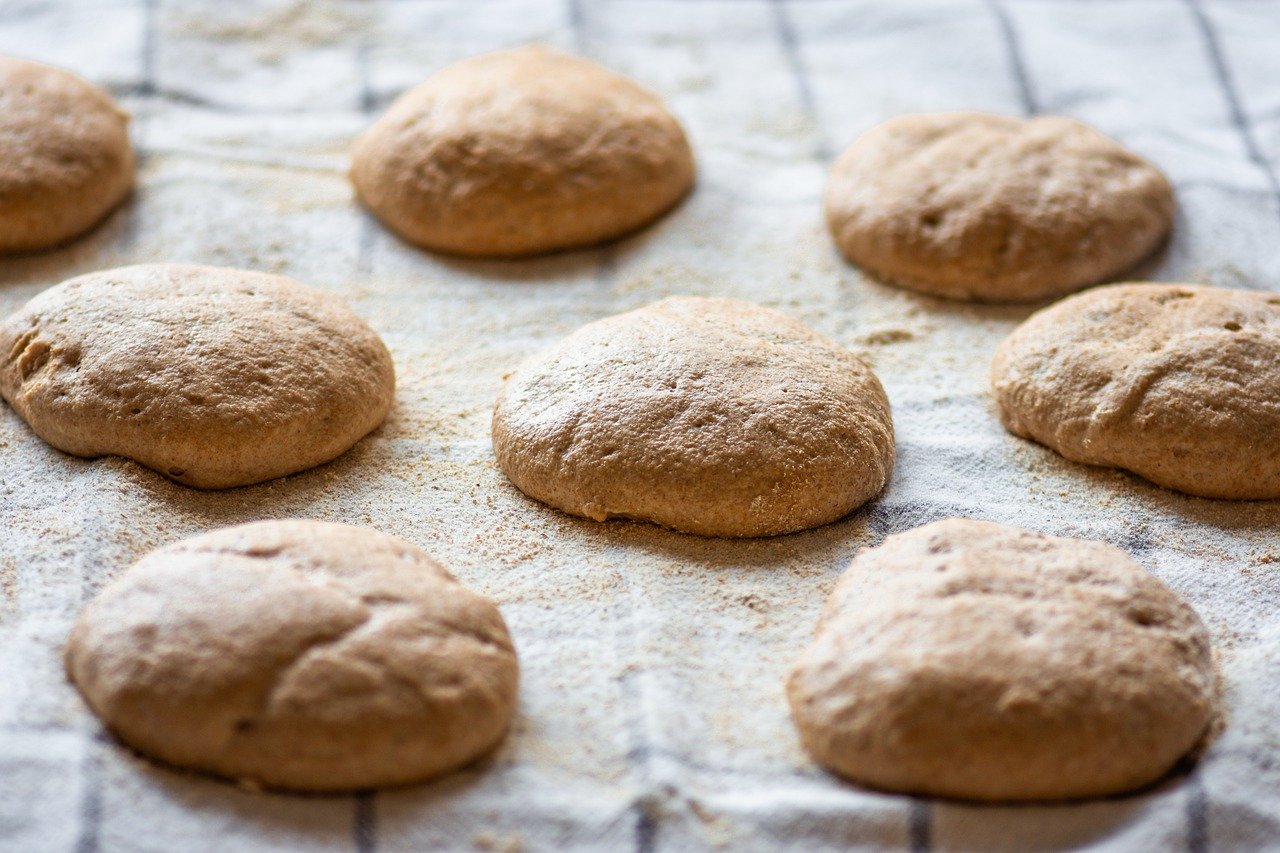
- Mash the Bananas: In a medium bowl, peel your ripe bananas and mash them thoroughly with a fork. You’re looking for a relatively smooth consistency, but a few small lumps are perfectly fine and will add texture. Tip for Beginners: The riper the bananas (with lots of brown spots), the sweeter and more flavorful your bread will be, and the easier they are to mash!
Phase 2: The Wet Ingredients
- Cream the Dairy-Free Butter and Sugar: In a large mixing bowl, using an electric mixer (or a whisk and a strong arm!), beat the softened dairy-free butter and granulated sugar together until the mixture is light and fluffy. This usually takes about 2-3 minutes. This step incorporates air, which contributes to a tender crumb.
- Add Egg and Vanilla: Beat in the egg until fully combined. Scrape down the sides of the bowl to ensure everything is incorporated. Then, stir in the dairy-free milk and vanilla extract. The mixture might look a little curdled at this point, but don’t worry, it will come together!
- Combine Wet Ingredients: Gently fold in your mashed bananas into the wet mixture. Mix just until combined.
Phase 3: The Dry Ingredients
- Whisk Dry Ingredients: In a separate medium bowl, whisk together the all-purpose flour, baking soda, salt, and ground cinnamon (if using). Whisking ensures these dry ingredients are evenly distributed, which is important for the leavening (rising) process.
Phase 4: Bringing It All Together
- Combine Wet and Dry: Gradually add the dry ingredient mixture to the wet ingredient mixture. Mix on low speed (or by hand with a spatula) just until combined. This is one of the most important **baking tips for beginners**: Do NOT overmix! Overmixing develops the gluten in the flour too much, leading to a tough, dense banana bread instead of a light and fluffy one. A few streaks of flour are perfectly acceptable.
- Add Optional Mix-ins: If you’re using chopped nuts or dairy-free chocolate chips, gently fold them into the batter now.
- Pour into Pan: Pour the batter evenly into your prepared loaf pan.
Phase 5: Bake and Enjoy!
- Bake: Place the loaf pan in your preheated oven. Bake for approximately 50-65 minutes. Baking times can vary depending on your oven, so keep an eye on it.
- Check for Doneness: To check if your banana bread is done, insert a wooden skewer or a toothpick into the center of the loaf. If it comes out clean or with a few moist crumbs attached (but no wet batter), it’s ready! If it comes out with wet batter, continue baking for another 5-10 minutes and check again. If the top is browning too quickly, you can loosely tent it with aluminum foil.
- Cooling: Once baked, remove the loaf pan from the oven and let it cool in the pan for about 10-15 minutes on a wire rack. This allows the bread to set and prevents it from crumbling when you remove it.
- Remove and Slice: After the initial cooling, carefully invert the loaf onto the wire rack to cool completely. Slicing warm banana bread is tempting, but it can be crumbly. For the best texture and clean slices, let it cool completely before cutting and serving.
Tips & Tricks for Perfect Dairy-Free Banana Bread
Mastering banana bread is easy with a few insider secrets. These tips will help you achieve consistent, delicious results every time, especially if you’re new to baking!
- Use Very Ripe Bananas: This cannot be stressed enough! The browner and spottier your bananas, the sweeter and more flavorful your bread will be. They also mash more easily. If your bananas aren’t ripe enough, you can speed up the process by baking them in their peels on a baking sheet at 300°F (150°C) for 15-30 minutes until they turn black.
- Don’t Overmix the Batter: As mentioned in the instructions, overmixing is the arch-nemesis of tender baked goods. Mix *just* until the dry ingredients are incorporated into the wet. A few lumps of flour are fine; a tough loaf is not.
- Measure Accurately: Baking is a science. Use proper measuring cups and spoons. For flour, spoon it into your measuring cup and then level it off with a straight edge (like the back of a knife) rather than scooping directly from the bag, which can compact the flour and lead to too much being added.
- Room Temperature Ingredients: Ensure your dairy-free butter and egg are at room temperature. This helps them combine more smoothly with other ingredients, creating a more uniform batter and a better texture in your final product.
- Proper Pan Preparation: Always grease and flour your pan or line it with parchment paper. This simple step prevents sticking and ensures your beautiful loaf comes out in one piece.
- Cool Completely: Resist the urge to slice into your warm banana bread immediately. Cooling on a wire rack allows the internal structure to set, resulting in a less crumbly and more enjoyable slice.
- Flavor Boosters: A pinch of nutmeg or a dash of espresso powder can enhance the banana flavor without overpowering it.
Essential Baking Tools
Having the right tools makes baking much easier and more enjoyable. Here are a few basics you’ll want on hand:
- Mixing Bowl (a set of different sizes is very useful!)
- Whisk (for dry ingredients and lighter mixing)
- Baking Pan (specifically a 9×5 inch loaf pan)
- Measuring Cups (for both dry and liquid ingredients)
- Spatula (a rubber spatula for scraping bowls and folding ingredients gently)
- Electric Mixer (handheld or stand mixer for creaming butter and sugar)
- Wire Rack (for cooling your baked goods)
Nutrition Information (Estimated per slice)
Please note that this is an estimated nutritional breakdown based on the ingredients used. Actual values may vary depending on specific brands and serving size.
| Nutrient | Amount (per 1/12 of loaf) |
|---|---|
| Calories | 280-320 kcal |
| Carbohydrates | 45-55 g |
| Protein | 3-5 g |
| Fat | 10-15 g |
| Fiber | 2-3 g |
| Sugar | 25-35 g |
Frequently Asked Questions (FAQs)
Can I use less ripe bananas for this recipe?
While you *can*, it’s highly recommended to use very ripe bananas (brown spots or even mostly brown peel). Riper bananas are sweeter, softer, and provide more moisture and intense banana flavor. Less ripe bananas will result in a less sweet and potentially drier bread.
How do I store dairy-free banana bread?
Once completely cooled, store your banana bread wrapped tightly in plastic wrap or in an airtight container at room temperature for up to 3-4 days. For longer storage, you can refrigerate it for up to a week or freeze slices wrapped individually for up to 3 months. Thaw frozen slices at room temperature or warm gently in a microwave.
Can I add other mix-ins besides nuts and chocolate chips?
Absolutely! Get creative. Shredded coconut, dried cranberries, or a swirl of dairy-free cream cheese can all make wonderful additions. Just be mindful not to add too many wet ingredients, as it can alter the consistency of the batter. About 1/2 to 1 cup of total mix-ins is a good general guideline.
My banana bread top is cracking, is that normal?
Yes, a crack down the middle of your banana bread is completely normal and often a sign of a perfectly baked loaf! It happens as the bread rises and expands in the oven, especially during the final stages of baking.
How do I know my dairy-free butter is softened enough?
Softened dairy-free butter should be pliable but still hold its shape. If you press it with your finger, it should leave an indentation easily, but your finger shouldn’t sink right through. If it’s too melted, it won’t cream properly with the sugar, affecting the texture of your bread.
Conclusion
And there you have it – a truly delicious and surprisingly simple **Dairy Free Banana Bread Recipe** that’s perfect for any occasion, whether it’s breakfast, a snack, or a delightful dessert. We hope these **baking tips for beginners** have empowered you to step into the kitchen with confidence. Don’t be afraid to experiment with your favorite mix-ins, and remember that baking is a journey of learning and delicious discoveries. Your home will smell incredible, and your taste buds will thank you. Happy baking, and enjoy every moist, flavorful slice of your homemade dairy-free banana bread!
“`