Welcome, aspiring bakers! Are you ready to embark on a magical culinary journey? Today, we’re diving into the enchanting world of our vibrant and delicious Dragon Bread Recipe. This isn’t just any bread; it’s a spectacle of color and a triumph of flavor, surprisingly simple to create right in your own kitchen.

If you’ve been searching for easy baking recipes that yield impressive results, you’ve found your next project! We’ve packed this guide with detailed baking tips for beginners, ensuring every step is clear, encouraging, and sets you up for success. Get ready to impress yourself and your loved ones with this show-stopping loaf!
Ingredients for Your Dragon Bread
Gather these essentials before you begin. Quality ingredients make all the difference!
| Ingredient | Quantity | Unit |
|---|---|---|
| All-Purpose Flour | 3 | cups |
| Granulated Sugar | 1/4 | cup |
| Active Dry Yeast | 2 1/4 | teaspoons |
| Salt | 1 | teaspoon |
| Warm Milk (105-115°F / 40-46°C) | 1 | cup |
| Unsalted Butter, melted and cooled | 1/4 | cup |
| Dragon Fruit Puree (from about 1 large or 2 small red dragon fruits) | 1/2 | cup |
| Large Egg (for egg wash, optional) | 1 |
Step-by-Step Instructions: Bake Your Own Dragon Bread
Follow these detailed steps carefully, and you’ll have a beautiful loaf of Dragon Bread in no time!
Step 1: Prepare Your Dragon Fruit Puree
First things first, let’s get that gorgeous color ready! Take your dragon fruit (red or pink varieties work best for vibrant color). Slice it in half, scoop out the flesh, and place it in a blender or food processor. Blend until it’s a smooth, consistent puree. If it seems too thick, add a tiny splash of water (no more than a teaspoon). Measure out 1/2 cup and set aside.
Beginner Tip: You can use fresh or frozen dragon fruit. If using frozen, thaw it completely before blending.
Step 2: Activate Your Yeast
In a large mixing bowl, combine the warm milk (ensure it’s between 105-115°F / 40-46°C – too hot will kill the yeast, too cold won’t activate it), 1 teaspoon of the granulated sugar, and the active dry yeast. Stir gently and let it sit for about 5-10 minutes. You’ll know your yeast is active and ready when a foamy, frothy layer forms on top. This means your yeast is alive and ready to make your bread rise!
Common Mistake: If your yeast doesn’t foam, your milk might have been too hot or too cold, or your yeast might be old. Discard and try again with fresh yeast and properly warmed milk.
Step 3: Combine Dry Ingredients
While your yeast is activating, in a separate medium bowl, whisk together the all-purpose flour, the remaining granulated sugar, and the salt. Whisking ensures these dry ingredients are evenly distributed, which is crucial for uniform texture in your bread.
Step 4: Mix Wet into Dry
Once your yeast mixture is foamy, add the cooled melted butter and the dragon fruit puree to it. Stir well to combine. Then, gradually add the dry ingredients mixture to the wet ingredients, mixing with a wooden spoon or a sturdy spatula until a shaggy, somewhat sticky dough forms. Don’t worry if it looks messy at this stage – it’s supposed to!
Step 5: Knead the Dough
This is where the magic happens! Transfer the dough to a lightly floured surface. Knead the dough for about 8-10 minutes.
- By Hand: Push the dough away from you with the heels of your hands, fold it back towards you, rotate, and repeat. It will be sticky at first, but resist the urge to add too much extra flour. A little stickiness is good! Only add a tiny sprinkle of flour if it’s unmanageably sticky. As you knead, the dough will become smoother, more elastic, and less sticky.
- Stand Mixer: If you have a stand mixer with a dough hook attachment, knead on low speed for 6-8 minutes until the dough is smooth and elastic and pulls away from the sides of the bowl.
You’ll know it’s properly kneaded when it passes the “windowpane test”: take a small piece of dough, gently stretch it, and if you can stretch it thin enough to see light through it without tearing, it’s ready!
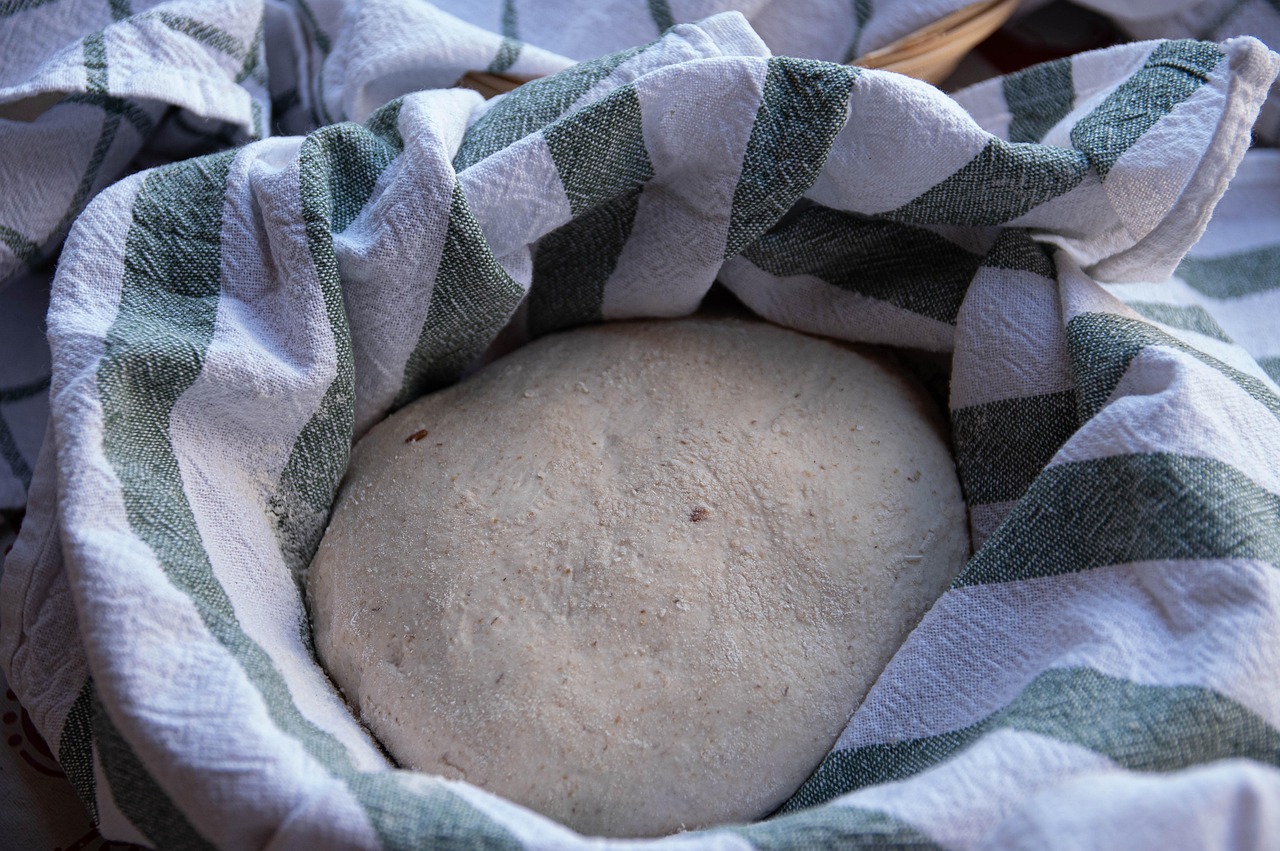
Step 6: First Rise (Bulk Fermentation)
Lightly grease a large bowl with a little oil or cooking spray. Place the kneaded dough in the bowl, turning it once to coat the top with oil. Cover the bowl tightly with plastic wrap or a clean kitchen towel. Place it in a warm, draft-free spot (like a slightly warm oven that’s turned off, or near a sunny window). Let the dough rise for 1 to 1.5 hours, or until it has visibly doubled in size.
Beginner Tip: To test if it’s risen enough, gently poke two fingers into the dough. If the indentations remain, it’s ready. If they spring back quickly, it needs more time.
Step 7: Punch Down and Shape
Once the dough has doubled, gently “punch it down” to release the air. This isn’t aggressive; just gently deflate it. Transfer the dough to a lightly floured surface. Gently shape the dough into a rectangular loaf that will fit snugly into a standard 9×5 inch loaf pan. You can do this by flattening the dough into a rectangle, then rolling it up tightly from one of the long sides, pinching the seam closed.
Alternative: For a round loaf, simply shape it into a smooth ball. For individual rolls, divide the dough into equal portions and shape each into a small ball.
Step 8: Second Rise (Proofing)
Grease your 9×5 inch loaf pan. Place the shaped dough seam-side down in the pan. Cover loosely with plastic wrap or a clean kitchen towel and return it to your warm, draft-free spot. Let it rise for another 30-45 minutes, or until it has almost doubled in size again and looks puffy. It should jiggle slightly when you gently shake the pan.
Step 9: Preheat Oven & Prepare Egg Wash (Optional)
About 15 minutes before the second rise is complete, preheat your oven to 375°F (190°C). If you want a beautifully golden and shiny crust, whisk one large egg with a tablespoon of water or milk in a small bowl. Gently brush this mixture over the top of your risen dough just before baking. This step is optional but highly recommended for that professional bakery look!
Step 10: Bake Your Dragon Bread
Carefully place the loaf pan in the preheated oven. Bake for 30-35 minutes, or until the top is golden brown and the internal temperature reaches 200-210°F (93-99°C) when measured with an instant-read thermometer.
How to tell it’s done: Besides the golden color and internal temperature, if you tap the bottom of the loaf (after carefully removing it from the pan), it should sound hollow.
Common Mistake: Opening the oven door too frequently can cause the bread to deflate. Try to resist peeking too often, especially during the first 20 minutes.
Step 11: Cool Completely
Once baked, immediately remove the bread from the loaf pan and transfer it to a wire cooling rack. Allow it to cool completely before slicing and serving. This step is crucial! Slicing hot bread can make it gummy and dense. Cooling allows the internal structure to set and the flavors to fully develop. Patience is a virtue here!
Tips & Tricks for Perfect Dragon Bread
- Yeast Freshness: Always check the expiration date on your yeast. Old yeast is the number one culprit for bread that doesn’t rise. Store opened yeast in an airtight container in the fridge or freezer.
- Measuring Flour Accurately: For best results, spoon your flour into the measuring cup and then level it off with a straight edge. Scooping directly can compact the flour, leading to too much flour and a dry, dense loaf.
- Warmth is Key: Yeast loves warmth! Ensure your milk is at the correct temperature for activation and that your proofing spots are warm and draft-free.
- Don’t Over-Flour: When kneading, resist the urge to add too much extra flour to your surface or dough. A slightly sticky dough often yields a softer, more tender crumb. Only add flour if the dough is truly unmanageable.
- Patience with Proofing: Don’t rush the rising process. If your kitchen is cooler, it might take longer for the dough to double. Let the dough guide you, not just the clock.
- Customize Your Loaf: Feel free to add 1/2 cup of white chocolate chips, dried cranberries, or chopped nuts (like macadamia or pecans) during the last minute of kneading for extra flavor and texture!
Essential Baking Tools
Having the right tools makes baking a breeze!
Dragon Bread Nutrition Information (per slice, estimated)
These values are approximate and can vary based on specific ingredients and serving size.
| Nutrient | Amount |
|---|---|
| Calories | 180 kcal |
| Carbohydrates | 35 g |
| Protein | 6 g |
| Fat | 4 g |
| Fiber | 2 g |
| Sugar | 8 g |
Frequently Asked Questions (FAQs)
Q: My yeast didn’t foam. What went wrong?
A: The most common reasons are that your milk was either too hot (which kills the yeast) or too cold (which keeps it dormant), or your yeast is old and inactive. Always check the temperature of your milk (105-115°F is ideal) and ensure your yeast is fresh. If it doesn’t foam, discard and start with new yeast and correctly warmed milk.
Q: My dough isn’t rising. What should I do?
A: This usually comes back to yeast activity or the proofing environment. Ensure your yeast was active (foamy) at the start. Also, make sure your dough is in a warm, draft-free spot. Sometimes, a cooler kitchen just means it needs more time – be patient! If after a few hours it hasn’t risen at all, your yeast might be dead.
Q: Can I use frozen dragon fruit for the puree?
A: Absolutely! Just make sure to thaw it completely before blending. Frozen dragon fruit is often more readily available and can be just as vibrant.
Q: How do I store leftover Dragon Bread?
A: Once completely cooled, store your Dragon Bread in an airtight container or a bread bag at room temperature for up to 3-4 days. For longer storage, you can slice it and freeze individual slices in a freezer-safe bag for up to 2-3 months. Thaw at room temperature or toast directly from frozen.
Q: Do I have to knead the dough by hand?
A: No, you don’t! While hand-kneading is a wonderful way to connect with your dough, you can absolutely use a stand mixer with a dough hook attachment. Knead on low speed for 6-8 minutes until the dough is smooth and elastic.
Conclusion: Your Dragon Bread Awaits!
Congratulations, fearless baker! You’ve just created a stunning loaf of Dragon Bread, a testament to your newfound baking skills. The vibrant color and soft, fluffy texture are sure to bring smiles and wonder to anyone who tries it. Remember, every bake is a learning experience, and with each loaf, you gain more confidence and expertise. Don’t be afraid to experiment and make this recipe your own. We’d love to see your creations! Share your Dragon Bread masterpieces with us on social media. Happy baking!