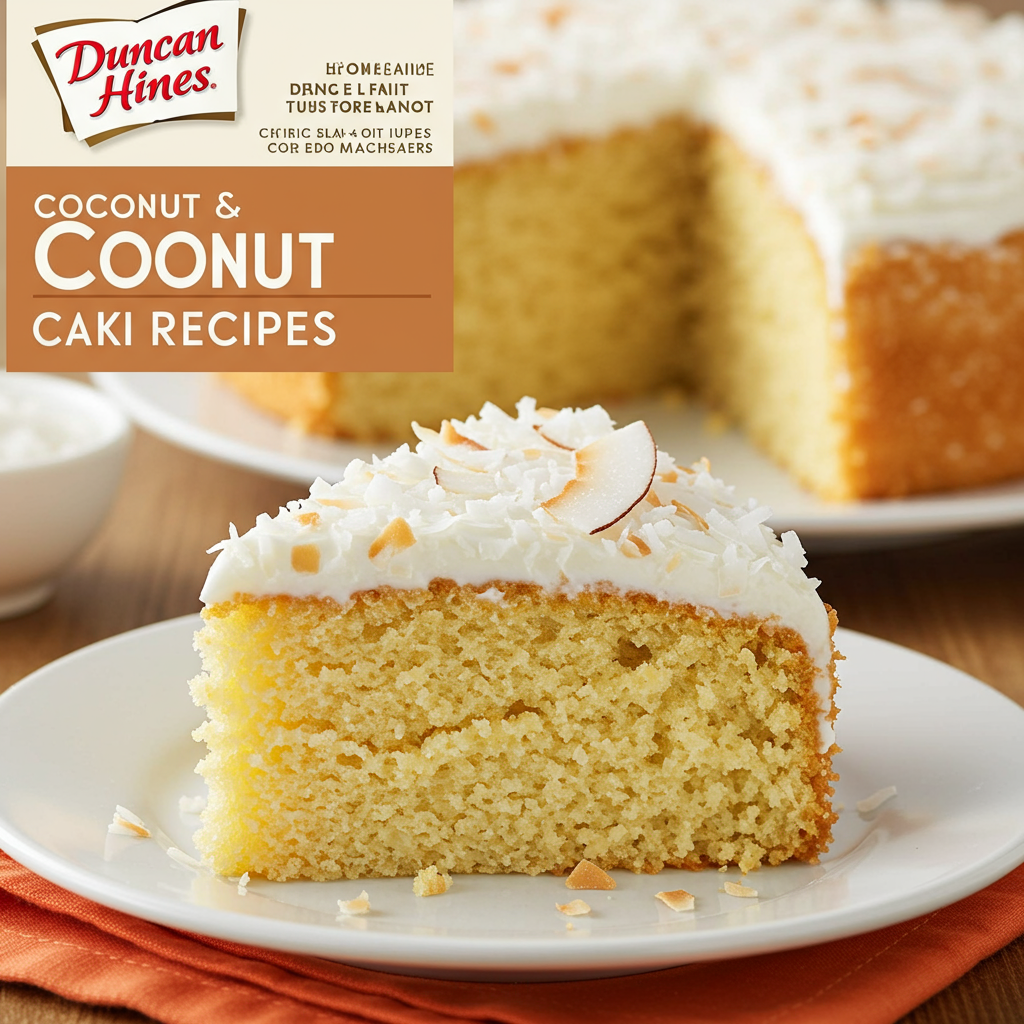
Welcome, fellow baking enthusiasts and especially our wonderful baking tips for beginners! Are you craving a slice of moist, flavorful coconut cake but feel intimidated by complicated recipes? You’ve come to the right place! Today, we’re diving into the delightful world of Duncan Hines Coconut Cake Mix Recipes, proving that delicious, homemade cake doesn’t have to be a daunting task. This isn’t just a recipe; it’s your ultimate guide to creating a show-stopping coconut cake with minimal fuss and maximum flavor, perfect for any occasion or just a sweet treat for yourself. Get ready to impress everyone (including yourself!) with this incredibly easy baking recipes approach.
Using a Duncan Hines Coconut Supreme cake mix as our foundation, we’ll elevate it with simple additions and a luscious homemade coconut buttercream frosting, all while providing you with detailed instructions and essential tips to ensure your baking journey is smooth and successful. Let’s get baking!
Ingredients List
Here’s what you’ll need to whip up this amazing coconut cake. Remember, precise measurements are your best friend in baking!
| Ingredient | Quantity | Unit |
|---|---|---|
| For the Cake: | ||
| Duncan Hines Coconut Supreme Cake Mix | 1 | (15.25 oz) box |
| Large Eggs | 3 | |
| Vegetable Oil | 1/2 | cup |
| Water or Milk (whole milk recommended for richer cake) | 1 | cup |
| Sweetened Shredded Coconut (optional, for extra texture) | 1/2 | cup |
| For the Homemade Coconut Buttercream Frosting: | ||
| Unsalted Butter, softened | 1 | cup (2 sticks) |
| Powdered Sugar (Confectioners’ Sugar) | 4 | cups |
| Heavy Cream or Whole Milk | 3-5 | tablespoons |
| Vanilla Extract | 1 | teaspoon |
| Coconut Extract (optional, for enhanced flavor) | 1/2 | teaspoon |
| Sweetened Shredded Coconut (for mixing into frosting & decorating) | 1 | cup |
Step-by-Step Instructions: Your Beginner’s Guide to Perfect Cake
Follow these detailed steps carefully, and you’ll have a beautiful, delicious coconut cake in no time!
Prepping for Success: The Foundation of Good Baking
- Preheat Your Oven & Prepare Your Pan:
- First things first! **Preheat your oven to 350°F (175°C)**. This is crucial for even baking. Don’t put your cake in a cold oven!
- **Grease and Flour Your Baking Pan:** For a standard 9×13 inch pan (our recommendation for beginners!), generously grease the bottom and sides with butter or baking spray. Then, lightly dust it with a tablespoon or two of all-purpose flour, tapping out any excess. This creates a non-stick barrier, ensuring your cake releases easily. Common mistake: Not greasing enough! Your cake will stick.
- Alternative Pan: If using two 8-inch round pans, grease and flour both, and you might need to adjust baking time slightly (usually a bit less).
- Gather Your Ingredients & Bring to Room Temperature:
- Lay out all your cake ingredients. For best results, **ensure your eggs, oil, and water/milk are at room temperature**. This helps them emulsify better with the cake mix, leading to a smoother batter and a more tender cake crumb. Simply take them out of the fridge about 30 minutes to an hour before you start.
Mixing the Cake Batter: The Heart of Your Cake
- Combine Wet Ingredients:
- In a large mixing bowl, crack your three large eggs. Add the 1/2 cup of vegetable oil and 1 cup of water or milk. Whisk these together gently until just combined.
- Add the Cake Mix:
- Pour the entire box of Duncan Hines Coconut Supreme Cake Mix into the bowl with the wet ingredients.
- **Beginner Tip:** Start mixing on low speed with an electric mixer (or by hand with a whisk if you prefer a bit of a workout!) until the dry ingredients are just moistened. This prevents a cloud of flour from erupting in your kitchen!
- Mix the Batter:
- Increase the mixer speed to medium and beat for about 2 minutes. **Do not overmix!** Overmixing develops the gluten in the flour too much, which can lead to a tough, dry cake. Mix until the batter is smooth and well combined, with no visible streaks of dry mix.
- **Optional Addition:** If you’re using the extra 1/2 cup of sweetened shredded coconut, gently fold it into the batter now with a spatula. This adds fantastic texture and even more coconut flavor.
Baking Your Cake: The Moment of Truth
- Pour and Bake:
- Pour the prepared cake batter evenly into your greased and floured baking pan.
- Place the pan in your preheated oven.
- **Bake for 30-35 minutes for a 9×13 inch pan**, or according to the package directions for other pan sizes.
- Check for Doneness:
- To check if your cake is done, insert a wooden toothpick into the center of the cake. If it comes out clean or with a few moist crumbs attached (but no wet batter), your cake is ready! If it’s still wet, bake for another 2-5 minutes and check again. Common mistake: Opening the oven door too early or too often can cause the cake to sink. Wait until at least the minimum baking time has passed.
- Cooling the Cake: Patience is a Virtue!
- Once baked, remove the cake from the oven and place it on a wire rack to cool in the pan for 10-15 minutes. This allows the cake to set and prevents it from breaking when you remove it.
- After 10-15 minutes, carefully invert the cake onto the wire rack to cool completely. **It is essential that the cake is completely cool before frosting.** If you try to frost a warm cake, your frosting will melt and slide right off! This usually takes at least 1-2 hours.
Making the Homemade Coconut Buttercream Frosting: The Icing on the Cake!
- Cream the Butter:
- In a large mixing bowl (or the bowl of a stand mixer fitted with the paddle attachment), beat the 1 cup (2 sticks) of softened unsalted butter on medium-high speed for 2-3 minutes, until it’s light and fluffy. **Beginner Tip:** Softened butter is key! It should be pliable but not melted.
- Add Powdered Sugar:
- Gradually add the 4 cups of powdered sugar, one cup at a time, mixing on low speed until combined after each addition. This prevents a sugar cloud!
- Mix in Liquids and Flavor:
- Once all the sugar is incorporated, add the 1 teaspoon of vanilla extract and 1/2 teaspoon of coconut extract (if using).
- Start by adding 3 tablespoons of heavy cream or whole milk. Beat on medium-high speed for another 2-3 minutes, until the frosting is light, fluffy, and smooth. If the frosting seems too thick, add the remaining cream/milk a tablespoon at a time until you reach your desired consistency. It should be spreadable but hold its shape.
- Fold in Coconut:
- Gently fold in about 1/2 cup of the sweetened shredded coconut into the frosting using a spatula. Reserve the rest for decorating the top of the cake.
Assembling and Decorating: Your Masterpiece Awaits!
- Frost the Cooled Cake:
- Once your cake is completely cool, use an offset spatula or a butter knife to spread the coconut buttercream frosting evenly over the top and sides of the cake. Take your time and enjoy the process!
- Decorate with Coconut:
- Sprinkle the remaining 1/2 cup of sweetened shredded coconut over the top of the frosted cake. You can gently press it into the sides as well for a fully coconut-coated look.
- Serve and Enjoy:
- Slice your beautiful cake and serve! Store any leftovers covered at room temperature for up to 2 days, or in the refrigerator for up to 5 days. Bring to room temperature before serving for the best flavor and texture.
Tips & Tricks for Baking Success (Especially for Beginners!)
- Read the Entire Recipe First: Before you even crack an egg, read through all the steps. This helps you understand the process and anticipate what’s next, preventing last-minute rushes or missed steps.
- Measure Accurately: Baking is a science! Use proper measuring cups and spoons. For dry ingredients like flour or sugar, level off the top with a straight edge (like the back of a knife). For liquids, measure at eye level.
- Room Temperature Ingredients are Key: We mentioned this, but it’s worth repeating! Room temperature butter and eggs cream together more easily and create a smoother, more emulsified batter, leading to a lighter, fluffier cake.
- Don’t Overmix Your Batter: Overmixing develops gluten, which can make your cake tough and chewy instead of tender and moist. Mix only until ingredients are just combined and no dry streaks remain.
- Know Your Oven: Ovens can vary! If your cake seems to bake faster or slower than the recipe suggests, it might be your oven. An oven thermometer can help you verify its accuracy.
- Cool Completely Before Frosting: This is non-negotiable! A warm cake will melt your beautiful frosting into a sticky mess. Patience is your baking superpower here.
- Practice Makes Perfect: Don’t get discouraged if your first cake isn’t absolutely perfect. Every bake is a learning experience. Enjoy the process!
Essential Baking Tools You’ll Need
Having the right tools makes baking much easier and more enjoyable. Here are a few essentials:
- Mixing Bowl (a set of various sizes is very useful)
- Whisk (for hand-mixing and combining)
- Baking Pan (a 9×13 inch pan is versatile)
- Measuring Cups and Measuring Spoons (for both dry and liquid ingredients)
- Spatula (rubber or silicone for scraping bowls, offset for frosting)
- Electric Mixer (handheld or stand mixer – highly recommended for frosting)
- Wire Rack (for cooling cakes evenly)
- Toothpicks (for checking cake doneness)
Nutrition Information (Estimated per Serving)
Please note: These are estimated values based on a standard cake mix and homemade frosting, divided into 12 servings. Actual values may vary based on specific ingredients and brands used.
| Nutrient | Amount |
|---|---|
| Calories | ~450-550 kcal |
| Carbohydrates | ~60-75g |
| Protein | ~4-6g |
| Fat | ~20-30g |
| Fiber | ~1-2g |
| Sugar | ~45-60g |
Frequently Asked Questions (FAQs) for Beginner Bakers
Q1: Can I use milk instead of water for the cake mix?
A: Absolutely! Using whole milk instead of water can add richness, moisture, and a slightly denser crumb to your cake. It often results in a more “homemade” tasting cake. We highly recommend trying it!
Q2: My cake sunk in the middle! What went wrong?
A: This is a common issue for beginners! It can happen for several reasons: opening the oven door too early (causing a temperature drop), underbaking (the center isn’t fully set), overmixing the batter (creates too much air that collapses), or your leavening agent might be old. Ensure your oven is preheated properly, avoid opening the door, and check for doneness with a toothpick.
Q3: How do I know if my butter is “softened” enough for the frosting?
A: Softened butter should be pliable to the touch, and if you gently press it with your finger, it should leave an indentation without your finger going straight through. It should not be melted or greasy. If it’s too cold, it won’t cream properly; if it’s too warm, your frosting might be runny.
Q4: Can I make this cake ahead of time?
A: Yes! You can bake the cake layers a day in advance. Once completely cooled, wrap them tightly in plastic wrap and store at room temperature. You can also make the frosting a day ahead and store it in an airtight container in the refrigerator; just let it come to room temperature and re-whip it for a minute or two before frosting. Assemble the cake closer to serving for the freshest taste.
Q5: What if I don’t have coconut extract?
A: No problem! The Duncan Hines Coconut Supreme mix already has coconut flavor, and the shredded coconut in the frosting will add plenty. You can simply omit the coconut extract and use a bit more vanilla extract (1.5 teaspoons total) in the frosting for a delicious result.
Conclusion: Your Delicious Coconut Creation Awaits!
There you have it! A comprehensive, beginner-friendly guide to creating a truly delicious Duncan Hines Coconut Cake. We hope this detailed recipe and all the extra tips empower you to step into the kitchen with confidence and bake something wonderful. Remember, baking should be fun and rewarding, not stressful!

Whether it’s for a special occasion or just to satisfy a sweet craving, this recipe is your ticket to a moist, flavorful cake that tastes homemade (because it is!). Don’t forget to share your baking journey with us in the comments. Happy baking, and enjoy every tropical bite of your amazing coconut cake!