(This content is designed to be pasted directly into the HTML editor of a WordPress post.)
Easy Bread Recipe No Yeast: Your Gateway to Homemade Bread!
Are you dreaming of warm, homemade bread but intimidated by yeast, kneading, and long proofing times? You’re in the right place! This **easy bread recipe no yeast** is designed specifically for beginners, proving that delicious, crusty bread can be incredibly simple to make. Forget the complexities; we’re focusing on minimal ingredients, straightforward steps, and maximum satisfaction. If you’re looking for truly **easy baking recipes** to build your confidence in the kitchen, this is it. We’ll walk you through every step, providing essential **baking tips for beginners** to ensure your first loaf is a resounding success. Get ready to fill your home with the irresistible aroma of freshly baked bread!
Ingredients List
Gather these simple ingredients – you likely have most of them in your pantry already!
| Ingredient | Quantity | Unit |
|---|---|---|
| All-Purpose Flour | 3 | cups |
| Baking Powder | 4 | teaspoons |
| Granulated Sugar | 1 | tablespoon |
| Salt | 1 | teaspoon |
| Milk (whole or 2%) | 1 to 1 ¼ | cups |
| Vegetable Oil or Melted Butter | 2 | tablespoons |
Step-by-Step Instructions: Your First Loaf of No-Yeast Bread
Follow these detailed steps carefully, and you’ll be enjoying warm, homemade bread in no time. We’ve included plenty of beginner tips along the way!
Step 1: Preheat Your Oven and Prep Your Pan
- Preheat your oven: Set your oven to **400°F (200°C)**. It’s crucial that your oven is fully preheated before your bread goes in. This ensures a good initial burst of heat, which helps the bread rise properly. Don’t just wait for the beep; give it an extra 10-15 minutes to reach and stabilize the temperature.
- Prepare your baking surface: Lightly grease a baking sheet or an 8×4 or 9×5 inch loaf pan. You can use a little butter, vegetable oil, or a non-stick cooking spray. If using a baking sheet, you might want to line it with parchment paper for easier cleanup and to prevent sticking.
Step 2: Combine the Dry Ingredients
- Get a large mixing bowl: Choose a bowl big enough to comfortably mix all your ingredients.
- Add the flour: Measure out 3 cups of all-purpose flour. For best results, use the “spoon and level” method: spoon flour into your measuring cup until it’s overflowing, then use a straight edge (like the back of a knife) to level off the top. This prevents over-packing the flour, which can lead to dry, dense bread.
- Add leavening and flavor: To the flour, add 4 teaspoons of baking powder, 1 tablespoon of granulated sugar, and 1 teaspoon of salt.
- Whisk thoroughly: Use a whisk to combine all these dry ingredients really well. This step is super important! It ensures that the baking powder (our leavening agent, which makes the bread rise) is evenly distributed throughout the flour. If it’s not, you might end up with unevenly risen or dense spots in your bread.
Step 3: Mix the Wet Ingredients
- Choose a separate bowl or measuring cup: In a medium bowl or a large measuring cup, combine 1 cup of milk and 2 tablespoons of vegetable oil (or melted butter).
- Whisk gently: Give it a quick whisk to combine them.
- Beginner Tip: Ensure your milk is at room temperature or slightly warm. Cold milk can sometimes slow down the reaction of the baking powder, making your bread less airy. If your milk is cold, you can warm it slightly in the microwave for 15-20 seconds (don’t make it hot!).
Step 4: Combine Wet and Dry Ingredients
- Pour wet into dry: Make a well in the center of your dry ingredients mixture and pour in the wet ingredients.
- Mix gently: Using a wooden spoon or a sturdy spatula, mix until just combined. The key here is to **not overmix!** Overmixing develops gluten too much, which can make your no-yeast bread tough and chewy instead of tender.
- Dough consistency: The dough will be shaggy, sticky, and quite soft. It won’t be a smooth, elastic dough like yeast bread. This is perfectly normal for a quick bread. If it seems too dry and crumbly, add the remaining ¼ cup of milk, a tablespoon at a time, until it comes together. If it’s too wet and soupy, add a tablespoon or two of flour.
Step 5: Shape the Loaf
- Lightly flour your work surface: Sprinkle a small amount of flour (about 1-2 tablespoons) on a clean countertop or cutting board. This prevents the sticky dough from sticking everywhere.
- Turn out the dough: Scrape the dough out of the bowl onto your floured surface.
- Gentle shaping: With lightly floured hands, gently pat the dough into a rustic round or oval shape, about 1-1.5 inches thick. You’re not kneading it in the traditional sense; you’re just bringing it together. If using a loaf pan, gently press the dough into the pan.
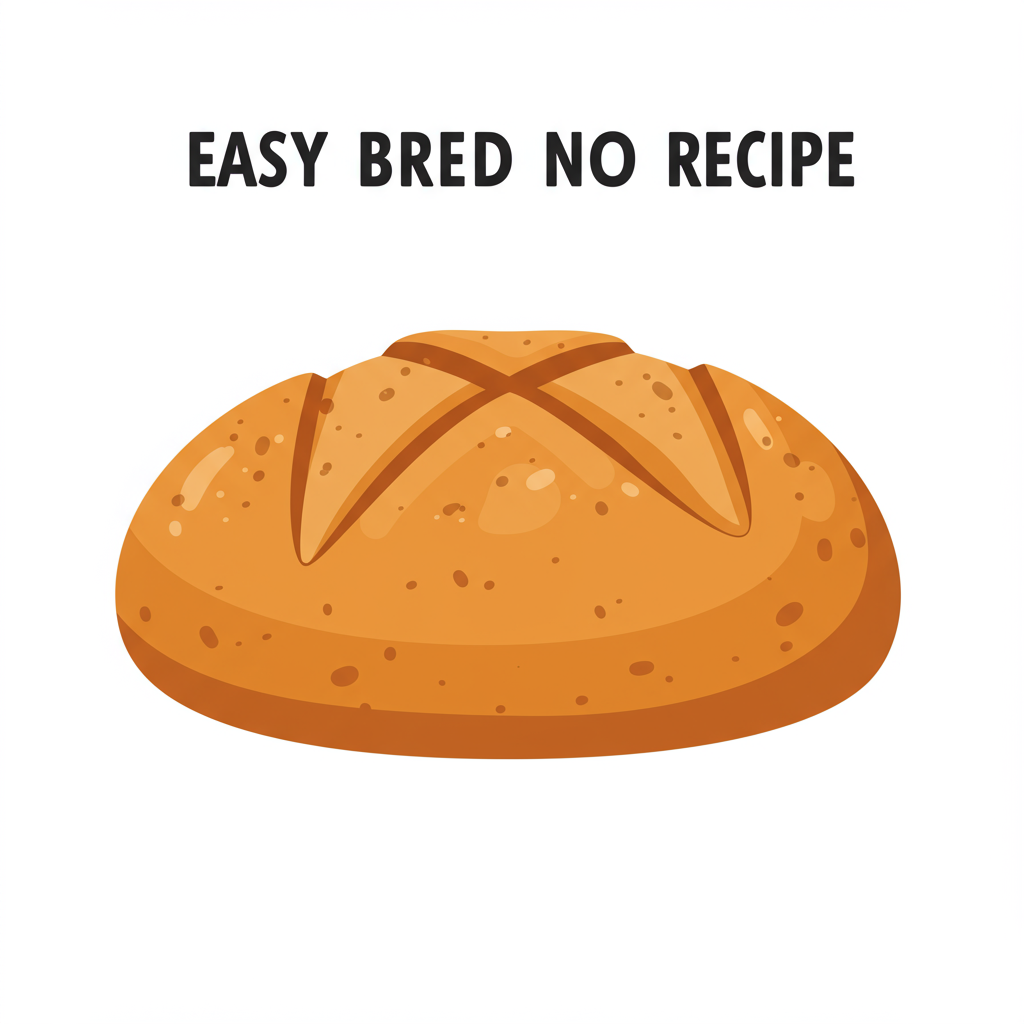
- Create a score (optional but recommended): If baking on a baking sheet, use a sharp knife to make a shallow “X” cut on the top of the loaf. This isn’t just for looks; it helps the bread expand evenly as it bakes and prevents the crust from cracking unpredictably.
Step 6: Bake the Bread
- Transfer to the oven: Carefully place your prepared baking sheet or loaf pan into the preheated 400°F (200°C) oven.
- Baking time: Bake for **30-35 minutes**.
- Check for doneness: The bread is done when it’s golden brown on top and sounds hollow when you tap the bottom. You can also insert a wooden skewer or toothpick into the center; if it comes out clean, the bread is ready. An internal temperature of 200-210°F (93-99°C) is ideal if you have a thermometer.
- Troubleshooting dense bread: If your bread comes out dense, it’s often due to overmixing the dough or your baking powder being old. Ensure your baking powder is fresh (test by adding a teaspoon to hot water – it should fizz vigorously).
Step 7: Cool and Serve
- Remove from oven: Once baked, carefully remove the bread from the oven.
- Cool on a wire rack: Immediately transfer the loaf from the pan to a wire cooling rack. This is crucial! Leaving it in the hot pan will cause the bottom to become soggy.
- Patience is a virtue: Let the bread cool for at least 15-20 minutes, or even longer (up to an hour), before slicing. Slicing hot bread can make it gummy and difficult to cut neatly. The internal structure is still setting as it cools.
- Enjoy! Slice your warm, homemade bread and serve it with butter, jam, soup, or as a side to any meal. It’s best enjoyed fresh!
Alternatives and Add-Ins for Your No-Yeast Bread
- Herbs & Garlic: Add 1-2 tablespoons of chopped fresh rosemary, thyme, or chives, along with a clove of minced garlic, to the dry ingredients for a savory loaf.
- Cheese: Mix in ½ cup of shredded cheddar, Parmesan, or Gruyere cheese with the dry ingredients for a cheesy bread.
- Whole Wheat Flour: You can substitute up to 1 cup of the all-purpose flour with whole wheat flour for a heartier texture and flavor. The bread might be a bit denser.
- Buttermilk: For an even tangier flavor and a slightly softer crumb, use buttermilk instead of regular milk. If using buttermilk, you can reduce the baking powder to 2 teaspoons and add ½ teaspoon of baking soda to react with the buttermilk’s acidity.
Tips & Tricks for No-Yeast Bread Success
Baking is a science, but it doesn’t have to be complicated! Here are some actionable tips to make your no-yeast bread perfect every time:
- Measure Accurately: This is the golden rule, especially for beginners. Use proper measuring cups for dry ingredients (leveling off with a straight edge) and liquid measuring cups for wet ingredients (reading at eye level). Small deviations can significantly impact the final texture.
- Fresh Leavening Agents: Baking powder loses its potency over time. Always check the expiration date! To test if it’s still active, mix a teaspoon into a small bowl of hot water. If it fizzes vigorously, it’s good to go. If not, it’s time for a new container.
- Don’t Overmix the Dough: We cannot stress this enough for quick breads! Mixing too much develops gluten, leading to a tough, dense loaf. Mix only until the dry ingredients are just moistened. A few lumps are perfectly fine.
- Oven Temperature Matters: Ovens can vary wildly. If you suspect your oven runs hot or cold, consider investing in an oven thermometer. Proper oven temperature is vital for the correct rise and browning.
- Cool Completely (or almost): While it’s tempting to slice into a piping hot loaf, resist the urge! The bread continues to cook and set as it cools. Slicing too early can result in a gummy texture.
- Adjust Milk as Needed: Flour absorption can vary based on humidity and brand. Start with 1 cup of milk and add the extra ¼ cup gradually if the dough seems too dry. It should be sticky but hold its shape.
Essential Baking Tools
You don’t need a fancy stand mixer for this recipe, but having these basic tools will make your baking experience much smoother:
- Large Mixing Bowl
- Whisk
- Baking Sheet or Loaf Pan
- Measuring Cups & Spoons
- Rubber Spatula or Wooden Spoon
- Wire Cooling Rack (optional, but highly recommended)
Nutrition Information (Estimated per serving)
This is an estimated nutritional breakdown for one slice, assuming 8-10 slices per loaf. Actual values may vary based on specific ingredient brands and precise measurements.
| Nutrient | Amount |
|---|---|
| Calories | 200-250 kcal |
| Carbohydrates | 35-45 g |
| Protein | 5-7 g |
| Fat | 5-8 g |
| Fiber | 1-2 g |
| Sugar | 2-4 g |
Frequently Asked Questions (FAQs)
Q: My bread came out dense. What went wrong?
A: The most common culprits for dense no-yeast bread are overmixing the dough (which overdevelops gluten) or using old, inactive baking powder. Ensure your baking powder is fresh and mix the dough only until the ingredients are just combined.
Q: Can I use different types of flour?
A: Yes, with some adjustments! You can substitute up to 1 cup of all-purpose flour with whole wheat flour for a heartier texture. For gluten-free options, you’ll need a specific gluten-free all-purpose blend that typically contains xanthan gum and often requires more liquid.
Q: How do I store leftover no-yeast bread?
A: This bread is best enjoyed fresh on the day it’s made. To store, wrap it tightly in plastic wrap or foil, or place it in an airtight container at room temperature for 1-2 days. It can also be frozen, well-wrapped, for up to 1 month. Thaw at room temperature or gently reheat in the oven.
Q: Can I add herbs, cheese, or other mix-ins?
A: Absolutely! This recipe is very versatile. You can add ½ to 1 cup of shredded cheese, fresh or dried herbs (like rosemary, thyme, or chives), minced garlic, or even some dried cranberries or nuts to the dry ingredients before adding the wet. Get creative!
Q: Why do I need to score the top of the loaf?
A: Scoring the top of the loaf (making a shallow “X” cut) helps control where the bread expands during baking. Without a score, the crust might crack in unpredictable ways. It also adds a nice, rustic aesthetic!
Conclusion
Congratulations! You’ve just unlocked the secret to easy, delicious homemade bread without the fuss of yeast. This **easy bread recipe no yeast** is more than just a recipe; it’s a confidence booster for any aspiring baker. From the moment you pull that warm, golden loaf from the oven to that first satisfying slice, you’ll feel an immense sense of accomplishment. Remember, practice makes perfect, but with this straightforward guide, your first attempt is set up for success. Don’t be afraid to experiment with add-ins next time. Happy baking, and enjoy the wonderful aroma and taste of your very own homemade bread!
“`