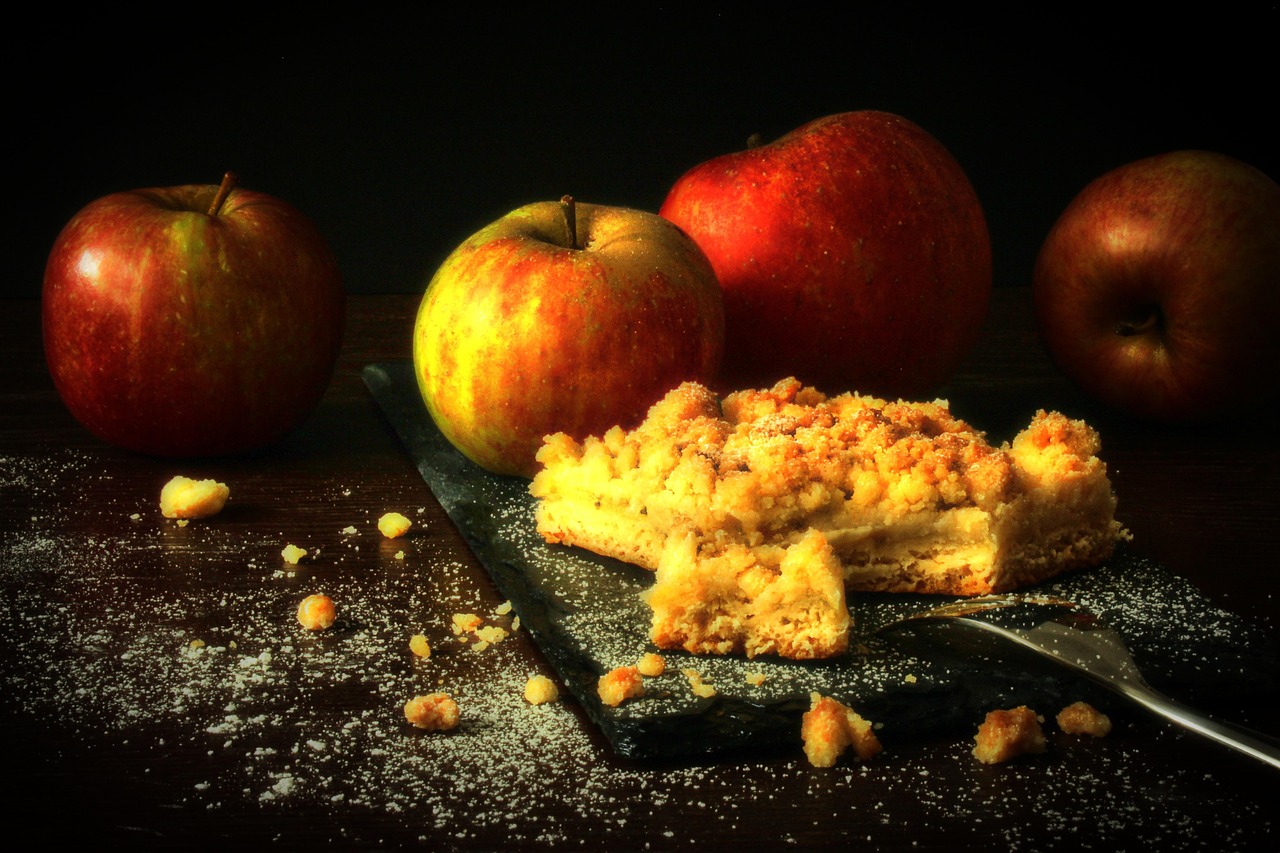
Welcome, aspiring bakers and busy home cooks! Are you looking for a recipe that combines comfort, flavor, and incredible simplicity? You’ve come to the right place. Our Easy Coffee Cake Recipe With Cake Mix is designed specifically for you. Forget complicated steps and endless ingredient lists – this recipe leverages the convenience of a boxed cake mix to deliver a moist,
tender cake crowned with a buttery, cinnamon-sugar streusel. It’s truly one of those easy baking recipes that will make you feel like a baking superstar, even if you’re just starting out. We’ve packed this post with essential baking tips for beginners to ensure your success from start to finish. Get ready to bake a delicious treat perfect for breakfast, brunch, or an afternoon pick-me-up!
Ingredients You’ll Need
Gathering your ingredients is the first step to baking success. We’ve broken down what you’ll need for both the cake base and that irresistible streusel topping.
For the Cake Base:
| Quantity | Unit | Ingredient |
|---|---|---|
| 1 | (15.25 oz) box | Yellow or White Cake Mix |
| 1 | cup | Milk (whole or 2%) |
| 1/2 | cup | Vegetable Oil (or other neutral oil) |
| 3 | large | Eggs |
| 1 | teaspoon | Vanilla Extract (optional, but recommended) |
For the Cinnamon Streusel Topping:
| Quantity | Unit | Ingredient |
|---|---|---|
| 1/2 | cup | All-Purpose Flour |
| 1/2 | cup | Packed Light Brown Sugar |
| 1 | teaspoon | Ground Cinnamon |
| 1/4 | cup (4 tbsp) | Unsalted Butter, melted |
For the Optional Glaze:
| Quantity | Unit | Ingredient |
|---|---|---|
| 1/2 | cup | Powdered Sugar (Confectioners’ Sugar) |
| 1-2 | tablespoons | Milk or Water |
| 1/4 | teaspoon | Vanilla Extract (optional) |
Step-by-Step Instructions: Bake Your Perfect Coffee Cake!
Follow these detailed instructions to bake your very own delicious coffee cake. We’ve included tips to help beginners every step of the way!
Step 1: Get Ready to Bake! (Prepping Your Workspace)
- Preheat Your Oven: Start by preheating your oven to 350°F (175°C). It’s important to have your oven at the correct temperature before the cake goes in, as this helps it rise properly and bake evenly.
- Prepare Your Pan: Grease a 9×13-inch baking pan generously with butter or non-stick cooking spray. For extra non-stick insurance, you can also lightly flour the greased pan. Just sprinkle about a tablespoon of all-purpose flour into the greased pan, tilt and tap it around until the bottom and sides are coated, then dump out any excess flour. This crucial step prevents your cake from sticking, ensuring easy removal and a clean slice every time.
Step 2: Whisk Up the Streusel Topping
This crumbly, sweet topping is what makes coffee cake so special and irresistible!
- In a medium-sized mixing bowl, combine the all-purpose flour, light brown sugar, and ground cinnamon. Use a whisk or a fork to mix them thoroughly until all ingredients are well-distributed and no lumps of brown sugar remain. This ensures an even flavor throughout your streusel.
- Pour in the melted unsalted butter. Make sure the butter isn’t sizzling hot, just melted.
- Using a fork or your fingertips, mix the butter into the dry ingredients. Continue mixing until coarse, moist crumbs form. The mixture should resemble wet sand with some larger, irregular clumps. Beginner Tip: Don’t overmix! You want distinct crumbs and clumps for texture, not a uniform paste. Overmixing can make the streusel tough. Set this bowl aside for now.
Step 3: Mix the Cake Batter
Using a cake mix makes this part incredibly simple and almost foolproof!
- In a large mixing bowl, combine the entire contents of the yellow or white cake mix package.
- Add the milk, vegetable oil, and large eggs to the cake mix. If you’re using vanilla extract, add that now too – it enhances the flavor significantly.
- Using an electric mixer on low speed (or a sturdy whisk by hand), mix the ingredients until they are just combined. Then increase the speed to medium and beat for about 2 minutes, or until the batter is smooth and lump-free. Make sure to scrape down the sides of the bowl with a spatula to ensure all ingredients are incorporated. Beginner Tip: Avoid overmixing! Overmixing can develop the gluten in the flour, leading to a tough, dry cake texture. Mix just until smooth and no dry streaks remain.
- Alternative Liquid: While the cake mix instructions might call for water, using milk instead (as this recipe does) adds richness and a tender crumb to your coffee cake, making it taste more homemade and luxurious. If you don’t have milk, water works too, but milk is highly recommended for a superior flavor and texture.
Step 4: Assemble Your Coffee Cake Layers
Now comes the fun part – layering your delicious cake and streusel!
- Pour about half of the cake batter into your prepared 9×13-inch baking pan. Use a spatula to gently spread it evenly across the bottom of the pan. Take your time to get an even layer.
- Sprinkle about half of the streusel topping evenly over the first layer of batter. Try to distribute it well so every bite gets some crumbly goodness.
- Carefully spoon the remaining cake batter over the streusel layer. It doesn’t have to be perfectly smooth; you can gently spread it with a spatula, trying not to disturb the streusel too much underneath. A few peek-through spots are perfectly fine!
- Finally, sprinkle the remaining streusel topping evenly over the top layer of batter. Don’t press it down, just let it sit lightly on top. This top layer will get wonderfully crisp and golden.
Step 5: Bake to Golden Perfection
The magic happens in the oven, transforming your batter into a beautiful coffee cake!
- Carefully place the baking pan into your preheated 350°F (175°C) oven.
- Bake for approximately 30-35 minutes. Baking times can vary depending on your specific oven, so it’s always good to start checking around the 30-minute mark.
- How to Check for Doneness (Beginner Tip!): The cake is done when the edges are lightly golden brown and a wooden skewer or toothpick inserted into the very center of the cake comes out clean or with only a few moist crumbs attached (no wet batter!). If it’s browning too quickly on top before the center is cooked, you can loosely tent the pan with aluminum foil for the last 10-15 minutes of baking to prevent over-browning.
- Once baked, carefully remove the cake from the oven. The streusel will look wonderfully golden and fragrant.
Step 6: Cool and Glaze (Optional, but Delicious!)
Patience is a virtue, especially when it comes to cooling for the best texture!
- Let the coffee cake cool in the pan on a wire rack for at least 15-20 minutes. This cooling period is crucial as it allows the cake to set its structure, preventing it from crumbling when you cut into it. Trying to cut a hot cake can lead to a messy, crumbly outcome.
- While the cake is cooling, prepare your optional glaze: In a small bowl, whisk together the powdered sugar, 1 tablespoon of milk (or water), and vanilla extract (if using) until smooth. If the glaze is too thick, add more milk or water a teaspoon at a time until it reaches a thin, drizzly consistency. If it’s too thin, add a little more powdered sugar until it’s just right.
- Once the cake has cooled slightly but is still warm to the touch, drizzle the glaze generously over the top in a zig-zag pattern. The warmth of the cake will help the glaze set beautifully.
- Allow the glaze to set for a few minutes before slicing and serving. This gives the glaze a chance to firm up slightly. Enjoy your warm, homemade coffee cake!
Tips & Tricks for Coffee Cake Success
Elevate your baking game and ensure a perfect coffee cake every time with these actionable tips:
- Room Temperature Ingredients are Your Friend: For the best results, ensure your eggs and milk (or other liquid) are at room temperature for the cake batter. Room temperature ingredients emulsify more easily, creating a smoother, more uniform batter and a more tender, even-textured cake crumb. Plan ahead and take them out of the fridge about 30 minutes before you start baking.
- Don’t Overmix the Cake Batter: This is a golden rule in baking, especially with cake mixes! Mix only until the ingredients are just combined and the batter is smooth. Overmixing develops gluten in the flour, which can lead to a tough, dense, and less moist cake. Stop as soon as no dry streaks are visible.
- Perfect Streusel Texture Every Time: If your streusel feels too dry and crumbly, add a tiny bit more melted butter, about half a teaspoon at a time, until it clumps together nicely. If it’s too wet and forms a solid ball, add a pinch more flour. You’re aiming for a mixture that resembles coarse, wet sand with some larger, irregular clumps that hold their shape.
- Customize Your Streusel Topping: Get creative! Feel free to add 1/4 cup of chopped nuts (pecans or walnuts work wonderfully!) to your streusel mixture for an added layer of crunch and flavor. You could also sprinkle in a few mini chocolate chips for a sweeter twist.
- Reliable Doneness Test: Always use the toothpick test for accuracy! Insert a wooden skewer or toothpick into the center of the cake. If it comes out clean or with only a few moist crumbs attached, your cake is ready. If you see wet batter, it needs a few more minutes. Remember that every oven can vary, so trust your eyes and the toothpick, not just the timer.
- Cooling Time is Crucial: Resist the urge to cut into the cake immediately after it comes out of the oven. Letting it cool slightly (at least 15-20 minutes) allows the cake’s delicate structure to set. This prevents it from falling apart or crumbling when sliced, giving you clean, beautiful pieces.
- Proper Storage for Freshness: Store leftover coffee cake covered tightly with plastic wrap or in an airtight container at room temperature for up to 2-3 days. If you want to keep it fresh for longer, store it in the refrigerator for up to 5 days. For extended storage, individual slices can be wrapped tightly in plastic wrap and then aluminum foil and frozen for up to 2-3 months. Thaw at room temperature before enjoying.
Essential Baking Tools
Having the right tools makes baking even easier and more enjoyable. Here are a few essentials you’ll want to have on hand:
- Mixing Bowl (Large for batter, medium for streusel)
- Whisk (For dry ingredients and glaze)
- Baking Pan (9×13 inch) (The perfect size for this recipe)
- Measuring Cups (For flour, sugar, and liquids)
- Measuring Spoons (For cinnamon, vanilla, etc.)
- Spatula (For scraping bowls and spreading batter)
- Electric Mixer (Handheld or stand mixer – optional, but highly recommended for convenience)
- Wire Rack (Essential for proper cooling)
- Wooden Skewer or Toothpicks (For checking doneness)
Nutrition Information (Estimated per serving)
Please note: These are approximate values and can vary based on specific brands of cake mix and ingredients used, as well as the exact portion size. This estimate is for one of 12 servings of the coffee cake including the glaze.
| Nutrient | Amount |
|---|---|
| Calories | 320 kcal |
| Carbohydrates | 45g |
| Protein | 4g |
| Fat | 15g |
| Saturated Fat | 5g |
| Cholesterol | 50mg |
| Sodium | 300mg |
| Fiber | 1g |
| Sugar | 30g |
Frequently Asked Questions for Beginner Bakers
Q1: Can I use a different flavor of cake mix for this recipe?
A: Absolutely! While yellow or white cake mix provides a classic, neutral base that lets the cinnamon streusel shine, you can certainly experiment. A butter pecan, vanilla, or even a spice cake mix could offer a unique and delicious twist. Just ensure it’s a standard 15.25 oz (or similar) box size for the best results.
Q2: Why is my streusel melting into the cake instead of staying crumbly on top?
A: This can happen for a couple of reasons. First, ensure your butter for the streusel is melted but not hot – if it’s too warm, it can cause the streusel to melt quickly into the batter. Second, make sure your streusel crumbs are sufficiently mixed (you want distinct crumbs, not a paste, but not too dry either). Finally, avoid pressing the streusel too firmly into the batter layers. Gently sprinkling it on top and between the layers usually works best.
Q3: How do I know when the coffee cake is fully baked and ready to come out of the oven?
A: The most reliable way is the toothpick test! Insert a wooden skewer or toothpick into the very center of the cake. If it comes out clean or with just a few moist crumbs attached, your cake is done. If you see wet batter, it needs more time (check every 3-5 minutes). The edges of the cake should also be lightly golden brown, and the streusel topping should look crisp and set.
Q4: Can I make this coffee cake recipe ahead of time for a special occasion?
A: Yes, coffee cake is an excellent choice for making ahead! You can bake the cake a day in advance, let it cool completely, and then cover it tightly with plastic wrap or foil. You can add the glaze just before serving for the freshest look, or glaze it after cooling and then cover. The flavors often meld and deepen overnight, making it taste even better the next day!
Q5: What’s the best way to store leftover coffee cake to keep it fresh?
A: To keep your coffee cake fresh, store leftovers in an airtight container or covered tightly with plastic wrap at room temperature for up to 2-3 days. If you want to extend its freshness, you can store it in the refrigerator for up to 5 days. For longer storage, individual slices can be wrapped tightly in plastic wrap and then aluminum foil and frozen for up to 2-3 months. Thaw frozen slices at room temperature or warm gently in the microwave.
Ready, Set, Bake!
There you have it! A truly easy coffee cake recipe with cake mix that delivers on flavor and simplicity. We hope these detailed instructions and baking tips for beginners empower you to confidently create a delightful treat for yourself, your family, or your friends. Baking doesn’t have to be intimidating; with the right guidance, anyone can create something wonderful. So, grab your ingredients, preheat your oven, and get ready to enjoy the aroma of warm cinnamon and sweet cake filling your kitchen. We’d love to hear how your coffee cake turns out – feel free to share your experiences in the comments below. Happy baking!