Welcome to the delightful world of baking! If you’ve ever felt intimidated by the oven, fear not – today we’re diving into one of the most rewarding and surprisingly easy baking recipes: our incredible Egg Yolk Cake Recipes. This cake is renowned for its rich flavor, incredibly tender crumb, and beautiful golden hue, all thanks to the star ingredient: egg yolks! Perfect for anyone looking for baking tips for beginners, this recipe will guide you through each step, ensuring a perfect bake every time. Forget complicated techniques; we’re all about simple, delicious results that will impress everyone, including yourself. Get ready to create a masterpiece that’s perfect for any occasion, from a simple afternoon tea to a celebratory dessert!
This recipe is designed with the novice baker in mind, breaking down complex steps into manageable, easy-to-understand instructions. We’ll cover everything from precise measurements to common pitfalls and how to avoid them. So, tie on your apron, gather your ingredients, and let’s embark on a sweet journey to baking success!
Ingredients You’ll Need
Accuracy in measuring ingredients is one of the most crucial baking tips for beginners. Always use proper measuring cups and spoons, leveling off dry ingredients with a straight edge. For best results, ensure your egg yolks and milk are at room temperature.
| Ingredient | Quantity | Unit |
|---|---|---|
| All-purpose flour | 1 ½ | cups |
| Granulated sugar | 1 | cup |
| Baking powder | 1 ½ | teaspoons |
| Salt | ½ | teaspoon |
| Large egg yolks | 6 | |
| Whole milk | ½ | cup |
| Unsalted butter, melted | ½ | cup |
| Vanilla extract | 1 | teaspoon |
| Lemon zest (optional) | 1 | teaspoon |
Step-by-Step Instructions for Your Egg Yolk Cake
Follow these detailed instructions carefully. Don’t rush, and enjoy the process! This is where you’ll truly appreciate the simplicity of our Egg Yolk Cake Recipes.
Step 1: Prepare Your Workspace and Oven
- Preheat your oven: Set your oven to 350°F (175°C). It’s important to preheat properly so the cake starts baking immediately and rises evenly.
- Prepare your baking pan: Grease and flour a 9-inch round cake pan or an 8×8-inch square pan. To do this, rub a thin layer of butter or baking spray all over the inside of the pan, then add a tablespoon of flour and tap it around until the entire greased surface is coated. Dump out any excess flour. Alternatively, line the bottom with parchment paper for easy removal. This step is crucial to prevent your cake from sticking!
Step 2: Combine Dry Ingredients
- Sift the dry ingredients: In a large mixing bowl, combine the all-purpose flour, granulated sugar, baking powder, and salt. Sifting helps to aerate the flour, remove any lumps, and ensures that your leavening agents (baking powder) are evenly distributed. This leads to a lighter, fluffier cake. If you don’t have a sifter, whisk them together vigorously for about 30 seconds.
- Whisk well: Use a whisk to thoroughly combine these dry ingredients. Make sure there are no visible clumps of baking powder or salt. Set aside.
Step 3: Prepare Wet Ingredients
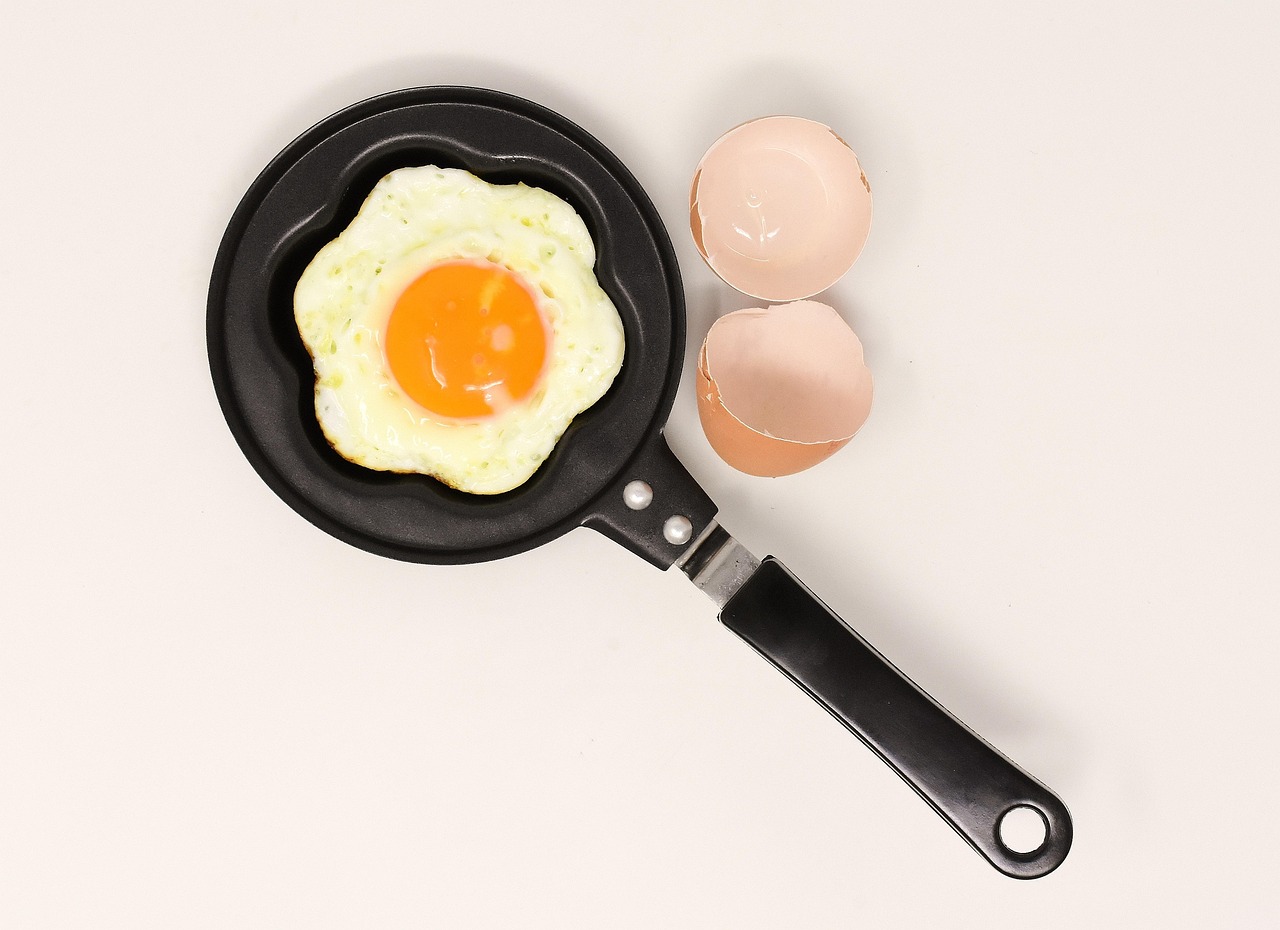
- Separate egg yolks: Carefully separate 6 large egg yolks from their whites. The easiest way is to crack an egg into your clean hand and let the white slip through your fingers into a bowl below, leaving the yolk in your palm. Place the yolks in a separate medium-sized bowl. (Don’t discard the whites! See our FAQs for ideas on how to use them.)
- Combine wet ingredients: To the bowl with the egg yolks, add the whole milk (remember, room temperature is best!), melted unsalted butter, and vanilla extract. If you’re using lemon zest, add it now for a bright, fresh flavor.
- Whisk until smooth: Whisk these wet ingredients together until they are well combined and smooth. The mixture should have a lovely golden color.
Step 4: Combine Wet and Dry Mixtures
- Slowly add wet to dry: Pour the wet ingredient mixture into the large bowl with your dry ingredients.
- Mix gently: Using a spatula or a wooden spoon, gently fold the ingredients together until just combined. This is a critical step for baking tips for beginners: DO NOT OVERMIX! Overmixing develops the gluten in the flour too much, which can result in a tough, dense cake instead of a light, tender one. Mix only until no streaks of dry flour remain. A few small lumps are perfectly fine.
Step 5: Bake Your Cake
- Pour into the pan: Pour the batter evenly into your prepared cake pan. Gently tap the pan on the counter a couple of times to release any large air bubbles.
- Bake: Place the pan in the preheated oven. Bake for 28-35 minutes. Baking times can vary depending on your oven, so keep an eye on it!
- Check for doneness: To check if the cake is done, insert a toothpick into the center. If it comes out clean or with a few moist crumbs attached (but no wet batter), your cake is ready. If it comes out with wet batter, continue baking for another 2-5 minutes and check again.
Step 6: Cool and Enjoy!
- Cool in the pan: Once baked, remove the cake from the oven and let it cool in the pan on a wire rack for about 10-15 minutes. This allows the cake to firm up slightly before you attempt to remove it.
- Invert onto a rack: After 10-15 minutes, carefully invert the cake onto the wire rack to cool completely. If you used parchment paper, peel it off now. Cooling completely on a wire rack prevents the bottom of the cake from becoming soggy.
- Serve and enjoy: Once completely cooled, slice and serve plain, with a dusting of powdered sugar, or your favorite frosting. This delightful Egg Yolk Cake is perfect on its own!
Expert Baking Tips & Tricks for a Perfect Cake
Mastering these small details will elevate your baking from good to extraordinary. These are essential baking tips for beginners that seasoned bakers swear by!
- Room Temperature Ingredients are a Must: Make sure your egg yolks and milk are at room temperature. Room temperature ingredients emulsify more easily, creating a smoother, more uniform batter. This results in a lighter, more evenly textured cake. If you forget, you can warm cold eggs in a bowl of warm water for 5-10 minutes, and milk can be gently warmed in the microwave for 15-20 seconds.
- Measure Accurately: Baking is a science! Use proper dry measuring cups for flour (spoon it into the cup and level off) and liquid measuring cups for milk and melted butter. Small differences can significantly impact the final texture of your cake.
- The Power of Sifting: Sifting your dry ingredients (flour, baking powder, salt) isn’t just for removing lumps. It also aerates the flour, making it lighter and easier to incorporate, leading to a more tender crumb in your cake.
- Don’t Overmix the Batter: This is arguably the most crucial tip for a tender cake. Once you add the wet ingredients to the dry, mix *just until* no dry streaks of flour remain. Overmixing develops gluten, which can make your cake tough and chewy.
- Know Your Oven: Ovens can vary widely in temperature. An inexpensive oven thermometer can be a game-changer, helping you ensure your oven is truly at the temperature you set. An inaccurate oven temperature can lead to under- or over-baked cakes.
- Patience with Cooling: Resist the urge to cut into your cake too soon. Allowing it to cool completely on a wire rack is essential. This allows the internal structure of the cake to set fully and prevents it from sinking or crumbling.
- Flavor Variations: Feel free to experiment! Add a pinch of nutmeg or cinnamon to the dry ingredients for a spiced cake. Substitute vanilla extract with almond extract for a different aroma, or add a tablespoon of cocoa powder for a subtle chocolate twist.
Essential Baking Tools for Success
Having the right tools makes all the difference, especially for easy baking recipes. Here are some basics you’ll want in your kitchen:
- Mixing Bowl: For combining ingredients.
- Whisk: Perfect for aerating dry ingredients and combining wet ones smoothly.
- Baking Pan: A good quality 9-inch round or 8×8-inch square pan is essential.
- Measuring Cups: Both dry and liquid measuring cups are needed for accuracy.
- Spatula: A rubber spatula is great for scraping down bowls and gently folding batter.
- Measuring Spoons: For small quantities of ingredients like baking powder and vanilla.
- Wire Rack: For cooling your cake evenly and preventing a soggy bottom.
Nutrition Information (Estimated per serving, 1/12th of cake)
Please note that these values are estimates and can vary based on specific ingredients and portion sizes.
| Nutrient | Amount |
|---|---|
| Calories | ~375 kcal |
| Carbohydrates | ~50g |
| Protein | ~6g |
| Fat | ~20g |
| Fiber | ~1g |
| Sugars | ~28g |
Frequently Asked Questions (FAQs)
Q1: Can I use whole eggs instead of just egg yolks?
A: While you *can* use whole eggs in other cake recipes, for this specific Egg Yolk Cake Recipe, using only yolks is crucial for its signature rich flavor, moist texture, and beautiful golden color. Whole eggs would change the consistency and result in a different type of cake, likely less tender and less rich.
Q2: How do I easily separate egg yolks from whites?
A: Crack a cold egg into your clean hand over a bowl. Gently open your fingers slightly and let the egg white slip through your fingers into the bowl, leaving the yolk in your palm. Alternatively, you can crack the egg into one half of its shell and pass the yolk back and forth between the two shell halves, letting the white fall into a bowl below.
Q3: My cake sank in the middle. What went wrong?
A: This is a common issue for beginners! Possible reasons include: opening the oven door too early (especially in the first 20 minutes of baking), underbaking the cake (not cooked through enough), using too much leavening agent (baking powder), or your oven temperature being too low. Ensure your oven is preheated properly and resist the urge to peek!
Q4: Can I make this Egg Yolk Cake ahead of time? How do I store it?
A: Absolutely! This cake stores wonderfully. Once completely cooled, you can wrap it tightly in plastic wrap (or place in an airtight container) and store it at room temperature for up to 3-4 days. For longer storage, you can freeze individual slices or the whole cake, wrapped well, for up to 2-3 months. Thaw at room temperature before serving.
Q5: What can I do with the leftover egg whites?
A: Don’t throw them away! Egg whites are versatile. You can use them to make meringues, pavlova, macarons, angel food cake, or even a healthy egg white omelet. They also freeze well in an airtight container for future use.
Q6: Why is my Egg Yolk Cake dry?
A: A dry cake is usually a sign of overbaking. Every oven is different, so always use the baking time as a guideline and check for doneness with the toothpick test. Another reason could be using too much flour; remember to measure dry ingredients accurately by spooning flour into the cup and leveling, rather than scooping directly from the bag.
Conclusion: Your Baking Journey Starts Here!
Congratulations, budding baker! You’ve just mastered one of the most delightful and tender Egg Yolk Cake Recipes. This journey into baking doesn’t have to be intimidating; with patience, accurate measurements, and these beginner-friendly tips, you’re well on your way to creating delicious treats every time. The rich flavor and incredibly moist texture of this cake are truly irresistible, and knowing you made it yourself makes it even sweeter.
Don’t be afraid to experiment, learn from your bakes, and most importantly, have fun! We hope this recipe becomes a cherished favorite in your kitchen. Share your creations with us, and let us know how your beautiful Egg Yolk Cake turns out. Happy baking!