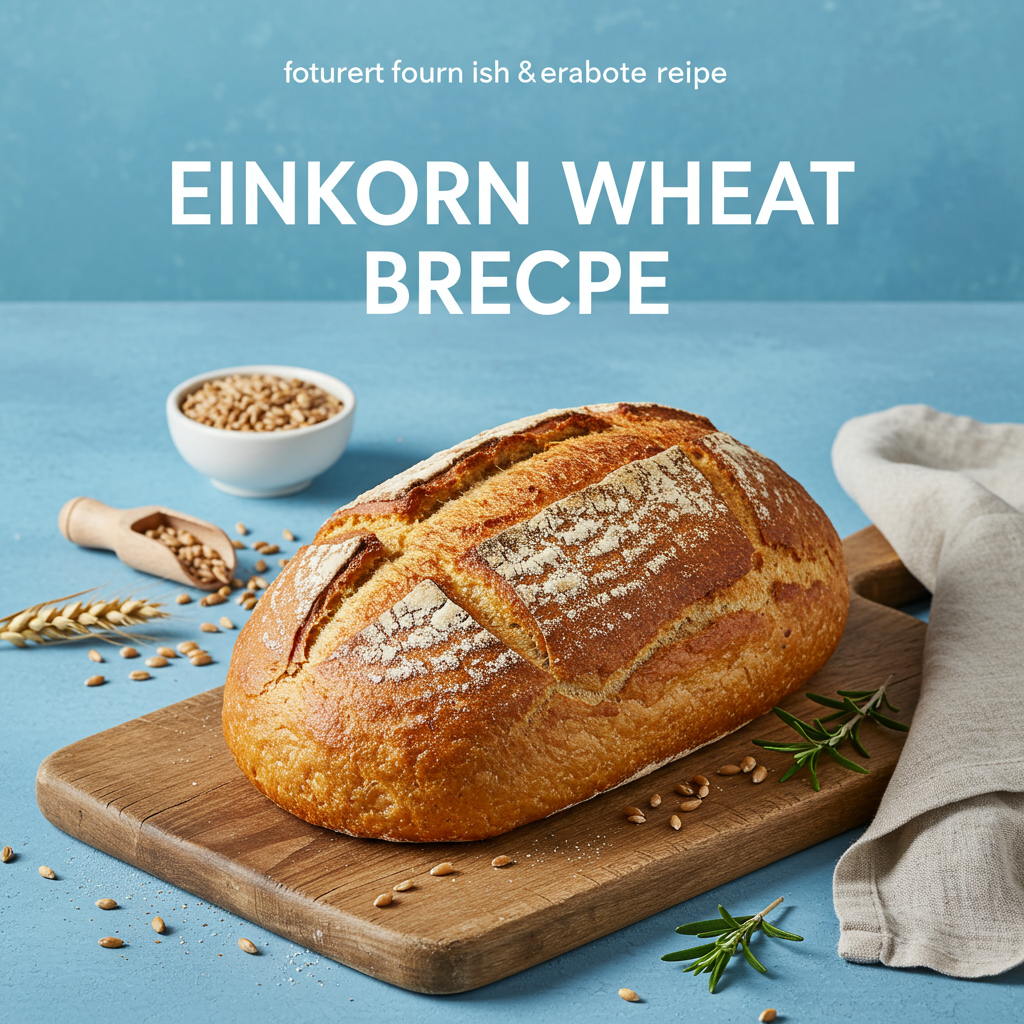
Are you ready to embark on a delightful baking adventure that will fill your kitchen with the most amazing aromas? This Einkorn Wheat Bread Recipe is specifically designed for home bakers, especially those new to the craft. Forget everything you thought about complicated bread making; we’re going to break it down into simple, manageable steps. Einkorn, an ancient grain, offers a uniquely rich flavor and a more digestible gluten structure compared to modern wheat, making it a fantastic choice for your first homemade loaf. Many find it gentler on their systems! We’ll share all the essential baking tips for beginners to ensure your success. Get ready to impress yourself and your loved ones with a warm, wholesome loaf of homemade bread. It’s one of the most rewarding and easy baking recipes you can master!
Ingredients List
Gathering your ingredients beforehand is a crucial step for a smooth baking process. Here’s everything you’ll need for a beautiful loaf of Einkorn bread:
| Ingredient | Quantity | Unit |
|---|---|---|
| Warm Water (105-115°F or 40-46°C) | 1 ½ | cups |
| Active Dry Yeast | 2 ¼ | teaspoons |
| Honey or Maple Syrup (optional, for flavor/crust) | 1-2 | tablespoons |
| Fine Sea Salt | 1 ½ | teaspoons |
| Einkorn All-Purpose Flour (or Whole Einkorn Flour) | 3 ½ – 4 | cups |
| Olive Oil or Melted Butter (for greasing) | 1 | tablespoon |
Step-by-Step Instructions: Your Journey to Perfect Einkorn Bread

Step 1: Activate the Yeast (The “Proof” is in the Pudding!)
In a large mixing bowl, combine the warm water (make sure it’s between 105-115°F; too cold and the yeast won’t activate, too hot and it will die!), the active dry yeast, and the honey or maple syrup (if using). Give it a gentle stir. Let this mixture sit for 5-10 minutes. You’ll know it’s working when a foamy layer appears on the surface – this means your yeast is alive and ready to make your bread rise! If you don’t see foam, your yeast might be old or the water temperature was off; it’s best to start again with fresh yeast.
Step 2: Mix the Dry Ingredients
While your yeast is activating, in a separate medium bowl, whisk together 3 ½ cups of Einkorn flour and the fine sea salt. Einkorn flour absorbs liquid a bit differently than modern wheat, so we’ll start with less flour and add more if needed. Whisking ensures the salt is evenly distributed, which is important for flavor.
Step 3: Combine Wet and Dry (The Dough Begins!)
Once your yeast mixture is foamy, add the dry ingredients to the wet ingredients. Using a sturdy wooden spoon or a spatula, mix until a shaggy dough forms. It will look a bit sticky and unorganized – that’s perfectly normal! Einkorn dough tends to be softer and stickier than traditional wheat dough due to its unique gluten structure. Do not add too much flour yet!
Step 4: Kneading the Dough (Gentle is Key with Einkorn)
Lightly flour a clean work surface. Turn the dough out onto the floured surface. Knead the dough for about 5-7 minutes. Unlike modern wheat, Einkorn doesn’t require aggressive kneading. You’re looking for the dough to become more cohesive and slightly less sticky, but it will remain softer. If the dough is too sticky to handle, add small amounts of flour (a tablespoon at a time) until it’s manageable. Over-kneading Einkorn can actually break down its delicate gluten, so don’t overdo it!
- Beginner Tip: To knead, push the dough away from you with the heels of your hands, fold it back over itself, turn it a quarter turn, and repeat. You’ll feel it change under your hands.
- Common Mistake: Adding too much flour during kneading can lead to a dry, dense loaf. Resist the urge to add excessive flour!
Step 5: First Rise (The “Bulk Fermentation”)
Lightly grease a clean large bowl with olive oil or melted butter. Place your kneaded dough into the bowl, turning it once to coat the top with a little oil. Cover the bowl tightly with plastic wrap or a clean kitchen towel. Place it in a warm, draft-free spot (like a slightly warm oven that’s turned OFF, or on top of your fridge). Let it rise for 1.5 to 2 hours, or until it has roughly doubled in size. Einkorn can sometimes rise a little slower than modern wheat.
- Beginner Tip: A good test for readiness is to gently poke the dough with a floured finger; if the indentation remains, it’s ready.
- Alternative: For a deeper flavor, you can place the covered dough in the refrigerator for 8-12 hours for a slow, cold rise. Just bring it to room temperature for about 30-60 minutes before proceeding to the next step.
Step 6: Shape the Loaf (Give it Form!)
Gently punch down the risen dough to release the air. Turn the dough out onto a lightly floured surface. Gently shape the dough into a loaf. You can do this by flattening it slightly into a rectangle, then folding the two longer sides into the middle, overlapping them slightly, and then rolling it up from one end to create a log. Pinch the seam closed at the bottom. Be gentle – we want to keep some of that precious air! This step helps create the structure of your final bread.
Step 7: Second Rise (The “Proofing”)
Lightly grease a 9×5 inch loaf pan. Carefully transfer your shaped dough into the prepared loaf pan, seam-side down. Cover the pan loosely with plastic wrap or a clean kitchen towel. Let it rise again in a warm, draft-free spot for 45-60 minutes, or until it has risen about 1.5 times its original size and looks puffy. It won’t double as dramatically as the first rise. Preheat your oven to 375°F (190°C) during the last 20 minutes of this rise.
- Common Mistake: Over-proofing during the second rise can cause your bread to collapse in the oven. It should look airy but still have some structure when gently poked.
Step 8: Bake Your Masterpiece!
Once your oven is preheated and your loaf has risen, place the loaf pan into the preheated oven. Bake for 30-40 minutes. The crust should be golden brown, and the loaf should sound hollow when tapped on the bottom. For an accurate measure, the internal temperature should reach 200-210°F (93-99°C).
- Beginner Tip: For an extra crispy crust, you can place a pan of hot water on the bottom rack of your oven during the first 10-15 minutes of baking.
- Optional: If the top is browning too quickly, you can loosely tent it with aluminum foil for the last 10-15 minutes of baking.
Step 9: Cool Completely (The Hardest Part!)
This step is absolutely crucial! Once baked, immediately remove the bread from the loaf pan and transfer it to a wire cooling rack. Let it cool completely for at least 1-2 hours before slicing. Slicing warm bread causes the interior to become gummy and lose its proper texture. Patience is a virtue here, and it will be worth it!
Tips & Tricks for Einkorn Bread Success
- Measure Flour Correctly: For baking, it’s best to spoon your flour into the measuring cup and then level it off with a straight edge. Scooping directly can compact the flour, leading to too much flour and a dry loaf. Better yet, use a kitchen scale for accuracy!
- Water Temperature is Key: Always check your water temperature with a thermometer. Too cold, and the yeast won’t activate; too hot, and it will die. The sweet spot is 105-115°F (40-46°C).
- Einkorn Hydration: Einkorn flour absorbs liquid more slowly and requires less water than modern wheat. Start with the lower end of the flour range and add more only if absolutely necessary, a tablespoon at a time. A slightly sticky dough is normal for Einkorn.
- Gentle Handling: Einkorn’s gluten is more delicate. Avoid aggressive kneading or punching down. Treat your dough gently to preserve the air bubbles that create a light crumb.
- Proofing Environment: A warm, draft-free spot is ideal for rising. If your kitchen is cold, consider placing the dough in an oven that’s been warmed slightly and then turned off, or even in a microwave (turned off!) with a cup of hot water beside it.
- Don’t Over-Proof: While under-proofing leads to dense bread, over-proofing can cause your loaf to collapse in the oven or have a coarse texture. Look for a puffy, not overly stretched, appearance.
- Cool Completely: Resist the urge to slice into your warm bread! Cooling allows the starches to set, resulting in a better texture and flavor.
Essential Baking Tools
Having the right tools makes all the difference! Here are some basics you’ll want:
- Mixing Bowl
- Whisk
- Baking Pan (9×5 inch loaf pan)
- Measuring Cups & Spoons
- Spatula or Wooden Spoon
- Kitchen Scale (optional, but highly recommended for accuracy)
- Instant-Read Thermometer (for water and bread internal temp)
- Wire Cooling Rack
Nutrition Information (Estimated per slice, based on 12 slices per loaf)
Please note: These are estimated values and can vary based on exact ingredients and portion sizes.
| Nutrient | Amount (per slice) |
|---|---|
| Calories | 150-180 |
| Carbohydrates | 30-35g |
| Protein | 6-8g |
| Fat | 1-2g |
| Fiber | 3-5g |
| Sugar | 1-2g |
Frequently Asked Questions (FAQs)
Q1: Why Einkorn flour instead of regular all-purpose flour?
Einkorn is an ancient grain, often considered the original wheat. Its gluten structure is different from modern wheat, which many people find easier to digest. It also boasts a richer, nuttier flavor and higher nutritional content (more protein, fiber, and micronutrients) compared to modern refined flours. For beginners, it’s a great way to explore a healthier, flavorful bread.
Q2: Can I substitute other flours for Einkorn?
While you can make bread with other flours, this specific recipe is formulated for Einkorn. Due to its unique gluten and absorption properties, substituting with regular all-purpose or whole wheat flour directly will likely require significant adjustments to the liquid content and kneading time. For best results with this recipe, stick to Einkorn flour.
Q3: My dough isn’t rising. What went wrong?
The most common culprits are inactive yeast (check the expiration date!) or incorrect water temperature. Ensure your water is between 105-115°F (40-46°C). Also, make sure your rising environment is warm and draft-free. A cold kitchen can drastically slow down or prevent rising.
Q4: My bread is dense. How can I get a lighter texture?
Density can be caused by several factors: not enough yeast activity, insufficient proofing (first or second rise), or adding too much flour during kneading. Ensure your yeast is active, give the dough ample time to rise in a warm spot, and resist the urge to add excessive flour – Einkorn dough is naturally softer.
Q5: How should I store homemade Einkorn bread?
Once completely cooled, store your bread in an airtight container or a bread box at room temperature for 3-4 days. You can also slice the loaf and freeze individual slices in a freezer-safe bag for up to 2-3 months. Just pop a slice in the toaster when you’re ready for a quick serving!
Conclusion: Your First Loaf Awaits!
Congratulations, future baker! You now have all the tools and knowledge to bake your very first, incredibly delicious loaf of Einkorn Wheat Bread. Remember, baking is a journey, and every loaf teaches you something new. Don’t be afraid to get your hands a little floury and enjoy the process. There’s nothing quite like the smell and taste of warm, homemade bread fresh from your oven. We’re confident that with these detailed steps and beginner-friendly tips, you’ll create a loaf you’ll be proud of. Happy baking, and we can’t wait to hear about your Einkorn bread success!
“`