Dreaming of that golden, crusty exterior and soft, airy interior of authentic French bread? Imagine achieving it right in your own kitchen, with minimal effort! If you’ve ever felt intimidated by baking, this French Bread Recipe For Bread Maker is about to become your new best friend. We’re here to demystify the process and prove that homemade bread isn’t just for seasoned bakers. This recipe is specifically designed to be one of the easiest easy baking recipes you’ll ever try, making it perfect for anyone looking for practical baking tips for beginners.
Your bread maker does most of the heavy lifting, taking the guesswork out of kneading and proofing. Get ready to fill your home with the irresistible aroma of freshly baked bread and impress everyone with your newfound baking prowess. Let’s dive in and transform simple ingredients into a delicious, rustic loaf!
Ingredients for Your French Bread
Precision is key in baking, even with a bread maker. Use standard measuring cups and spoons for the best results.
| Ingredient | Quantity | Unit |
|---|---|---|
| Warm Water (105-115°F / 40-46°C) | 1 ½ | cups |
| Olive Oil (or vegetable oil) | 1 | tablespoon |
| All-Purpose Flour (or Bread Flour) | 4 | cups |
| Granulated Sugar | 1 | tablespoon |
| Salt | 1 ½ | teaspoons |
| Instant Yeast (Bread Machine Yeast) | 2 ¼ | teaspoons |
Step-by-Step Instructions: French Bread in Your Bread Maker
Follow these steps carefully for a perfect loaf every time. Remember, the order of ingredients often matters in a bread maker!
-
Prepare Your Bread Maker Pan:
Before you add any ingredients, ensure your bread maker pan is clean and the kneading paddle is securely in place. Some people like to lightly grease the paddle or the bottom of the pan, though it’s often not strictly necessary for most non-stick pans.
-
Add Liquids First:
Pour the **warm water** and **olive oil** into the bread maker pan. The water temperature is crucial for activating the yeast; too hot will kill it, too cold won’t activate it enough. Aim for bathwater warm.
-
Add Dry Ingredients (Layering is Key!):
Carefully spoon the **flour** over the liquids, forming an even layer. Do not mix it in. Next, add the **sugar** and **salt** to separate corners on top of the flour. It’s important to keep the yeast separated from the salt and sugar until the mixing cycle begins, as direct contact can hinder its activation.
Beginner Tip: Some bread maker manuals suggest specific layering orders. Always check your machine’s manual if you’re unsure, but the general rule is liquids first, then dry ingredients, and yeast on top.
-
Add the Yeast Last:
Create a small indentation or well in the center of the flour layer (do not go all the way down to the water). Spoon the **instant yeast** into this well. This ensures the yeast doesn’t come into early contact with the salt, which can inhibit its activity.
-
Select Your Bread Maker Settings:
Place the pan securely back into your bread maker. Close the lid. Select the **”French” bread setting** on your machine. If your machine doesn’t have a specific “French” setting, a “Basic White” or “Light Crust” setting can often work, but the “French” setting typically has a longer rise time which is ideal for French bread’s texture. Choose your desired loaf size (usually 1.5 lb or 2 lb, depending on your machine and the recipe’s yield) and crust color (light or medium is typical for French bread).
Common Mistake & Fix: If your bread comes out dense, you might have too much flour or not enough yeast activity. Ensure your flour is leveled correctly and your yeast is fresh (see Tips & Tricks).
-
Start the Cycle and Observe:
Press start. The machine will begin its kneading cycle. After about 5-10 minutes of kneading, open the lid (briefly!) and check the dough. It should form a smooth, elastic ball. If it’s too sticky and clinging to the sides of the pan, add a teaspoon of flour at a time until it cleans the sides. If it’s too dry and crumbly, add a teaspoon of warm water until it forms a cohesive ball.
Beginner’s Observation: Don’t panic if the dough seems a little off initially; slight adjustments during the first kneading phase are common and can make a big difference.
-
Let the Machine Do Its Work:
Close the lid and let the bread maker complete its full cycle, which includes kneading, rising (proofing), and baking. This can take anywhere from 3.5 to 5 hours depending on your machine’s setting.
-
Remove and Cool:
Once the baking cycle is complete, carefully remove the bread pan from the machine using oven mitts. Immediately invert the pan onto a wire cooling rack to release the loaf. If the kneading paddle is stuck in the bread, use a non-scratch utensil to gently remove it.
Why Cool? It’s tempting to slice into hot bread, but resist! Cooling on a rack allows steam to escape, preventing a gummy interior and ensuring a proper crust and crumb development. Allow the bread to cool for at least 1-2 hours before slicing.
-
Slice and Enjoy!
Once cooled, slice your beautiful homemade French bread with a serrated knife and enjoy! It’s fantastic with butter, olive oil, or as a side to your favorite meal.
Tips & Tricks for Bread Maker Success
Unlock even better results with these actionable tips:
- Yeast Freshness is Key: Always check the expiration date on your yeast. Old yeast is the number one cause of bread that doesn’t rise. Store opened yeast in an airtight container in the refrigerator or freezer to prolong its life.
- Accurate Measuring: Use proper measuring cups and spoons. For flour, spoon it into the measuring cup and then level it off with a straight edge (like the back of a knife) rather than scooping directly, which can compact the flour and lead to too much.
- Water Temperature Matters: As mentioned, warm water (105-115°F / 40-46°C) is ideal for yeast activation. Use a kitchen thermometer if you’re unsure.
- Don’t Rush the Cooling: Seriously, let your bread cool completely on a wire rack. Cutting into hot bread releases steam prematurely, resulting in a dense, gummy texture. Patience is a virtue here!
- Store It Right: French bread is best enjoyed the day it’s made. To store leftovers, wrap tightly in foil or plastic wrap at room temperature for up to 2-3 days. Avoid refrigerating, as it can dry out the bread.
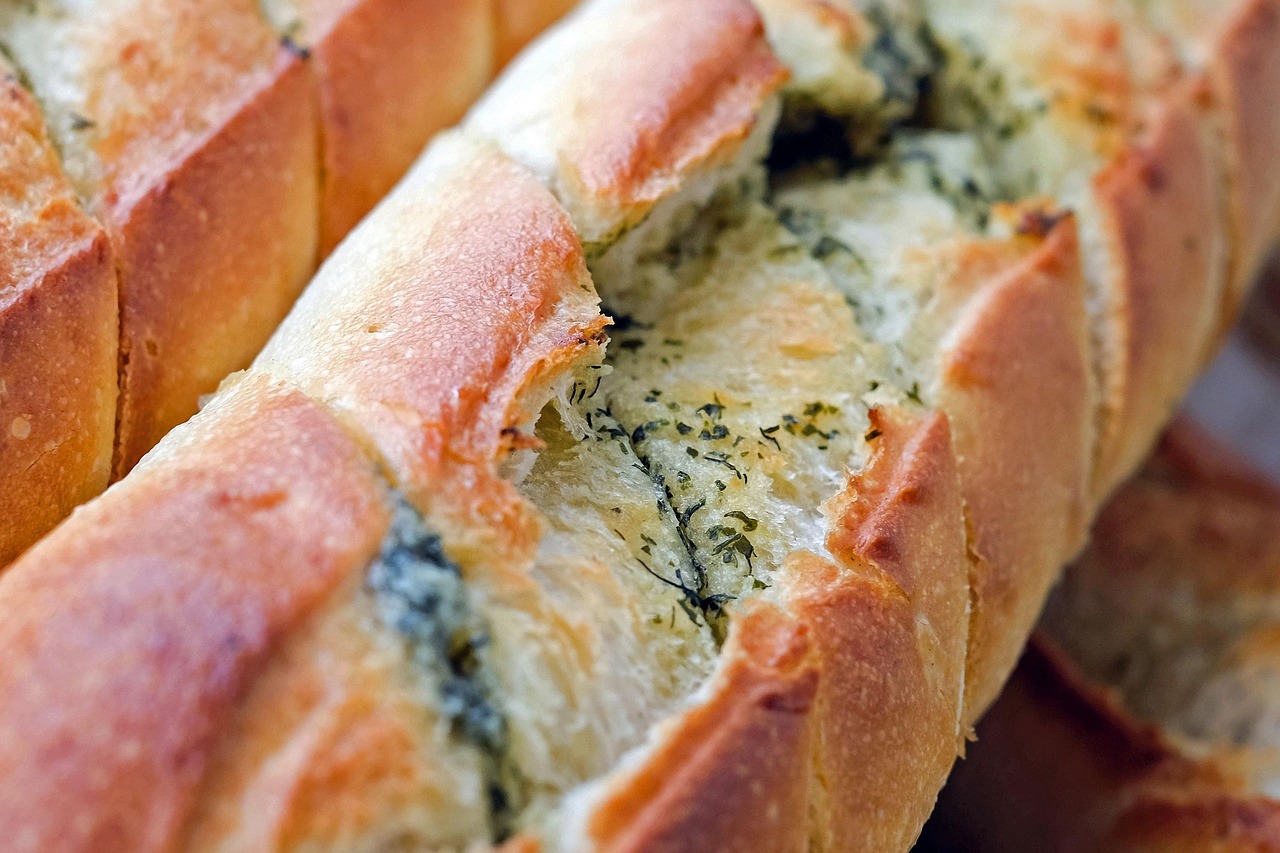
- Customize Your Loaf: Feel free to add 1-2 tablespoons of dried herbs like rosemary or oregano to the dough during the first kneading cycle for an herbed French bread. You can also sprinkle a little coarse sea salt on top before the baking cycle starts for extra flavor and crunch.
- Altitude Adjustments: If you live at a high altitude, you might need to slightly reduce the yeast (by about ¼ teaspoon) and/or increase the liquid (by 1-2 tablespoons) to prevent over-rising.
Essential Baking Tools for Your Kitchen
While your bread maker does most of the work, a few simple tools will make your baking journey even smoother:
- Mixing Bowl: Handy for pre-measuring ingredients or if you ever decide to hand-mix.
- Whisk: Perfect for aerating flour or mixing dry ingredients evenly.
- Baking Pan: While your bread maker has its own, a good quality baking pan is essential for many other recipes.
- Measuring Cups: Accurate liquid and dry measuring cups are fundamental for consistent results.
- Spatula: Great for scraping down bowls or gently incorporating ingredients.
Approximate Nutrition Information (Per Serving)
This information is an estimate based on a 1.5 lb loaf, yielding approximately 12 servings. Nutritional values can vary based on specific ingredients and brands used.
| Nutrient | Amount |
|---|---|
| Calories | 180 kcal |
| Carbohydrates | 35 g |
| Protein | 6 g |
| Fat | 2 g |
| Fiber | 1 g |
| Sugar | 1 g |
Frequently Asked Questions About Bread Maker French Bread
-
Why didn’t my French bread rise in the bread maker?
- The most common reasons are inactive or expired yeast, water that was too hot or too cold, or too much salt (which can inhibit yeast). Ensure your yeast is fresh and your water temperature is correct (105-115°F).
-
Can I use active dry yeast instead of instant yeast?
- Yes, you can, but you’ll need to “proof” it first. Dissolve the active dry yeast in the warm water (with a pinch of sugar) for 5-10 minutes until foamy, then add this mixture to the bread maker pan and proceed with the recipe. Instant yeast, however, is designed to be added directly with other dry ingredients without proofing.
-
How should I store leftover French bread?
- French bread is best eaten fresh. For leftovers, wrap the cooled bread tightly in foil or plastic wrap and store at room temperature for 2-3 days. You can also freeze slices for longer storage and toast them as needed.
-
Can I add other ingredients to this French bread recipe?
- Absolutely! Get creative. You can add dried herbs (like rosemary or thyme), garlic powder, or even a sprinkle of grated Parmesan cheese during the kneading cycle for flavored bread. Just be mindful not to add too much, as it can affect the dough’s consistency.
-
My crust is too hard/soft. What can I do?
- The “French” setting typically produces a medium-to-hard crust. If it’s too hard, try selecting a “Light Crust” option if your machine has one. If it’s too soft, ensure your bread maker is on the “French” setting for its longer bake cycle, or try a slightly darker crust setting if available. Humidity in your kitchen can also play a role.
Your Journey to Homemade Bread Starts Now!
Congratulations, future bread baker! You’ve just unlocked the secret to effortless, delicious homemade French bread with your bread maker. This **French Bread Recipe For Bread Maker** is more than just a recipe; it’s an invitation to experience the joy and satisfaction of baking without the stress. From the delightful aroma that fills your home to the first warm, crusty bite, you’re in for a real treat.
Don’t be afraid to experiment a little once you’ve mastered the basic recipe. Baking is a journey of discovery, and your bread maker is a fantastic companion. We hope this guide has provided you with all the **baking tips for beginners** you need to feel confident and excited. So go ahead, gather your ingredients, press that button, and prepare to be amazed. Happy baking!
“`