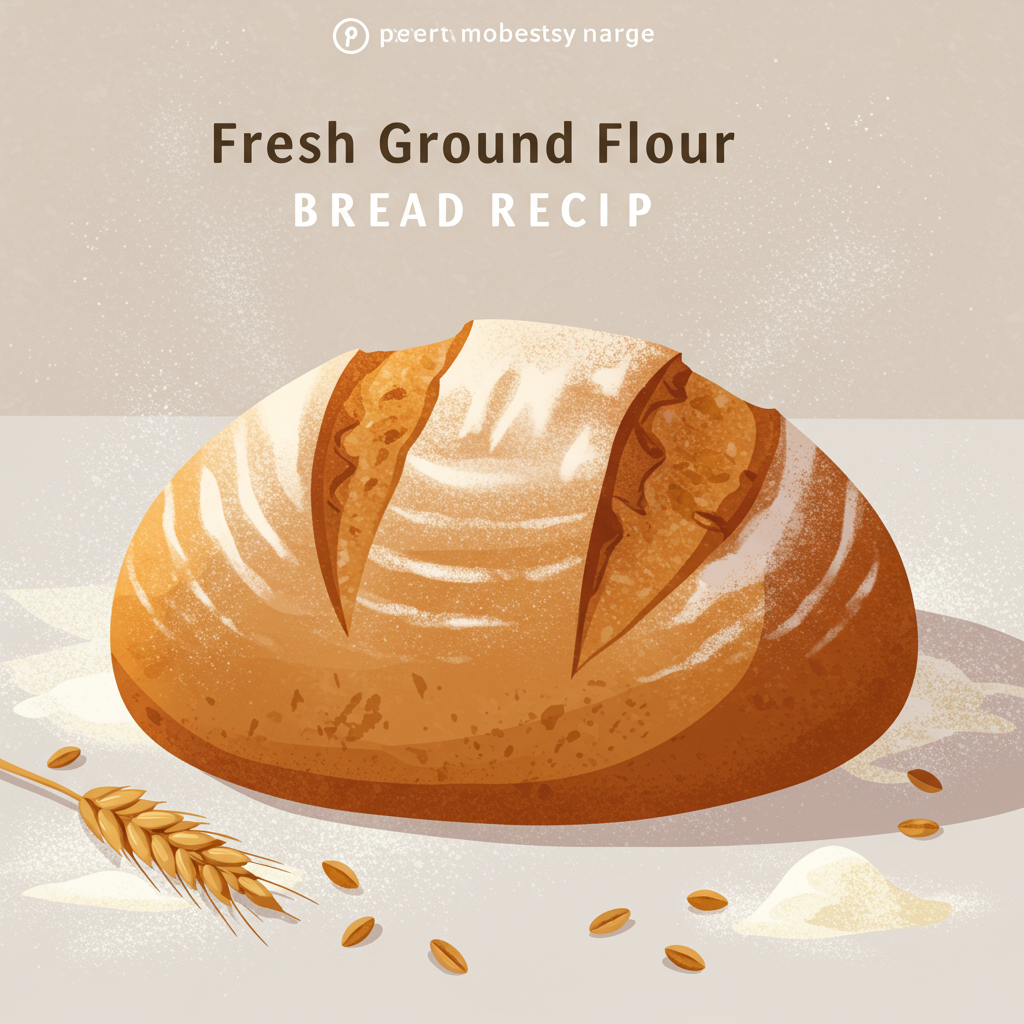
Welcome, aspiring bakers! Are you ready to embark on a truly rewarding culinary journey? There’s nothing quite like the aroma of freshly baked bread filling your home, and even better when that bread is made with the incredible flavor and nutrition of fresh ground flour. If you’ve ever felt intimidated by bread making, fear not! This detailed guide to our Fresh Ground Flour Bread Recipe is designed specifically for you. We’ll walk you through every step, making it one of the most accessible easy baking recipes you’ll ever try. Get ready to discover invaluable baking tips for beginners that will set you up for success and help you bake a beautiful, delicious loaf every single time. Let’s get baking!
Why Fresh Ground Flour?
Using freshly ground flour elevates your bread to a whole new level. Unlike commercially processed flours, fresh flour retains all its natural oils, nutrients, and robust flavor. It gives your bread a deeper, richer taste and a wonderfully complex texture that you just can’t get from store-bought flour. Plus, it’s incredibly satisfying to know exactly what goes into your food, from grain to loaf!
Ingredients You’ll Need
Gathering your ingredients before you start is one of the best baking tips for beginners. It ensures a smooth process without last-minute scrambling!
| Ingredient | Quantity | Unit |
|---|---|---|
| Warm Water (105-115°F / 40-46°C) | 1 ½ | cups |
| Active Dry Yeast | 2 ¼ | teaspoons (or 1 packet) |
| Honey or Granulated Sugar | 1 | tablespoon |
| Fresh Ground Whole Wheat Flour (or your preferred grain like spelt, einkorn) | 3 ½ – 4 | cups |
| Salt | 1 ½ | teaspoons |
| Olive Oil or Melted Butter (plus extra for greasing) | 2 | tablespoons |
Step-by-Step Instructions: Your Path to Perfect Bread
Follow these detailed steps carefully, and you’ll be amazed at what you can create. Remember, baking is a science, but it’s also an art – don’t be afraid to trust your instincts once you get the hang of it!
Step 1: Activate the Yeast (The “Proof” is in the Bubbles!)
- In a large mixing bowl (or the bowl of your stand mixer), pour in the 1 ½ cups of warm water. The temperature is crucial here – it should feel comfortably warm to the touch, like a baby’s bath. If it’s too hot (above 120°F), it will kill the yeast; too cold (below 100°F), and it won’t activate properly.
- Sprinkle the 2 ¼ teaspoons of active dry yeast and the 1 tablespoon of honey or sugar over the warm water. The sugar acts as food for the yeast, helping it to wake up and get active.
- Give it a gentle stir, then let it sit undisturbed for 5-10 minutes. You’re looking for a visible foamy, bubbly layer to form on the surface, often resembling a creamy head on a beer. This is your yeast activating – a clear sign it’s alive and ready to make your bread rise!
- Beginner Tip: If after 10 minutes there’s no foam or very minimal activity, your yeast might be old or the water temperature was off. It’s best to start again with fresh yeast and recheck your water temperature to avoid a flat loaf. Don’t proceed if your yeast isn’t active!
Step 2: Combine Wet and Dry Ingredients (The Shaggy Dough Phase)
- Once your yeast is frothy, add the 1 ½ teaspoons of salt and the 2 tablespoons of olive oil or melted butter to the bowl.
- Gradually add the fresh ground flour, about 1 cup at a time, mixing with a sturdy spoon or a dough hook on your stand mixer. Start with 3 ½ cups of flour.
- Continue mixing until a shaggy, somewhat sticky dough forms. It might look a bit rough, uneven, and not perfectly smooth – this is totally normal! All the flour should be hydrated.
- Common Mistake & Fix: Don’t be tempted to add all the flour at once or add too much extra flour at this stage. You want a dough that’s slightly sticky and clings to itself, as this stickiness indicates proper hydration, which leads to a softer, more tender crumb.
Step 3: Knead the Dough (Develop That Gluten!)
- If using a stand mixer: Attach the dough hook and knead on medium-low speed for 7-10 minutes. The dough should become smooth, elastic, and pull away cleanly from the sides of the bowl.
- If kneading by hand: Turn the shaggy dough out onto a lightly floured surface. Knead by pushing the dough away from you with the heels of your hands, folding it back over, rotating the dough a quarter turn, and repeating the push-fold-rotate motion. Continue kneading for 10-15 minutes until the dough is smooth, elastic, and springs back when gently poked. It should feel less sticky and more manageable.
- The Windowpane Test: For a truly developed dough, pinch off a small piece (about the size of a golf ball) and gently stretch it between your fingers. If you can stretch it thin enough to see light through it without tearing, your gluten is well-developed! If it tears easily, keep kneading for a few more minutes.
- Beginner Tip: Resist the urge to add too much extra flour during kneading. A sticky dough is better than a dry, tough one. Use just enough flour (a tablespoon or two at a time) to prevent excessive sticking to your hands or the surface, but try not to incorporate too much.
Step 4: First Rise (Bulk Fermentation – The Magic Happens Here!)
- Lightly grease a clean large bowl with a little olive oil or cooking spray. This prevents the dough from sticking as it rises.
- Place your kneaded dough into the greased bowl, turning it once to coat the top with oil. This creates a protective barrier, preventing a dry crust from forming.
- Cover the bowl tightly with plastic wrap or a clean, damp kitchen towel. The covering traps moisture, preventing the dough from drying out.
- Place the bowl in a warm, draft-free spot. A slightly warm oven (turned off, with just the light on) or near a sunny window works well. Avoid very hot spots, which can over-proof the dough too quickly.
- Let the dough rise for 1 to 1 ½ hours, or until it has roughly doubled in size. This process is called “bulk fermentation,” and it’s where the yeast produces gases that give your bread its airy texture and flavor.
- What to look for: The dough should look plump and puffy. When gently poked with a floured finger, the indentation should remain, indicating sufficient rise.
- Common Mistake & Fix: Don’t rush this step! An under-risen dough will result in a dense, heavy loaf with a tight crumb. If your kitchen is cold, it might take a bit longer – patience is key!
Step 5: Shape the Loaf (Give Your Bread Its Form)
- Once the dough has doubled, gently punch it down to release the trapped gases. This is called “degassing” and helps create an even, consistent texture in the final bread.
- Turn the dough out onto a lightly floured surface.
- Gently shape the dough into a rectangular loaf. There are many shaping techniques, but for beginners, simply flatten the dough into an even rectangle (about 9×12 inches). Then, fold the two long sides towards the center, overlapping slightly. Next, starting from one short end, roll the dough tightly towards the other short end, creating a log. Pinch the seam closed at the bottom to seal it.
- Beginner Tip: Be gentle! You don’t want to completely deflate all the air you’ve built up during the first rise. The goal is to redistribute the gases, not eliminate them.
- Lightly grease a standard 9×5-inch loaf pan with butter or cooking spray.
- Place the shaped dough seam-side down into the prepared loaf pan.
Step 6: Second Rise (Proofing – The Final Puff!)
- Cover the loaf pan loosely with plastic wrap or a clean, damp kitchen towel. Again, this prevents drying.
- Return the pan to your warm, draft-free spot for another 30-45 minutes, or until the dough has risen significantly above the rim of the pan and looks puffy and airy. It should look noticeably larger than when you placed it in the pan.
- What to look for: The dough should look soft and pillowy. When gently poked with a floured finger, it should spring back slowly, leaving a slight indentation. If it springs back immediately, it needs more time. If it collapses or doesn’t spring back at all, it’s likely over-proofed (don’t worry, you can usually reshape and re-proof, though the final texture might be slightly different).
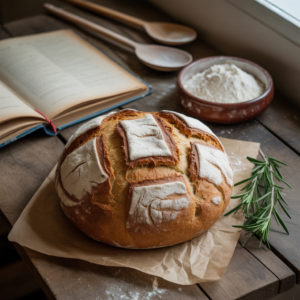
Step 7: Bake Your Masterpiece!
- About 15 minutes before the end of the second rise, preheat your oven to 375°F (190°C). Ensure your oven is fully preheated for even baking.
- Once the oven is preheated and the dough has finished its second rise, carefully place the loaf pan into the preheated oven.
- Bake for 30-40 minutes. The baking time can vary slightly depending on your oven and the specific fresh ground flour used.
- You’ll know it’s done when the crust is a beautiful golden brown and sounds hollow when tapped on the bottom. For ultimate accuracy, use an instant-read thermometer – the internal temperature should be around 200-210°F (93-99°C).
- Advanced Tip (Optional for beginners): For a crispier crust, you can place a shallow pan of hot water on the bottom rack of your oven during the preheating and first 15 minutes of baking. The steam helps create a beautiful, chewy crust.
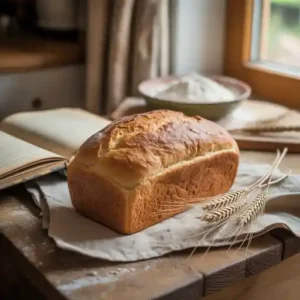
Step 8: Cool (Patience is a Virtue!)
- Once baked, immediately remove the bread from the loaf pan. Carefully turn it out and place it on a wire cooling rack.
- Let the bread cool completely, at least for 1-2 hours, before slicing. This is perhaps the hardest step, as the aroma of fresh bread is irresistible!
- Why cool? The bread is still cooking internally as it cools, and moisture is redistributing throughout the loaf. Slicing too early can result in a doughy, gummy, or wet crumb, and the slices won’t hold their shape as well. Patience here is rewarded with a perfect texture!
Tips & Tricks for Baking Success
Becoming a confident bread baker takes practice, but these additional baking tips for beginners will give you a head start and help you master the art of the perfect loaf:
- Weigh Your Flour: While cup measurements are provided, using a kitchen scale to weigh your flour (1 cup of fresh ground whole wheat flour is approximately 120-130 grams) is far more accurate than volumetric measuring. This will give you consistent results every time and prevent a dense or dry loaf from too much flour.
- Don’t Rush the Rises: The rise times are estimates. The dough will tell you when it’s ready, not the clock. If your kitchen is cooler, it will take longer; if warmer, it will be faster. Look for the visual cues (doubled in size, puffy, passes the poke test) rather than strictly adhering to the clock.
- Adjust for Humidity: On a humid day, your flour might absorb more moisture from the air, meaning you might need slightly less water. On a dry day, you might need a little more. Pay attention to the dough’s feel – it should be tacky but not overly sticky.
- Use a Thermometer: Both a water thermometer for yeast activation and an instant-read thermometer for checking the internal temperature of your baked loaf are invaluable tools for consistent results and peace of mind.
- Storage: Once completely cooled, store your bread at room temperature in an airtight container, a bread box, or a sealed plastic bag for 3-4 days. For longer storage, slice the cooled loaf and freeze the slices in a freezer-safe bag. They’ll toast up beautifully from frozen!
- Experiment with Flours: Once comfortable with this recipe, try different freshly ground grains like spelt, rye, or even a blend! Each will lend its unique flavor and texture, expanding your baking repertoire.
Essential Baking Tools
Having the right tools makes the baking process much smoother and more enjoyable. Here are some essentials you might find helpful for this Fresh Ground Flour Bread Recipe:
- Mixing Bowl
- Whisk
- Baking Pan (9×5 inch loaf pan)
- Measuring Cups
- Measuring Spoons
- Spatula
- Kitchen Scale (highly recommended for flour accuracy!)
- Instant Read Thermometer (for checking water and bread temperature)
Estimated Nutrition Information (per slice)
Please note: This is an estimated nutritional breakdown for one slice (assuming 12-16 slices per loaf) and can vary based on exact ingredients, fresh ground flour type, and portion sizes. Made with fresh ground whole wheat flour.
| Nutrient | Amount |
|---|---|
| Calories | 120-150 kcal |
| Total Carbohydrates | 20-25 g |
| Protein | 4-6 g |
| Total Fat | 2-4 g |
| Dietary Fiber | 3-5 g |
| Sugars | 1-3 g |
Frequently Asked Questions (FAQs)
Q1: My dough isn’t rising, what’s wrong?
A1: The most common culprits are inactive yeast (always check the expiration date!) or incorrect water temperature. Ensure your water is between 105-115°F (40-46°C). If it’s too hot, it kills the yeast; too cold, and it won’t activate. Also, make sure your rising spot is warm and draft-free – cold environments significantly slow down yeast activity.
Q2: Can I use different types of fresh ground flour?
A2: Absolutely! This recipe works well with various fresh ground flours like whole wheat, spelt, einkorn, or even a blend of these. Keep in mind that different flours absorb water differently and have varying gluten strengths, so you might need to adjust the total amount of flour or water slightly (a tablespoon at a time) to achieve the right dough consistency (tacky but not overly sticky).
Q3: How do I know when my bread is fully baked?
A3: The crust should be a deep golden brown, and when you tap the bottom of the loaf, it should sound hollow. For the most accurate reading, an instant-read thermometer inserted into the center of the loaf should register between 200-210°F (93-99°C). This ensures the interior is fully cooked and not doughy.
Q4: Why is my bread dense?
A4: Density can be due to several reasons: insufficient kneading (not enough gluten development to trap gases), not letting the dough rise enough during the first or second rise (under-proofed), or using too much flour during kneading and shaping, which can make the dough tough and heavy. Ensure your yeast is active and your rising conditions are optimal.
Q5: Can I make this recipe without a stand mixer?
A5: Yes, definitely! Hand kneading is a wonderful way to connect with your dough and is how bread has been made for centuries. It will take a bit more time and effort (typically 10-15 minutes of vigorous kneading), but the results are just as good, if not better, for many bakers who enjoy the tactile experience.
Q6: How do I store homemade bread?
A6: Once completely cooled, store your bread at room temperature in an airtight container, a bread box, or a sealed plastic bag for 3-4 days to maintain freshness. For longer storage (up to 3 months), slice the cooled loaf and freeze the slices in a freezer-safe bag. You can then toast individual slices directly from the freezer as needed!
Your Fresh Ground Flour Bread Journey Begins Now!
Congratulations, future bread master! You’ve just walked through the detailed process of creating a delicious loaf of Fresh Ground Flour Bread from scratch.
There’s an incredible sense of accomplishment that comes with pulling a warm, fragrant loaf out of your oven, especially one made with the wholesome goodness of freshly ground grains. Don’t worry if your first loaf isn’t “perfect” – every bake is a learning experience, and each loaf gets you closer to mastery. The most important thing is to enjoy the process, savor the aroma,
2 thoughts on “Fresh Ground Flour Bread Recipe – Baking Magic”