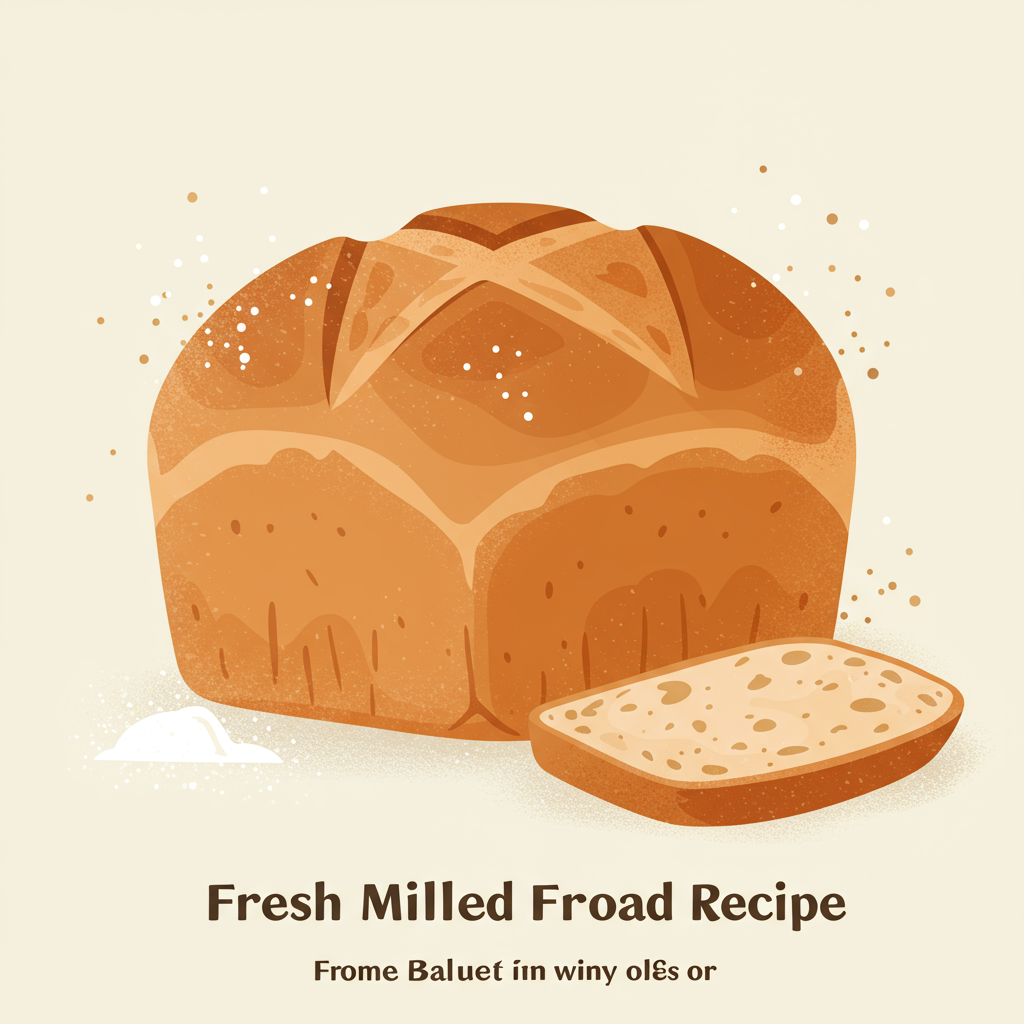
Fresh Milled Flour Bread Recipe: Your First Loaf of Wholesome Goodness!
There’s something incredibly satisfying about the aroma of freshly baked bread wafting through your home. If you’ve ever dreamt of pulling a warm, crusty loaf from your own oven, then you’re in the right place! This Fresh Milled Flour Bread Recipe is designed to be one of the most easy baking recipes for anyone, even if you’ve never baked bread before. Using freshly milled flour elevates the flavor and nutrition to a whole new level, offering a depth and wholesome goodness you won’t find in store-bought loaves. We’ll walk you through every step, providing valuable baking tips for beginners to ensure your first attempt is a resounding success. Get ready to impress yourself and your loved ones with this incredibly delicious and nourishing bread!
Ingredients List
Gathering your ingredients before you start is a key step in any successful baking adventure. Here’s what you’ll need for your delicious Fresh Milled Flour Bread:
| Quantity | Unit | Ingredient |
|---|---|---|
| 3 ¾ – 4 ½ | cups | Freshly Milled Hard Red Wheat Flour (or other whole grain flour) |
| 1 ½ | cups | Warm Water (105-115°F / 40-46°C) |
| 2 ¼ | teaspoons | Active Dry Yeast (or 1 packet) |
| 1 | tablespoon | Honey or Maple Syrup (or granulated sugar) |
| 1 ½ | teaspoons | Fine Sea Salt |
| 2 | tablespoons | Olive Oil (plus extra for greasing bowl) |
Step-by-Step Instructions: From Grain to Golden Loaf
Baking bread might seem intimidating, but we’re going to break it down into simple, manageable steps. Read through everything once before you begin!
Step 1: Mill Your Flour (If Applicable)
If you’re using a grain mill, now’s the time! Measure out about 2 cups of whole wheat berries (like hard red wheat) and mill them into a fine flour. This should yield approximately 3 ¾ – 4 ½ cups of fresh flour, depending on the grain and mill setting. The beautiful aroma of fresh flour is your first reward! If you don’t have a mill, simply use pre-milled whole wheat flour, ideally organic and freshly purchased for best results.
Beginner Tip: Freshly milled flour absorbs liquid differently than store-bought flour. You might need slightly more or less water/flour than the recipe specifies. Always observe your dough!
Step 2: Activate the Yeast
In a large mixing bowl (or the bowl of your stand mixer), combine the 1 ½ cups of warm water (ensure it’s between 105-115°F, like a warm bath, not too hot or too cold), the 1 tablespoon of honey/maple syrup, and the 2 ¼ teaspoons of active dry yeast. Give it a gentle stir. Let this mixture sit for 5-10 minutes. You should see a foamy layer form on top – this means your yeast is active and ready to work! If it doesn’t foam, your water might have been too hot (killing the yeast) or too cold (keeping it dormant). In that case, discard and start again with fresh yeast and properly tempered water.
Common Mistake: Water temperature is crucial. Too hot, and you kill the yeast. Too cold, and it won’t activate. Use a kitchen thermometer if you’re unsure.
Step 3: Mix the Dough
Once your yeast is foamy, add the 2 tablespoons of olive oil and the 1 ½ teaspoons of salt to the bowl. Gradually add 3 ½ cups of your freshly milled flour, mixing with a wooden spoon or a dough hook on low speed until a shaggy dough forms. At this point, the dough will likely be sticky and not fully come together.
Beginner Tip: Don’t add all the flour at once! Whole grain flours, especially fresh milled, are thirstier, but adding too much can make your bread dense and dry. It’s easier to add a little more flour later than to add more liquid.
Step 4: Knead the Dough
By Hand:
Lightly flour a clean work surface. Turn the shaggy dough out onto the surface. Begin kneading by folding the dough over itself, pressing down with the heels of your hands, then rotating the dough a quarter turn and repeating. Continue this process for 8-10 minutes. Your dough will start sticky, but as you knead, the gluten will develop, and it will become smoother, more elastic, and less sticky. If it’s too sticky to handle, add flour one tablespoon at a time, incorporating it fully before adding more. The goal is a dough that is soft, pliable, and springs back when gently poked.
With a Stand Mixer:
Using the dough hook attachment, knead the dough on medium-low speed for 6-8 minutes. The dough should gather around the hook and pull away from the sides of the bowl. It should look smooth and elastic. If it’s too wet, add flour one tablespoon at a time. If it looks too dry and isn’t coming together, add water a teaspoon at a time.
How to Know if You’ve Kneaded Enough (Windowpane Test): Pinch off a small piece of dough (about a golf ball size). Gently stretch it with your fingers. If you can stretch it thin enough to see light through it without tearing, your gluten is well-developed, and your dough is ready!
Step 5: First Rise (Bulk Fermentation)
Lightly grease a clean large bowl with a little olive oil. Transfer your kneaded dough to the bowl, turning it once to coat all sides with oil. Cover the bowl tightly with plastic wrap or a damp kitchen towel. Place it in a warm, draft-free spot. Let the dough rise for 60-90 minutes, or until it has doubled in size. The exact time will depend on the temperature of your kitchen.
Beginner Tip for a Warm Spot: If your kitchen is cool, try placing the bowl in a slightly warm (but not hot!) oven with just the light on, or in a microwave with a cup of hot water next to it. Another option is to place it on top of your refrigerator.
Step 6: Shape the Loaf
Once the dough has doubled, gently “punch down” the dough to release the air. This isn’t a hard punch; just gently press it down. Turn the dough out onto a lightly floured surface. Gently shape it into a rectangle. Then, starting from one of the longer sides, tightly roll the dough towards the other side, creating a log. Pinch the seam closed firmly with your fingers. Tuck the ends under to create a smooth, even loaf shape.
Beginner Tip: Don’t overwork the dough during shaping. Be gentle to retain some of the air created during the first rise. The goal is to create surface tension for a nice crust.
Step 7: Second Rise (Proofing)
Lightly grease a standard 9×5 inch loaf pan. Carefully place your shaped dough seam-side down into the prepared pan. Cover the pan loosely with plastic wrap or a damp kitchen towel. Return it to your warm, draft-free spot for another 30-45 minutes, or until the dough has risen significantly and looks puffy, nearly reaching the top of the loaf pan. It should pass the “poke test”: gently poke the dough with a floured finger; if the indentation slowly springs back, it’s ready. If it springs back too quickly, it needs more time. If it doesn’t spring back at all, it’s over-proofed (though this is less common for beginners).
Step 8: Preheat Oven & Bake
About 15-20 minutes before the second rise is complete, preheat your oven to 375°F (190°C). This ensures the oven is fully hot when the bread goes in, which helps with “oven spring” (the final burst of rising in the oven).
Once preheated and the dough has proofed, carefully remove the cover from the loaf pan. You can optionally score the top of the loaf with a sharp knife or razor blade (a single slash down the middle) to help control where the bread expands, but it’s not essential for a beginner. Place the loaf pan in the preheated oven.
Bake for 30-35 minutes, or until the crust is golden brown and the internal temperature of the bread reaches 200-210°F (93-99°C) when measured with an instant-read thermometer. If the top is browning too quickly, you can loosely tent it with aluminum foil.
Step 9: Cool Completely
This is arguably the hardest, but most crucial step! Once baked, immediately remove the loaf from the pan and place it on a wire cooling rack. Allow it to cool completely for at least 1-2 hours before slicing. Slicing warm bread can lead to a gummy texture because the internal cooking process (gelatinization of starches) is still happening. Patience will be rewarded with the best texture and flavor!
Why Cooling is Crucial: The steam needs to escape, and the crumb structure needs to set. Cutting too early traps moisture, resulting in a dense, doughy interior.
Tips & Tricks for Beginner Bread Bakers
- Weigh Your Flour (Advanced Beginner Tip): While this recipe uses cups, for ultimate precision, especially with fresh milled flour, weighing your flour (1 cup whole wheat flour is roughly 120-130 grams) is highly recommended as you gain confidence.
- Don’t Be Afraid of Sticky Dough: Especially with whole grain and fresh milled flour, your dough will often feel stickier than white flour dough. Resist the urge to add too much extra flour during kneading. A slightly sticky dough often yields a more tender, moist crumb.
- Listen to Your Dough: Pay attention to how your dough feels and looks rather than strictly adhering to timings. The environment (temperature, humidity) greatly impacts rise times. Does it look doubled? Does it pass the poke test?
- Use Good Quality Ingredients: This recipe shines because of fresh milled flour. Invest in good quality whole grain berries if milling, or a reputable brand of whole wheat flour. Quality yeast and salt also make a difference.
- Patience is a Virtue: Bread baking is not a sprint; it’s a marathon. Rushing the rises or cutting the bread too early will compromise the final result. Embrace the process!
- Experiment with Hydration: As you get more comfortable, try adjusting the water slightly. A higher hydration dough (more water) can yield a more open, airy crumb, but it’s harder to handle. Start with the recipe, then tweak.
- Storage: Once cooled, store your bread in a breathable bag (like a paper bag) at room temperature for 2-3 days, or wrap it tightly and freeze for longer storage. Avoid the refrigerator, which can dry out bread quickly.
Essential Baking Tools
Having the right tools makes the baking process smoother and more enjoyable. Here are a few essentials:
- Mixing Bowl
- Whisk
- Baking Pan (9×5 inch loaf pan)
- Measuring Cups & Measuring Spoons
- Spatula (or wooden spoon)
- Kitchen Scale (highly recommended for precision, though not strictly required for this beginner recipe)
- Instant-Read Thermometer (for checking water and bread internal temperature)
- Wire Cooling Rack
Nutrition Information (Approximate per slice, 12 slices per loaf)
This is an estimate and can vary based on specific ingredients and milling. Fresh milled flour retains more nutrients than commercial flours.
| Nutrient | Amount |
|---|---|
| Calories | ~150-180 kcal |
| Carbohydrates | ~30-35 g |
| Protein | ~6-8 g |
| Fat | ~2-4 g |
| Fiber | ~4-6 g |
| Sugar | ~2-4 g |
Frequently Asked Questions (FAQs)
Q1: Why should I use fresh milled flour? Can I use regular whole wheat flour?
A: Freshly milled flour offers superior flavor, aroma, and nutrition. When grains are milled, their delicate oils and nutrients begin to oxidize. Milling just before baking ensures you get the freshest, most nutrient-dense flour possible, resulting in a more flavorful and wholesome loaf. Yes, you can absolutely use good quality, store-bought whole wheat flour, but the fresh milled experience is truly special!
Q2: My dough isn’t rising. What went wrong?
A: The most common culprits are inactive yeast (water was too hot or too cold, or yeast is old/expired), or your proofing environment is too cold. Ensure your water temperature is correct (105-115°F), use fresh yeast, and find a warm, draft-free spot for your dough to rise. Patience is also key – sometimes it just needs more time!
Q3: How do I know when the bread is fully baked?
A: The best way is to use an instant-read thermometer. The internal temperature of a fully baked loaf should be between 200-210°F (93-99°C). Visually, the crust should be a deep golden brown, and if you tap the bottom of the loaf, it should sound hollow.
Q4: Can I add seeds or nuts to this recipe?
A: Absolutely! This is a great way to customize your bread. You can add up to ½ cup of seeds (like sunflower, pumpkin, or flax) or chopped nuts during the initial mixing stage, after the flour has been added. This can add extra texture and nutrition.
Q5: What if I don’t have a stand mixer?
A: No problem at all! This recipe is easily made by hand. The kneading process will take a bit longer (around 8-10 minutes of active kneading), but it’s a wonderfully therapeutic experience. Just be prepared for a good arm workout!
Q6: My bread is dense. Why?
A: A dense loaf usually indicates one of a few things: not enough kneading (gluten didn’t develop fully), too much flour added during kneading (making the dough stiff), not enough rise time (yeast didn’t produce enough gas), or over-proofing (the yeast consumed all the sugar and died, causing the dough to collapse). Review the steps, especially kneading and rising, for your next attempt!
Conclusion: Enjoy Your Homemade Masterpiece!
Congratulations, you’ve just baked your very own loaf of Fresh Milled Flour Bread! There’s truly nothing quite like the taste and satisfaction of homemade bread, especially when it’s made with such wholesome ingredients. Don’t worry if your first loaf isn’t absolutely perfect; every baker has a learning curve. Each time you bake, you’ll learn more about your ingredients, your kitchen, and your dough. So slice into that warm, aromatic loaf, spread some butter or jam, and savor the incredible flavor of your accomplishment. Happy baking, and enjoy the journey!
“`