Welcome, fellow bakers and spiritual seekers! If you’re looking for a respectful and inclusive way to prepare communion for your congregation or home worship, you’ve come to the right place. This Gluten Free Communion Bread Recipe is designed to be incredibly simple, making it one of the most easy baking recipes you’ll encounter. We understand that finding a reliable gluten-free option can sometimes feel daunting,
especially when it’s for such a significant purpose. That’s why we’ve poured our hearts into creating a foolproof guide, packed with essential baking tips for beginners, ensuring your first attempt is a blessed success. Let’s create something meaningful together!
Ingredients List
Precision is key in baking, especially with gluten-free flours. Please measure carefully!
| Ingredient | Quantity | Unit |
|---|---|---|
| Gluten-Free All-Purpose Flour Blend (with xanthan gum) | 1 | cup |
| Granulated Sugar | 1 | tablespoon |
| Baking Powder | 1/2 | teaspoon |
| Salt | 1/4 | teaspoon |
| Vegetable Oil (or other neutral oil) | 2 | tablespoons |
| Water (room temperature) | 1/2 | cup |
Step-by-Step Instructions
Follow these detailed steps closely, and you’ll have beautiful, tender gluten-free communion bread in no time. Don’t rush, and enjoy the process!
Step 1: Prepare Your Oven and Pan
Preheat your oven to 350°F (175°C). This ensures the oven is at the correct temperature when your bread goes in, which is crucial for even baking. While the oven heats, lightly grease a small baking pan, approximately 8×8 inches or a standard loaf pan. You can use butter, shortening, or a non-stick cooking spray. A light dusting of gluten-free flour after greasing can also help prevent sticking, especially in the corners.
Step 2: Combine Dry Ingredients
In a medium-sized mixing bowl, combine the 1 cup of gluten-free all-purpose flour blend, 1 tablespoon of granulated sugar, 1/2 teaspoon of baking powder, and 1/4 teaspoon of salt. Use a whisk to thoroughly mix these ingredients together. This step is important because it evenly distributes the leavening agent (baking powder) and salt, ensuring your bread rises uniformly and has consistent flavor. Don’t skip this!
Step 3: Add Wet Ingredients
Once your dry ingredients are well combined, create a small well in the center of the mixture. Pour in the 2 tablespoons of vegetable oil and 1/2 cup of room temperature water. Using room temperature water helps the ingredients combine more smoothly and can contribute to a better texture in gluten-free baking.
Step 4: Mix the Dough
Using a spatula or a wooden spoon, gently mix the wet and dry ingredients together. Mix just until a soft, uniform dough forms. It’s crucial not to overmix, especially with gluten-free flours. Overmixing can lead to a tough or crumbly texture, which is the opposite of what we want for communion bread. The dough will be soft and a bit sticky, but it should hold its shape.
Beginner Tip: If the dough seems too dry and crumbly, add water one teaspoon at a time until it comes together. If it’s too wet, add a tiny bit more GF flour. Gluten-free flours absorb liquids differently depending on the brand and blend, so a slight adjustment might be needed.
Step 5: Press into Pan and Score
Transfer the dough into your prepared baking pan. Using your fingers, gently press the dough evenly across the bottom of the pan. Aim for a thickness of about 1/4 to 1/2 inch. The dough should be smooth and flat.
Next, using a sharp knife, gently score the surface of the dough into small, individual portions. You can make a grid pattern (e.g., 5×5 squares) or cross patterns. Do not cut all the way through the dough; you’re just creating shallow lines that will make it easier to break apart after baking. This step is traditional for communion bread and helps ensure uniform pieces.
Step 6: Bake to Perfection
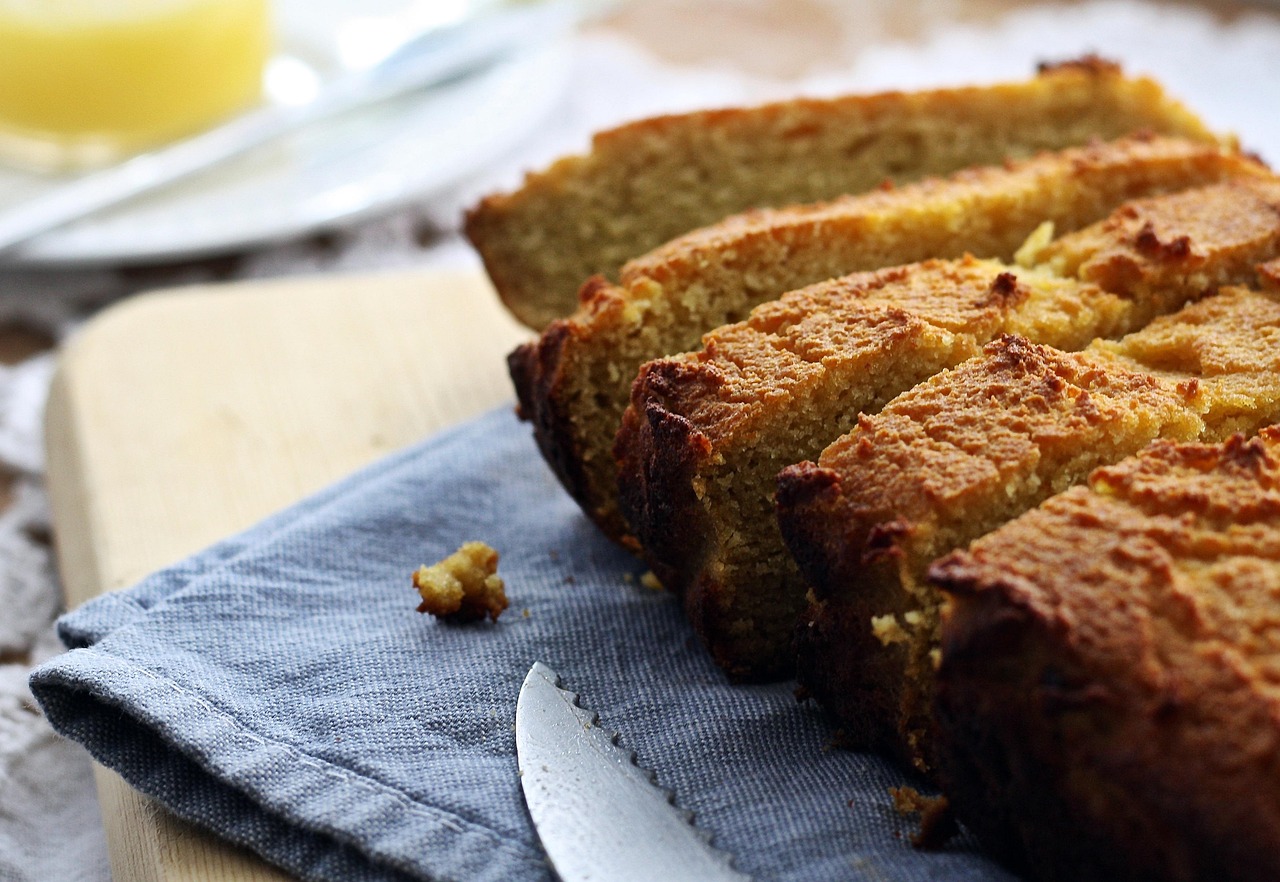
Place the baking pan in your preheated oven. Bake for approximately 15-20 minutes. The exact baking time can vary depending on your oven and the thickness of your bread.
How to tell it’s done: The bread should be lightly golden brown around the edges and on top. When gently pressed in the center, it should feel firm. A toothpick inserted into the center should come out clean. If it’s still soft or looks pale, give it a few more minutes, checking frequently.
Common Mistake & Fix: If your bread comes out very hard or dry, it might have been overbaked or had too much flour. Next time, reduce baking time slightly or add a tiny bit more liquid. If it’s too soft or doughy, it likely needs more baking time.
Step 7: Cool and Serve
Once baked, carefully remove the pan from the oven. Let the bread cool in the pan for about 5-10 minutes. This allows it to firm up slightly. Then, gently transfer the bread to a wire rack to cool completely. Allowing it to cool fully is important for the texture of gluten-free bread; cutting it too soon can result in a gummy texture. Once cool, you can easily break or cut along the scored lines into individual pieces. Store any unused portions in an airtight container at room temperature for up to 2-3 days, or freeze for longer storage.
Tips & Tricks for Gluten-Free Communion Bread
Baking gluten-free can be a little different from traditional baking, but with these tips, you’ll master it in no time!
- Measure Accurately: This is paramount for gluten-free recipes. Use proper measuring cups and spoons, and for flour, use the “spoon and level” method (spoon flour into the cup, then level off with a straight edge) rather than scooping directly from the bag, which can compact the flour and lead to too much being used.
- Don’t Overmix: Unlike wheat flour, gluten-free flours don’t develop gluten (which is good!). Overmixing can incorporate too much air or make the starches gummy, leading to a tough or crumbly texture. Mix just until combined.
- Check Your GF Flour Blend: Ensure your gluten-free all-purpose flour blend contains xanthan gum. If it doesn’t, you’ll need to add about 1/4 teaspoon of xanthan gum to the dry ingredients to act as a binder and prevent crumbling.
- Uniform Thickness: When pressing the dough into the pan, try to get it as even as possible. This ensures even baking and prevents some parts from being undercooked while others are overdone.
- Score Before Baking: Scoring the dough before baking not only helps with portioning but can also prevent cracking on the surface as the bread rises slightly in the oven.
- Cool Completely: Patience is a virtue, especially with gluten-free baked goods. Allowing the bread to cool completely on a wire rack improves its texture and makes it much easier to handle and break apart.
- Storage: Store leftover communion bread in an airtight container at room temperature for up to 3 days, or freeze for up to 3 months. Thaw at room temperature before serving.
Essential Baking Tools
Having the right tools makes all the difference for a smooth baking experience. Here are a few essentials:
- Mixing Bowl
- Whisk
- Baking Pan
- Measuring Cups
- Spatula
- Measuring Spoons (not hyperlinked but essential!)
- Sharp Knife (for scoring)
- Wire Rack (for cooling)
Nutrition Info (Per Serving, estimated)
These values are estimates based on the ingredients used and assume the recipe yields approximately 20 small pieces.
| Nutrient | Amount |
|---|---|
| Calories | 45 kcal |
| Total Carbohydrates | 8 g |
| Protein | 0.5 g |
| Total Fat | 1.5 g |
| Dietary Fiber | 0.3 g |
| Sugars | 1 g |
Frequently Asked Questions
1. Can I use a different gluten-free flour blend?
Yes, you can, but results may vary slightly. Different blends have different ratios of flours and starches, which can affect the texture and how much liquid they absorb. Always ensure your blend contains xanthan gum, or add it separately (1/4 tsp for this recipe) if it doesn’t.
2. Why is my communion bread crumbly?
Crumbliness is a common issue with gluten-free baking. It can be caused by too much flour, not enough liquid, overmixing, or a lack of binder (xanthan gum). Ensure you measure precisely, mix just until combined, and use a GF blend with xanthan gum or add it.
3. How long does this gluten-free communion bread last?
When stored in an airtight container at room temperature, it typically stays fresh for 2-3 days. For longer storage, it freezes beautifully for up to 3 months. Thaw at room temperature before serving.
4. Do I really need to score the bread before baking?
While not strictly necessary for the bread’s structure, scoring is a traditional practice for communion bread. It helps in cleanly breaking the bread into individual portions after baking and can also help prevent uneven cracking on the surface as it bakes.
5. Can I make this recipe without oil?
The oil contributes to the tenderness and moisture of the bread. While you could try substituting it with applesauce or another fat alternative, the texture might be slightly different. For best results, we recommend sticking to the oil as specified.
Conclusion
Congratulations! You’ve just created a batch of tender, inclusive, and sacred gluten-free communion bread. We hope this detailed guide has made the process enjoyable and stress-free, proving that baking for special occasions doesn’t have to be complicated, even when catering to dietary needs. This recipe is a testament to simple ingredients coming together to create something truly meaningful. May it serve your community well and bring comfort to all who partake.
Don’t hesitate to share your experiences or any questions in the comments below. Happy baking and blessings!