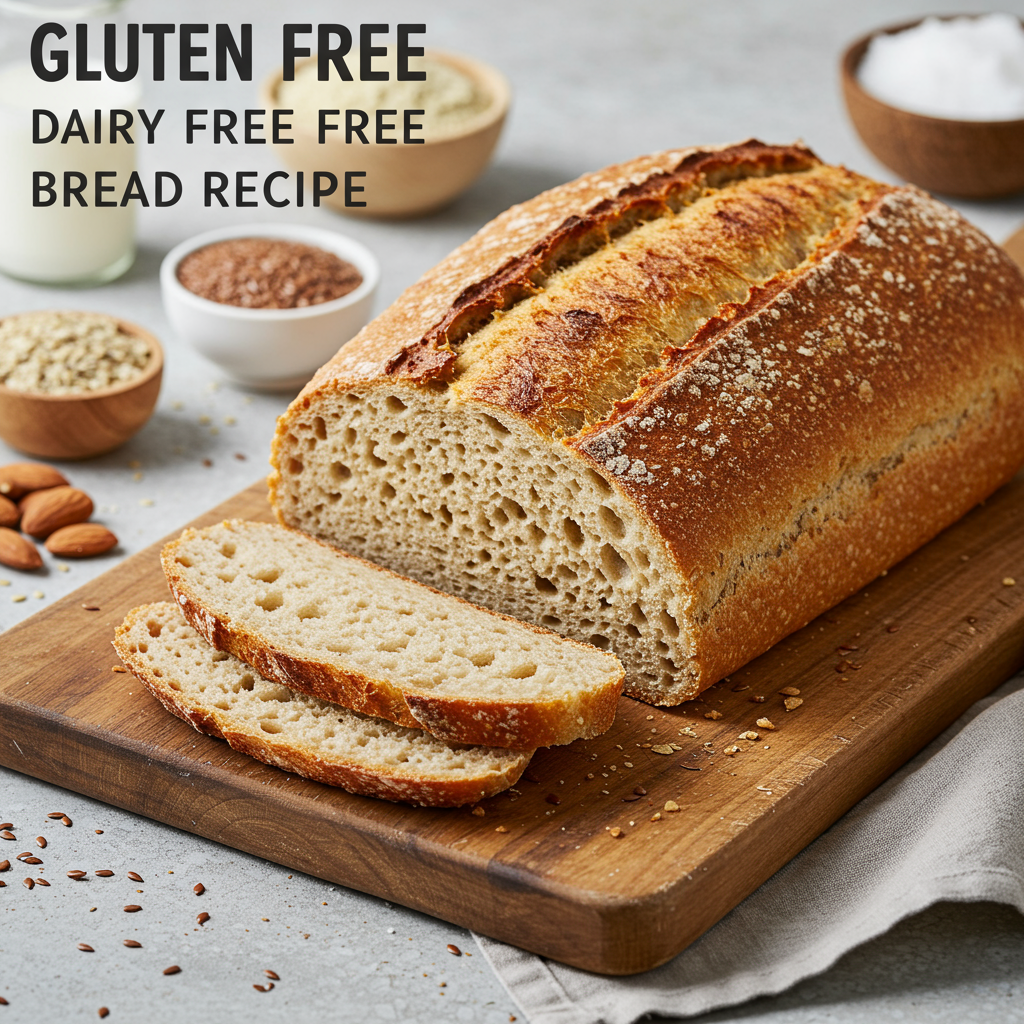
Are you new to the wonderful world of gluten-free and dairy-free baking? Or perhaps you’ve tried making bread before and found it a bit intimidating, leading to dense or crumbly results? Fret no more! This comprehensive guide will walk you through creating a delicious and satisfying Gluten Free Dairy Free Bread Recipe that’s perfect for sandwiches, toast, or alongside your favorite meal. We understand that finding truly easy baking recipes that cater to specific dietary restrictions can be a challenge, especially for beginners. That’s why we’ve designed this recipe to be incredibly straightforward, packed with helpful baking tips for beginners, and guaranteed to give you a fantastic loaf every single time. Say goodbye to store-bought, often expensive, and sometimes disappointing gluten-free bread, and hello to a soft, flavorful, and wonderfully textured homemade loaf that everyone will love!
Ingredients List
Gathering all your ingredients and measuring them precisely before you start is a golden rule for any successful bake, especially in gluten-free baking. Accuracy here will lead to the best results!
| Ingredient | Quantity | Unit |
|---|---|---|
| Warm Water (105-115°F / 40-46°C) | 1 ¾ | cups |
| Granulated Sugar | 2 | tablespoons |
| Active Dry Yeast | 2 ¼ | teaspoons (1 standard packet) |
| Gluten-Free All-Purpose Flour Blend* | 2 ½ | cups |
| Xanthan Gum** | 1 | teaspoon |
| Salt | 1 | teaspoon |
| Olive Oil (or other neutral oil like canola, sunflower, or avocado) | ¼ | cup |
| Apple Cider Vinegar (optional, but highly recommended for texture and rise) | 1 | tablespoon |
*Important Note on Flour Blend: For this recipe, we recommend using a reputable store-bought gluten-free all-purpose flour blend. These blends are specifically formulated for baking and often contain a mix of rice flours, starches, and sometimes even a small amount of protein.
**Xanthan Gum Explained: This is a crucial ingredient in gluten-free baking. It acts as a binder and thickener, mimicking the elasticity and structure that gluten provides in traditional wheat flour. Check your GF all-purpose flour blend’s ingredient list carefully! If it already lists xanthan gum (or guar gum), you can omit adding the extra 1 teaspoon. If it does NOT list it, then you absolutely must add it as specified. Adding too much can make your bread gummy, and too little can make it crumbly.
Step-by-Step Instructions
Now for the fun part – let’s get baking! Follow these detailed steps carefully, and you’ll be enjoying warm, homemade gluten-free, dairy-free bread in no time. Read through all steps once before you begin!
Step 1: Activate the Yeast (The “Proof” of Concept!)
- In a large mixing bowl (or the bowl of your stand mixer if you’re using one), combine the warm water, granulated sugar, and active dry yeast. The water temperature is critical here – aim for 105-115°F (40-46°C). If it’s too hot, it will kill the yeast; too cold, and it won’t activate. An instant-read thermometer is your best friend!
- Gently whisk them together until the sugar dissolves. This provides food for the yeast.
- Let the mixture sit undisturbed for 5-10 minutes. During this time, the yeast will “proof” or activate. You’ll know your yeast is active and healthy when the mixture becomes foamy and bubbly on top, often forming a thick layer of foam. If it doesn’t foam, your water might have been at the wrong temperature, or your yeast might be old and inactive. In this case, it’s best to discard and start over with fresh yeast and properly tempered water. Don’t skip this step!
Step 2: Prepare the Dry Ingredients
- While your yeast is proofing, in a separate medium-sized bowl, whisk together the gluten-free all-purpose flour blend, xanthan gum (if you determined you need to add it, see the note above!), and salt. Whisking thoroughly ensures all these dry ingredients are evenly distributed throughout the flour, which is important for uniform texture in gluten-free bread.
Step 3: Combine Wet Ingredients with Activated Yeast
- Once your yeast mixture is beautifully foamy, add the olive oil and apple cider vinegar (if using) to the yeast mixture in the large bowl. Give it a quick stir to combine everything. The vinegar, while optional, plays a helpful role in gluten-free baking by helping to tenderize the crumb and can contribute to a slightly better rise and flavor.
Step 4: Mix Wet and Dry to Form the Dough
- Gradually add the dry ingredient mixture (from Step 2) to the wet yeast mixture (from Step 3). You can do this in two or three additions, mixing well after each.
- Using a sturdy spoon, a rubber spatula, or a stand mixer with a paddle attachment, mix on medium-low speed for 3-5 minutes. Unlike traditional wheat bread, you are not “kneading” to develop gluten here. Instead, you are thoroughly incorporating the ingredients and allowing the xanthan gum to hydrate and develop its binding properties. The dough will be noticeably stickier and wetter than traditional bread dough – this is perfectly normal and expected for gluten-free bread! It should resemble a very thick batter or a soft cookie dough more than a firm, elastic bread dough. Avoid overmixing, but ensure everything is well combined and there are no dry pockets of flour.
Step 5: The First Rise (Proofing the Loaf)
- Lightly grease a standard 9×5 inch loaf pan with a little extra olive oil or cooking spray. Make sure to get the corners and sides well.
- Carefully spoon the sticky dough into the prepared loaf pan. It will be quite soft. Use a wet spatula or the back of a wet spoon to gently spread the dough evenly into the pan and smooth out the top. The wet tool prevents the sticky dough from clinging to it.
- Cover the loaf pan loosely with plastic wrap or a clean, damp kitchen towel. This prevents the dough from drying out.
- Place the covered pan in a warm, draft-free spot for 45-60 minutes, or until the dough has risen to about 1 inch above the rim of the pan. A slightly warm oven (turned off, with just the light on) or a microwave (turned off, perhaps with a cup of hot water inside for added warmth) can be great warm spots. Be patient, as gluten-free dough can sometimes take a bit longer to rise compared to wheat bread. The rise might not be as dramatic, but it should be noticeable.
- About 20 minutes before the end of the rising time, preheat your oven to 375°F (190°C). This ensures your oven is at the correct temperature when the bread is ready to bake.
Step 6: Bake the Bread to Golden Perfection
- Once the dough has risen sufficiently and the oven is preheated, carefully remove the plastic wrap/towel and place the loaf pan into the preheated oven.
- Bake for 40-50 minutes. The bread is done when the crust is beautifully golden brown, firm to the touch, and an internal thermometer inserted into the very center of the loaf reads 200-210°F (93-99°C). This internal temperature is the most reliable way to check for doneness. If the top starts to brown too quickly before the inside is cooked, you can loosely tent it with aluminum foil for the last 10-15 minutes of baking to prevent over-browning.
Step 7: The Most Crucial Step: Cool Completely!
- This step is absolutely, unequivocally crucial for gluten-free bread! Once baked, immediately remove the loaf from the oven. Carefully invert the pan to remove the hot loaf and transfer it onto a wire cooling rack. This allows air to circulate around all sides, preventing a soggy bottom.
- Allow the bread to cool completely for at least 2 hours, or even longer (4-6 hours is truly ideal for the best texture and structure) before attempting to slice it. Slicing warm gluten-free bread is the number one cause of a gummy, wet, or crumbly texture. The internal structure continues to set and firm up as it cools. Patience here will be greatly rewarded with a perfect slice!
- Once fully cooled, grab your sharpest serrated knife, slice, and enjoy your delicious homemade Gluten Free Dairy Free Bread!
Tips & Tricks for Gluten-Free Dairy-Free Bread Baking Success
Mastering gluten-free and dairy-free bread can take a little practice and understanding of its unique properties. These actionable tips will set you up for success and help you avoid common pitfalls:
- Measure Precisely: Baking is a science, and gluten-free baking demands particular accuracy. Whenever possible, use a kitchen scale for flour (grams are most accurate). If using measuring cups, use the “spoon and level” method: spoon flour into the measuring cup, then level off with a straight edge (like the back of a knife) without packing it down.
- Always Proof Your Yeast: This simple 5-10 minute step confirms your yeast is active and viable. It saves you from wasting time and ingredients on a loaf that simply won’t rise. Trust the foam!
- Understand GF Dough Texture: Gluten-free bread dough is not like traditional wheat dough. It will be much stickier, wetter, and resemble a thick batter more than an elastic dough. Don’t be tempted to add more flour to make it less sticky, as this will result in a dry, dense loaf.
- Warmth is Key for Rising: A warm, draft-free environment is absolutely vital for gluten-free dough to rise effectively. An oven with just the light on, a microwave (turned off, perhaps with a cup of hot water inside for added warmth and humidity), or a spot near a warm window (but not in direct sunlight) can provide the perfect cozy spot.
- Patience with Cooling is GOLD: This is arguably the most important tip for gluten-free bread. It continues to cook and set its internal structure as it cools. Slicing too early (when warm) will result in a gummy, wet interior and a crumbly mess. Wait until it’s completely cool – trust us, it’s worth it!
- Adjust for Humidity: On very humid days, you might need slightly less water; on very dry days, a tiny bit more. Gluten-free flours absorb moisture differently based on environmental factors. Pay attention to the dough consistency in Step 4.
- Proper Storage: Once completely cooled, store your bread tightly wrapped in plastic wrap or in an airtight container at room temperature for 2-3 days. For longer storage (up to 3 months), slice the loaf and freeze the individual slices in an airtight freezer bag or container. You can then toast slices directly from frozen.
Essential Baking Tools
Having the right tools makes all the difference, especially when you’re just starting out on your baking journey. Here are some essentials you’ll need for this delicious recipe:
- Mixing Bowl (at least one large for the dough, and a medium one for dry ingredients)
- Whisk (for dry ingredients and yeast activation)
- Baking Pan (a standard 9×5 inch loaf pan is ideal for this recipe)
- Measuring Cups and Measuring Spoons (for precise measurements, crucial in GF baking)
- Spatula (a sturdy rubber spatula for scraping bowls and a wet one for smoothing dough)
- Instant Read Thermometer (highly recommended for accurate water temperature and checking bread doneness)
- Wire Cooling Rack (absolutely essential for proper air circulation during cooling)
- Plastic Wrap or Clean Kitchen Towel (for covering the dough during rising)
Nutrition Info (per slice, estimated)
Please note: These are estimated nutritional values per slice (based on 12 slices per loaf) and can vary depending on exact ingredient brands, preparation methods, and specific flour blends used. This information is for general guidance only.
| Nutrient | Amount |
|---|---|
| Calories | 160-180 kcal |
| Total Carbohydrates | 28-32 g |
| Fiber | 2-3 g |
| Total Sugars | 3-4 g |
| Protein | 3-4 g |
| Total Fat | 4-5 g |
Frequently Asked Questions (FAQs)
Q1: Why didn’t my gluten-free dairy-free bread rise?
A: The most common reasons for a lack of rise are inactive yeast (ensure your water temperature is between 105-115°F / 40-46°C, and your yeast isn’t expired), or a cold, drafty environment for proofing. Also, make sure you’ve added the correct amount of xanthan gum, as it’s vital for providing structure and lift in GF bread.
Q2: Can I use a different type of gluten-free flour, like almond or coconut flour?
A: For best results with this beginner-friendly recipe, we strongly recommend sticking to a good quality gluten-free all-purpose flour blend that contains xanthan gum. Flours like almond or coconut flour absorb liquids very differently and cannot be substituted 1:1 without significant recipe adjustments, which is best left for more experienced gluten-free bakers.
Q3: My bread is gummy or crumbly inside. What went wrong?
A: This is almost always due to slicing the bread before it has completely cooled. Gluten-free bread needs a significant amount of time (2-6 hours, or even longer) to set up its internal structure after baking. The starches continue to gel and firm up as it cools. Slicing it warm will inevitably lead to a gummy, wet, or crumbly texture. Patience is key here!
Q4: Can I make this recipe in a bread machine?
A: Yes, many gluten-free bread recipes adapt well to bread machines! Typically, you’ll add the wet ingredients first, then the dry ingredients, and the yeast last. Select your bread machine’s “Gluten-Free” cycle if it has one. If not, a “Basic” or “Rapid” cycle might work, but keep an eye on the dough consistency and the rise. Always refer to your specific bread machine’s manual for best practices with gluten-free dough.
Q5: How should I store this homemade bread?
A: Once your bread is completely cooled, store the loaf tightly wrapped in plastic wrap or in an airtight container at room temperature for 2-3 days. For longer storage, we highly recommend slicing the entire loaf and then freezing the individual slices in an airtight freezer bag or container. This way, you can easily grab a slice or two and toast them directly from frozen whenever you crave fresh bread!
Q6: Can I make this recipe savory by adding herbs or garlic?
A: Absolutely! This recipe is a fantastic base for savory additions. Feel free to mix in 1-2 tablespoons of dried herbs (like rosemary, thyme, or oregano) or a teaspoon of garlic powder with the dry ingredients. You could also fold in ½ cup of dairy-free shredded cheese (if you tolerate it) or sun-dried tomatoes during the mixing stage for an extra flavor boost.
Conclusion
Congratulations! You’ve now got all the knowledge, detailed steps, and essential **baking tips for beginners** to successfully bake your very own delicious and satisfying **Gluten Free Dairy Free Bread Recipe**! Don’t be discouraged if your first loaf isn’t absolutely perfect; baking, especially gluten-free, is a wonderful journey of learning and discovery. Each attempt brings you closer to perfection and understanding the nuances of your ingredients and oven. The immense joy of pulling a warm, fragrant loaf from your own oven, knowing it’s made with love and tailored perfectly to your dietary needs, is truly incomparable. So, gather your ingredients, embrace the process, and embark on your wonderful gluten-free baking adventure. Happy baking!