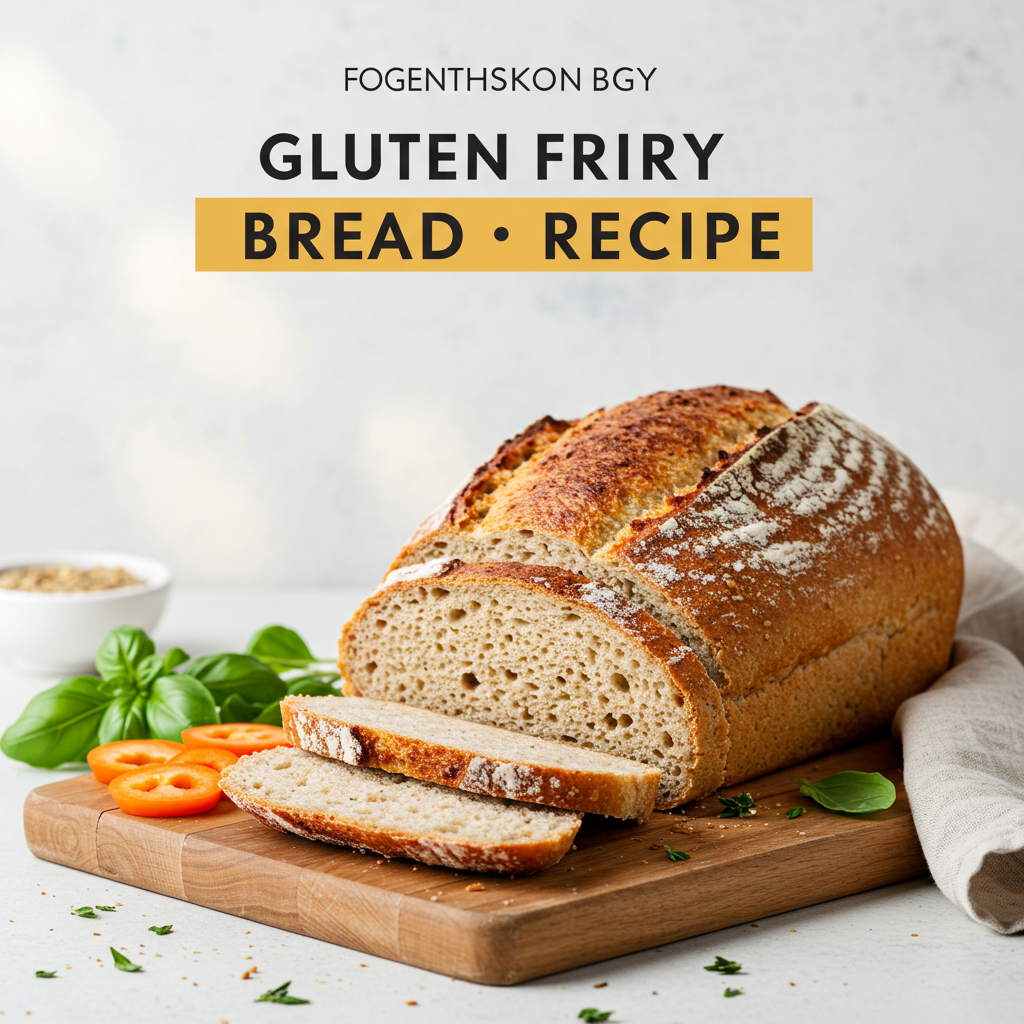
Gluten Free Dairy Free Bread Recipe: Your Easy Guide to Homemade Loaf!
Are you new to the world of gluten-free and dairy-free baking, or have you struggled to find a reliable recipe that actually tastes good? You’re in the right place! Baking your own bread can seem daunting, especially when dealing with dietary restrictions, but this Gluten Free Dairy Free Bread Recipe is designed specifically for you. Forget dense, crumbly loaves – we’re going to bake a delicious, soft, and satisfying bread that everyone will love. This post is packed with easy baking recipes and essential baking tips for beginners to ensure your success. Get ready to impress yourself with a fresh, homemade loaf that’s perfect for sandwiches, toast, or simply enjoying with a meal!
Ingredients You’ll Need
Gather these simple ingredients, and let’s get started on your amazing bread journey!
| Ingredient | Quantity | Unit |
|---|---|---|
| Warm Water (105-115°F / 40-46°C) | 1.5 | cups |
| Granulated Sugar | 2 | tbsp |
| Active Dry Yeast | 2.25 | tsp (1 packet) |
| Gluten-Free All-Purpose Flour Blend (without xanthan gum) | 2.5 | cups |
| Xanthan Gum | 1 | tsp |
| Salt | 1 | tsp |
| Olive Oil (or other neutral oil like canola/sunflower) | 1/4 | cup |
| Apple Cider Vinegar (or white vinegar) | 1 | tbsp |
Step-by-Step Instructions for Beginners
Follow these detailed steps carefully, and you’ll have a beautiful loaf in no time. We’ve included extra tips to help you avoid common beginner mistakes!
Step 1: Activate Your Yeast. In a large mixing bowl (or the bowl of your stand mixer), combine the warm water (crucially, between 105-115°F / 40-46°C) and granulated sugar. Sprinkle the active dry yeast over the top. Why this temperature? Too hot, and you’ll kill the yeast, rendering it useless. Too cold, and it won’t activate properly, leading to a flat loaf. Let it sit for 5-10 minutes until it becomes foamy and bubbly. This “proof” confirms your yeast is alive and ready to work! If it doesn’t foam, your yeast might be expired or the water temp was off – it’s best to start again with fresh yeast and correct water temperature.
Step 2: Combine Dry Ingredients. In a separate medium bowl, whisk together the gluten-free all-purpose flour blend (important: ensure your blend does *not* already contain xanthan gum, or adjust the added amount accordingly), xanthan gum, and salt. Xanthan gum is crucial in gluten-free baking; it mimics the elasticity that gluten provides, giving your bread structure, elasticity, and preventing it from becoming crumbly or falling apart.
Step 3: Add Wet Ingredients to Yeast. Once your yeast mixture is beautifully foamy, indicating it’s active, add the olive oil and apple cider vinegar to it. Apple cider vinegar, or any white vinegar, acts as an acid that helps to tenderize gluten-free dough and can slightly improve the rise and overall texture of the final bread.
Step 4: Mix the Dough. Gradually add the dry ingredients from Step 2 to the wet ingredients in the large mixing bowl. If using a stand mixer, attach the paddle attachment and mix on medium-low speed for about 5-7 minutes. If mixing by hand, use a sturdy spoon or spatula to mix vigorously until a thick, sticky batter forms. Expect gluten-free dough to be much stickier and more like a thick cake batter than traditional wheat dough. Do not expect a firm, elastic dough that you can knead extensively. Scrape down the sides of the bowl as needed to ensure all ingredients are thoroughly combined and the xanthan gum is evenly distributed throughout the mixture.
Step 5: Prepare for the First Rise. Lightly grease a 9×5 inch loaf pan with dairy-free butter or cooking spray. Transfer the sticky dough into the prepared loaf pan. This dough will be quite wet, so use a wet spatula or wet hands to gently spread and smooth the top evenly. This helps create a uniform loaf shape and prevents the top from drying out during the rise.
Step 6: The First Rise (Proofing). Cover the loaf pan loosely with plastic wrap or a clean, damp kitchen towel. Place it in a warm, draft-free spot for 45-60 minutes, or until the dough has nearly doubled in size and crowned slightly above the rim of the pan. A warm oven (turned off, with just the light on) is an excellent, consistent place for rising. Don’t rush this step; a good rise is absolutely key to achieving a light, airy, and soft gluten-free bread texture.
Step 7: Preheat and Prepare for Baking. About 15 minutes before the end of the rise time, preheat your oven to 375°F (190°C). This allows the oven to reach and stabilize at the correct temperature before the bread goes in.
Step 8: Bake Your Bread. Once risen, carefully place the loaf pan into the preheated oven. Bake for 40-50 minutes, or until the crust is golden brown and the internal temperature of the bread reaches 200-210°F (93-99°C) when measured with an instant-read thermometer. If the top starts to brown too quickly before the inside is cooked, you can loosely tent it with aluminum foil for the remaining baking time.
Step 9: Cool Completely. Remove the bread from the oven and let it cool in the pan for about 10-15 minutes. Then, carefully remove the loaf from the pan and transfer it to a wire rack to cool completely before slicing. This step is absolutely crucial for gluten-free bread! Slicing too early can result in a gummy, dense texture because the bread continues to set as it cools. Patience is a virtue here – wait at least 1-2 hours, or even longer if possible, for the best results!
Tips & Tricks for Gluten-Free Dairy-Free Baking Success
Mastering gluten-free and dairy-free bread is easier with these expert tips:
- Measure Accurately: Especially with gluten-free flours, precision is key. Use a kitchen scale for the most accurate results (weighing flour is always better than volume), or level your measuring cups carefully with a straight edge. Too much flour can lead to a dry, crumbly loaf.
- Water Temperature is Critical: Always check your warm water temperature with a thermometer (105-115°F / 40-46°C). This ensures your yeast activates properly without being killed by excessive heat or remaining dormant from cold.
- Don’t Overmix: While traditional bread benefits from extensive kneading, gluten-free dough does not. Mix until just combined and smooth, then stop. Overmixing can lead to a dense, tough texture.
- Warm Rising Environment: A consistent warm, draft-free spot is vital for a good rise. A slightly warmed oven (turned off!) with the light on, or near a sunny window, works well. Avoid cold drafts at all costs.
- Cool Completely: We can’t stress this enough! Gluten-free bread continues to set and firm up as it cools. Slicing it while warm will almost always result in a gummy texture. Wait at least 1-2 hours, or even longer if possible, before cutting into your masterpiece.
- Storage: Store your cooled bread in an airtight container or a bread bag at room temperature for up to 3 days to maintain freshness. For longer storage, slice the loaf and freeze the slices in a freezer-safe bag for up to 3 months. Thaw slices as needed, or toast directly from frozen.
Essential Baking Tools
Having the right tools makes all the difference for a smooth baking experience:
- Mixing Bowl
- Whisk
- Baking Pan (9×5 inch loaf pan)
- Measuring Cups & Spoons
- Spatula
- Instant-Read Thermometer (for water and bread)
- Kitchen Scale (optional, but highly recommended for accuracy)
Nutrition Information (Approximate per Slice)
Here’s an estimated nutritional breakdown for one slice of your homemade bread (based on 12 slices per loaf). Please note these are approximate values and can vary based on specific ingredients and brands used.
| Nutrient | Amount |
|---|---|
| Calories | 130-150 kcal |
| Carbohydrates | 22-25 g |
| Protein | 2-3 g |
| Fat | 4-5 g |
| Fiber | 1-2 g |
| Sugar | 1-2 g |
Frequently Asked Questions (FAQs)
We’ve got answers to some common questions beginners often have:
- Q: My bread didn’t rise, what went wrong?
A: The most common culprit is inactive yeast. This could be due to water that was too hot (killing the yeast) or too cold (preventing activation), or expired yeast. Always check your yeast by proofing it in warm water with sugar first to ensure it’s active.
- Q: Can I use a different gluten-free flour blend?
A: Yes, but ensure your blend is an “all-purpose” gluten-free blend and check if it already contains xanthan gum. If it does, you might want to reduce the additional xanthan gum slightly (e.g., to 1/2 tsp) to avoid a gummy texture. Different blends can yield slightly different results in texture and flavor.
- Q: How do I store this bread to keep it fresh?
A: Once completely cooled, store the bread in an airtight container or a bread bag at room temperature for up to 3 days. For longer storage, slice the loaf and freeze the slices in a freezer-safe bag for up to 3 months. Thaw slices as needed or toast directly from frozen for convenience.
- Q: Why is my gluten-free bread dense or crumbly?
A: Density can be caused by not allowing enough rise time, or using too little liquid. Crumbly bread often means too much flour was used, not enough xanthan gum (or it wasn’t mixed well), or the bread was overbaked. Ensure accurate measurements and proper proofing time for the best results.
- Q: What if I don’t have apple cider vinegar?
A: You can substitute apple cider vinegar with white vinegar. The vinegar acts as an acid that helps improve the structure and rise of gluten-free bread, so it’s recommended not to omit it entirely.
Happy Baking!
Congratulations, baker! You’ve just created a delicious, homemade Gluten Free Dairy Free Bread Recipe that’s miles ahead of anything you’d find in a store. This journey into easy baking recipes proves that dietary restrictions don’t mean sacrificing flavor or texture. Remember these baking tips for beginners, and don’t be afraid to experiment. Each loaf you bake will get better and better, and your confidence will grow with every success. Enjoy your fresh bread – whether it’s for a sandwich, toast, or just a simple, satisfying slice. We’d love to hear about your baking adventures in the comments below!
“`