Welcome, fellow baking enthusiasts! Are you ready to dive into the wonderful world of baking with a recipe that’s as delightful as it is surprisingly simple? Today, we’re going to master the Gluten Free Olive Oil Cake Recipe. If you’ve ever thought baking was too complicated, or if you’re new to gluten-free baking, prepare to have your mind changed! This cake is incredibly moist, tender, and boasts a delicate fruity flavor from the olive oil that will enchant your taste buds. It’s truly one of those fantastic easy baking recipes that delivers show-stopping results with minimal fuss. We’ve packed this guide with essential baking tips for beginners to ensure your success, making sure your very first attempt is a triumphant one. Let’s get baking!
Ingredients You’ll Need
Gathering all your ingredients before you start is a key baking tip for beginners it makes the process smoother and more enjoyable!

| Ingredient | Quantity | Unit |
|---|---|---|
| Gluten-Free All-Purpose Flour Blend (with xanthan gum) | 1 ½ | cups |
| Granulated Sugar | 1 | cup |
| Large Eggs (room temperature) | 3 | |
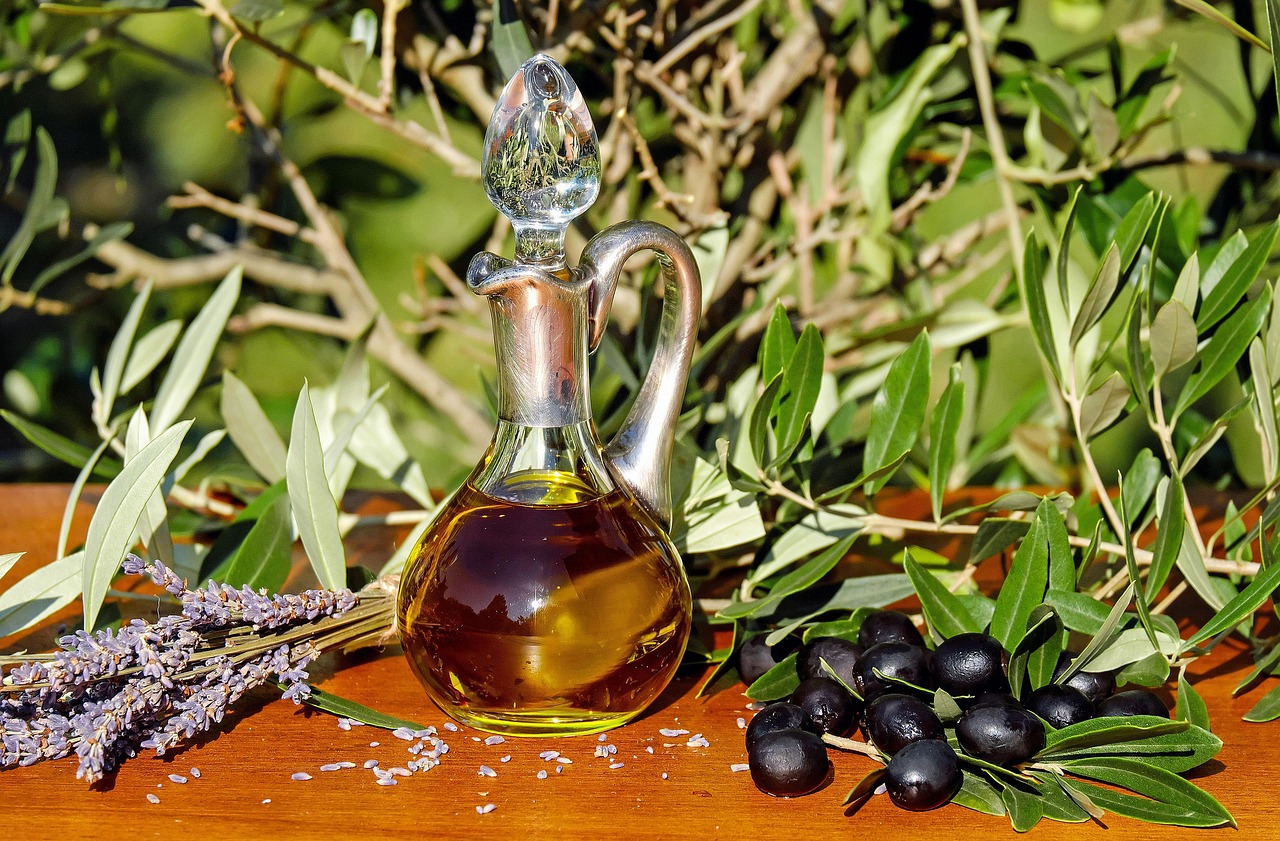
| Extra Virgin Olive Oil (good quality) | ½ | cup |
| Milk (whole or 2%, room temperature) | ½ | cup |
| Baking Powder | 2 | teaspoons |
| Salt | ½ | teaspoon |
| Lemon Zest (from 1-2 lemons) | 1 | tablespoon |
| Vanilla Extract | 1 | teaspoon |
| Powdered Sugar (for dusting, optional) |
Step-by-Step Instructions for Your Perfect Olive Oil Cake
Follow these detailed steps carefully, and you’ll be enjoying a delicious, homemade **Gluten Free Olive Oil Cake** in no time!
Step 1: Get Ready to Bake! (Preheating & Pan Prep)
- Preheat Your Oven: Start by preheating your oven to 350°F (175°C). This is crucial because a properly preheated oven ensures your cake begins baking immediately and rises evenly. If you put your cake into a cold oven, it won’t rise correctly, leading to a dense result.
- Prepare Your Pan: Grease and “flour” a 9-inch round cake pan. You can use butter, olive oil, or a non-stick cooking spray to grease the pan thoroughly, making sure to get into all the nooks and crannies. Then, lightly dust it with a little bit of your gluten-free flour blend, cocoa powder (for a chocolate version), or even a fine layer of granulated sugar. Tap out any excess. This step creates a non-stick barrier, preventing your beautiful cake from sticking.
Step 2: Combine Your Dry Ingredients
- Whisk Them Together: In a medium-sized bowl, whisk together your gluten-free all-purpose flour blend, baking powder, and salt. The key here is to whisk them very well for about 30 seconds. Why? Whisking ensures that the leavening agents (baking powder) and salt are evenly distributed throughout the flour. This prevents your cake from having pockets of unrisen batter or overly salty bites. Set this bowl aside for now.
Step 3: Mix the Wet Ingredients (The Flavor Base!)
- Sugar and Olive Oil: In a large mixing bowl, combine the granulated sugar and extra virgin olive oil. Whisk these together vigorously for 1-2 minutes until they are well combined and the mixture looks slightly emulsified (a bit cloudy and thicker). This step helps to start dissolving the sugar and creates a smooth, flavorful base for your cake.
- Add the Eggs: Crack your large eggs into the sugar and olive oil mixture, one at a time. Whisk thoroughly after each addition until the egg is fully incorporated and the mixture becomes lighter in color and creamy. Adding eggs one by one and mixing well incorporates air, which contributes to the cake’s light and airy texture.
- Introduce Liquids and Zest: Now, stir in the milk (remember, room temperature is best!), vanilla extract, and lemon zest. Mix until just combined. The lemon zest adds a bright, fresh note that perfectly complements the olive oil. Tip for Beginners: When zesting, only remove the bright yellow part of the lemon peel, avoiding the bitter white pith underneath.
Step 4: Combine Wet and Dry (Gently!)
- Gradual Addition: This is a critical step! Gradually add the dry ingredients from Step 2 into your wet ingredients from Step 3. Do this in about three additions, mixing on low speed with an electric mixer or gently by hand with a spatula until just combined after each addition.
- The Golden Rule: Do Not Overmix! Overmixing is one of the most common mistakes in baking, even with gluten-free flours. While gluten-free blends don’t develop gluten like wheat flour, overmixing can still lead to a tough, dense, or rubbery cake by overworking other components and deflating the air you’ve incorporated. A few small lumps in the batter are perfectly fine – they will bake out!
Step 5: Bake Your Masterpiece
- Pour and Tap: Pour the batter evenly into your prepared cake pan. Gently tap the pan on your counter a couple of times. This helps to release any large air bubbles trapped in the batter, ensuring a more even crumb.
- Into the Oven: Carefully place the cake pan in your preheated oven.
- Bake Time: Bake for 30-35 minutes. Baking times can vary depending on your oven, so keep an eye on it.
- Test for Doneness: The cake is ready when it’s golden brown around the edges, and a wooden skewer or toothpick inserted into the center comes out clean or with only a few moist crumbs attached. If it comes out with wet batter, continue baking for a few more minutes and test again.
Step 6: Cool Down and Enjoy!
- Cool in Pan: Once baked, remove the cake from the oven and let it cool in the pan on a wire rack for at least 15-20 minutes. This is an essential step! Cooling in the pan allows the cake to set and firm up, making it much easier to remove without breaking or crumbling. Trying to remove it too soon is a common beginner mistake that can lead to a broken cake.
- Complete Cooling: After the initial cooling in the pan, carefully invert the cake onto the wire rack to cool completely. Cooling completely is absolutely crucial for the best texture and to prevent the cake from crumbling when sliced. Patience is a virtue here!
- Serve: Once completely cool, you can dust your beautiful **Gluten Free Olive Oil Cake** with a little powdered sugar for a simple, elegant finish. Slice and serve! Enjoy the moist, tender crumb and the subtle, sophisticated flavor.
Tips & Tricks for Gluten-Free Olive Oil Cake Success
These extra **baking tips for beginners** will elevate your baking game and ensure your **Gluten Free Olive Oil Cake** is always a triumph!
- Room Temperature Ingredients are Key: This is not just a suggestion! Room temperature eggs and milk emulsify better with the olive oil and sugar, creating a smoother, more uniform batter. This leads to a lighter, more evenly textured cake. If your ingredients are cold, the fat can seize up, resulting in a lumpy batter.
- Measure Your Flour Correctly: For accurate results, use the “spoon and level” method. Spoon your gluten-free flour blend into your measuring cup until it overflows, then use a straight edge (like the back of a knife) to level off the excess. Do not scoop directly from the bag, as this compacts the flour and can result in using too much, leading to a dry or dense cake.
- Quality Olive Oil Matters: Since olive oil is a star ingredient, choose a good quality extra virgin olive oil. It doesn’t have to be the most expensive, but one with a pleasant, mild, fruity flavor will shine through beautifully in the cake. Avoid very pungent or bitter olive oils.
- Don’t Skip the Lemon Zest: The lemon zest isn’t just for flavor; it brightens the taste of the olive oil and adds a wonderful aromatic lift to the cake. Ensure you only zest the yellow part, avoiding the white pith, which can be bitter.
- Invest in an Oven Thermometer: Oven temperatures can vary significantly from what the dial indicates. An inexpensive oven thermometer placed inside your oven will give you an accurate reading, helping to prevent under or over-baking. This is a game-changer for consistent results!
- Storage: This cake stores beautifully. Keep it covered tightly at room temperature for up to 3 days, or in the refrigerator for up to 5 days. It’s often even more delicious the next day as the flavors meld!
Essential Baking Tools
Having the right tools makes baking easier and more enjoyable. Here are some basics we recommend:
- Mixing Bowl
- Whisk
- Baking Pan (9-inch round)
- Measuring Cups & Measuring Spoons
- Spatula (rubber or silicone)
- Wire Rack
- Zester (for lemon zest)
Nutrition Information (Estimated per serving)
Based on approximately 12 servings per cake.
| Nutrient | Value |
|---|---|
| Calories | 380 kcal |
| Carbohydrates | 50 g |
| Protein | 5 g |
| Fat | 20 g |
| Fiber | 1 g |
| Sugar | 30 g |
*Disclaimer: Nutritional information is an estimate and can vary based on specific ingredients and preparation methods.
Frequently Asked Questions (FAQs) for Beginners
Q1: Can I make this cake dairy-free?
A: Absolutely! This recipe is very adaptable. Simply substitute regular milk with your favorite unsweetened dairy-free milk alternative, such as almond milk, soy milk, or oat milk. Ensure it’s at room temperature for the best results.
Q2: What kind of gluten-free flour blend should I use?
A: It’s best to use a high-quality “all-purpose gluten-free flour blend” that already contains xanthan gum. Many brands like Bob’s Red Mill 1-to-1 Baking Flour or King Arthur Gluten-Free Measure for Measure Flour work wonderfully. Avoid single-source gluten-free flours like rice flour or almond flour alone, as they won’t provide the right texture for this cake.
Q3: My cake turned out dense. What went wrong?
A: A dense cake is a common issue for beginners, often due to a few reasons:
1. Overmixing: The most frequent culprit! Overmixing the batter can overwork the starches in gluten-free flour, leading to a tough texture. Mix only until just combined.
2. Too Much Flour: If you scooped your flour directly from the bag, you might have used too much. Always spoon and level your flour for accuracy.
3. Old Leavening Agents: Make sure your baking powder isn’t expired. Old leavening agents won’t activate properly, resulting in a flat, dense cake.
Q4: How do I know when the cake is perfectly baked?
A: The best way is the toothpick test! Insert a wooden skewer or toothpick into the very center of the cake. If it comes out clean or with only a few moist crumbs attached, your cake is done. If it comes out with wet batter, continue baking in 3-5 minute increments until it passes the test. Also, look for golden-brown edges and a cake that springs back lightly when gently pressed.
Q5: Can I add other flavors to this olive oil cake?
A: Absolutely! This **Gluten Free Olive Oil Cake Recipe** is a fantastic base for experimentation. Consider adding:
– A handful of fresh berries (raspberries, blueberries) folded into the batter.
– A different citrus zest, like orange or lime, instead of lemon.
– A pinch of cardamom or a sprinkle of chopped pistachios for an exotic twist.
Just remember not to add too much extra liquid or heavy ingredients that could alter the cake’s structure.
Time to Enjoy Your Gluten Free Olive Oil Cake!
And there you have it! A truly magnificent, moist, and flavorful Gluten Free Olive Oil Cake Recipe that proves gluten-free baking can be incredibly simple and rewarding. We hope these detailed instructions and baking tips for beginners have empowered you to create something truly special in your kitchen. This cake is perfect for any occasion, from a casual afternoon tea to an elegant dessert. Don’t be shy dive in, bake with confidence, and savor every delicious bite of your homemade masterpiece.
We’d love to hear about your baking adventures! Share your photos and experiences in the comments below. Happy baking!